


How To: Install A Protrax Retractable Tonneau Cover



How To: Install A Protrax Retractable Tonneau Cover
Here is how to install a Protrax retractable tonneau cover.
Install time is about an hour and you will need a friend to help you. No special tools are needed, all you need is a socket and ratchet for the clamps, a tape measure, and a #2 phillips head screwdriver.
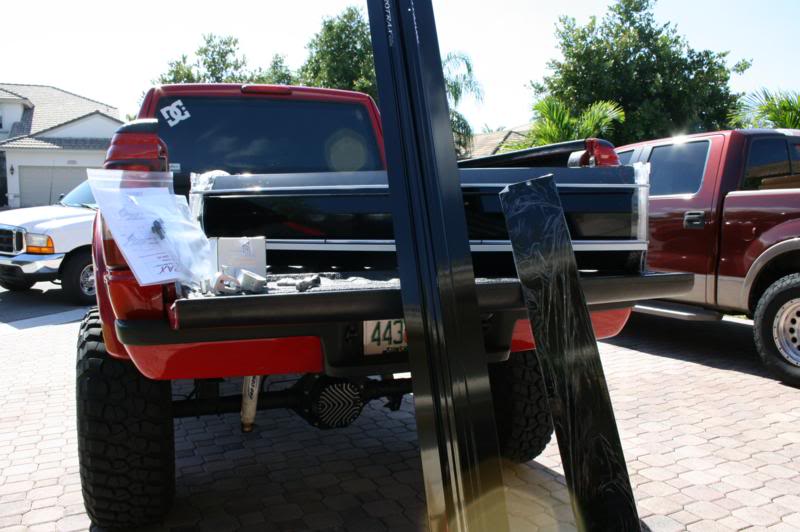
Here is what you're going to see when you open the packages. The canister for the tonneau, two rails, a cover for the canister, instructions, drain tubes, keys, and a box containing clamps and a few pieces of hardware.
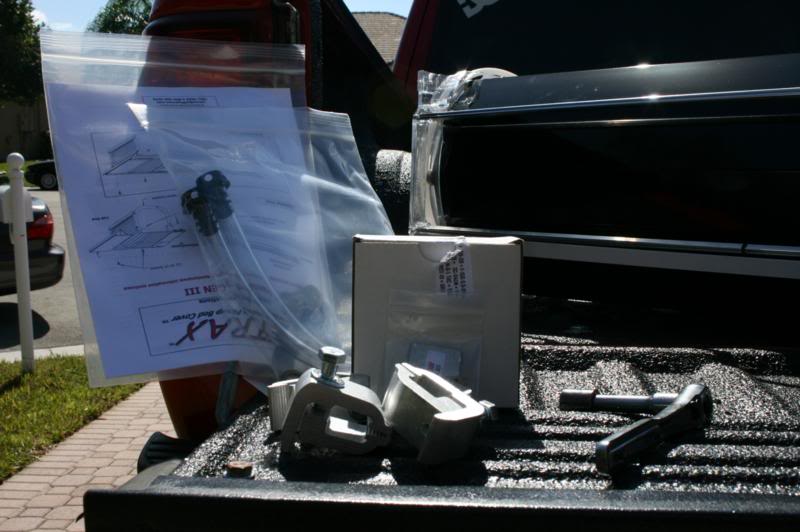
The included hardware and drain tubes
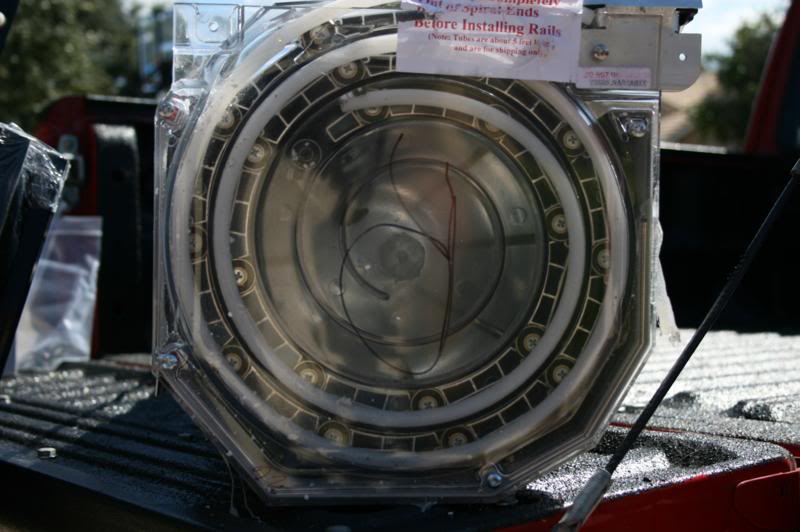
Here is a picture of the side of the canister, you can see it is all ball bearings and you can see how it works.
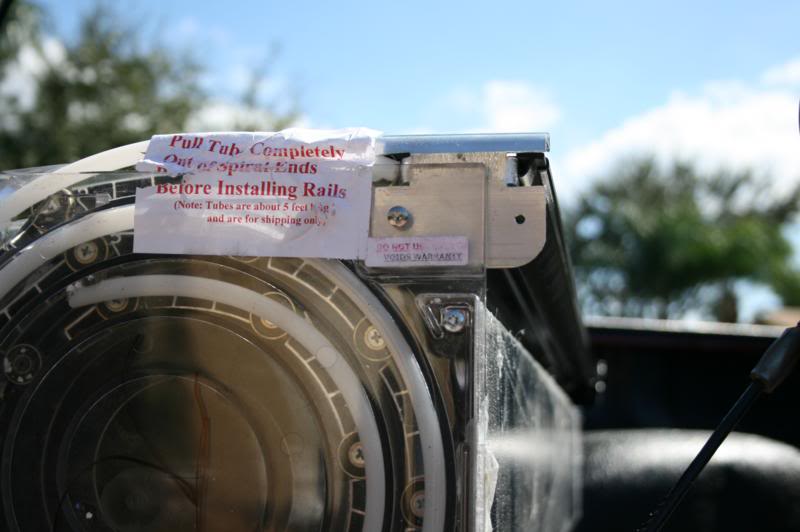
This is a bracket for shipping, it needs to come off.
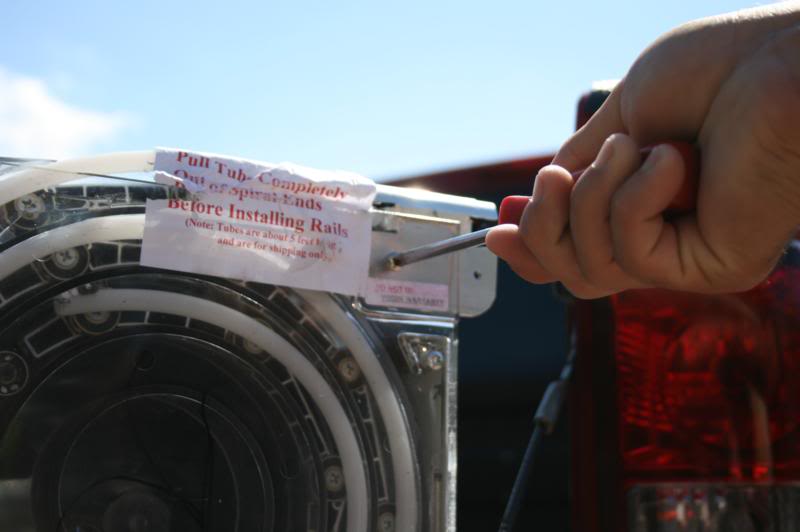
Remove the phillips head screw.
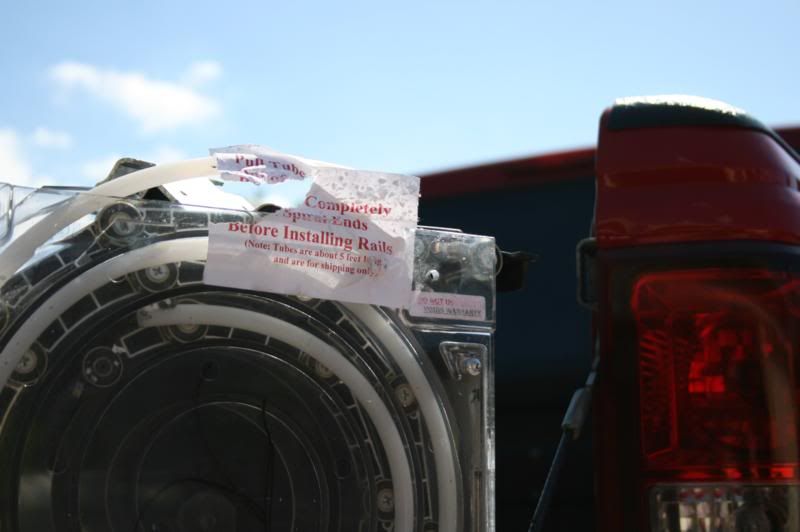
Now remove it and discard.
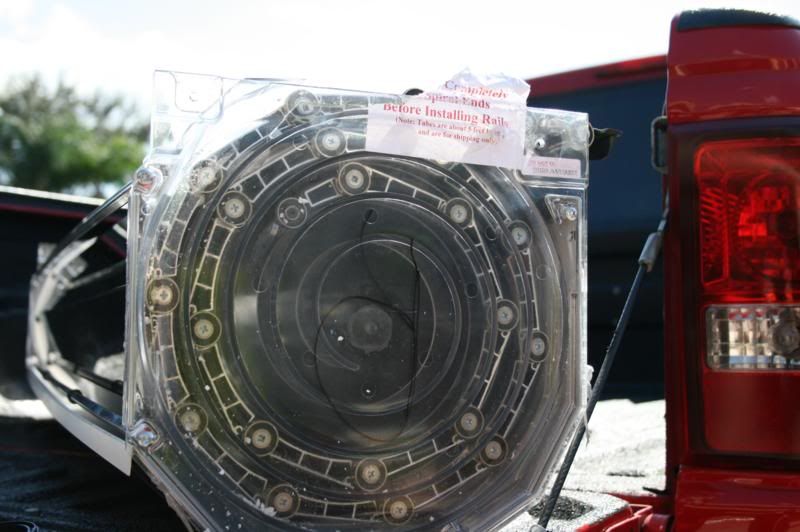
Next, the plastic tube needs to come out. Simply pull it out and discard it.
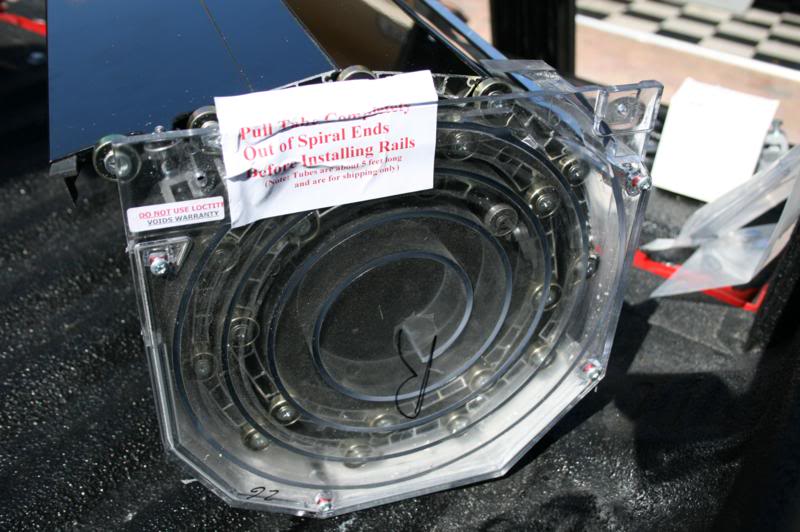
Now repeat on the other side, being careful to not allow the cover to roll inside the canister.
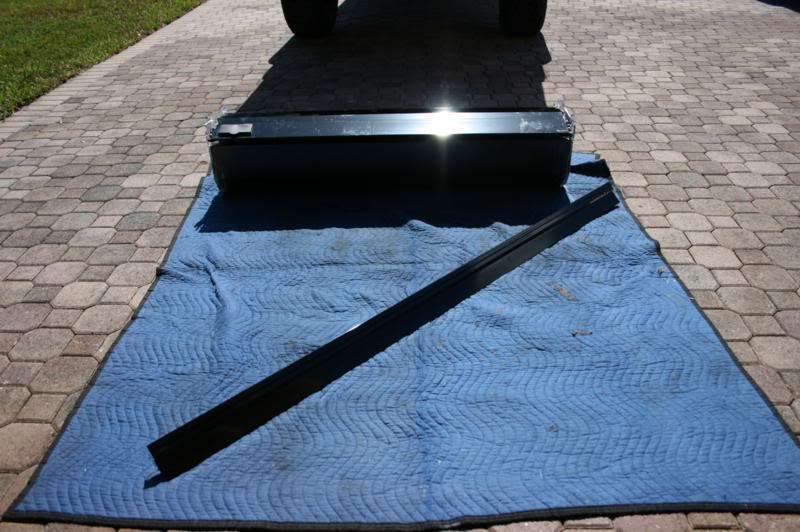
Now it is time to attach the bed rails. Place one rail and the canister on a soft surface to avoid any scratching.
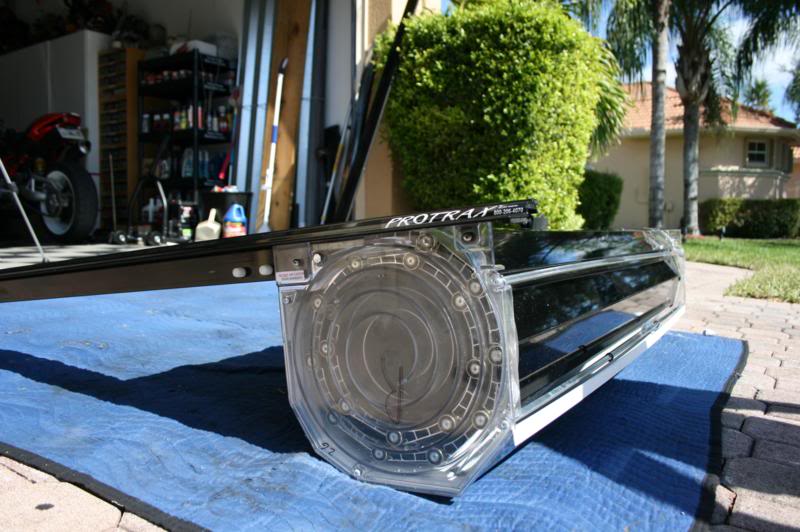
Place the bedrail in place so the tabs align and insert the two provided screws. DO NOT USE LOCTITE.
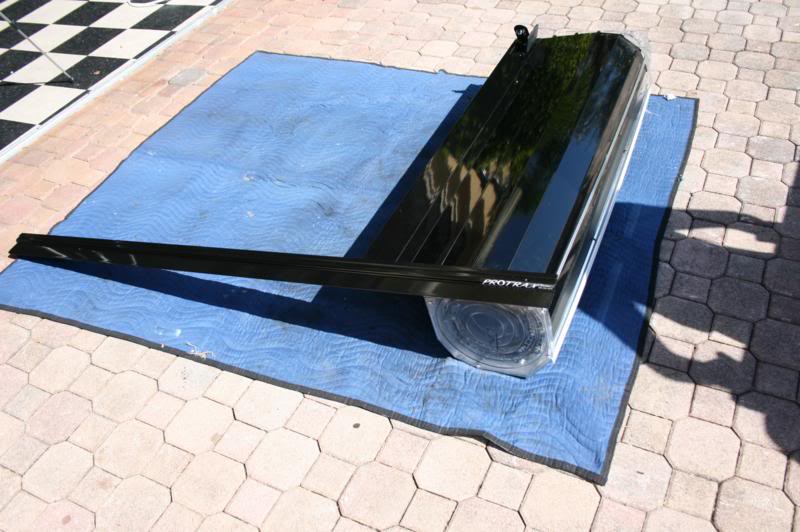
You can see the tonneau has to be rolled out a little bit too, here is another view of it installed.
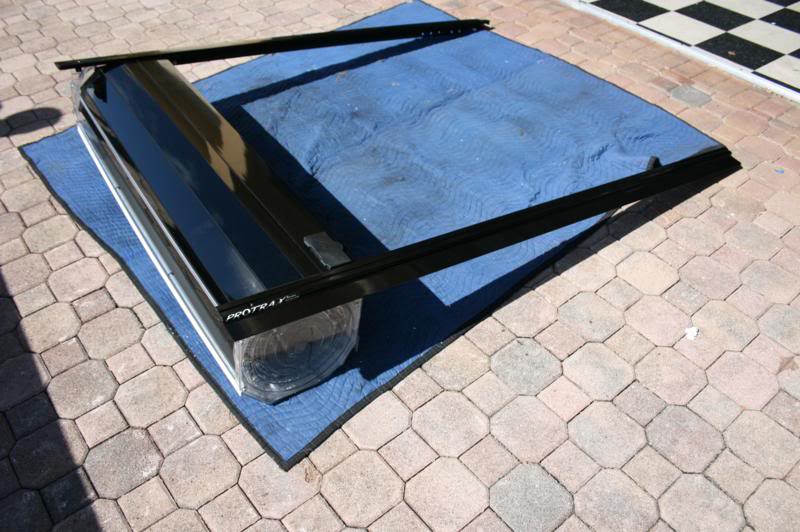
Repeat on the other side.
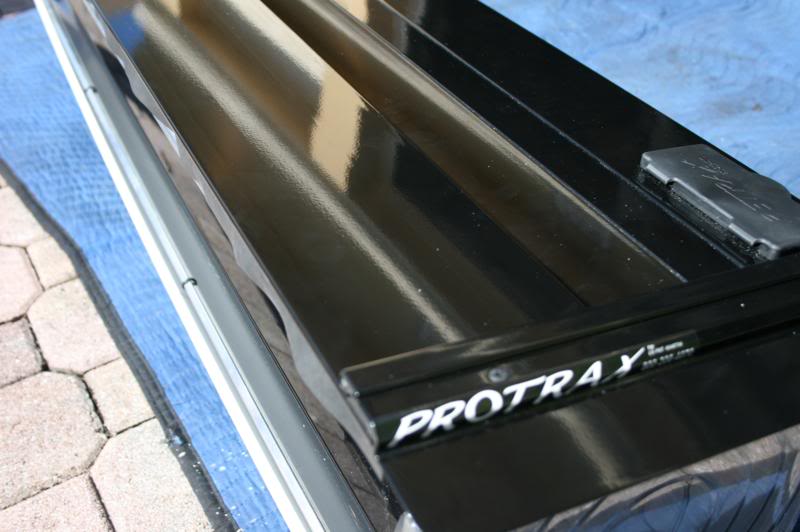
Now install the canister cover.
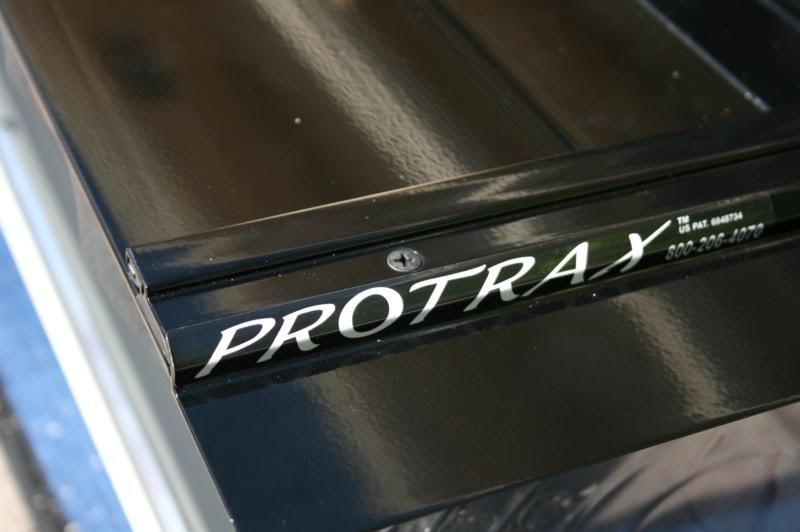
One phillips head screw on each side. Also DO NOT USE LOCTITE.
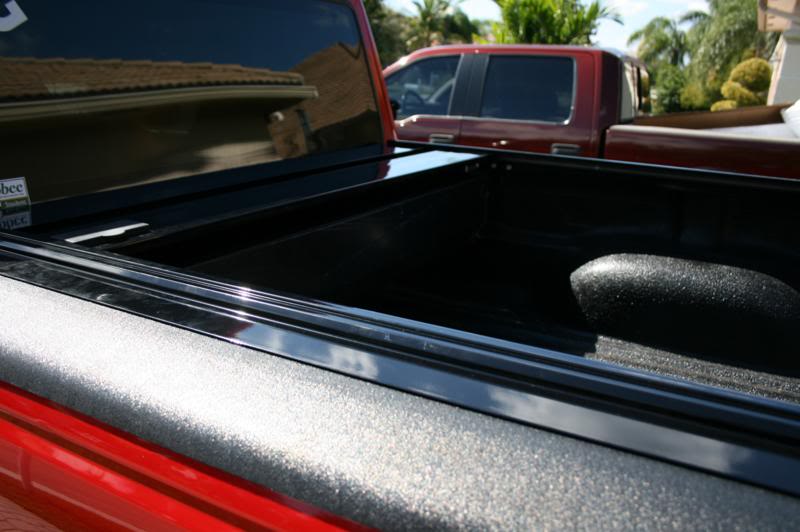
Now with the help of a partner lift and place the cover in place making sure it's all the way back.
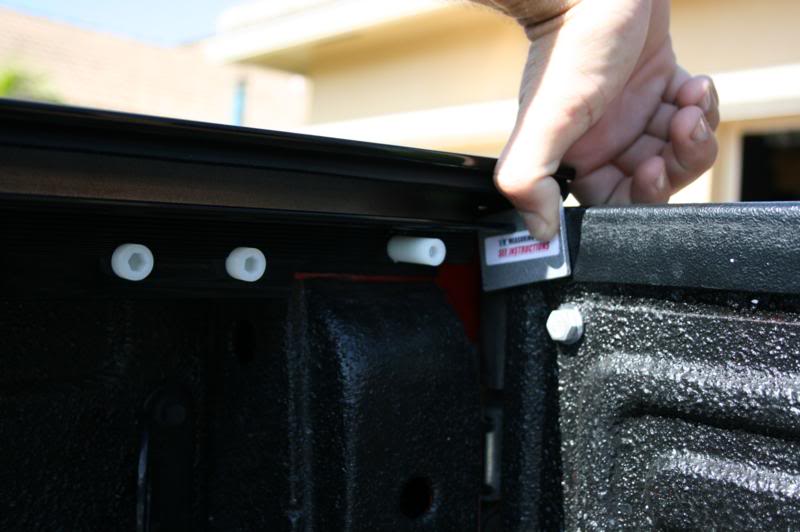
Now use the provided piece of aluminum to get the correct gap on each end.
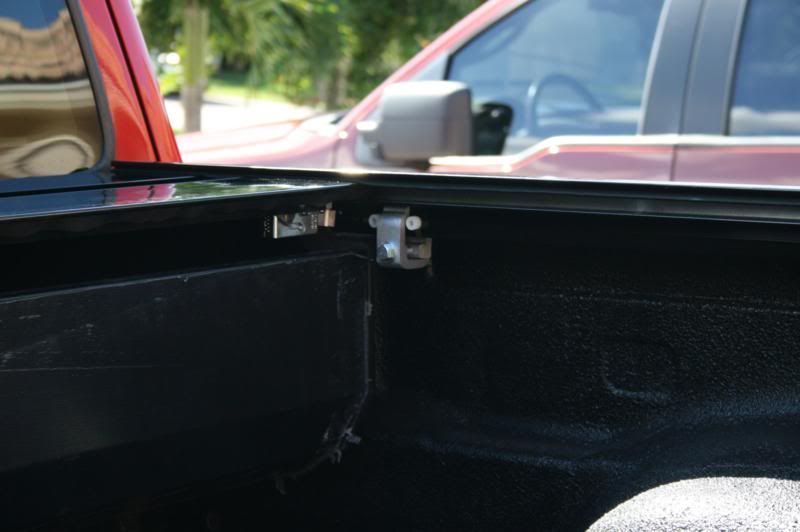
Install the front clamps, placing them in between the two plastic adjustment screws. Be sure that they are pushed all the way up.
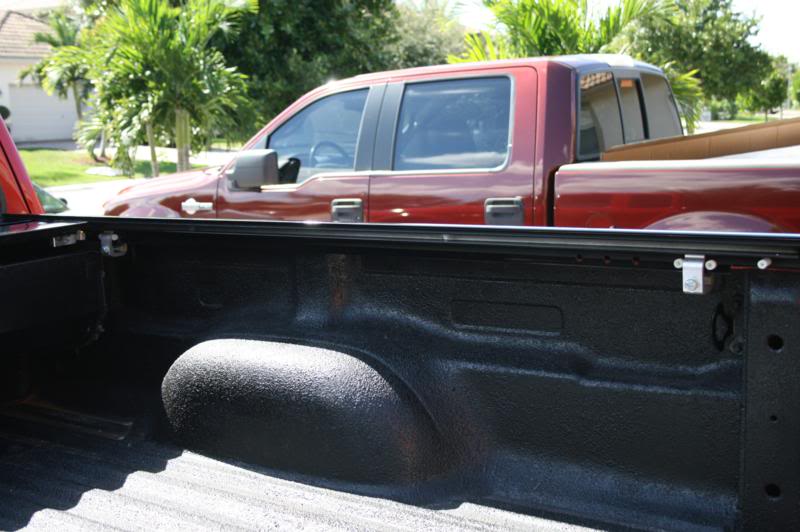
Install the rear clamps also placing them in between the plastic adjustment screws.
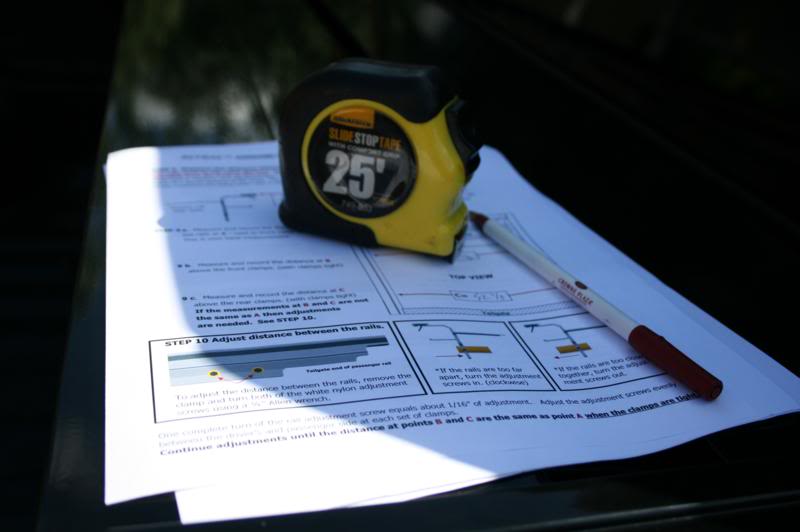
Now we need to measure to make sure the rails are parallel with each other. You will need a tape measure and a pen.
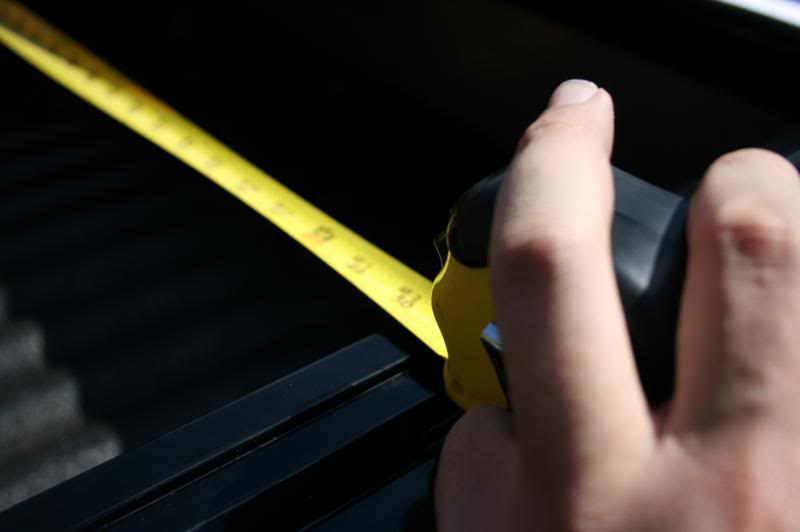
Measure the gap in the three locations noted in the instructions and record the distances. Adjust the plastic adjustment screws as needed. In my installation everything was square and I did not need to adjust them.

You can verify it is adjusted right by rolling the cover closed and looking at the felt strip at the end. The amount of felt exposed on each end should be the same.
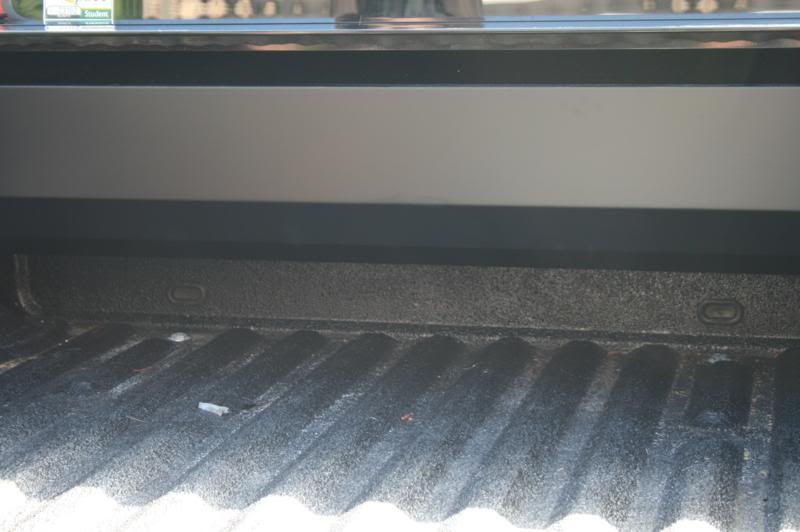
Next remove the protective plastic cling wrap.
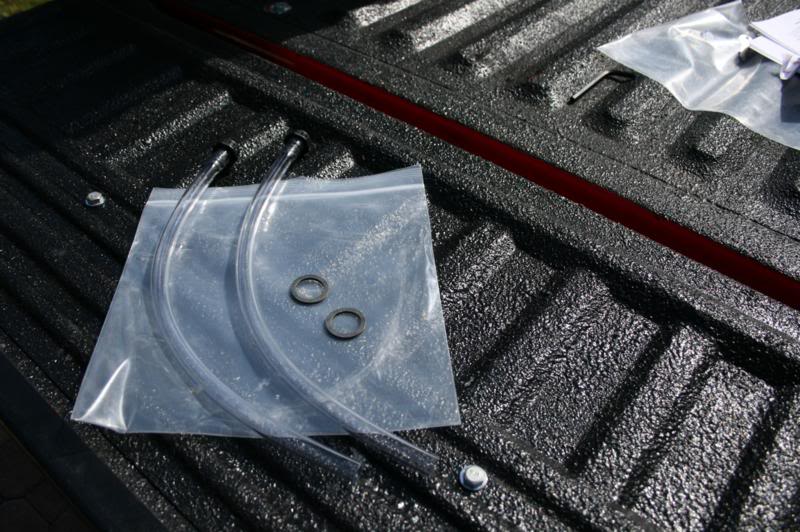
The felt washers need to be installed on the drain tubes.
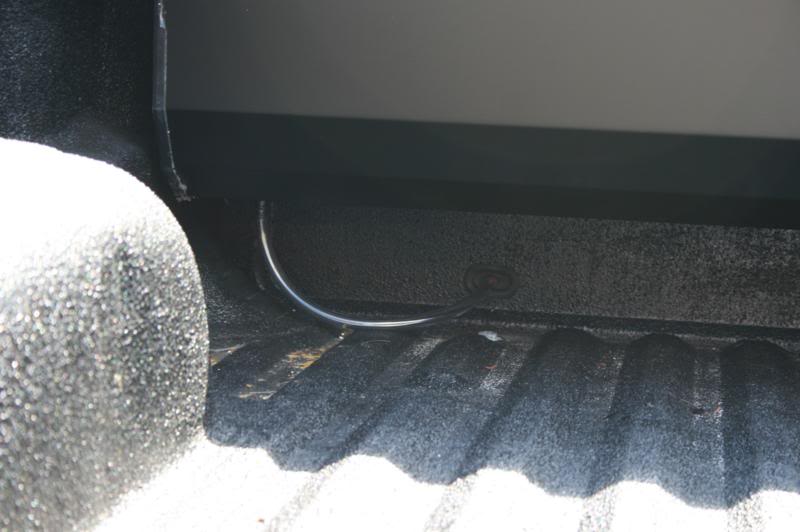
Install the drain tubes and you're done. You may need to drill two small holes in your bed if you don't have any existing ones you can use.
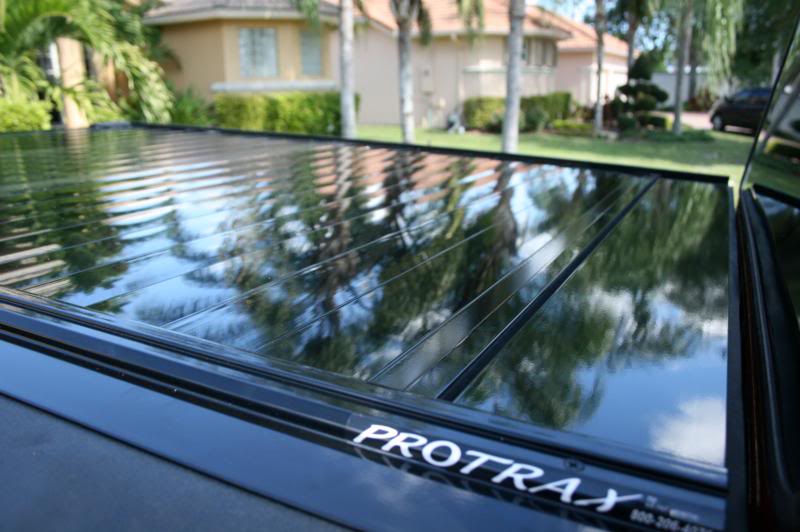
DONE! Enjoy your new cover!
Here is a video showing the operation of the cover and how it locks. You can see you can lock it in any position, unlike most other ones. The cover also locks with a key which stops the handle from lifting. It is unlocked for video purposes.
For more info click the logo below. They also offer the "Retrax" is which a lexan constructed version. It is offered in black, silver, and also a power opening electric version.

Install time is about an hour and you will need a friend to help you. No special tools are needed, all you need is a socket and ratchet for the clamps, a tape measure, and a #2 phillips head screwdriver.
Here is what you're going to see when you open the packages. The canister for the tonneau, two rails, a cover for the canister, instructions, drain tubes, keys, and a box containing clamps and a few pieces of hardware.
The included hardware and drain tubes
Here is a picture of the side of the canister, you can see it is all ball bearings and you can see how it works.
This is a bracket for shipping, it needs to come off.
Remove the phillips head screw.
Now remove it and discard.
Next, the plastic tube needs to come out. Simply pull it out and discard it.
Now repeat on the other side, being careful to not allow the cover to roll inside the canister.
Now it is time to attach the bed rails. Place one rail and the canister on a soft surface to avoid any scratching.
Place the bedrail in place so the tabs align and insert the two provided screws. DO NOT USE LOCTITE.
You can see the tonneau has to be rolled out a little bit too, here is another view of it installed.
Repeat on the other side.
Now install the canister cover.
One phillips head screw on each side. Also DO NOT USE LOCTITE.
Now with the help of a partner lift and place the cover in place making sure it's all the way back.
Now use the provided piece of aluminum to get the correct gap on each end.
Install the front clamps, placing them in between the two plastic adjustment screws. Be sure that they are pushed all the way up.
Install the rear clamps also placing them in between the plastic adjustment screws.
Now we need to measure to make sure the rails are parallel with each other. You will need a tape measure and a pen.
Measure the gap in the three locations noted in the instructions and record the distances. Adjust the plastic adjustment screws as needed. In my installation everything was square and I did not need to adjust them.
You can verify it is adjusted right by rolling the cover closed and looking at the felt strip at the end. The amount of felt exposed on each end should be the same.
Next remove the protective plastic cling wrap.
The felt washers need to be installed on the drain tubes.
Install the drain tubes and you're done. You may need to drill two small holes in your bed if you don't have any existing ones you can use.
DONE! Enjoy your new cover!
Here is a video showing the operation of the cover and how it locks. You can see you can lock it in any position, unlike most other ones. The cover also locks with a key which stops the handle from lifting. It is unlocked for video purposes.
For more info click the logo below. They also offer the "Retrax" is which a lexan constructed version. It is offered in black, silver, and also a power opening electric version.
Last edited by 98liftedranger; Dec 2, 2011 at 08:53 AM.

Thread
Thread Starter
Forum
Replies
Last Post
CADreamin
OLD - Interior, Exterior, Electrical, & Misc.
1
Nov 19, 2012 12:02 PM
korey89
Interior, Exterior, & Electrical
0
Nov 15, 2008 11:55 PM
straightedge
Exterior Semi-Tech
16
Jun 15, 2004 06:51 AM


