
My Low Buck Ranger Build
#1
 10-15-2013


Join Date: May 2013
Location: Columbus, GA
Posts: 152
Likes: 0
Received 0 Likes
on
0 Posts
My Low Buck Ranger Build
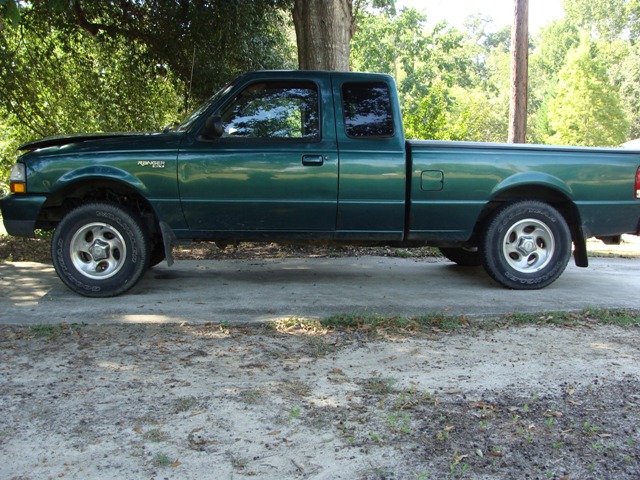
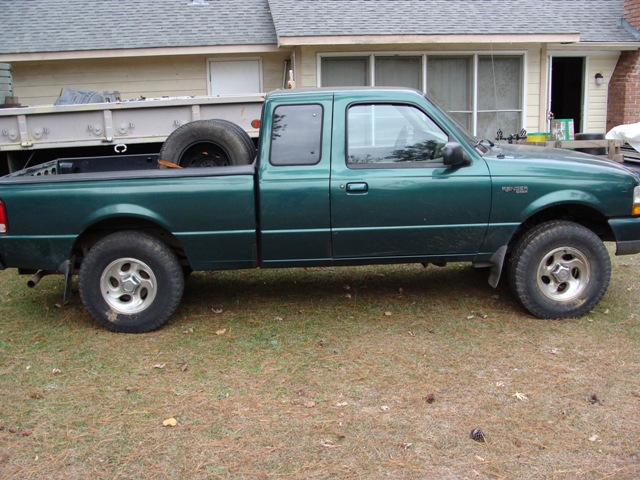
This is my first late model Ranger. I usually get into First Gens. But this one is proving to be worth the time. When I got this Ranger it was rather beat down. The interior was nasty and it ran horrible. It was clear the truck had not been maintained very well. Being since I cannot afford a 4x4 right now I have been using this one in the woods and on the trials. Even with an open diff and no T-case it has gone everywhere I have wanted it to. I have to drive around my friends in jack up 4x4�s when they have to get out and lock in the hubs. I have only gotten stuck once and that was my fault for not paying attention. If I had a traction aid I think I would have gotten out though. So, I am doing to some minor mods to make this truck fit my lifestyle a bit better. I am using a lot of parts and pieces I already have as well as parts from the salvage yards and seeking out good deals on the rest. Plans include an 8.8 swap with a traction aid and disc brakes, minor suspension lift, 31 inch tires and several other mods along the way.
Already done:
I got the truck running good with a tune up and cleaning the intake thoroughly. I installed a new clutch, radiator and several other parts and pieces I noticed needed attention.
Interior:
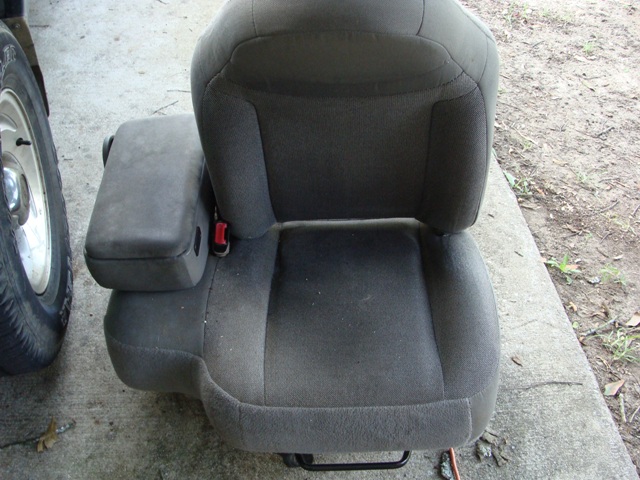
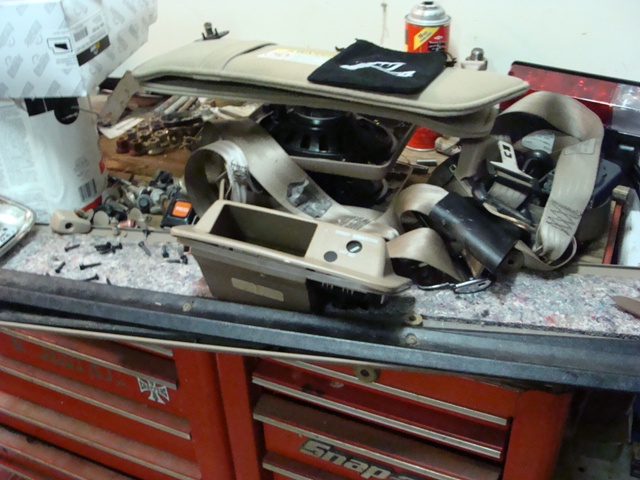
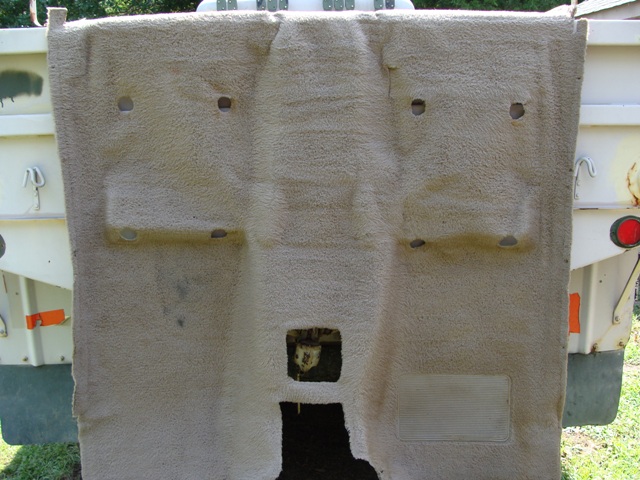
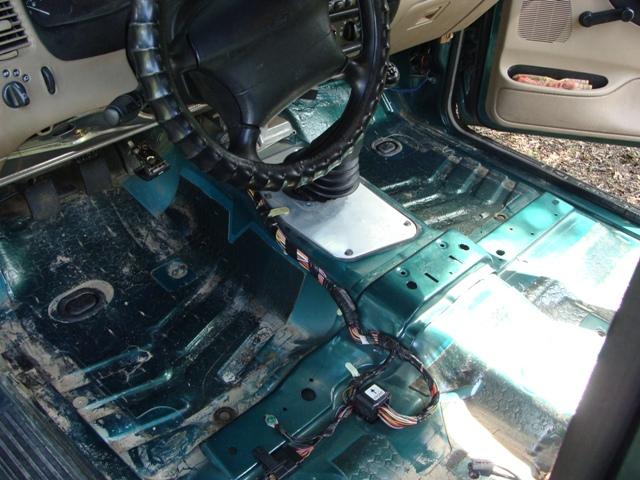
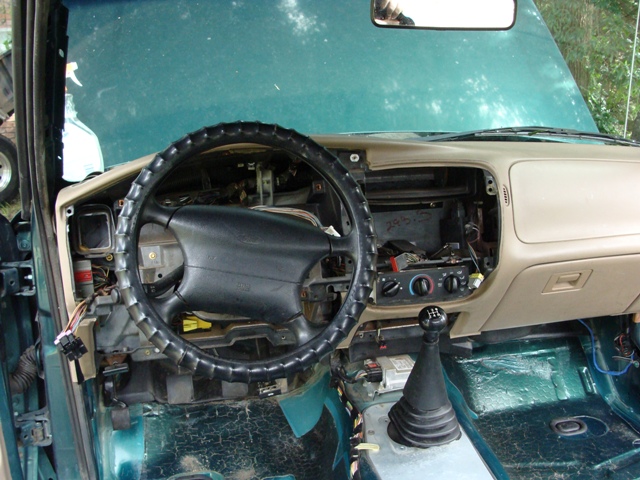
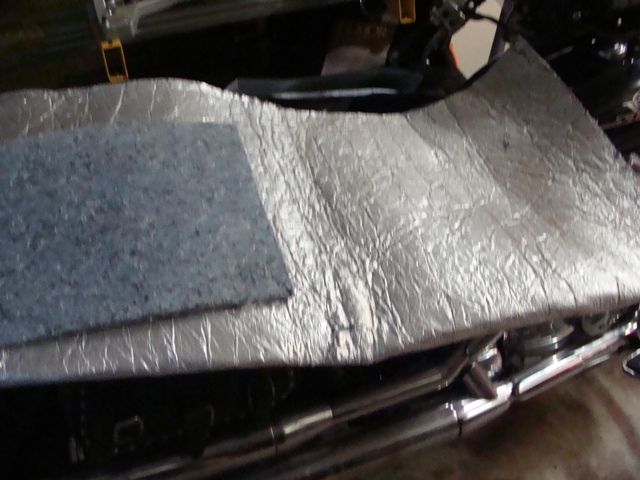
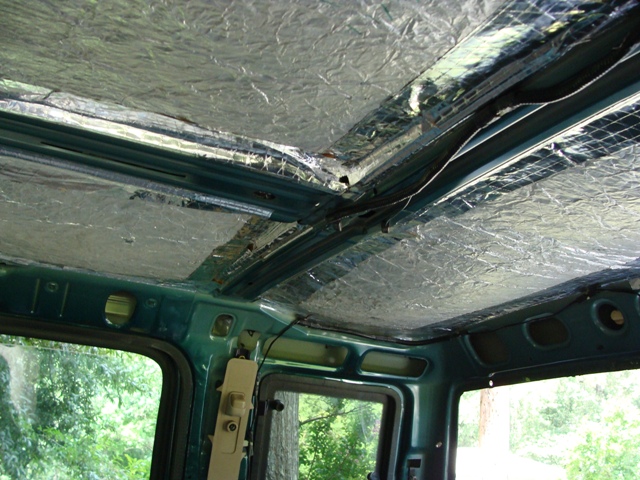
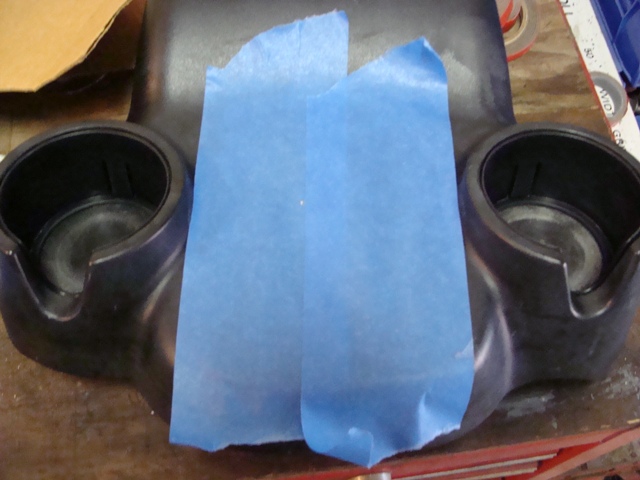
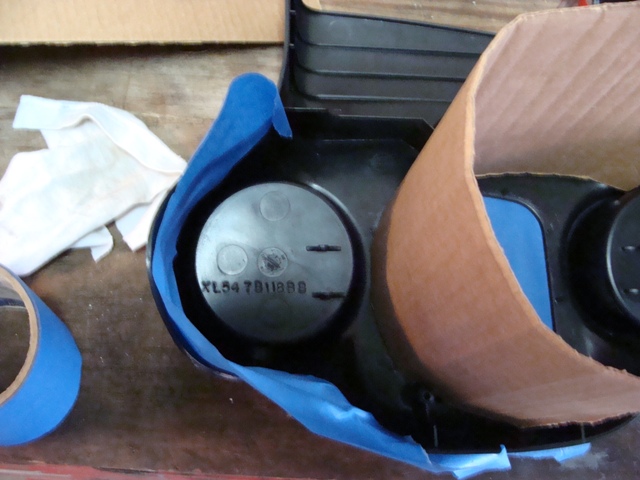
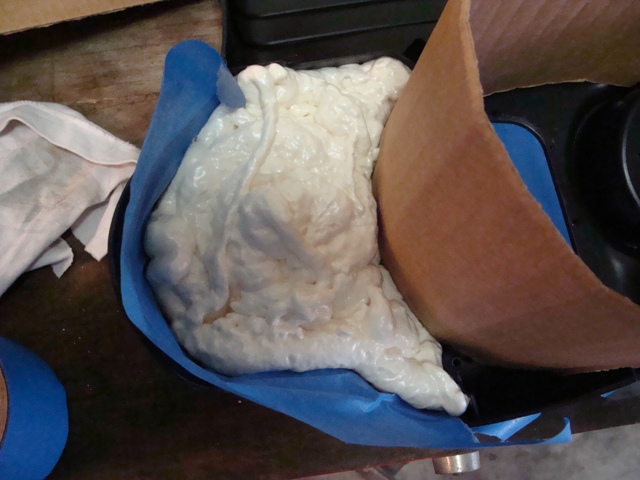
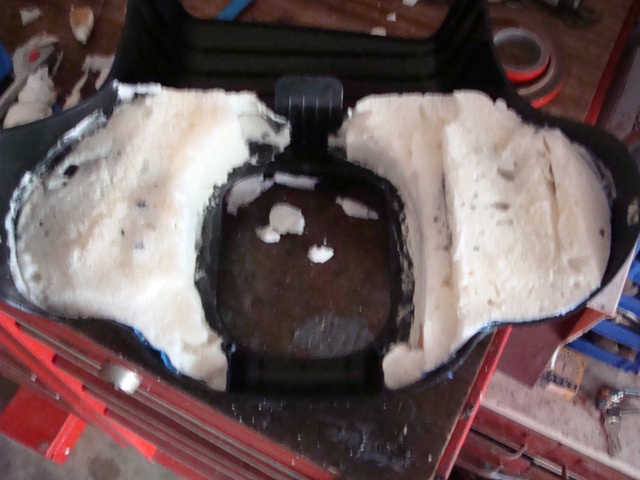
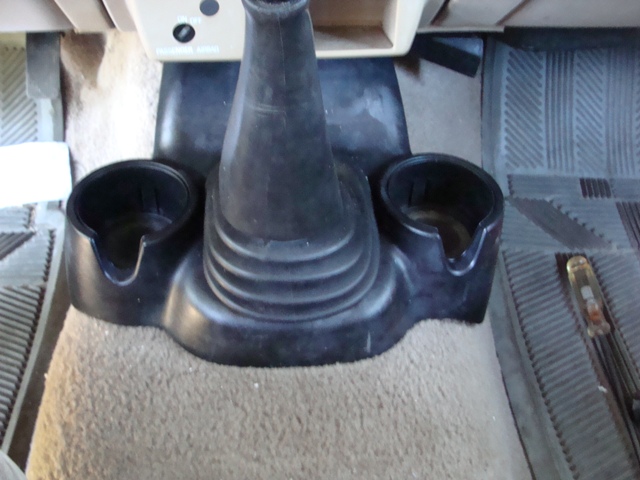
Being since I hate sitting in filth, I started with the interior. The seats were beyond salvage so I stripped the parts I needed off them and scraped the rest. I used a set of Eddie Bauer 95 F150 bucket seats I had laying around. I tore them down to the frames and used the tracks from the Ranger seats. They turned out great. Once I get new seat covers I will post photographs. I gutted the rest of the interior including the dash. I scrubbed, scraped, and disinfected everything. I hung the carpet up and saturated it with a powerful cleaner. After allowing it to soak for a while I sprayed it down and repeated the process until it was clean on both sides. It even smells good now. A couple of days before I started this project a friend of mine accidently busted out the rear window. He replaced it though. While it was out I pulled the headliner and cleaned it as well. While everything was out I insulated everything I could. I had a roll left over from another ranger I did a few years ago. I have no need for a cigarette lighter so I converted mine. I got a 12V cap from a Ranger at the salvage yard and modded the bezel to make it fit. I had to use an O-ring as a spacer but it turned out great. It looks like it came with two 12V outlets from the factory. I also sprayed foam under the cub holder bezel that the shifter goes through. I did this mostly to keep my drinks a little cooler for a little longer. I have noticed it is a little quieter in the truck now. But I think that is also because of the insulation I ran throughout the interior. I have not done the doors yet. That �should� be the final step in the interior portion.
Next, the front suspension, Stay tuned.


Already done:
I got the truck running good with a tune up and cleaning the intake thoroughly. I installed a new clutch, radiator and several other parts and pieces I noticed needed attention.
Interior:
Being since I hate sitting in filth, I started with the interior. The seats were beyond salvage so I stripped the parts I needed off them and scraped the rest. I used a set of Eddie Bauer 95 F150 bucket seats I had laying around. I tore them down to the frames and used the tracks from the Ranger seats. They turned out great. Once I get new seat covers I will post photographs. I gutted the rest of the interior including the dash. I scrubbed, scraped, and disinfected everything. I hung the carpet up and saturated it with a powerful cleaner. After allowing it to soak for a while I sprayed it down and repeated the process until it was clean on both sides. It even smells good now. A couple of days before I started this project a friend of mine accidently busted out the rear window. He replaced it though. While it was out I pulled the headliner and cleaned it as well. While everything was out I insulated everything I could. I had a roll left over from another ranger I did a few years ago. I have no need for a cigarette lighter so I converted mine. I got a 12V cap from a Ranger at the salvage yard and modded the bezel to make it fit. I had to use an O-ring as a spacer but it turned out great. It looks like it came with two 12V outlets from the factory. I also sprayed foam under the cub holder bezel that the shifter goes through. I did this mostly to keep my drinks a little cooler for a little longer. I have noticed it is a little quieter in the truck now. But I think that is also because of the insulation I ran throughout the interior. I have not done the doors yet. That �should� be the final step in the interior portion.
Next, the front suspension, Stay tuned.

#3
10-15-2013
Join Date: May 2013
Location: Columbus, GA
Posts: 152
Likes: 0
Received 0 Likes
on
0 Posts
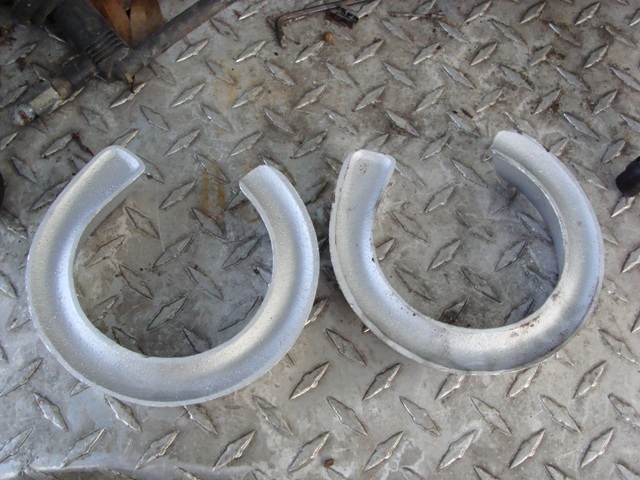
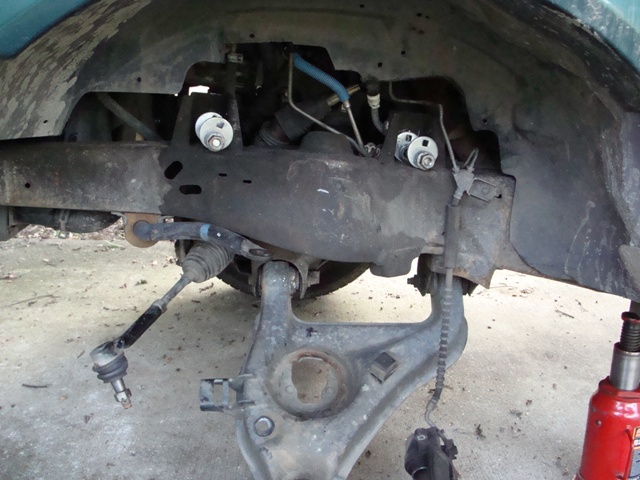
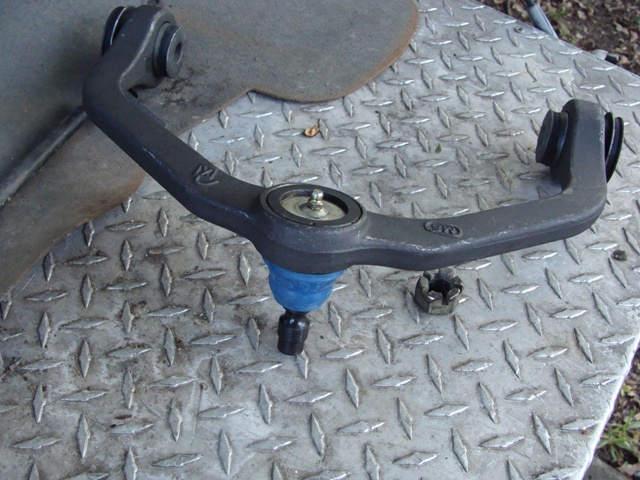
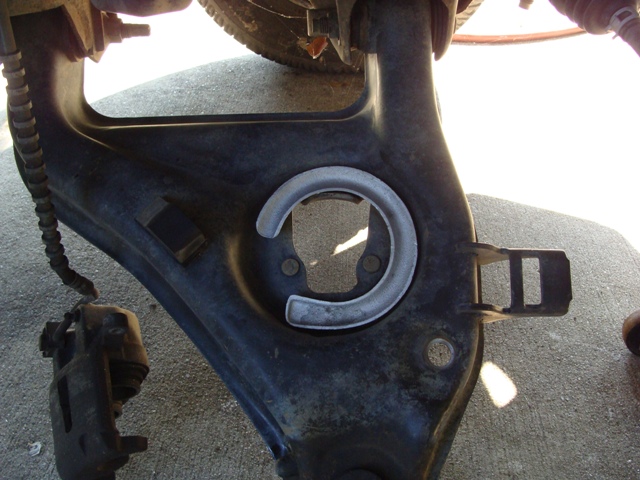
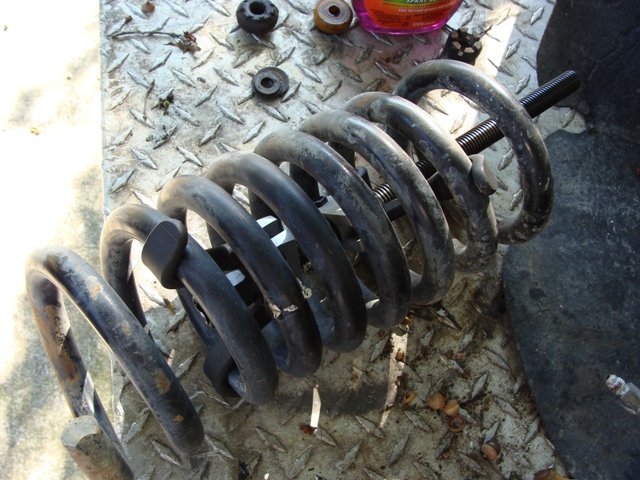
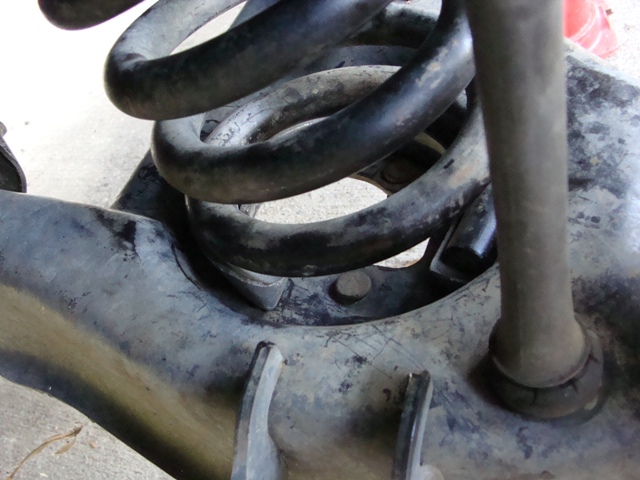
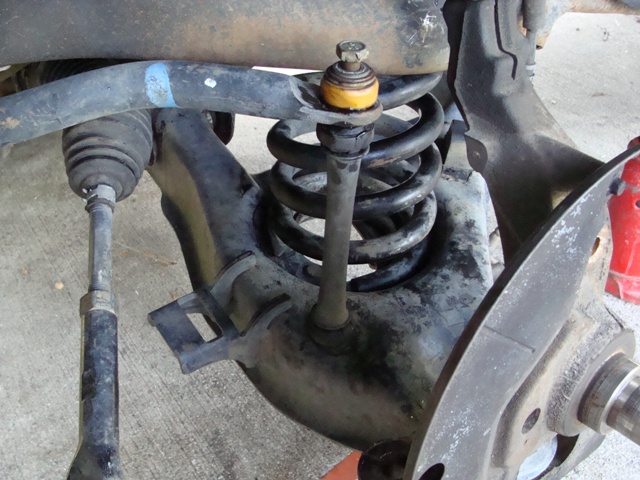
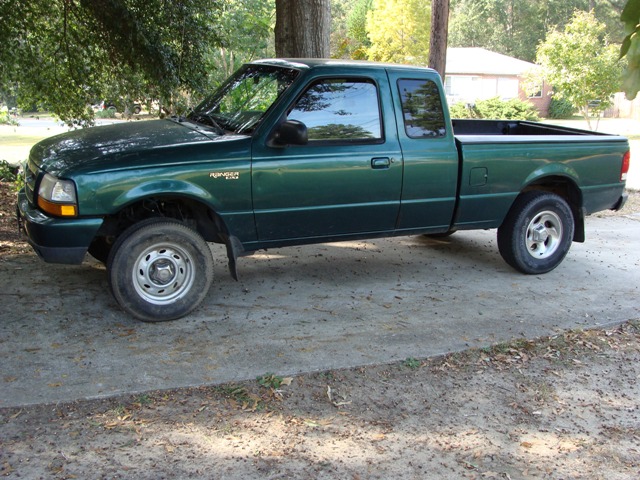
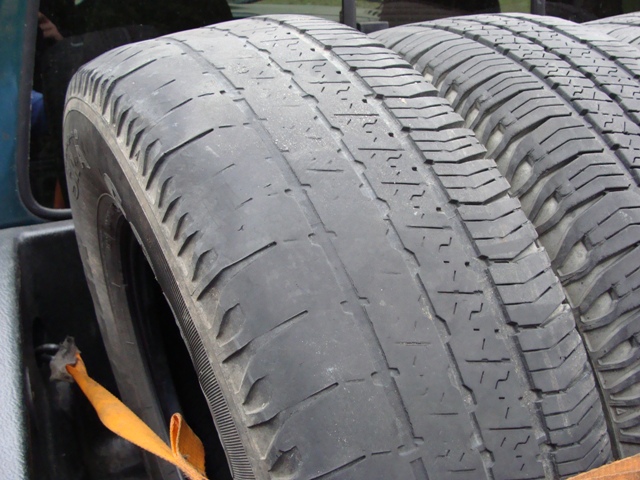
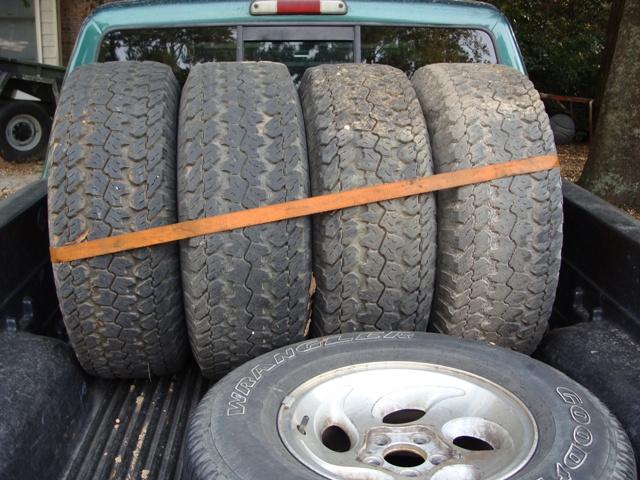
This started because I need tires for the truck but cannot afford a new set. A friend of mine gave me a nice set of 31 inch tires. However, they will not fit. This Ranger sits lower than others like it. It is also the first Ford truck I have owned that is not raked. So, some suspension mods are needed. I bought a cheap two inch kit on line. It sits under the springs and gives me just enough lift to not only clear the 31�s but also gives them room to move off road. The passenger side already has a new Moog upper control arm. The driver side got a new upper control arm few years ago when my buddy owned it. However, he booggered up the knuckle when the original control arm broke. Driving on it over the past fear years in turn, boogered up the ball joint on the upper control arm. I a good used knuckle and warrantied out the upper control arm. Other than the sway bar links, the rest of the front suspension looked good. While at the salvage yard I picked up a few sets of good used sway bar links. I placed the lift spacers in the lower control arm and used a spring compressor to install the spring. After greasing absolutely everything, I could I topped it off with brand new shocks. It gave me the lift I need but I cannot say I like the ride quality. Even though the seller claimed you do not need shock extensions, I think I need to make a set anyway. I am hoping that may clean up the ride a bit. I got it aligned and it drives straight and does will on smooth flat roads. But I dread speed bumps.
Next, first round of bed mods.
Next, first round of bed mods.
#4
10-15-2013
Join Date: May 2013
Location: Columbus, GA
Posts: 152
Likes: 0
Received 0 Likes
on
0 Posts
#5
10-15-2013
Join Date: May 2013
Location: Columbus, GA
Posts: 152
Likes: 0
Received 0 Likes
on
0 Posts
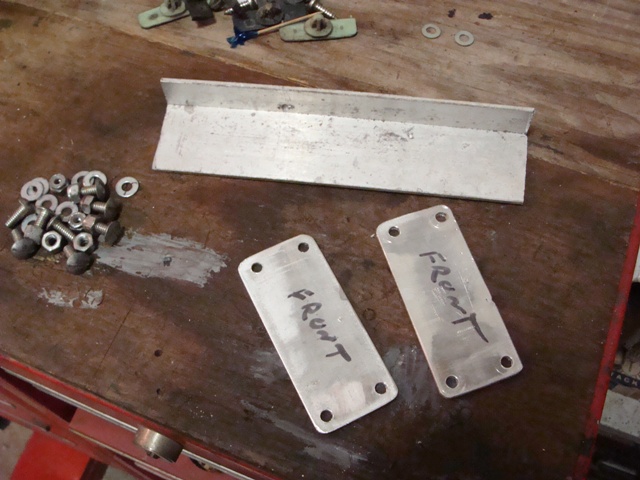
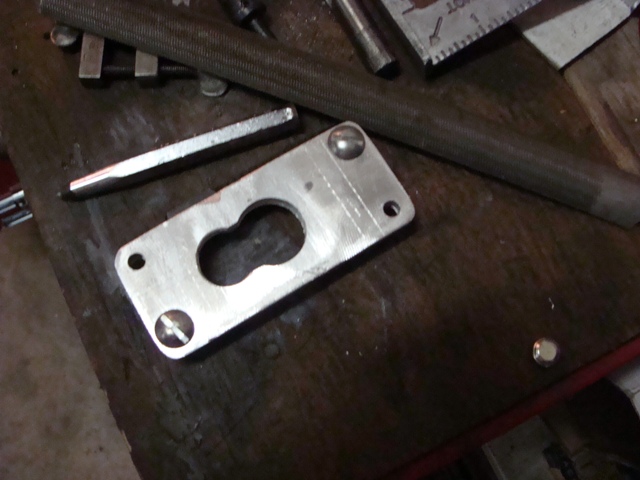
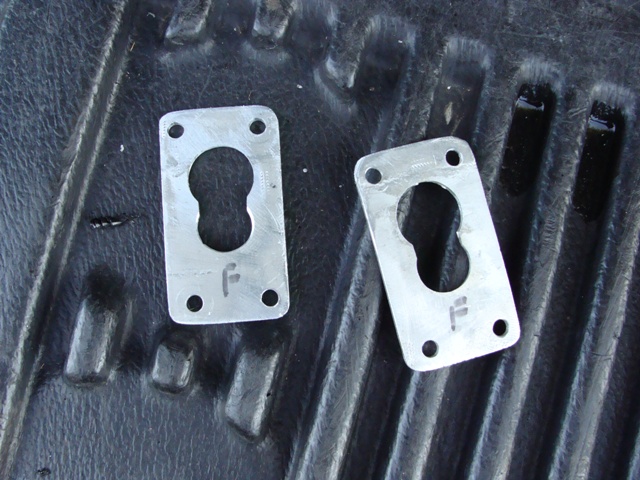
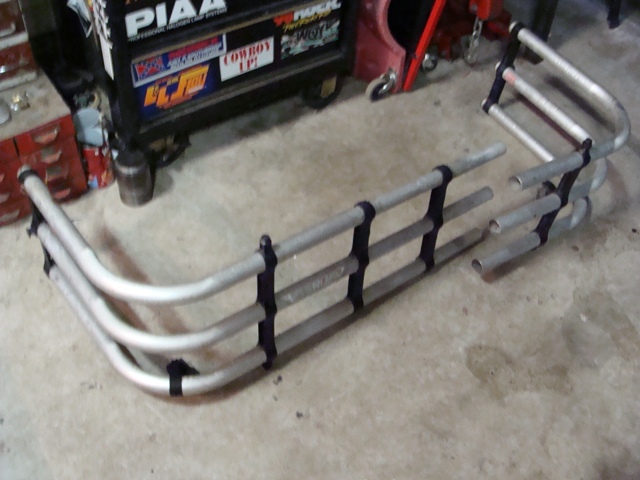
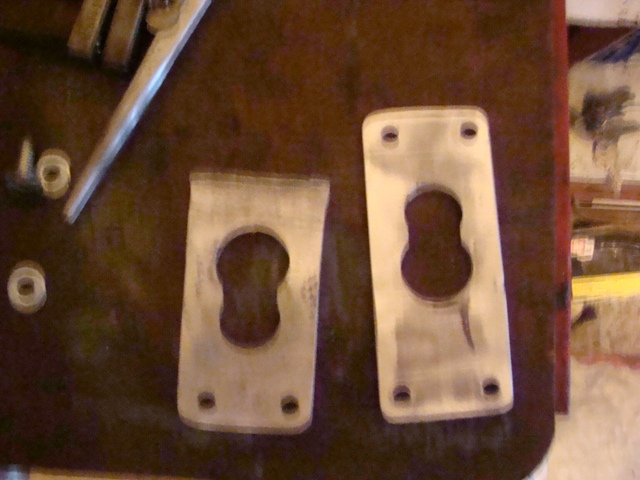
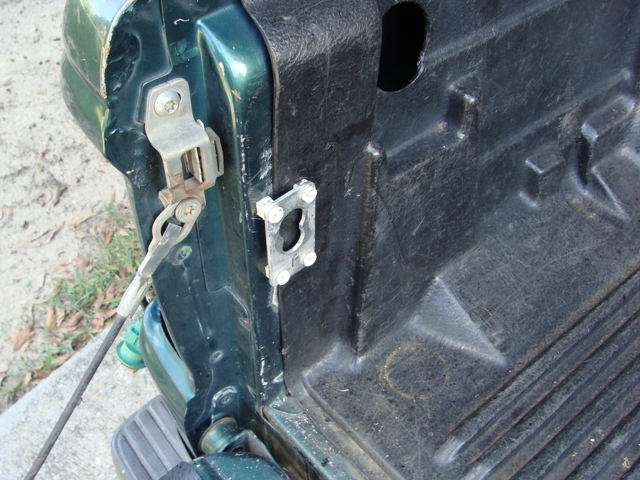
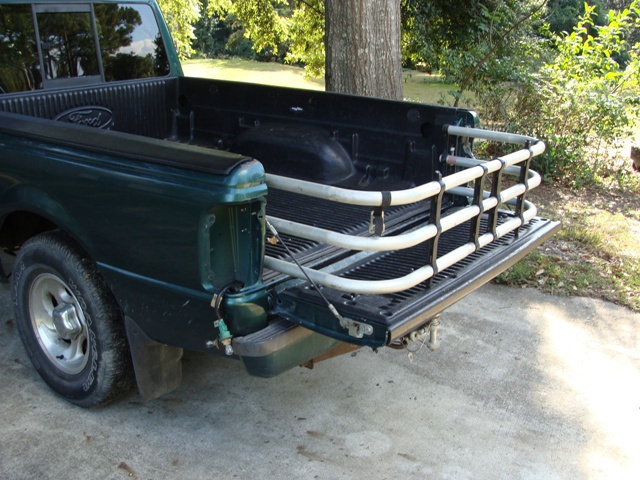
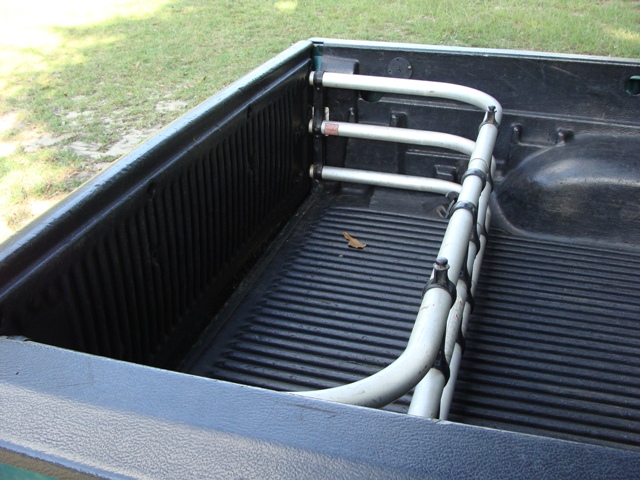
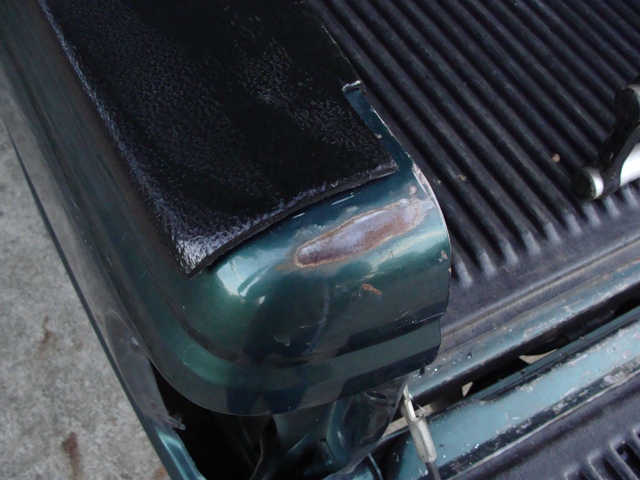
Next I worked on making the bed more functional. I had this bed extender off my old Ranger but it has been sitting around for years. I had no mounting brackets so I figured I would make a set. I used some aluminum angle I had laying around. Once I got them cut to the approximant size I clamped the two pieces together and drilled all the holes. I then took a hand file and cleaned up the edges. My intention was to bend them so they matched the brackets that set that came with it and would look and function like them. However� I learned I cannot bend aluminum to my will. All I did was break one of the pieces. So, instead, I used square nuts as spacers. I am not happy at all with the final product. But I was not going to start over either. They still work, but I prefer a cleaner look. I also gut down the edges of the bed liner. As you can see they had been rubbing the bed for a long time.
#6
10-15-2013
Join Date: May 2013
Location: Columbus, GA
Posts: 152
Likes: 0
Received 0 Likes
on
0 Posts
My first plan was to lower this truck because I have never lowered one. But it looks like I will not be able to get a 4x4 for quite a while.
#7
10-15-2013

#8
10-16-2013
Join Date: May 2013
Location: Columbus, GA
Posts: 152
Likes: 0
Received 0 Likes
on
0 Posts
#9
10-21-2013
Join Date: May 2013
Location: Columbus, GA
Posts: 152
Likes: 0
Received 0 Likes
on
0 Posts
I tackled the rear leaf springs on my one day off. I spent half the day in a salvage yard looking for an Explore that already had the rear end pulled so it would be easier. Right when I was about to call it, I found the perfect candidate. I gave the counter man $40. But, I got a lot of other miscellaneous stuff as well. So I am not sure what I have in the springs. I can say I have less than $65 total in everything I needed to left the truck though. That does not include worn out suspension parts I had to replace anyway.
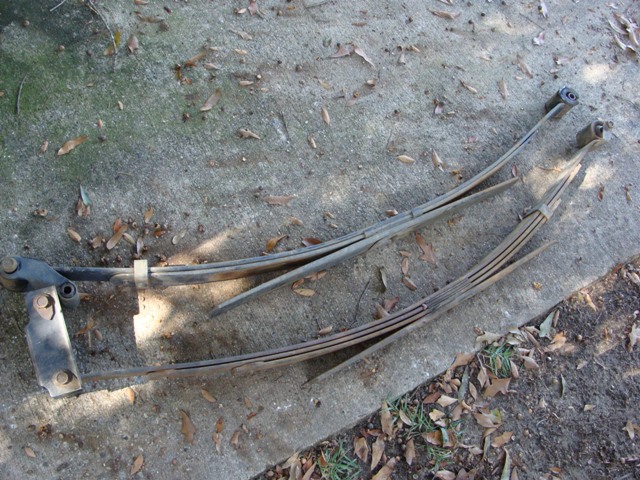
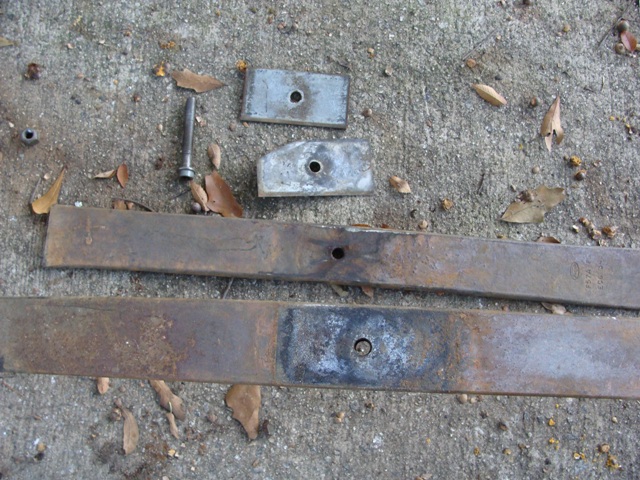
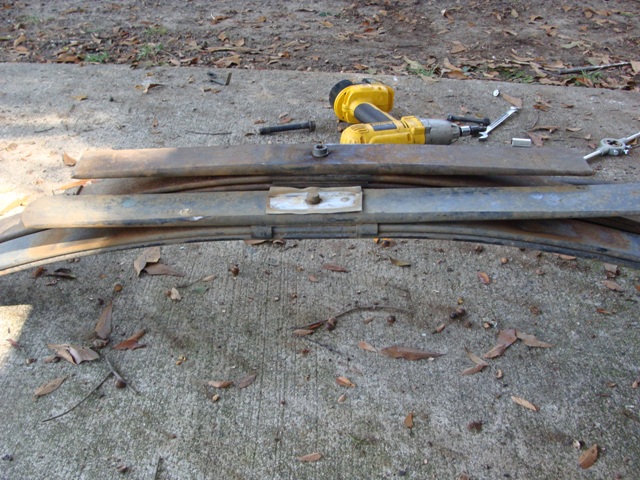
Okay, I stated with a set of good looking springs out of a later model Explorer. As you can see they are taller and have one more leaf than the Ranger spring packs. I need that extra leaf. If I throw more than three bags of feed in the back of the truck it sags. The stock packs were too soft, sat too low, and were too soft. Plus, the bushings were worn out and it squeaked on every single damn bump. No matter how small.
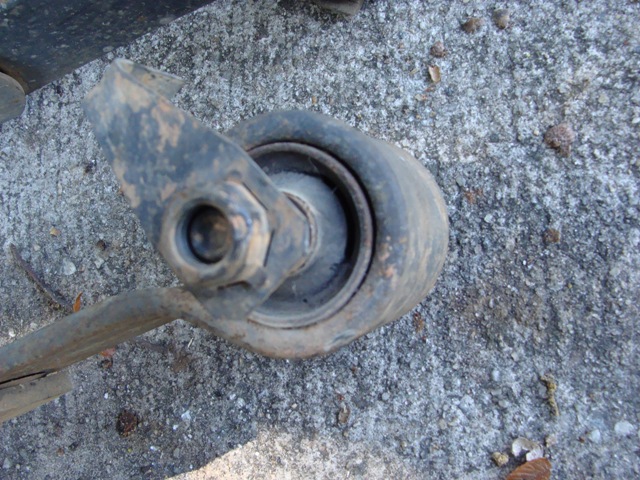
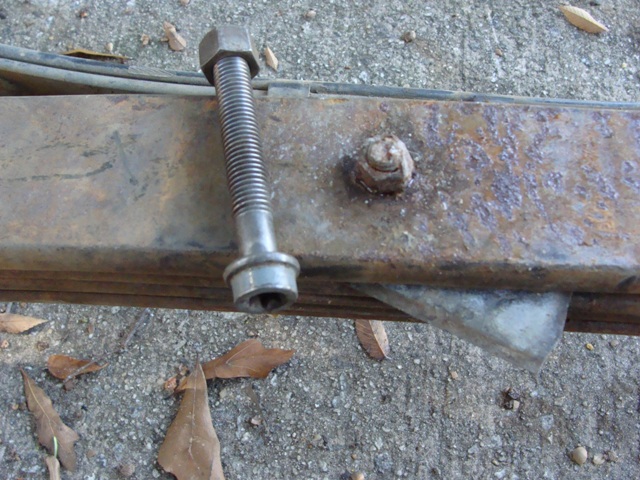
The first thing I had to do was reverse the center pin to a spring under configuration. I just happen to have the perfect bolts for the job. I use 2.9 head bolts whenever I need a new center pin. I usually use them on one ton springs so I was not sure if they would work on these. They did work great just like the other times. The round head fits in the alignment hole on the spring perch and the shank fits the holes in the leaves. I had to use a stone bit to clean up the burrs in the spring perch so the head would fit. And I used a drill bit to do the same in the leaves. I did not drill out the holes, just cleaned them up for a smooth fit. I leave the bolts long in case I want to add something later. I used a step bit to drill out the alignment plate that sits on top of the packs. I drilled just enough for the bolt to fit snuggly and keep everything with in speck.
I inspected the leaves and did not find any cracks or deformities. The bushing are a bit worn but not worn out. When I do the rear end swap I will a new set. I used the Ranger shackle because the Explorer used a different configuration.
The Explorer packs actually gave it more lift that I thought. I am not complaining, I think it turned out great. I should have no issue installing the 31 inch tires and hauling feed and supplies now.
Ride report is next.

Okay, I stated with a set of good looking springs out of a later model Explorer. As you can see they are taller and have one more leaf than the Ranger spring packs. I need that extra leaf. If I throw more than three bags of feed in the back of the truck it sags. The stock packs were too soft, sat too low, and were too soft. Plus, the bushings were worn out and it squeaked on every single damn bump. No matter how small.
The first thing I had to do was reverse the center pin to a spring under configuration. I just happen to have the perfect bolts for the job. I use 2.9 head bolts whenever I need a new center pin. I usually use them on one ton springs so I was not sure if they would work on these. They did work great just like the other times. The round head fits in the alignment hole on the spring perch and the shank fits the holes in the leaves. I had to use a stone bit to clean up the burrs in the spring perch so the head would fit. And I used a drill bit to do the same in the leaves. I did not drill out the holes, just cleaned them up for a smooth fit. I leave the bolts long in case I want to add something later. I used a step bit to drill out the alignment plate that sits on top of the packs. I drilled just enough for the bolt to fit snuggly and keep everything with in speck.
I inspected the leaves and did not find any cracks or deformities. The bushing are a bit worn but not worn out. When I do the rear end swap I will a new set. I used the Ranger shackle because the Explorer used a different configuration.
The Explorer packs actually gave it more lift that I thought. I am not complaining, I think it turned out great. I should have no issue installing the 31 inch tires and hauling feed and supplies now.
Ride report is next.
#10
10-21-2013
Join Date: May 2013
Location: Columbus, GA
Posts: 152
Likes: 0
Received 0 Likes
on
0 Posts
Ride report
The first thing I noticed is the springiness from the front lift has been reduced a lot. I am guessing the rear is now applying leverage on the front so it calmed down the bounce. The whole truck feels stiffer now. But hat is to be expected. It feels better I think. The previous suspension was just too soft. All in all the truck rides great and handles fine. I have not haled anything yet, but I can already feel a big difference. So I suspect it will handle about 10bags of feed without much of an issue.
Next I hope to address the rims.
#11
10-28-2013
Join Date: May 2013
Location: Columbus, GA
Posts: 152
Likes: 0
Received 0 Likes
on
0 Posts
#12
11-04-2013
Join Date: May 2013
Location: Columbus, GA
Posts: 152
Likes: 0
Received 0 Likes
on
0 Posts
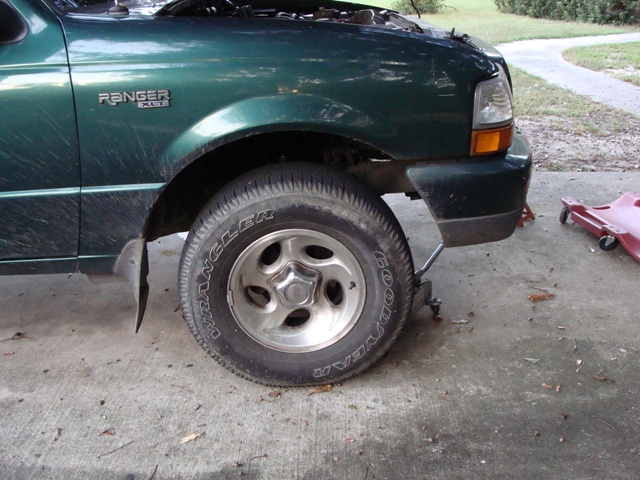
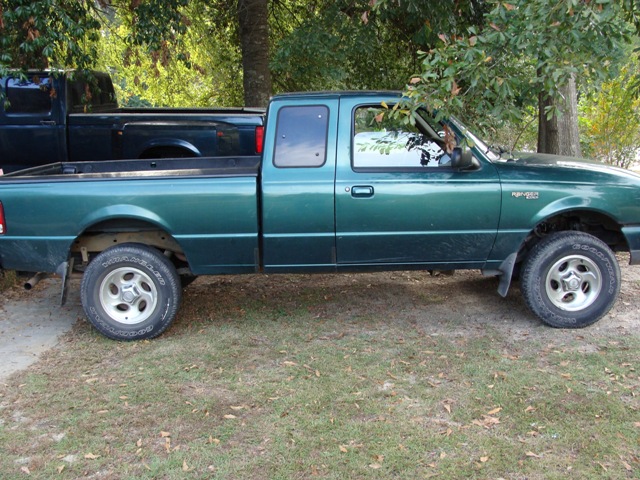
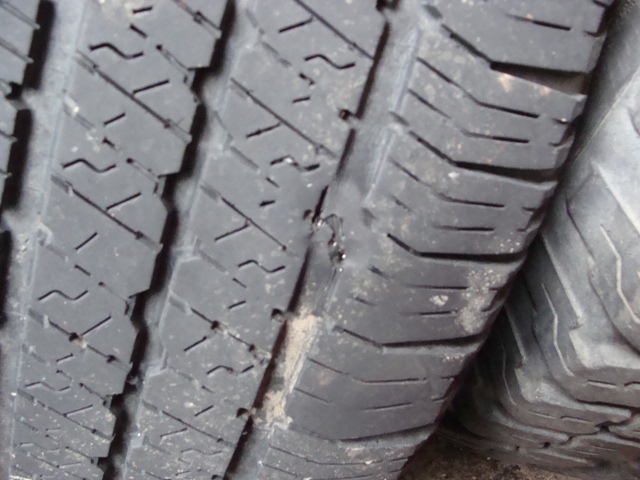
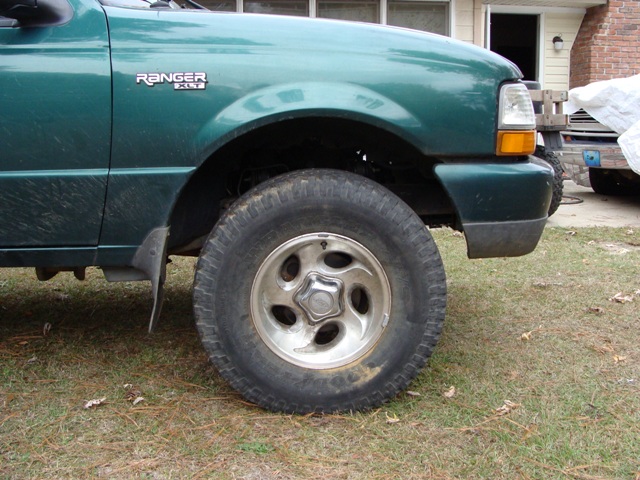
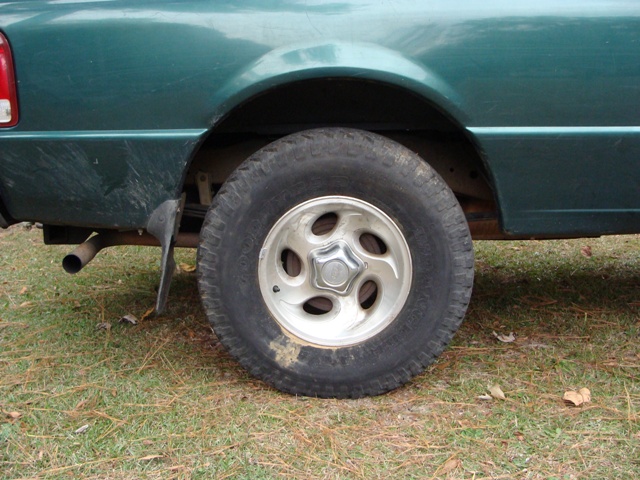
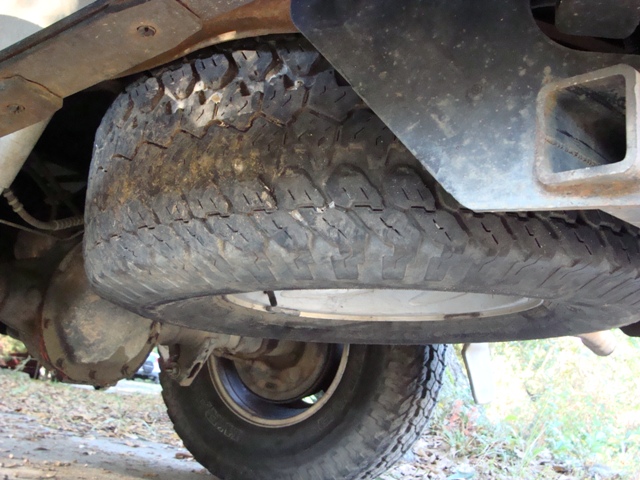
Well, I could not wait any long the get the tires done. The front tire was patched some time back and I knew it would not hold forever. Plus two of the rear tires had some uneven wear from a messed up alignment. I was hoping to paint the rims before I installed the new tires. That way I did not have to worry about masking. I will come up with something for the rims at a later date. I think the tires fit great. Even the matching spare tie fits under the truck perfectly.
#13
11-04-2013
Join Date: May 2013
Location: Columbus, GA
Posts: 152
Likes: 0
Received 0 Likes
on
0 Posts

#15
11-05-2013
Join Date: May 2013
Location: Columbus, GA
Posts: 152
Likes: 0
Received 0 Likes
on
0 Posts
#16
11-05-2013


#17
11-05-2013
Join Date: May 2013
Location: Columbus, GA
Posts: 152
Likes: 0
Received 0 Likes
on
0 Posts
#19
11-12-2013
Join Date: May 2013
Location: Columbus, GA
Posts: 152
Likes: 0
Received 0 Likes
on
0 Posts
#20
11-19-2013
Join Date: May 2013
Location: Columbus, GA
Posts: 152
Likes: 0
Received 0 Likes
on
0 Posts
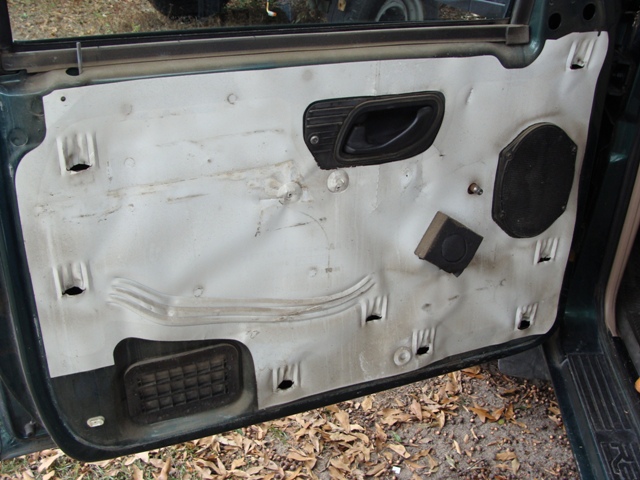
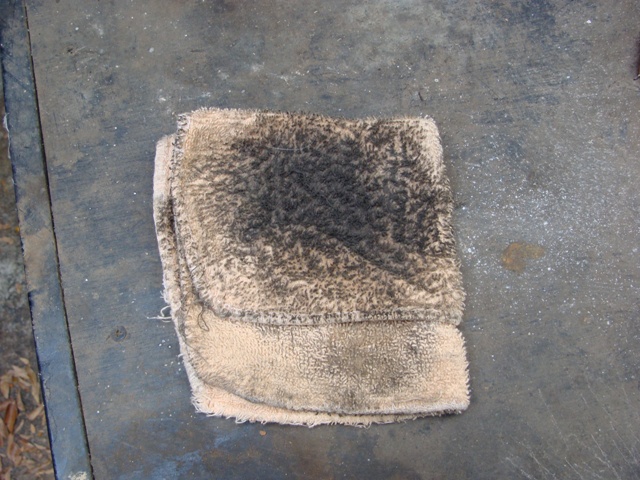
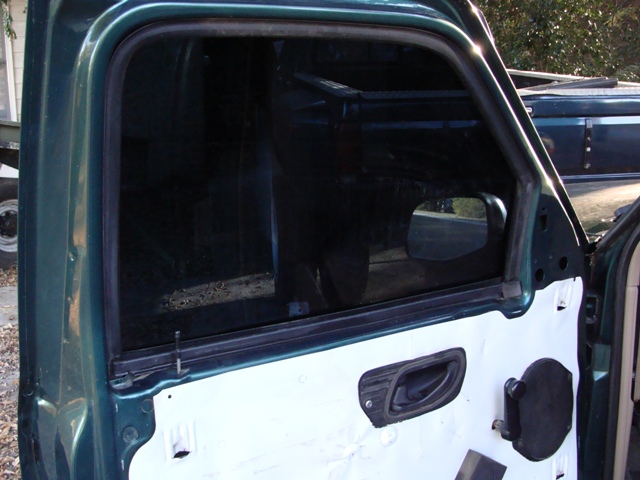
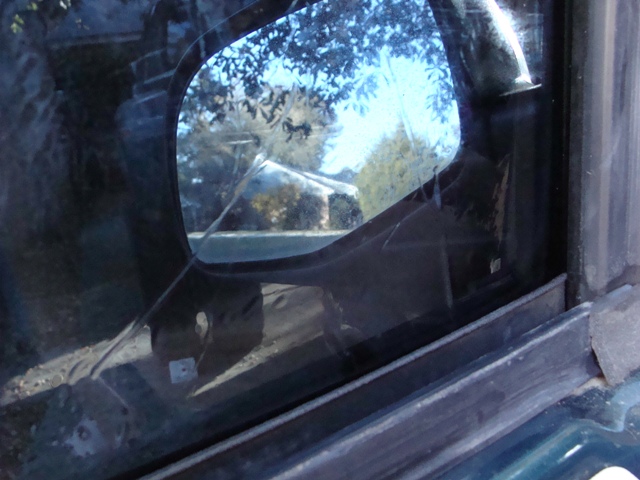
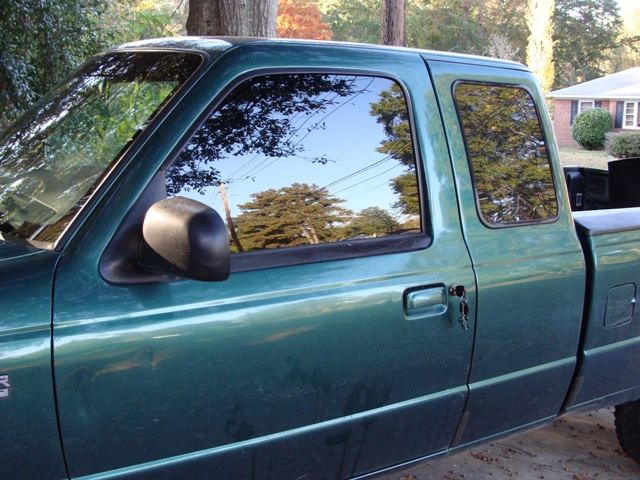
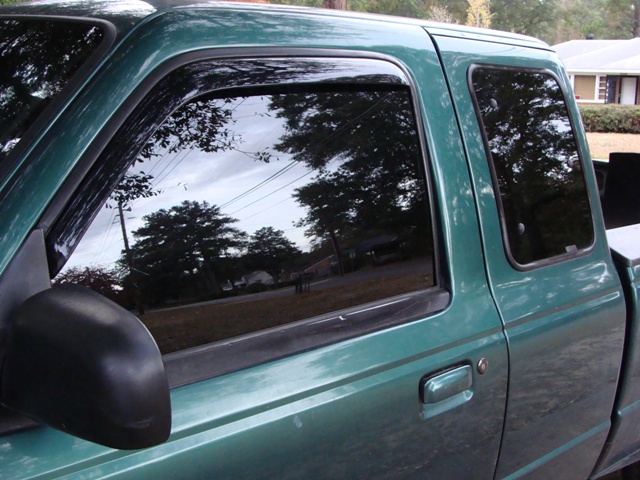
I figured I would try my hand at tinting my own windows. I learned I suck very much bad at tinting. If you are a professional window tinter I have much respect for you. You must have patience of a saint and hands of a surgeon to do it. I started by pulling the door panels and cleaning them thoroughly. As you can see by the rag, both sides were pretty nasty. The first window was the driver’s side and it was a challenge. As you can see, I messed it up. I will scrape it off at a later date and try it again. When I went to do the other side, things went more smoothly. Right up until I dropped it in the dirt. Not happy, not happy at all. I said words I still do not know the meaning of. So I had to buy another roll of tint. Again, not happy. Because I like to leave the windows cracked I figured now would be a good time to install some Vent Visors. Now I will not be greeted by wet seats when I forget to roll them up.
#21
01-10-2014
Join Date: May 2013
Location: Columbus, GA
Posts: 152
Likes: 0
Received 0 Likes
on
0 Posts
Update.
I have not had much time to wrap up this build lately. I was planning on getting the last few things I needed and getting it done. However, on my return trip from north GA I dropped number five and six cylinders. It sounds like the problem is in the top end but I am planning for the worse. I was actually kicking around the idea of a re-ring for this engine and going through the tranny just for good measure. It looks as though my mind was made up for me now. Stay tuned for some engine repairs and while I am in there some mods as well.
I have not had much time to wrap up this build lately. I was planning on getting the last few things I needed and getting it done. However, on my return trip from north GA I dropped number five and six cylinders. It sounds like the problem is in the top end but I am planning for the worse. I was actually kicking around the idea of a re-ring for this engine and going through the tranny just for good measure. It looks as though my mind was made up for me now. Stay tuned for some engine repairs and while I am in there some mods as well.
#22
02-13-2014
Join Date: May 2013
Location: Columbus, GA
Posts: 152
Likes: 0
Received 0 Likes
on
0 Posts
Turns out this project is not dead after all. I was going to trade this ranger for an F150 a buddy has. But complication with the final deal had me go back and revisit repairing the truck. Good news it all the cylinders have great compression still. So I believe the problem is in the top end alone. Now, past ventures taught me that I should do both the bottom and top together. But as the title implies, this is a low buck build. I just do not have the money to go through the whole engine and do all the mods I had in mind. So, I will be pulling the top end and go through it. I have priced the parts I need and has long as the heads are goo this is not going to be all that costly.

Thread
Thread Starter
Forum
Replies
Last Post
theclimax
General Ford Ranger Discussion
24
11-29-2005 09:51 PM


