How-To: Tint Your Headlights
#1
How-To: Tint Your Headlights
How-To author: Korey89
Original thread: https://www.ranger-forums.com/f59/ho...dlights-97105/
Let the modding Begin!!
_________________________
Here is how to tint your headlights the right way.
First step was going to Rvinyl and ordering their headlight tint kit. For this installation I used "light smoke" film since I wanted a subtle look, but they also offer a "dark smoke", a blue, yellow, and a clear protection film. All come in the same precut pieces as the ones in this tutorial, they also have the kit for the different year trucks too. Here is a link to all their products for our trucks ranger .
Now for the installation all you need is the products from Rvinyl that are shown in the tutorial, and a heatgun (hairdryer will work) and a fresh razor blade maybe.
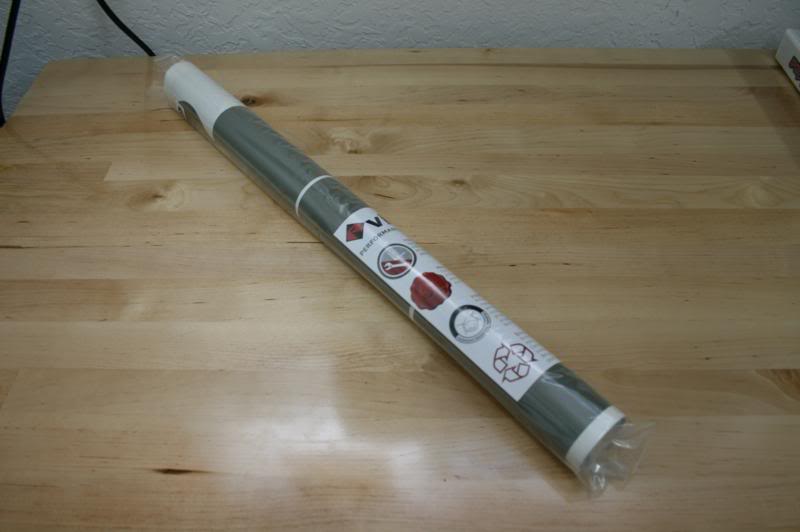
First thing we need is the film itself.
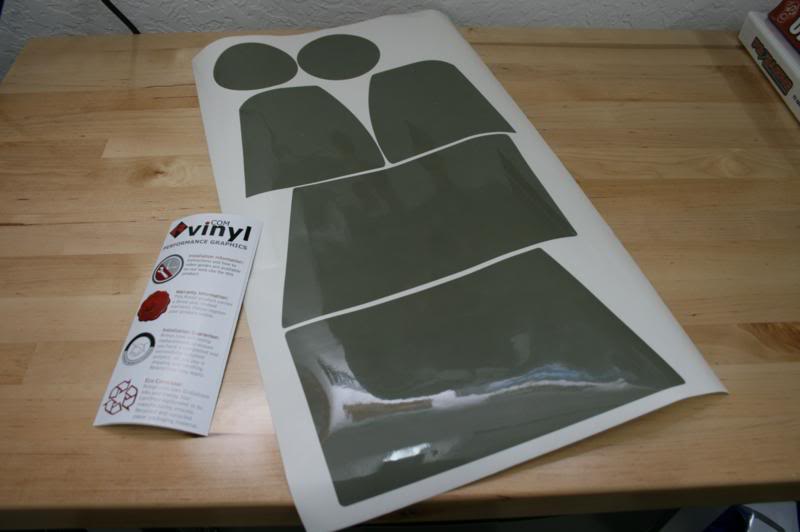
Here is what it looks like, everything is precut and ready to go. You can't tell in the picture but the holes for the little alignment nipples on the headlights are also cut out, the pieces just haven't been removed.
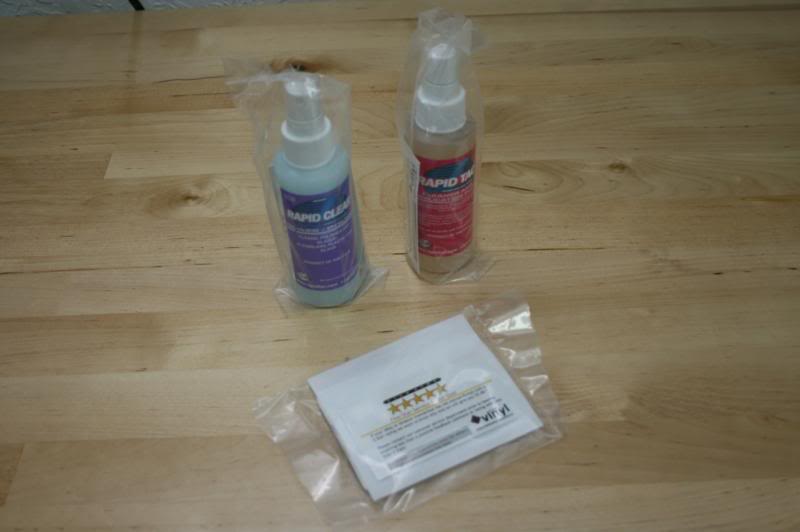
Supplies you need from Rvinyl. Squeegee with friction sleeve, Rapid Tac, and Rapid Clear.
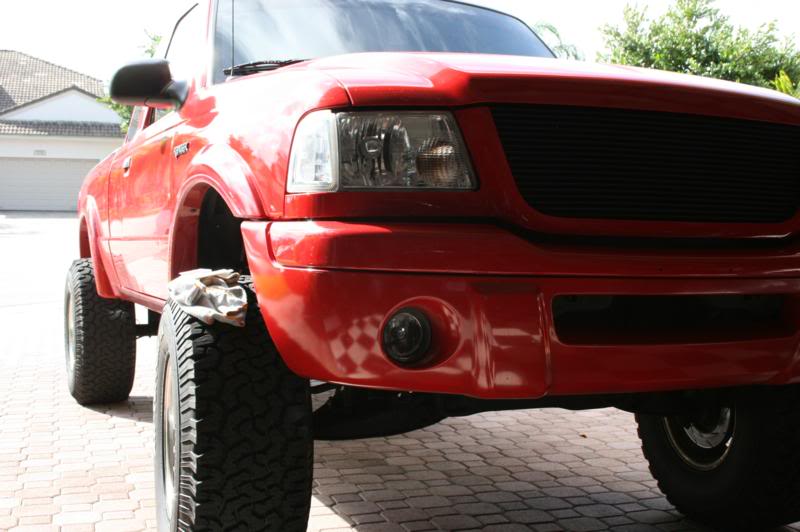
Now that we have everything we need put the truck somewhere so that where you are working is in the shade, it makes it a little easier since the Rapid Tac wont evaporate as quickly if you work slow.
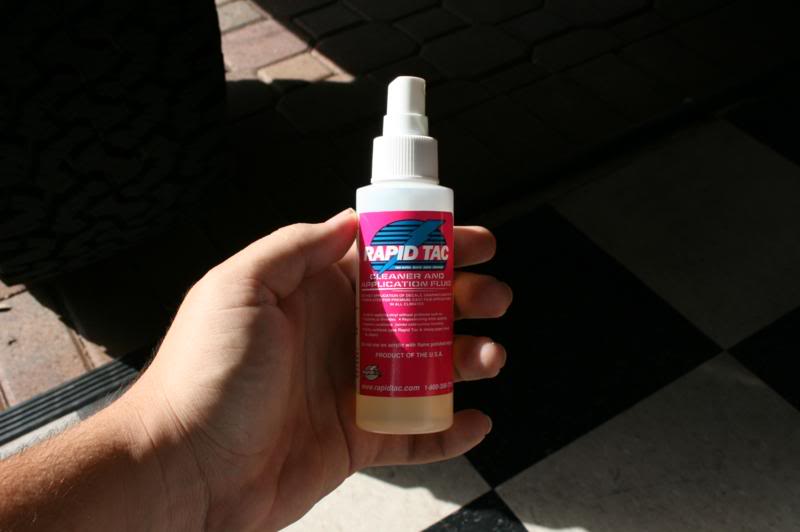
Now we need to clean the lights, the Rapid Tac works good for that.
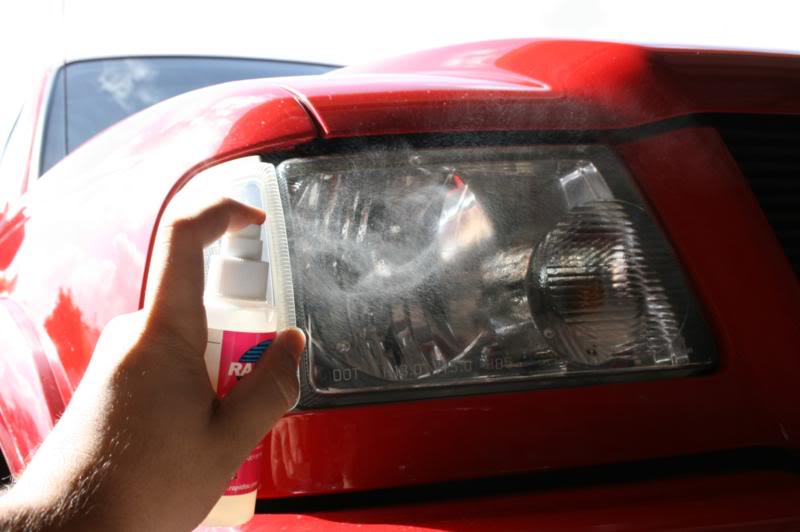
Spray it on your lights.
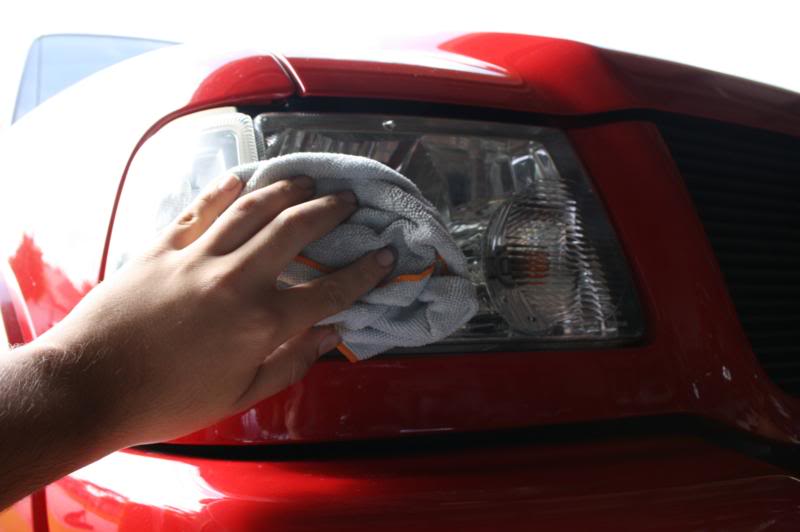
Wipe it off.

Now make sure you start with your foglights as they are the easiest to do. First thing you need to do is spray them with more Rapid Tac.
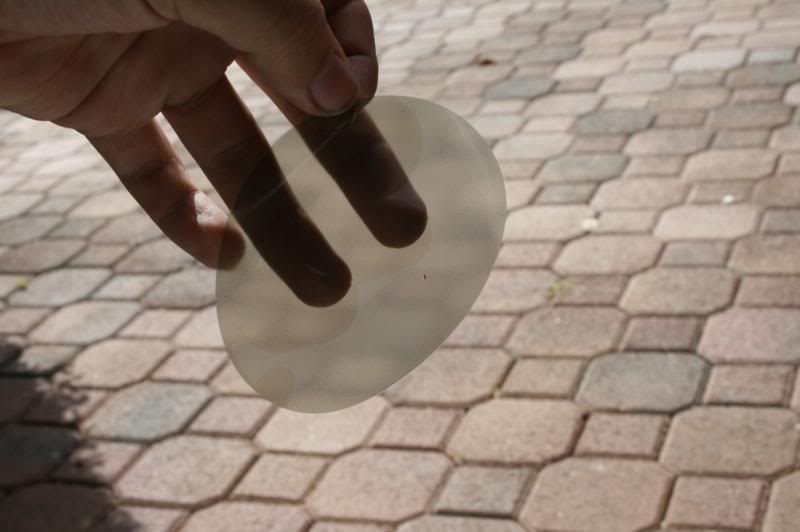
Peel off the fog light film.

Spray the sticky side with Rapid Tac.
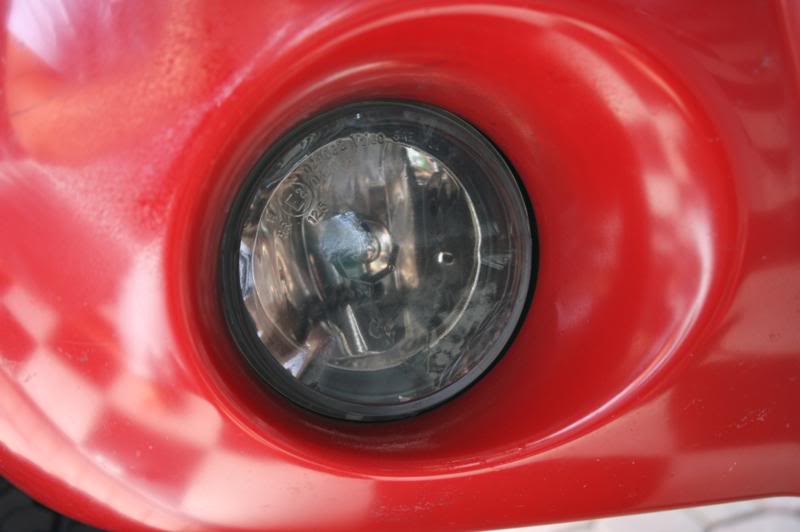
Now put it on and get in centered.
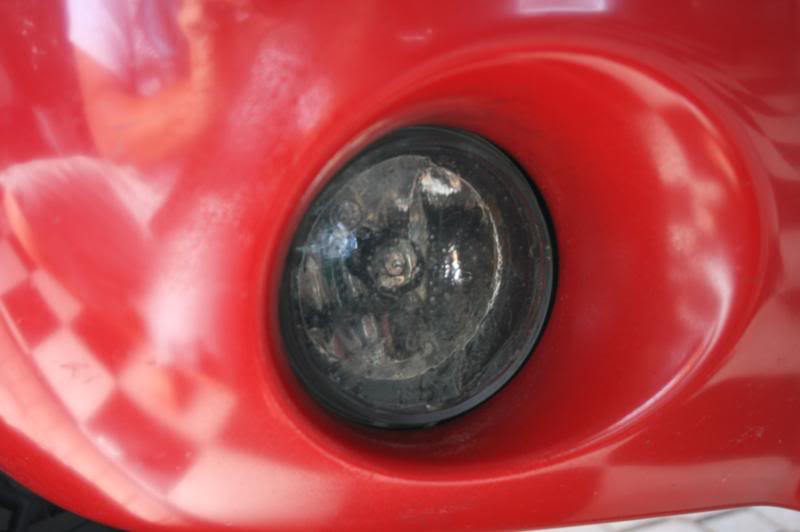
Spray more Rapid Tac on the outside of it.
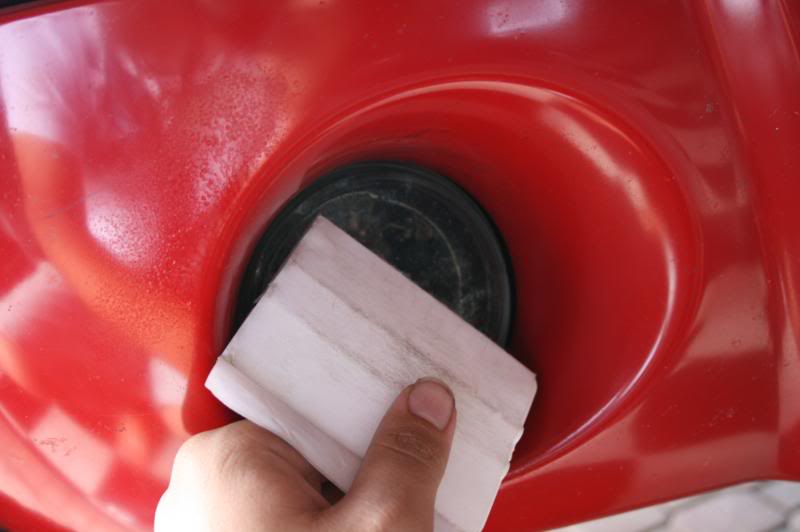
Now squeegee out the bubbles working from the center out.
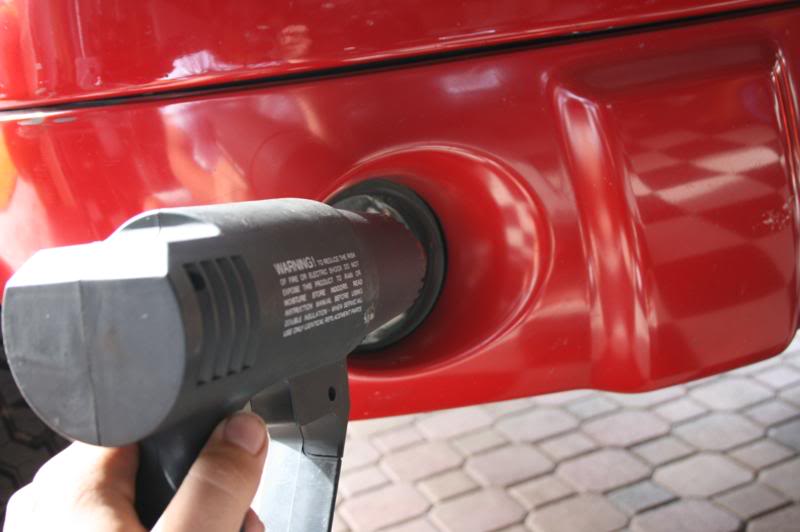
Since the glass is convex in shape, the film will not want to be flat on it. There will be some little bubbles on the edges. Take your heat gun and carefully heat them and then work them with the squeegee, working out. The heat gun will shrink the film and it will get nice and tight and bubble free.
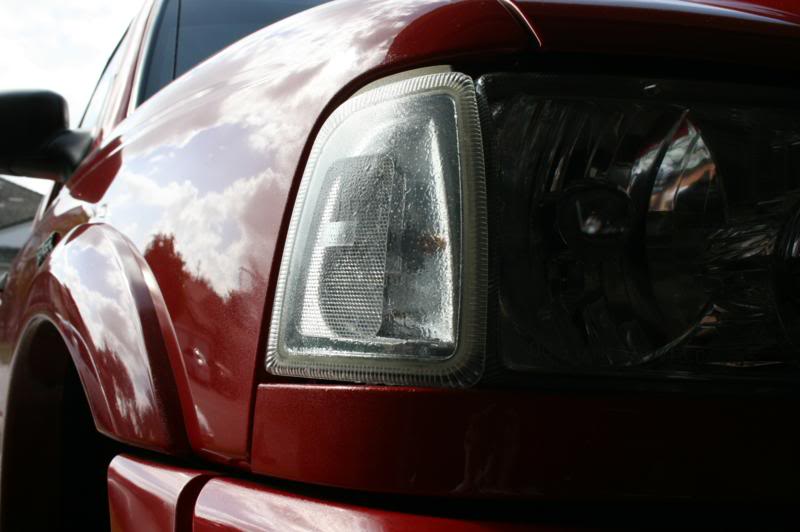
Next do the corners, also begin by spraying them with Rapid Tac.

Peel off the correct piece of film and spray it with Rapid Tac.

Stick it on the corner and then get it lined up correctly. Spray more Rapid Tac on it.
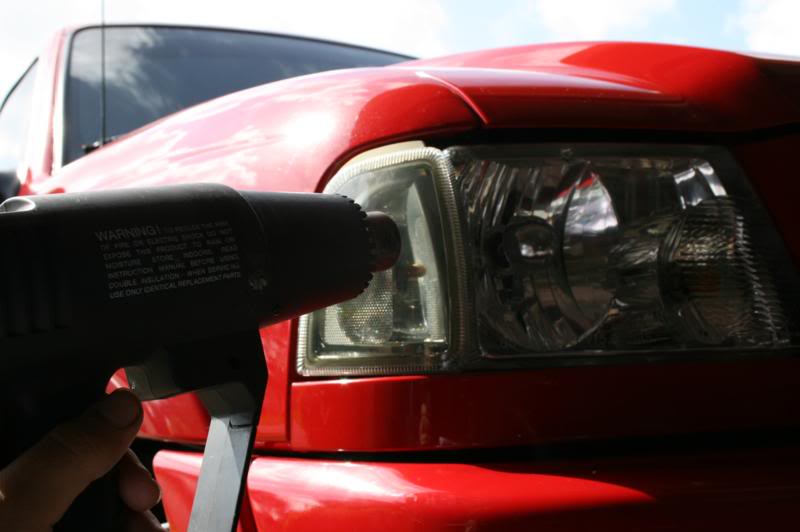
Squeegee the bubbles out and then use the heatgun to get the final bubbles out. This one is a little harder since its a little bigger and more complex in shape with more of a curve. You will see the film possibly want to wrinkle when you are squeegeeing it. DO NOT LET IT GET A WRINKLE! If it gets one, it won't fully go away even if you pull it apart. That piece of film will be ruined or you will have to live with it.
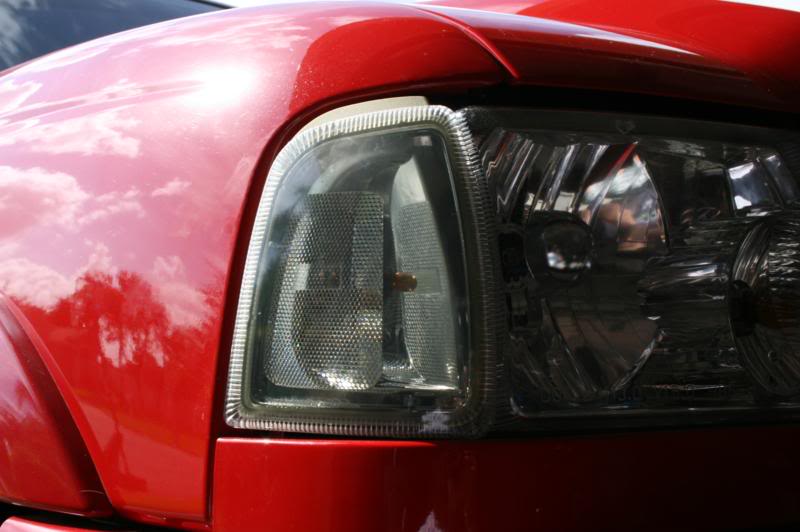
Corner done.
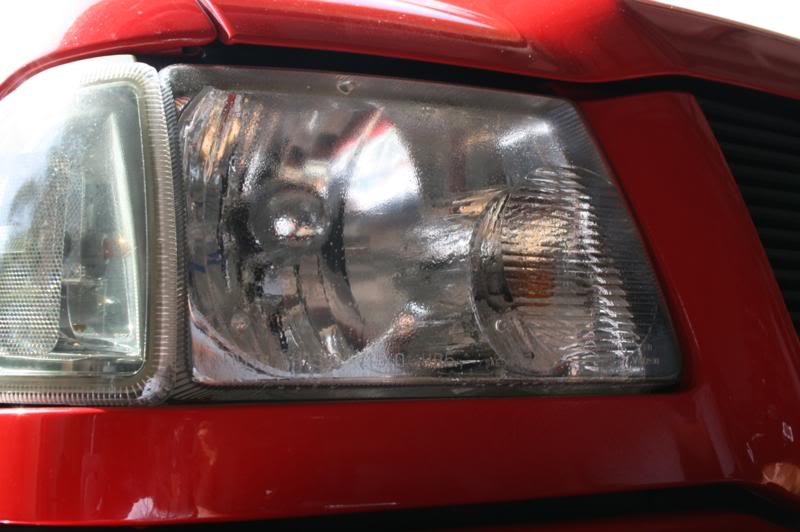
Next we will do the headlight. Spray it with Rapid Tac.
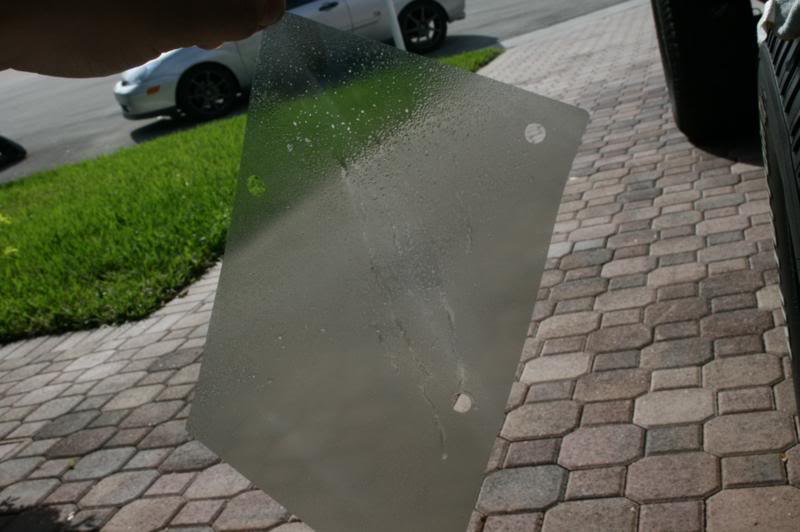
Peel off the headlight film and spray it too. You can see the nipples are cut out already in this picture.
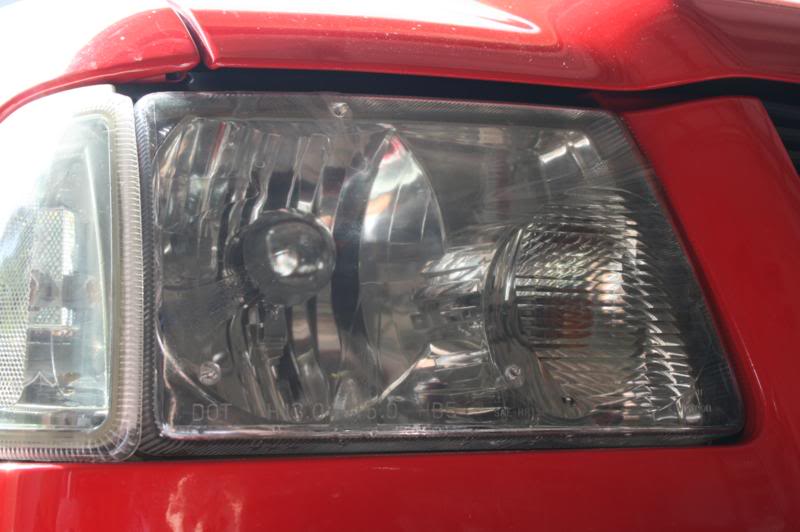
Position it and spray on more Rapid Tac.
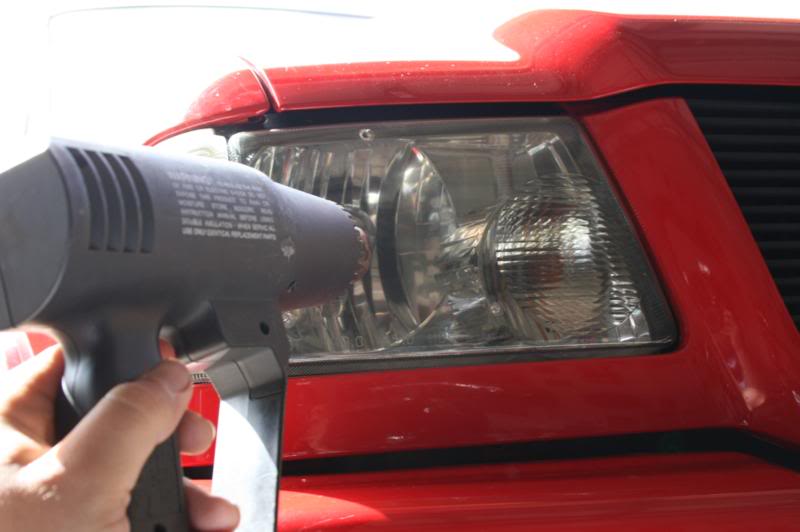
Squeegee it and then use the heat gun.
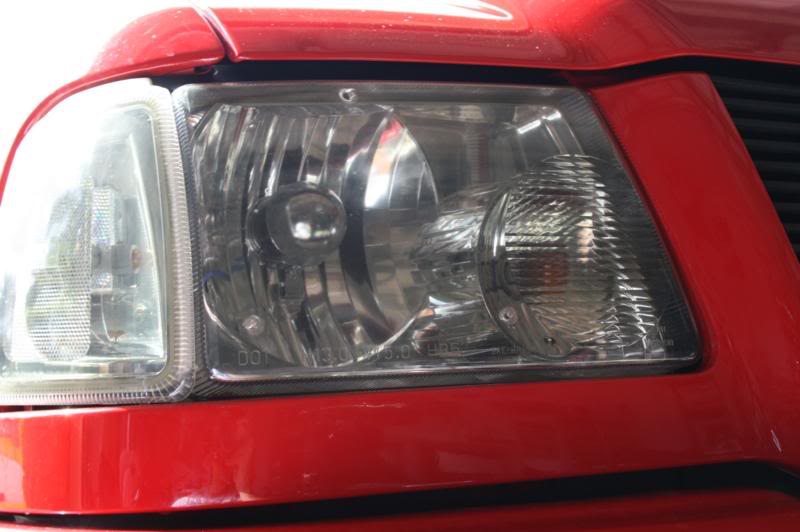
One side is done, now repeat on the other side!
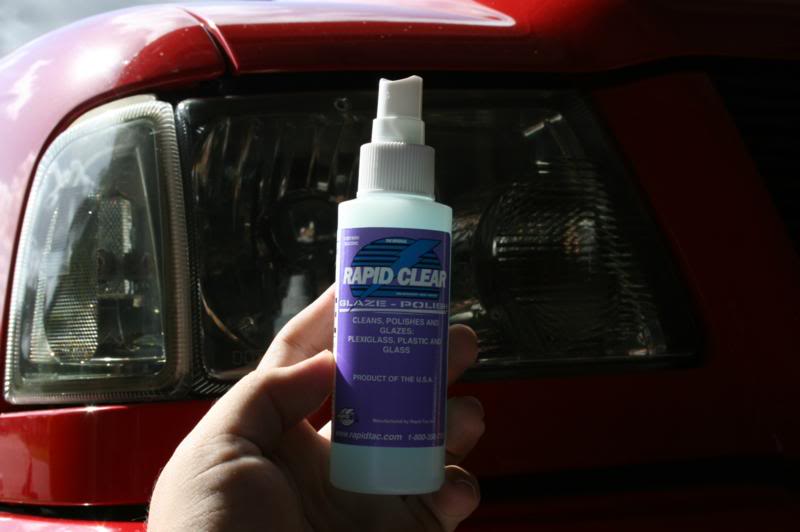
Now the film won't be as shiny as you would like, so its time to use the Rapid Clear.
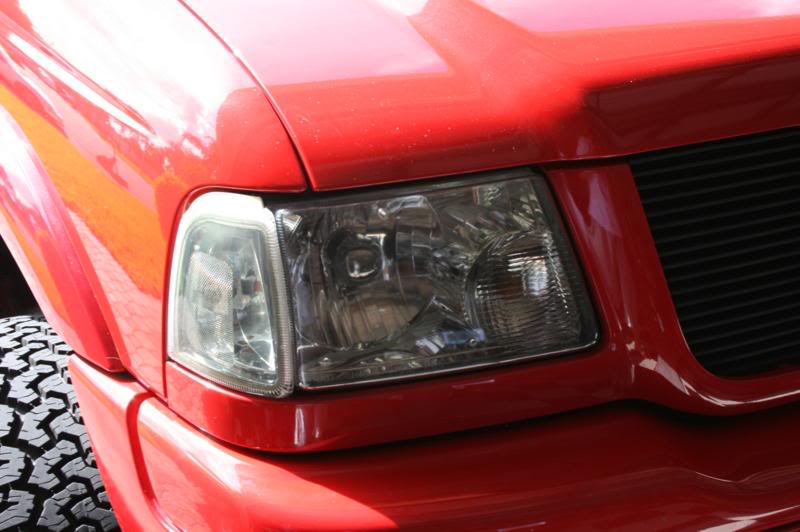
Spray it on, let it sit for 30 seconds and then wipe it off. The headlights will look really shiny and great!
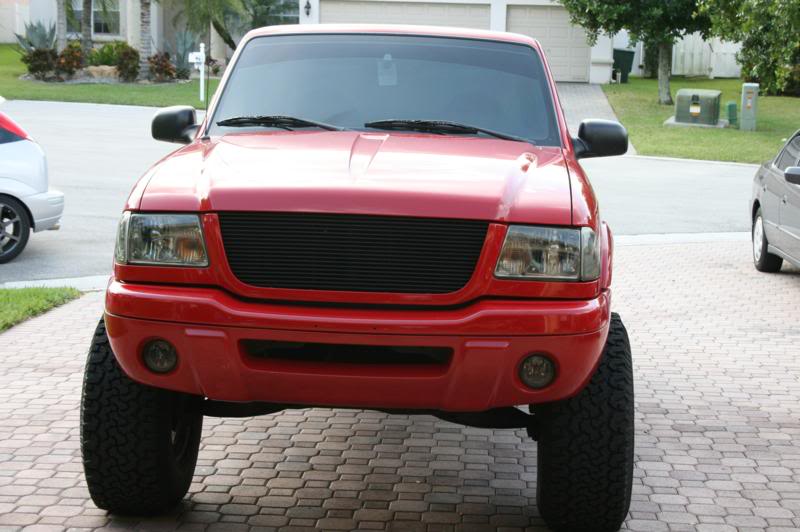
Both sides done.
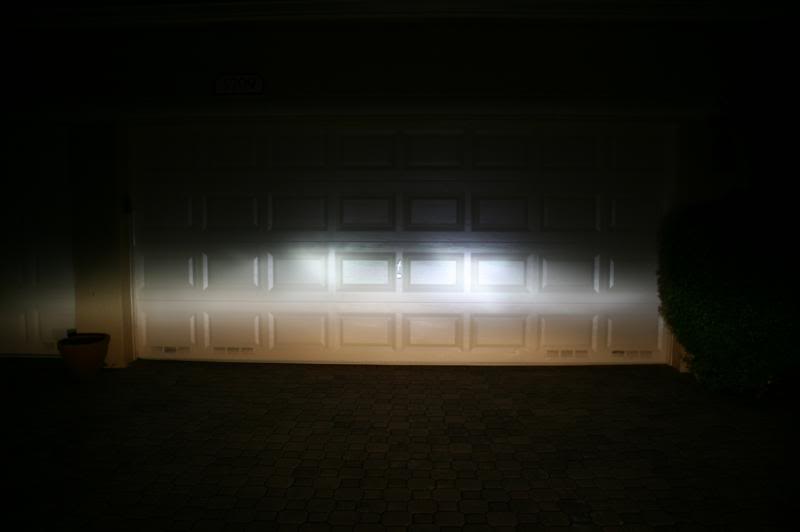
Since the film is smoked, the output color will be changed just a tiny bit. It really isn't even noticeable to the eye but the camera shows it more then you can see. In the picture both of the lights on the drivers side have the film. Actual light output didn't appear to be affected.
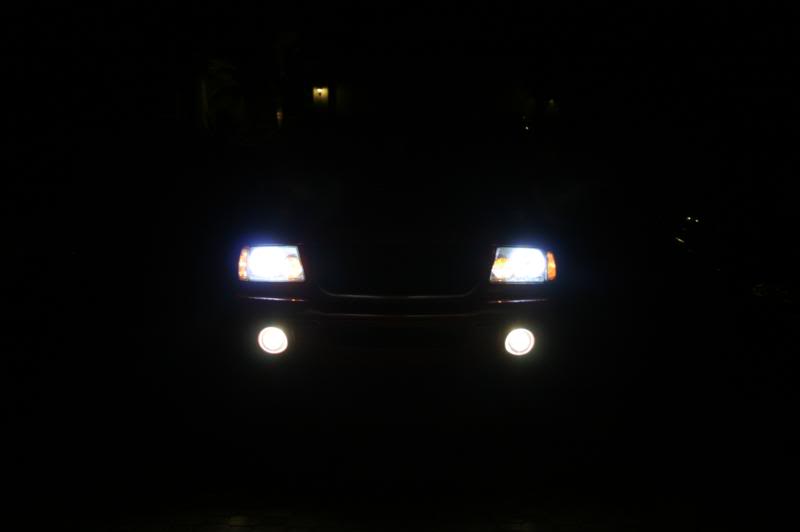
One more picture head on. The drivers side is the one with the film in this picture.
Original thread: https://www.ranger-forums.com/f59/ho...dlights-97105/
Let the modding Begin!!
_________________________
Here is how to tint your headlights the right way.
First step was going to Rvinyl and ordering their headlight tint kit. For this installation I used "light smoke" film since I wanted a subtle look, but they also offer a "dark smoke", a blue, yellow, and a clear protection film. All come in the same precut pieces as the ones in this tutorial, they also have the kit for the different year trucks too. Here is a link to all their products for our trucks ranger .
Now for the installation all you need is the products from Rvinyl that are shown in the tutorial, and a heatgun (hairdryer will work) and a fresh razor blade maybe.

First thing we need is the film itself.

Here is what it looks like, everything is precut and ready to go. You can't tell in the picture but the holes for the little alignment nipples on the headlights are also cut out, the pieces just haven't been removed.

Supplies you need from Rvinyl. Squeegee with friction sleeve, Rapid Tac, and Rapid Clear.

Now that we have everything we need put the truck somewhere so that where you are working is in the shade, it makes it a little easier since the Rapid Tac wont evaporate as quickly if you work slow.

Now we need to clean the lights, the Rapid Tac works good for that.

Spray it on your lights.

Wipe it off.

Now make sure you start with your foglights as they are the easiest to do. First thing you need to do is spray them with more Rapid Tac.

Peel off the fog light film.

Spray the sticky side with Rapid Tac.

Now put it on and get in centered.

Spray more Rapid Tac on the outside of it.

Now squeegee out the bubbles working from the center out.

Since the glass is convex in shape, the film will not want to be flat on it. There will be some little bubbles on the edges. Take your heat gun and carefully heat them and then work them with the squeegee, working out. The heat gun will shrink the film and it will get nice and tight and bubble free.

Next do the corners, also begin by spraying them with Rapid Tac.

Peel off the correct piece of film and spray it with Rapid Tac.

Stick it on the corner and then get it lined up correctly. Spray more Rapid Tac on it.

Squeegee the bubbles out and then use the heatgun to get the final bubbles out. This one is a little harder since its a little bigger and more complex in shape with more of a curve. You will see the film possibly want to wrinkle when you are squeegeeing it. DO NOT LET IT GET A WRINKLE! If it gets one, it won't fully go away even if you pull it apart. That piece of film will be ruined or you will have to live with it.

Corner done.

Next we will do the headlight. Spray it with Rapid Tac.

Peel off the headlight film and spray it too. You can see the nipples are cut out already in this picture.

Position it and spray on more Rapid Tac.

Squeegee it and then use the heat gun.

One side is done, now repeat on the other side!

Now the film won't be as shiny as you would like, so its time to use the Rapid Clear.

Spray it on, let it sit for 30 seconds and then wipe it off. The headlights will look really shiny and great!

Both sides done.

Since the film is smoked, the output color will be changed just a tiny bit. It really isn't even noticeable to the eye but the camera shows it more then you can see. In the picture both of the lights on the drivers side have the film. Actual light output didn't appear to be affected.

One more picture head on. The drivers side is the one with the film in this picture.
Last edited by 98liftedranger; 11-27-2011 at 09:26 PM.
Thread
Thread Starter
Forum
Replies
Last Post
joshtank
Exterior Semi-Tech
1
08-30-2009 07:11 PM
FMD
Interior Semi-Tech
4
07-06-2007 12:38 PM


