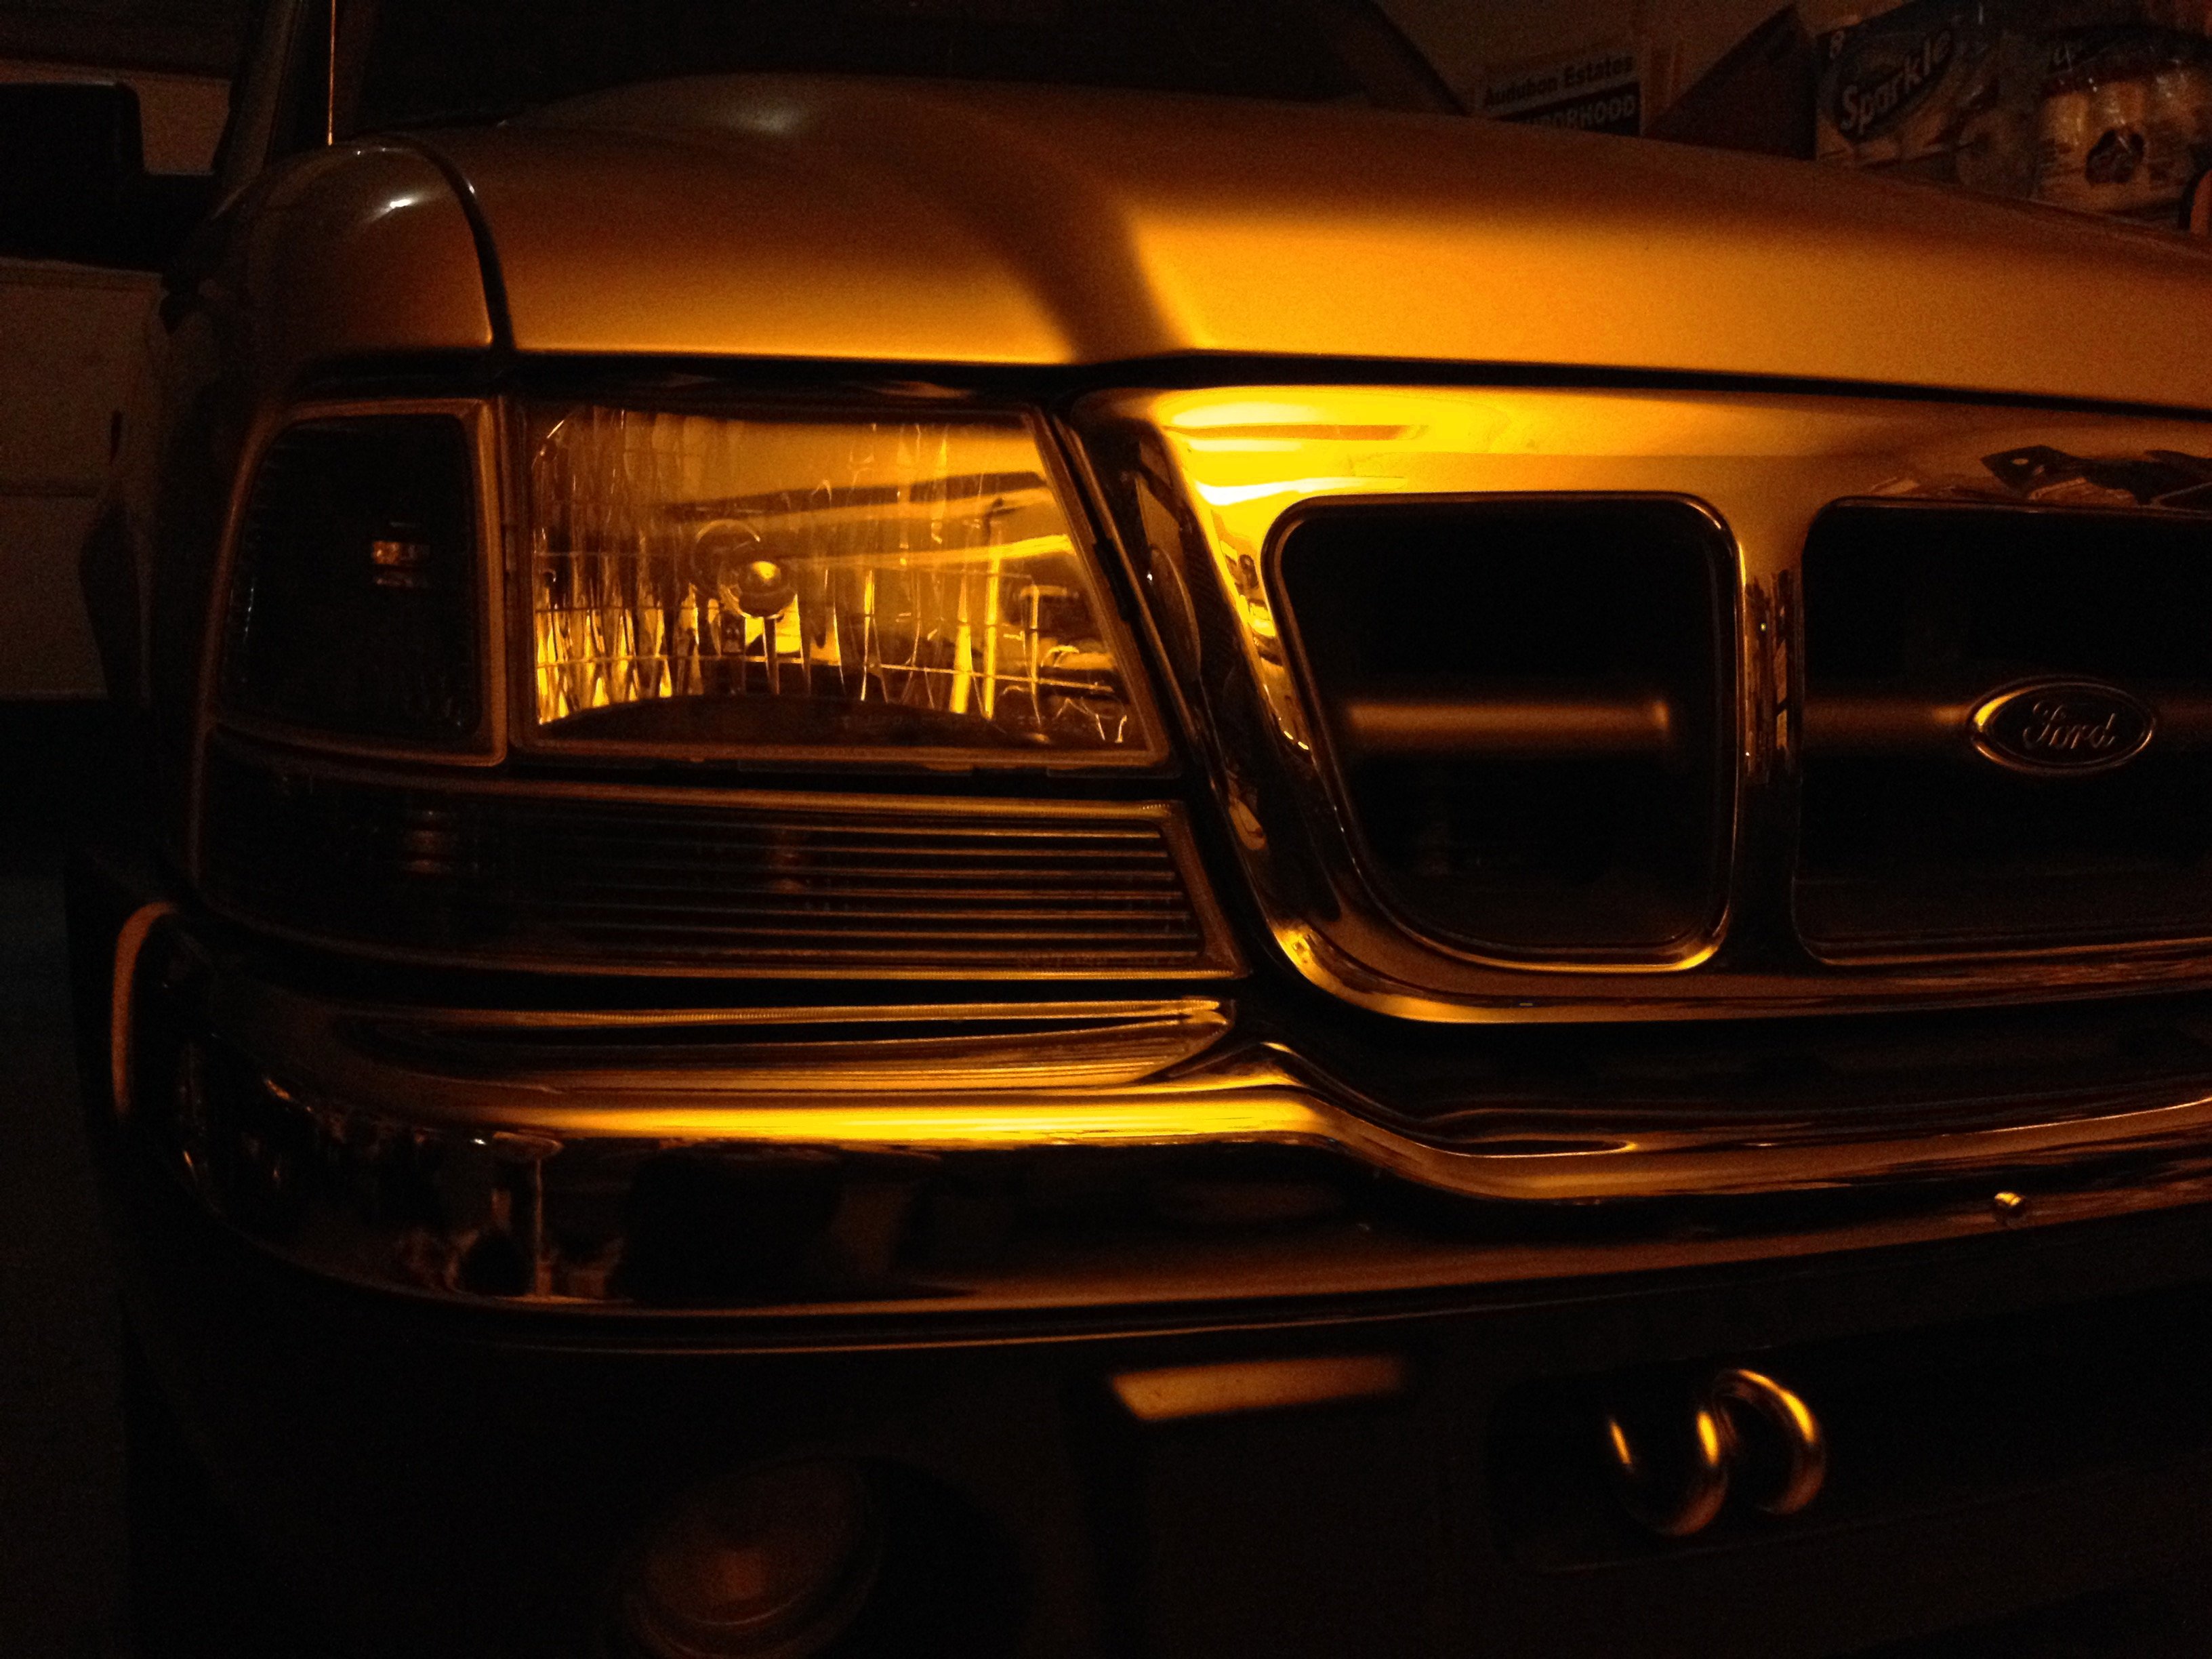
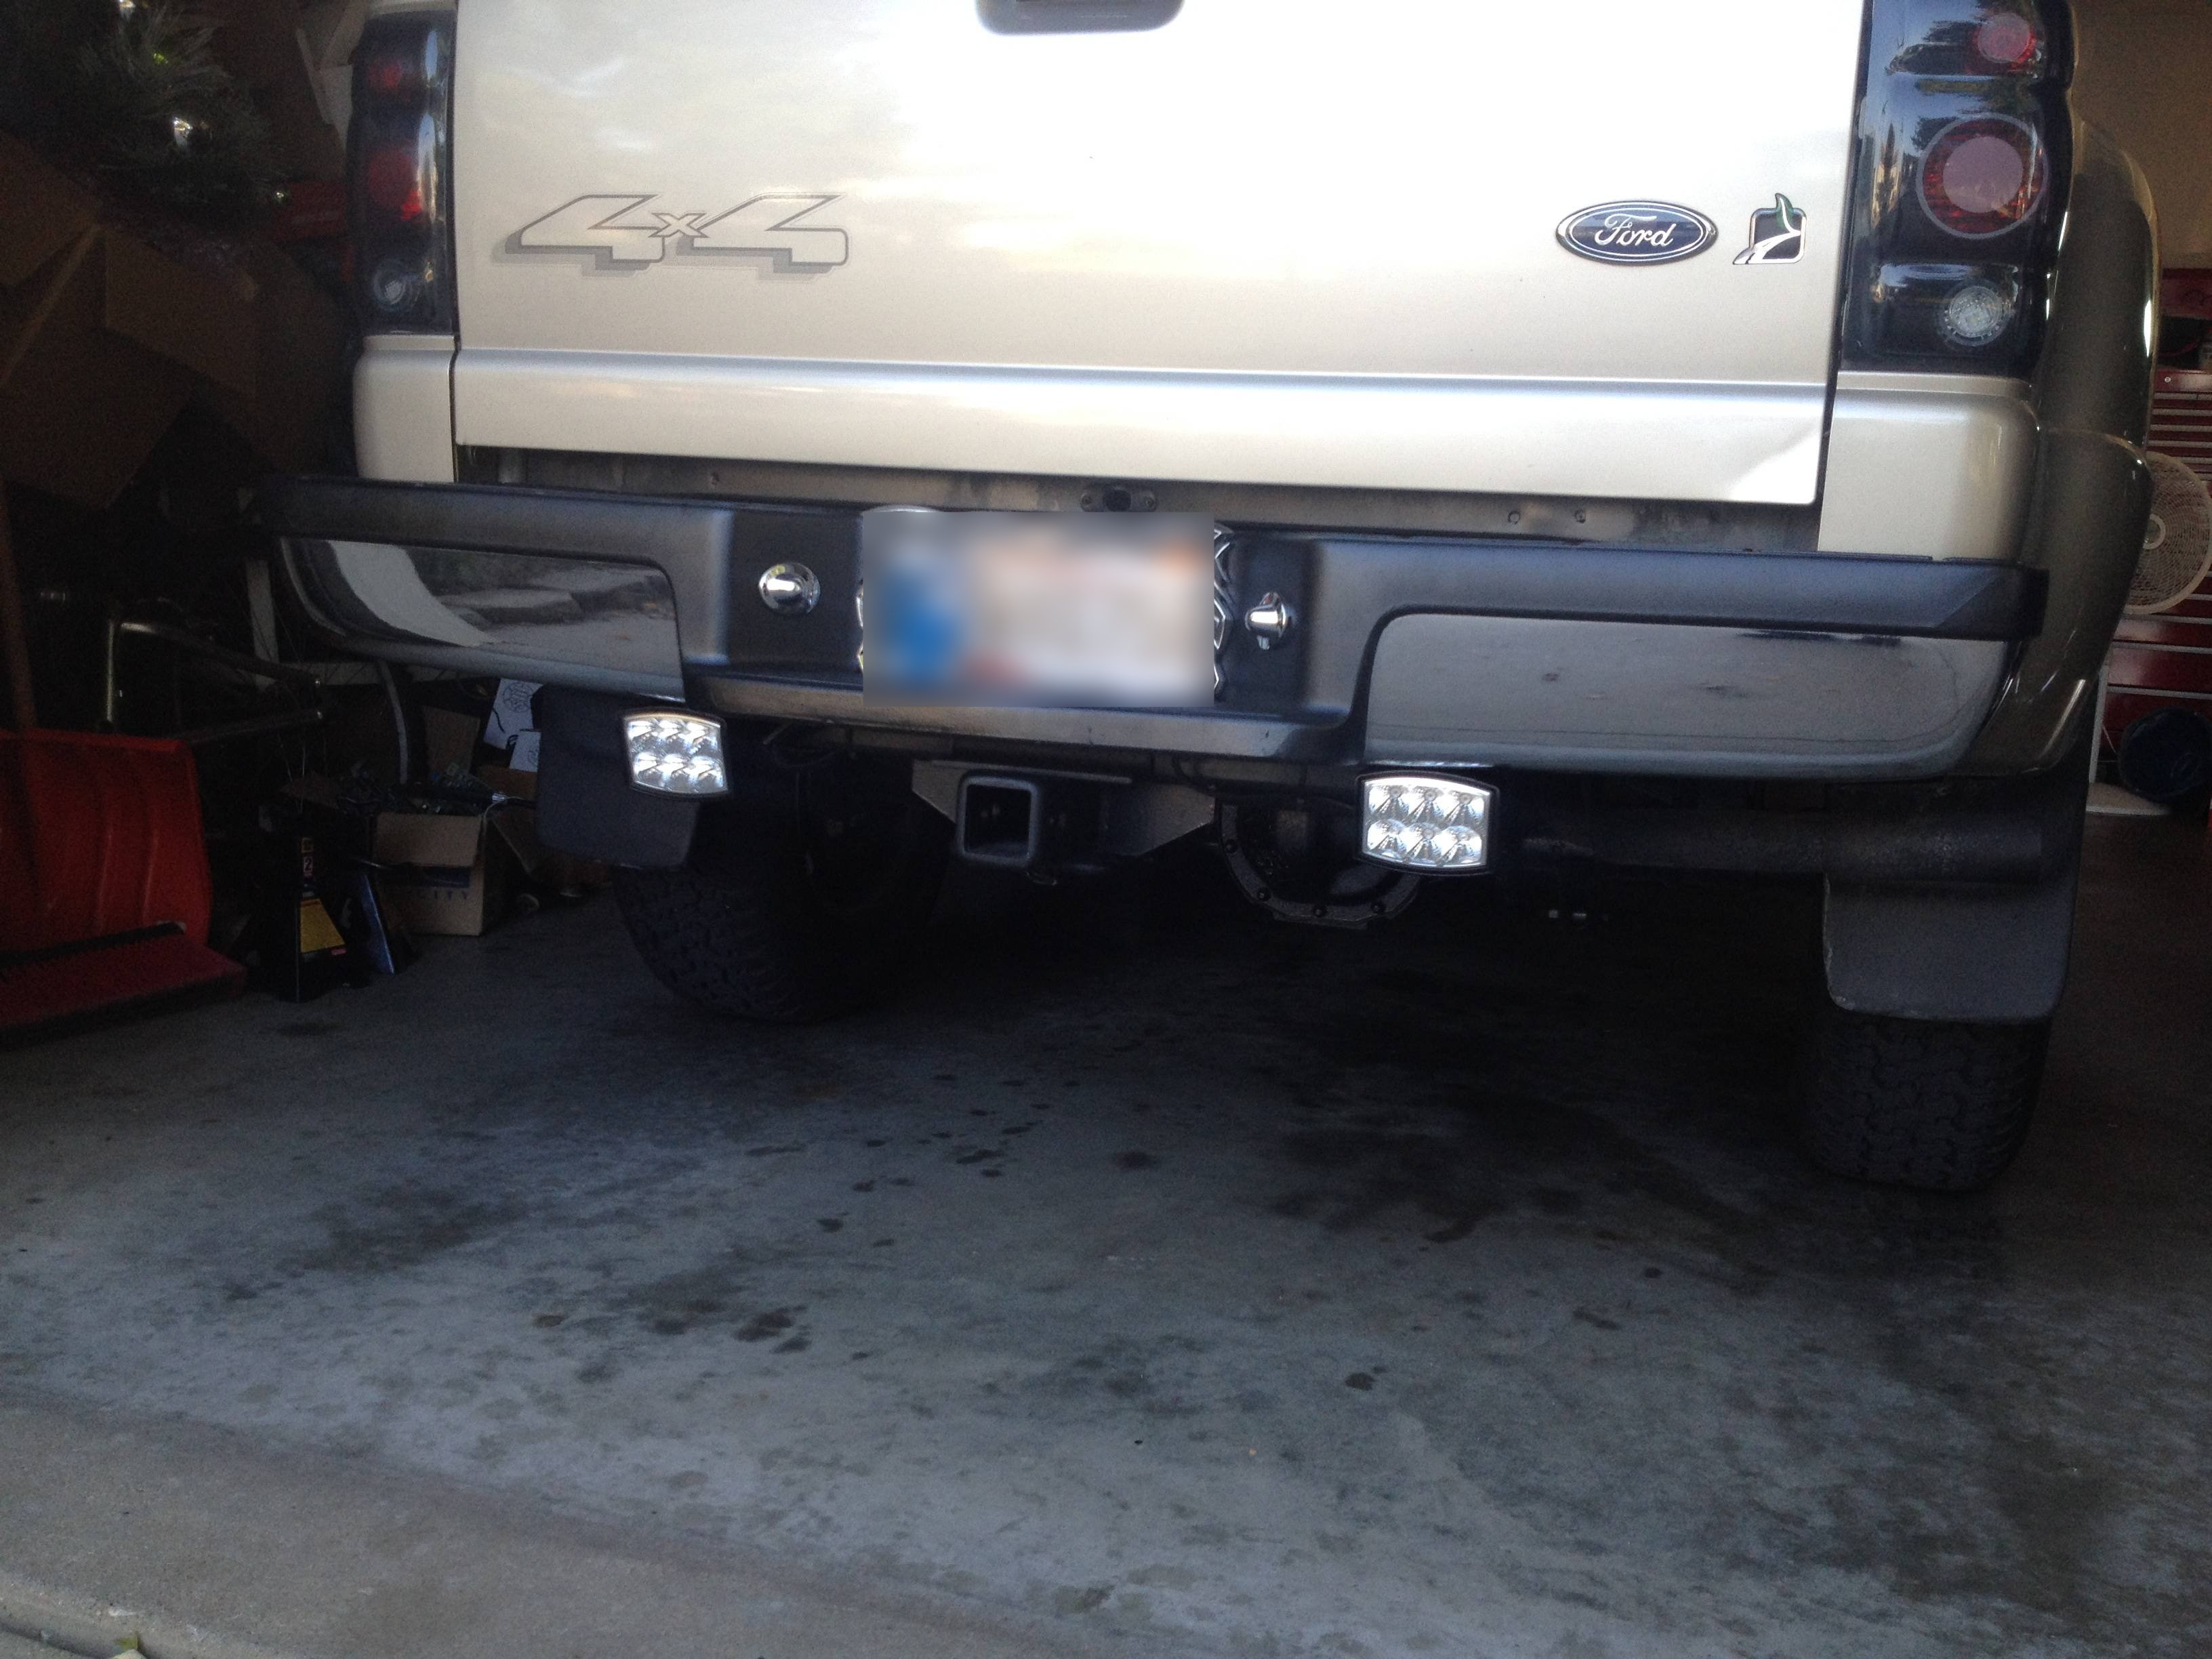
Harvest Gold 1999 Ranger
#326
P.S. I'm sorry that you got robbed ... it sucks that people feel like they have to steal things like that.
Last edited by BlackRanger04; 09-30-2016 at 11:34 AM.
#327
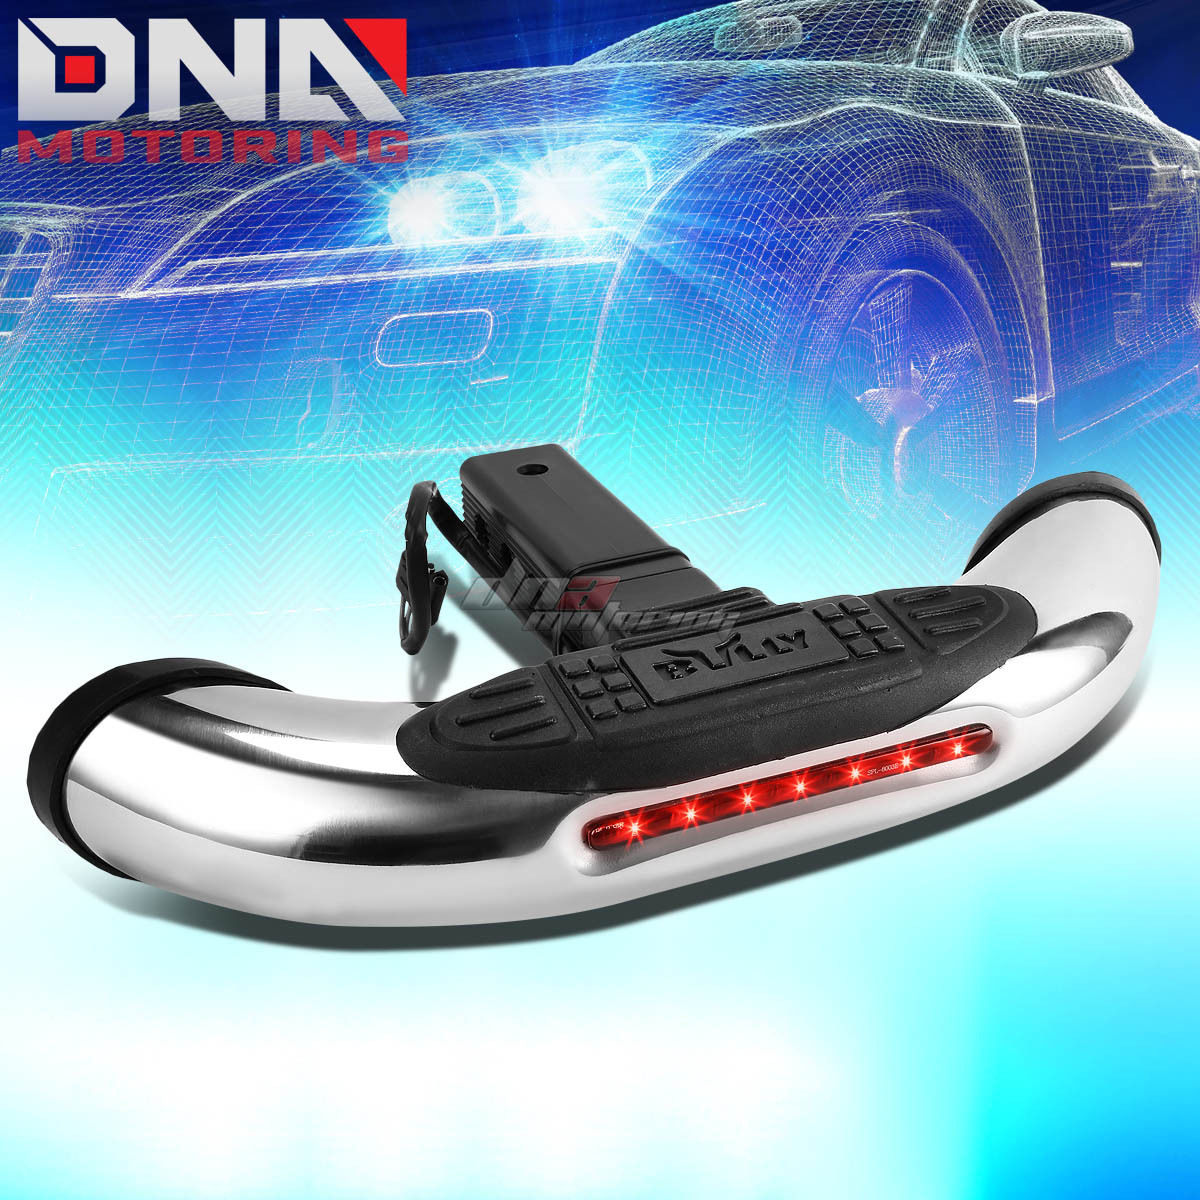
Thanks, Brian. Yeah, I hate it too; but there's little I can do about it other than complain about it. On the bright side, it gives me the opportunity to go for one of these.....
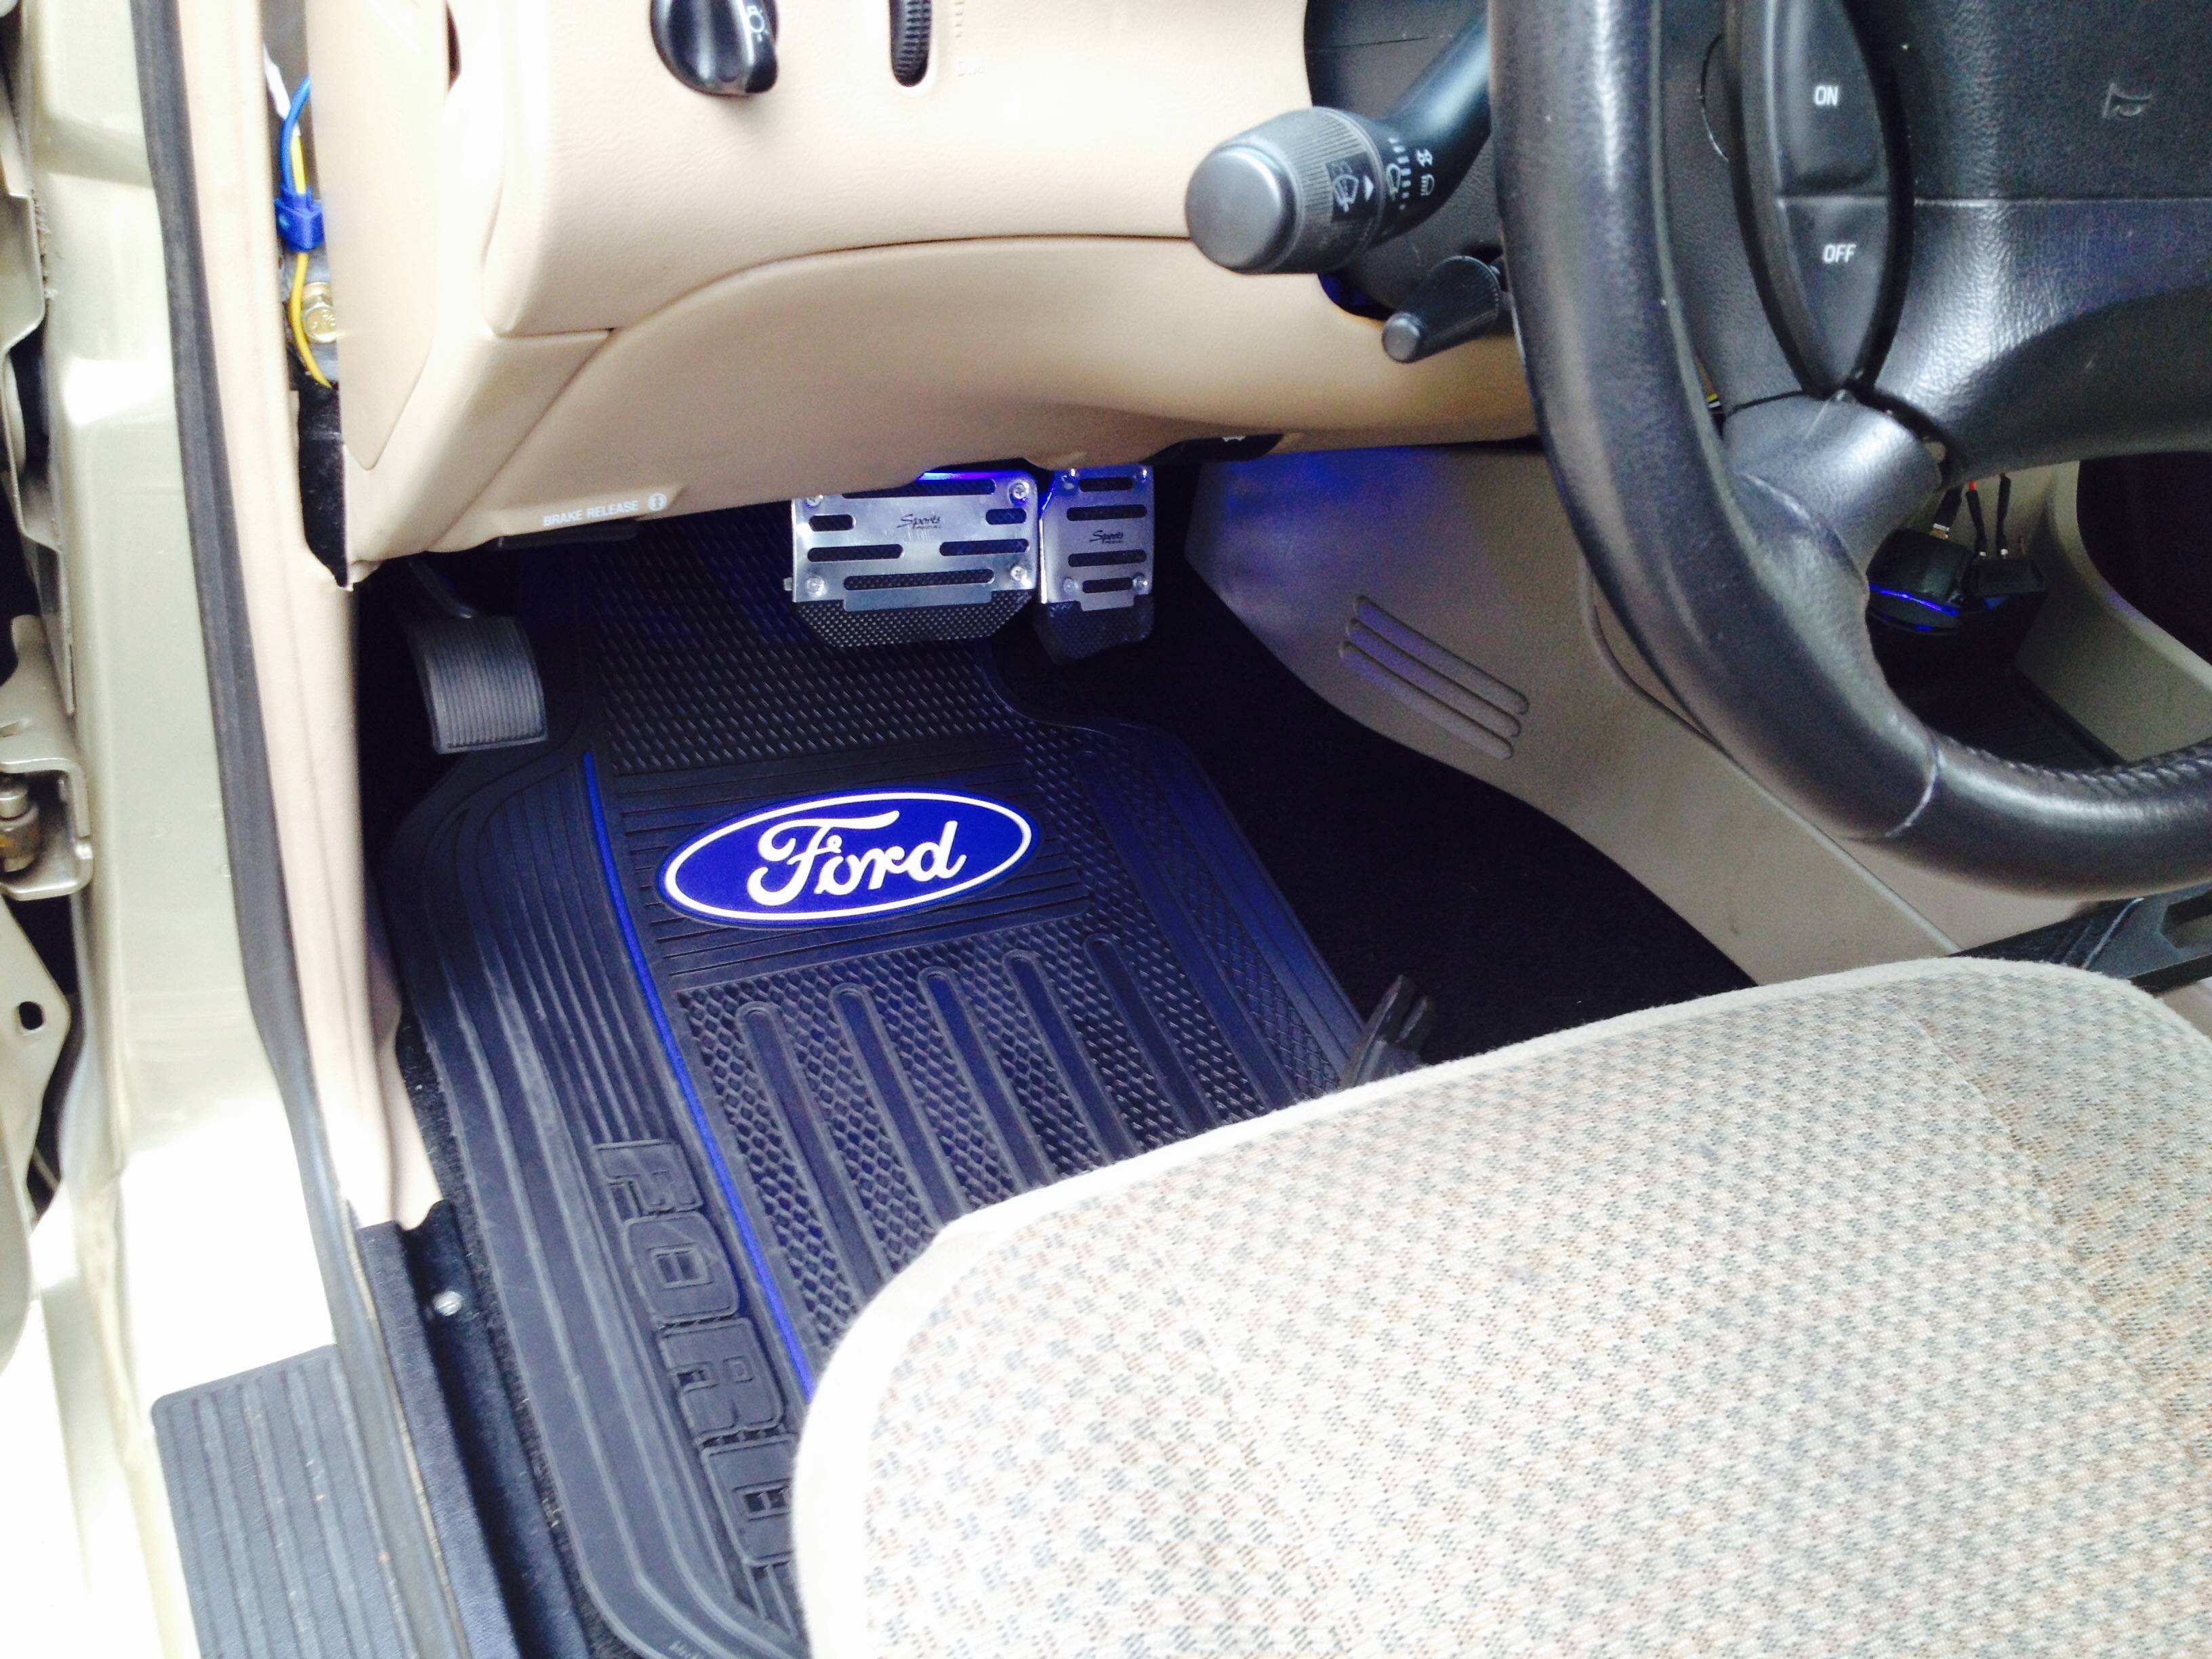
Detailed my interior today. Pics! Not too sure I like how these came out.
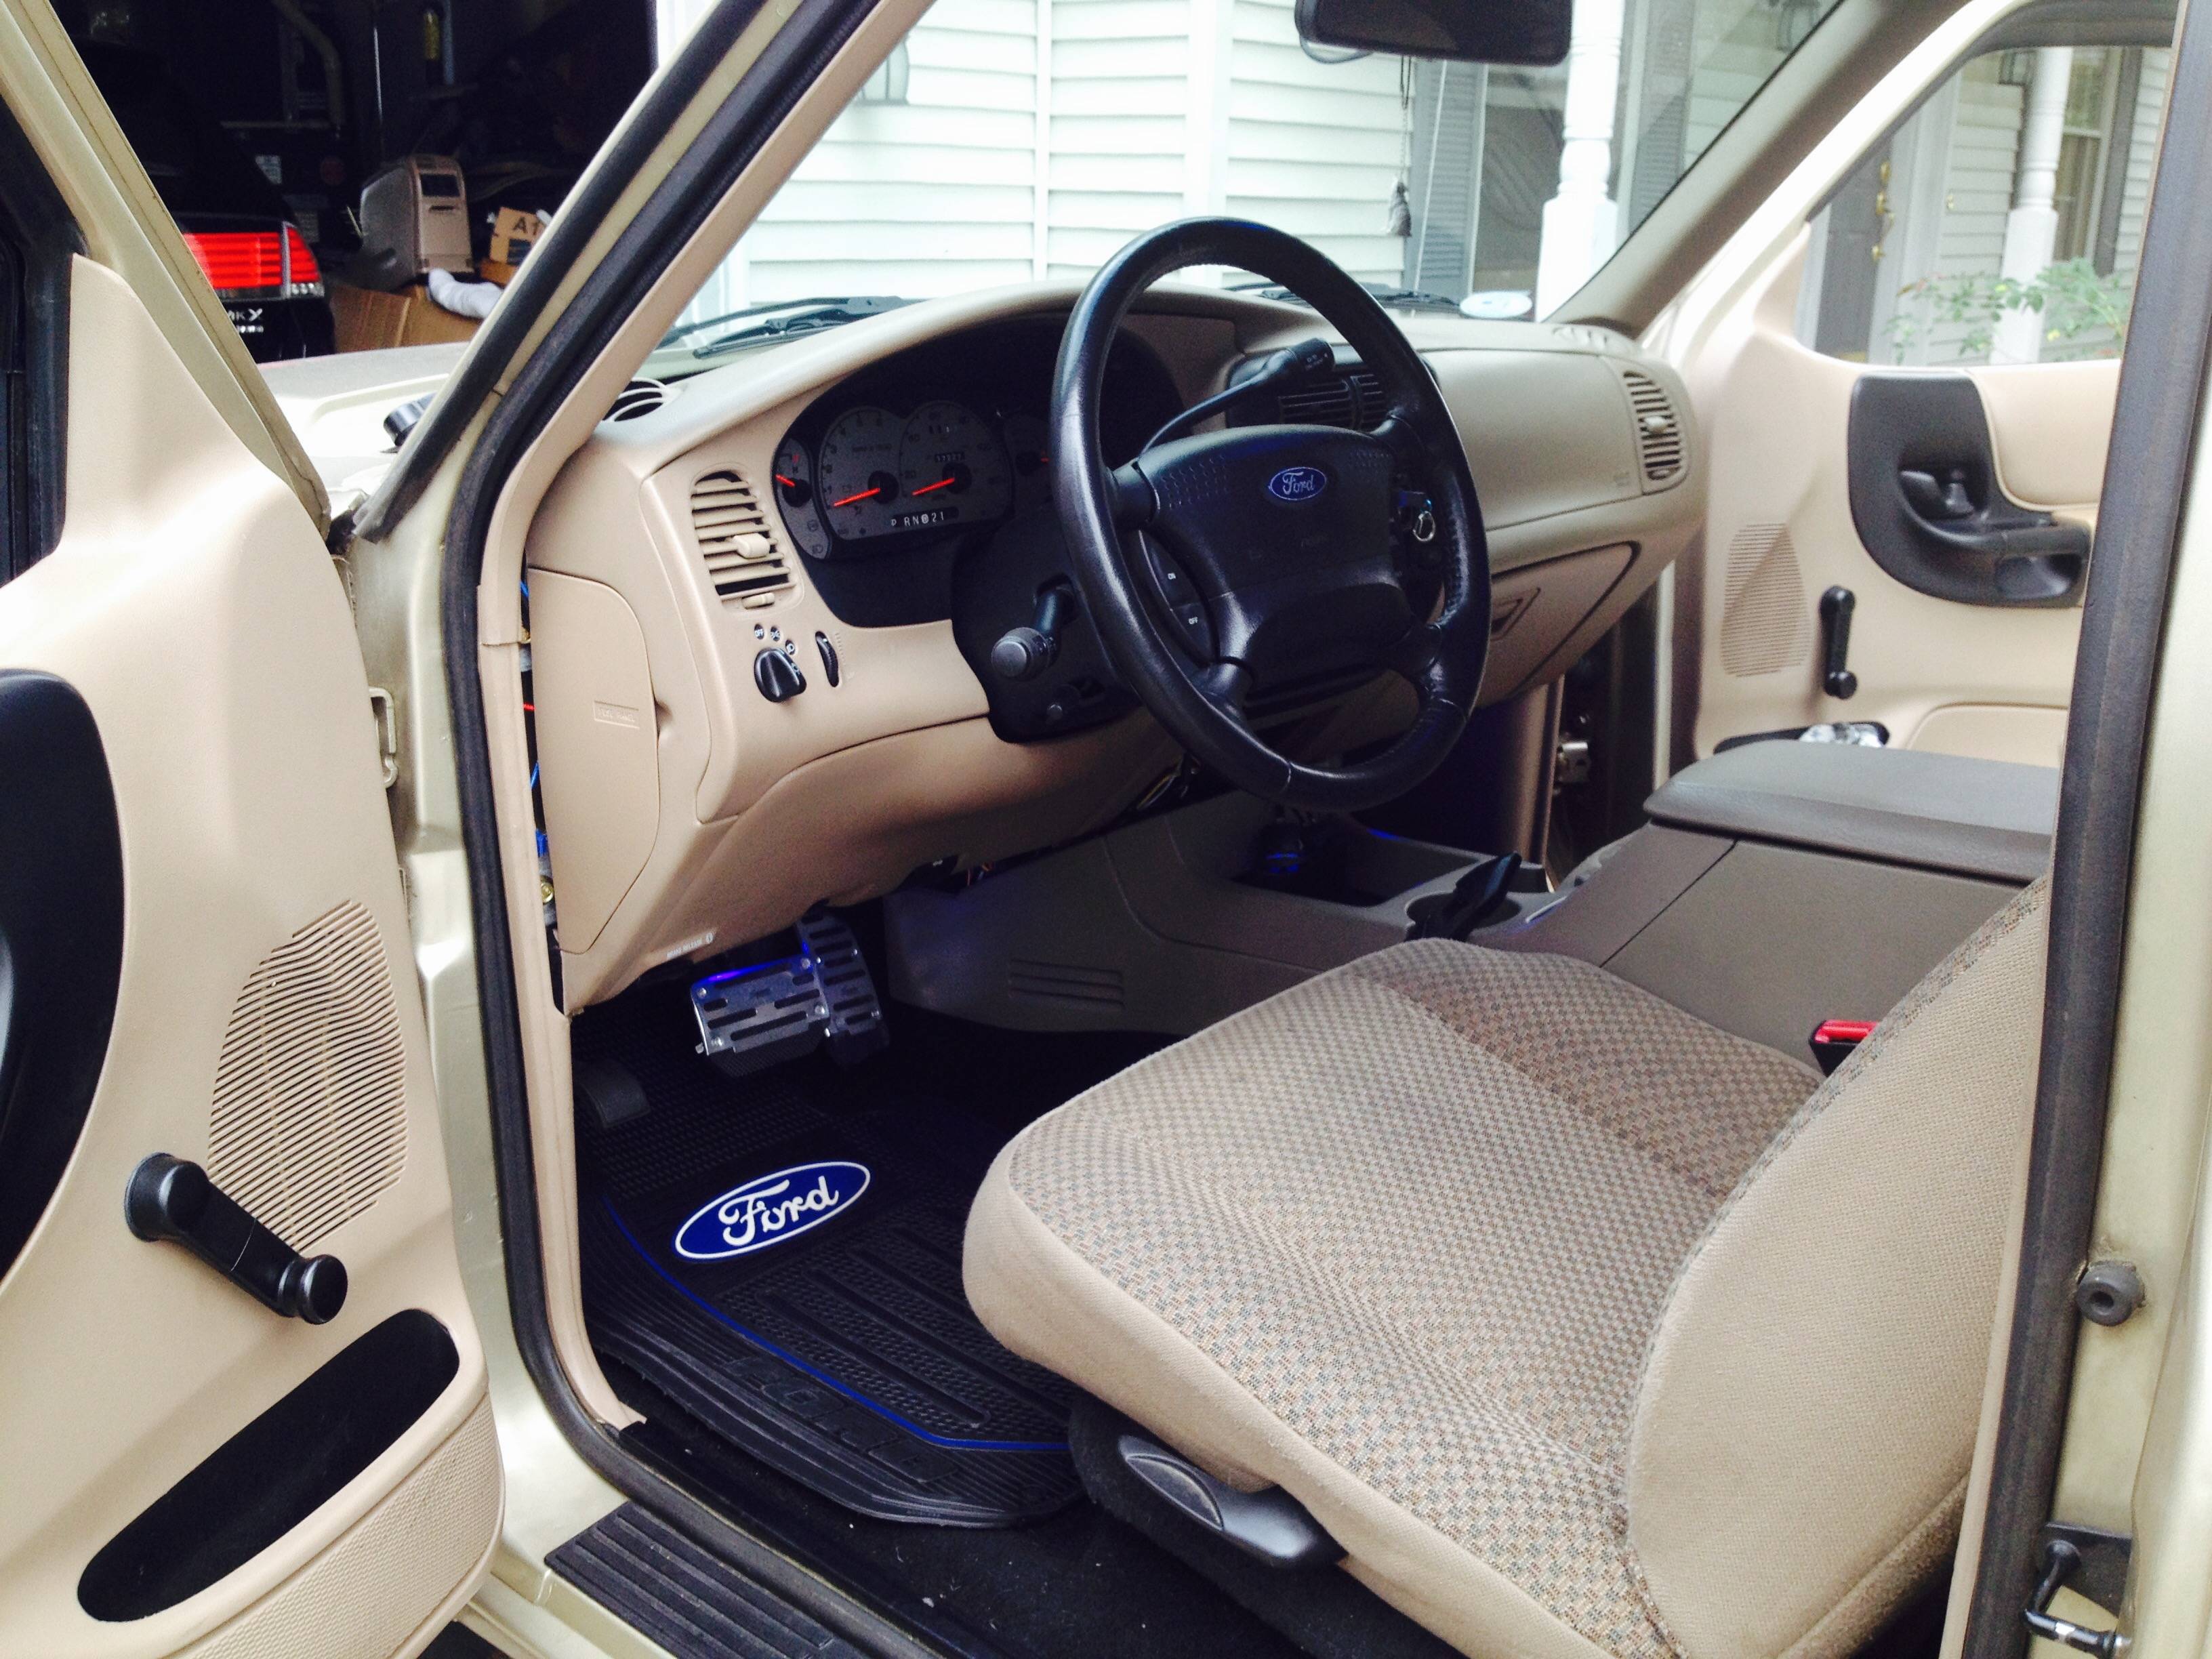
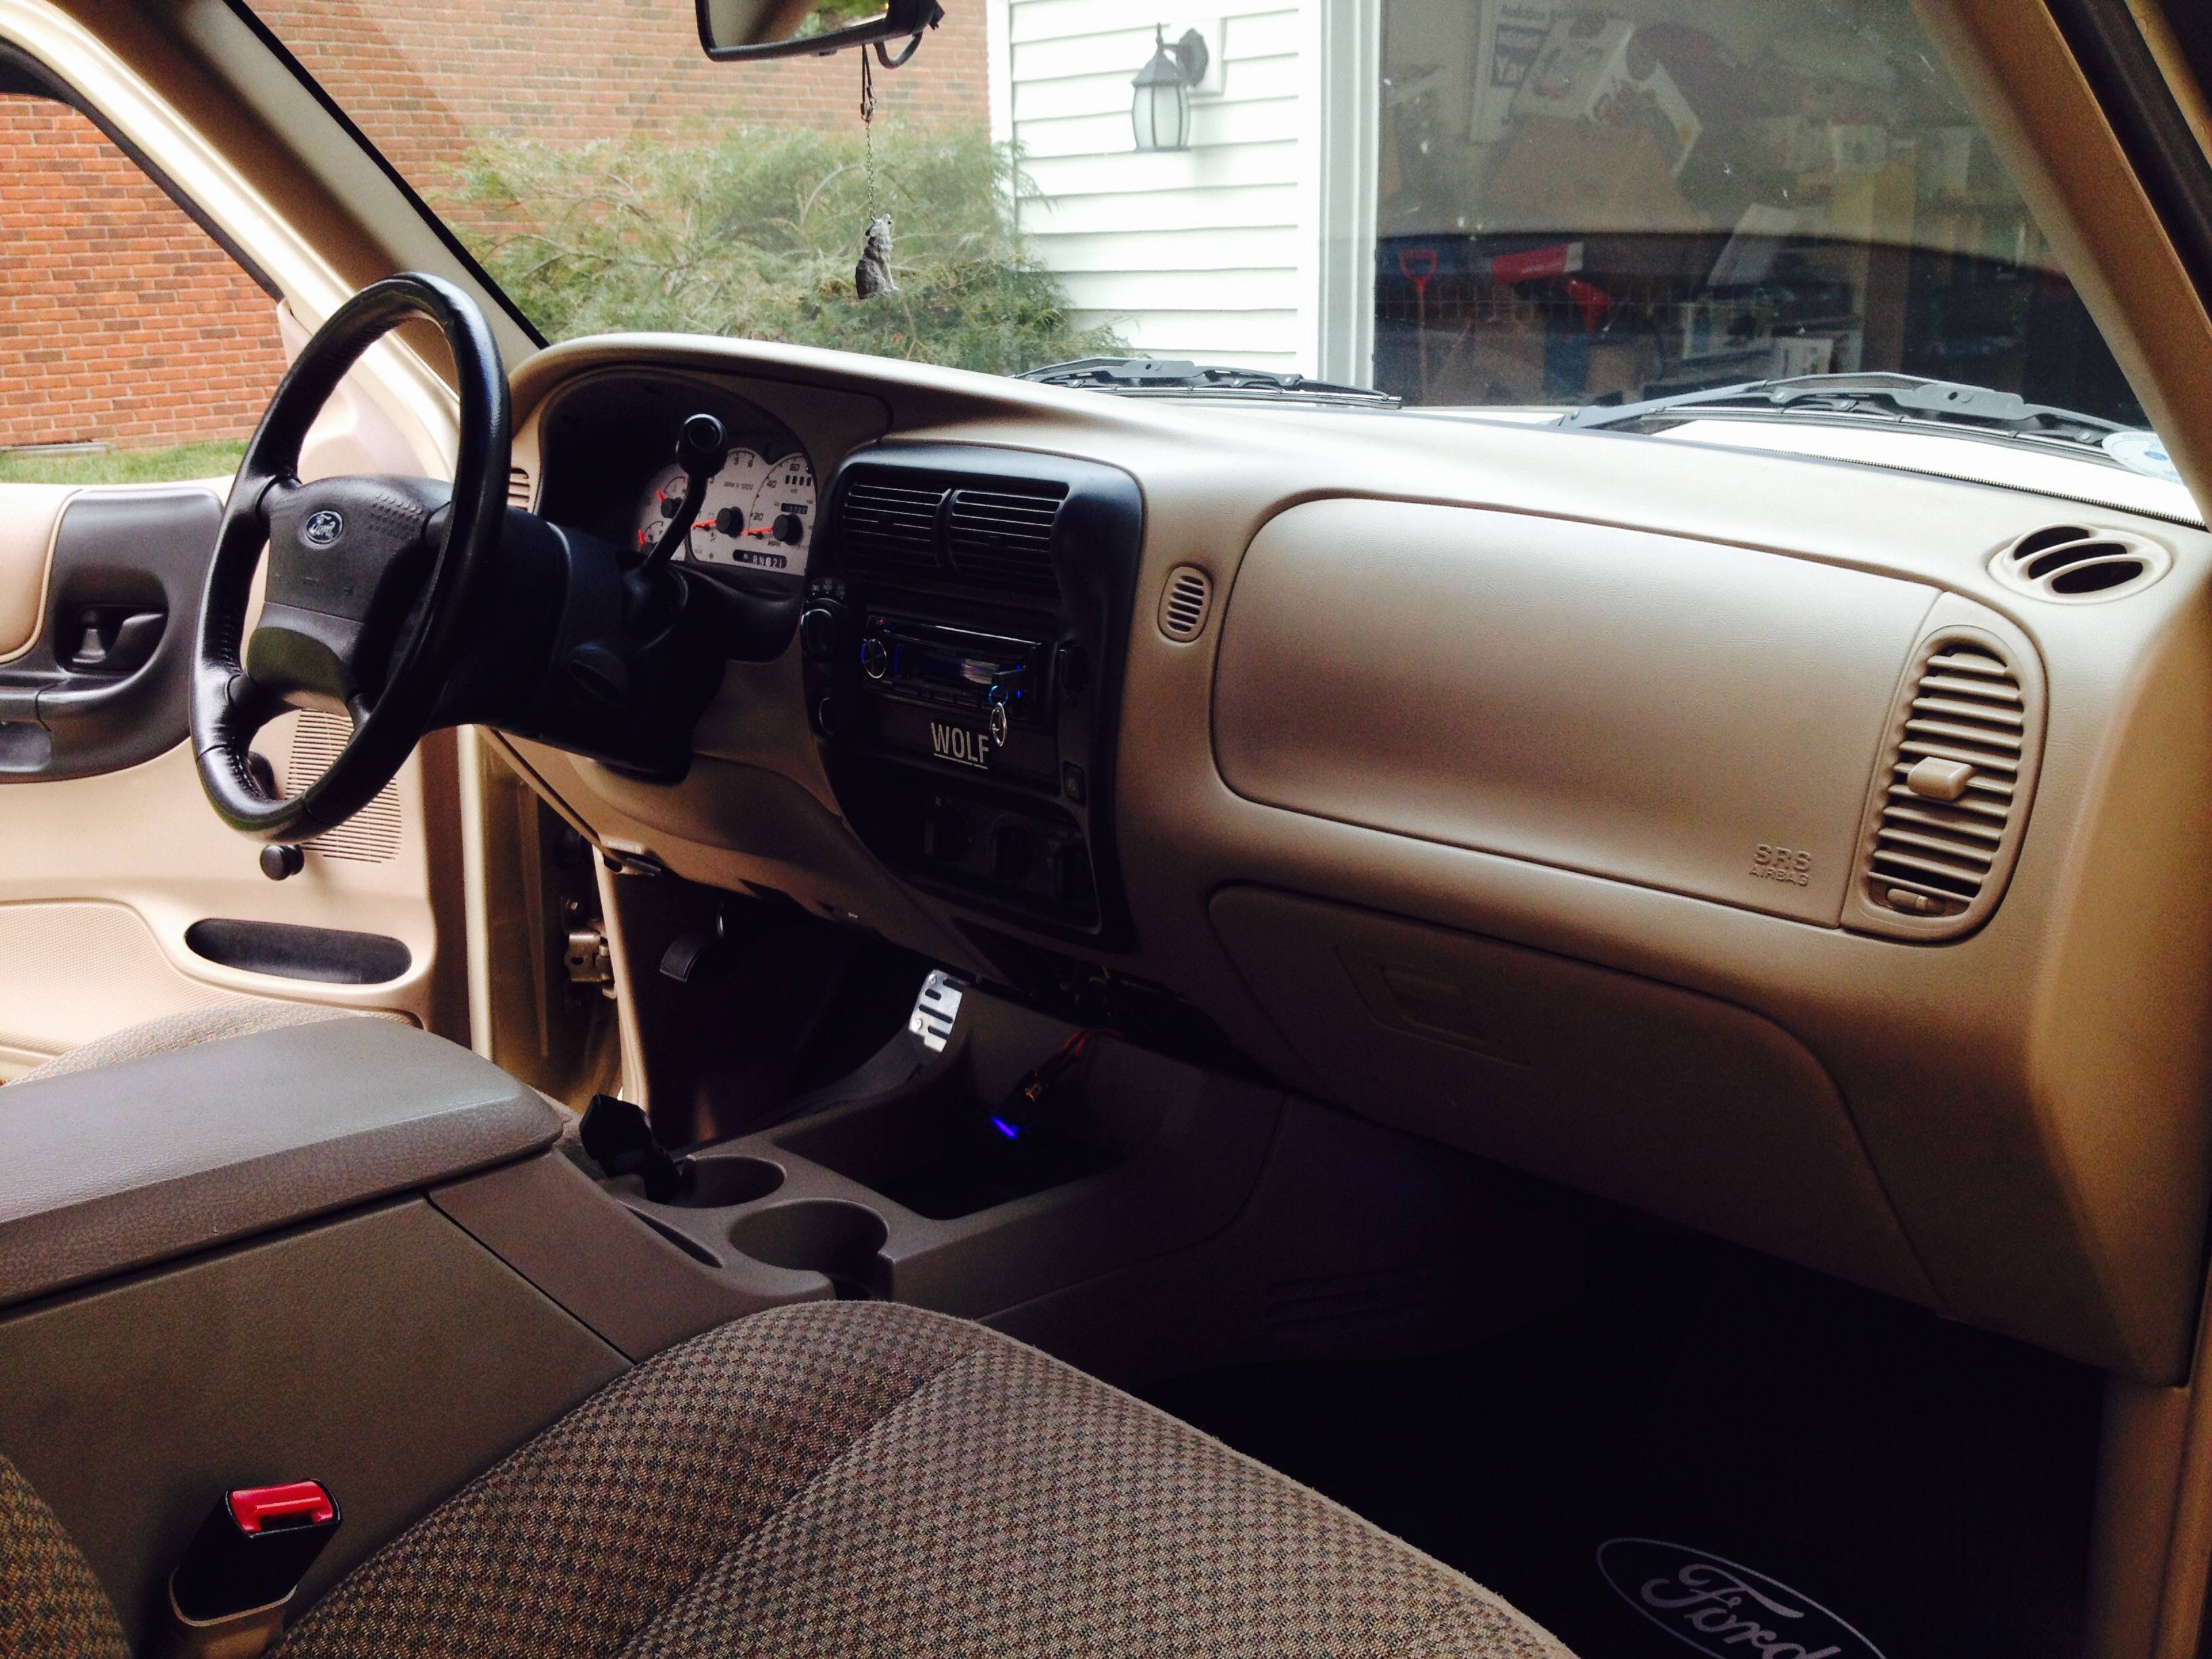
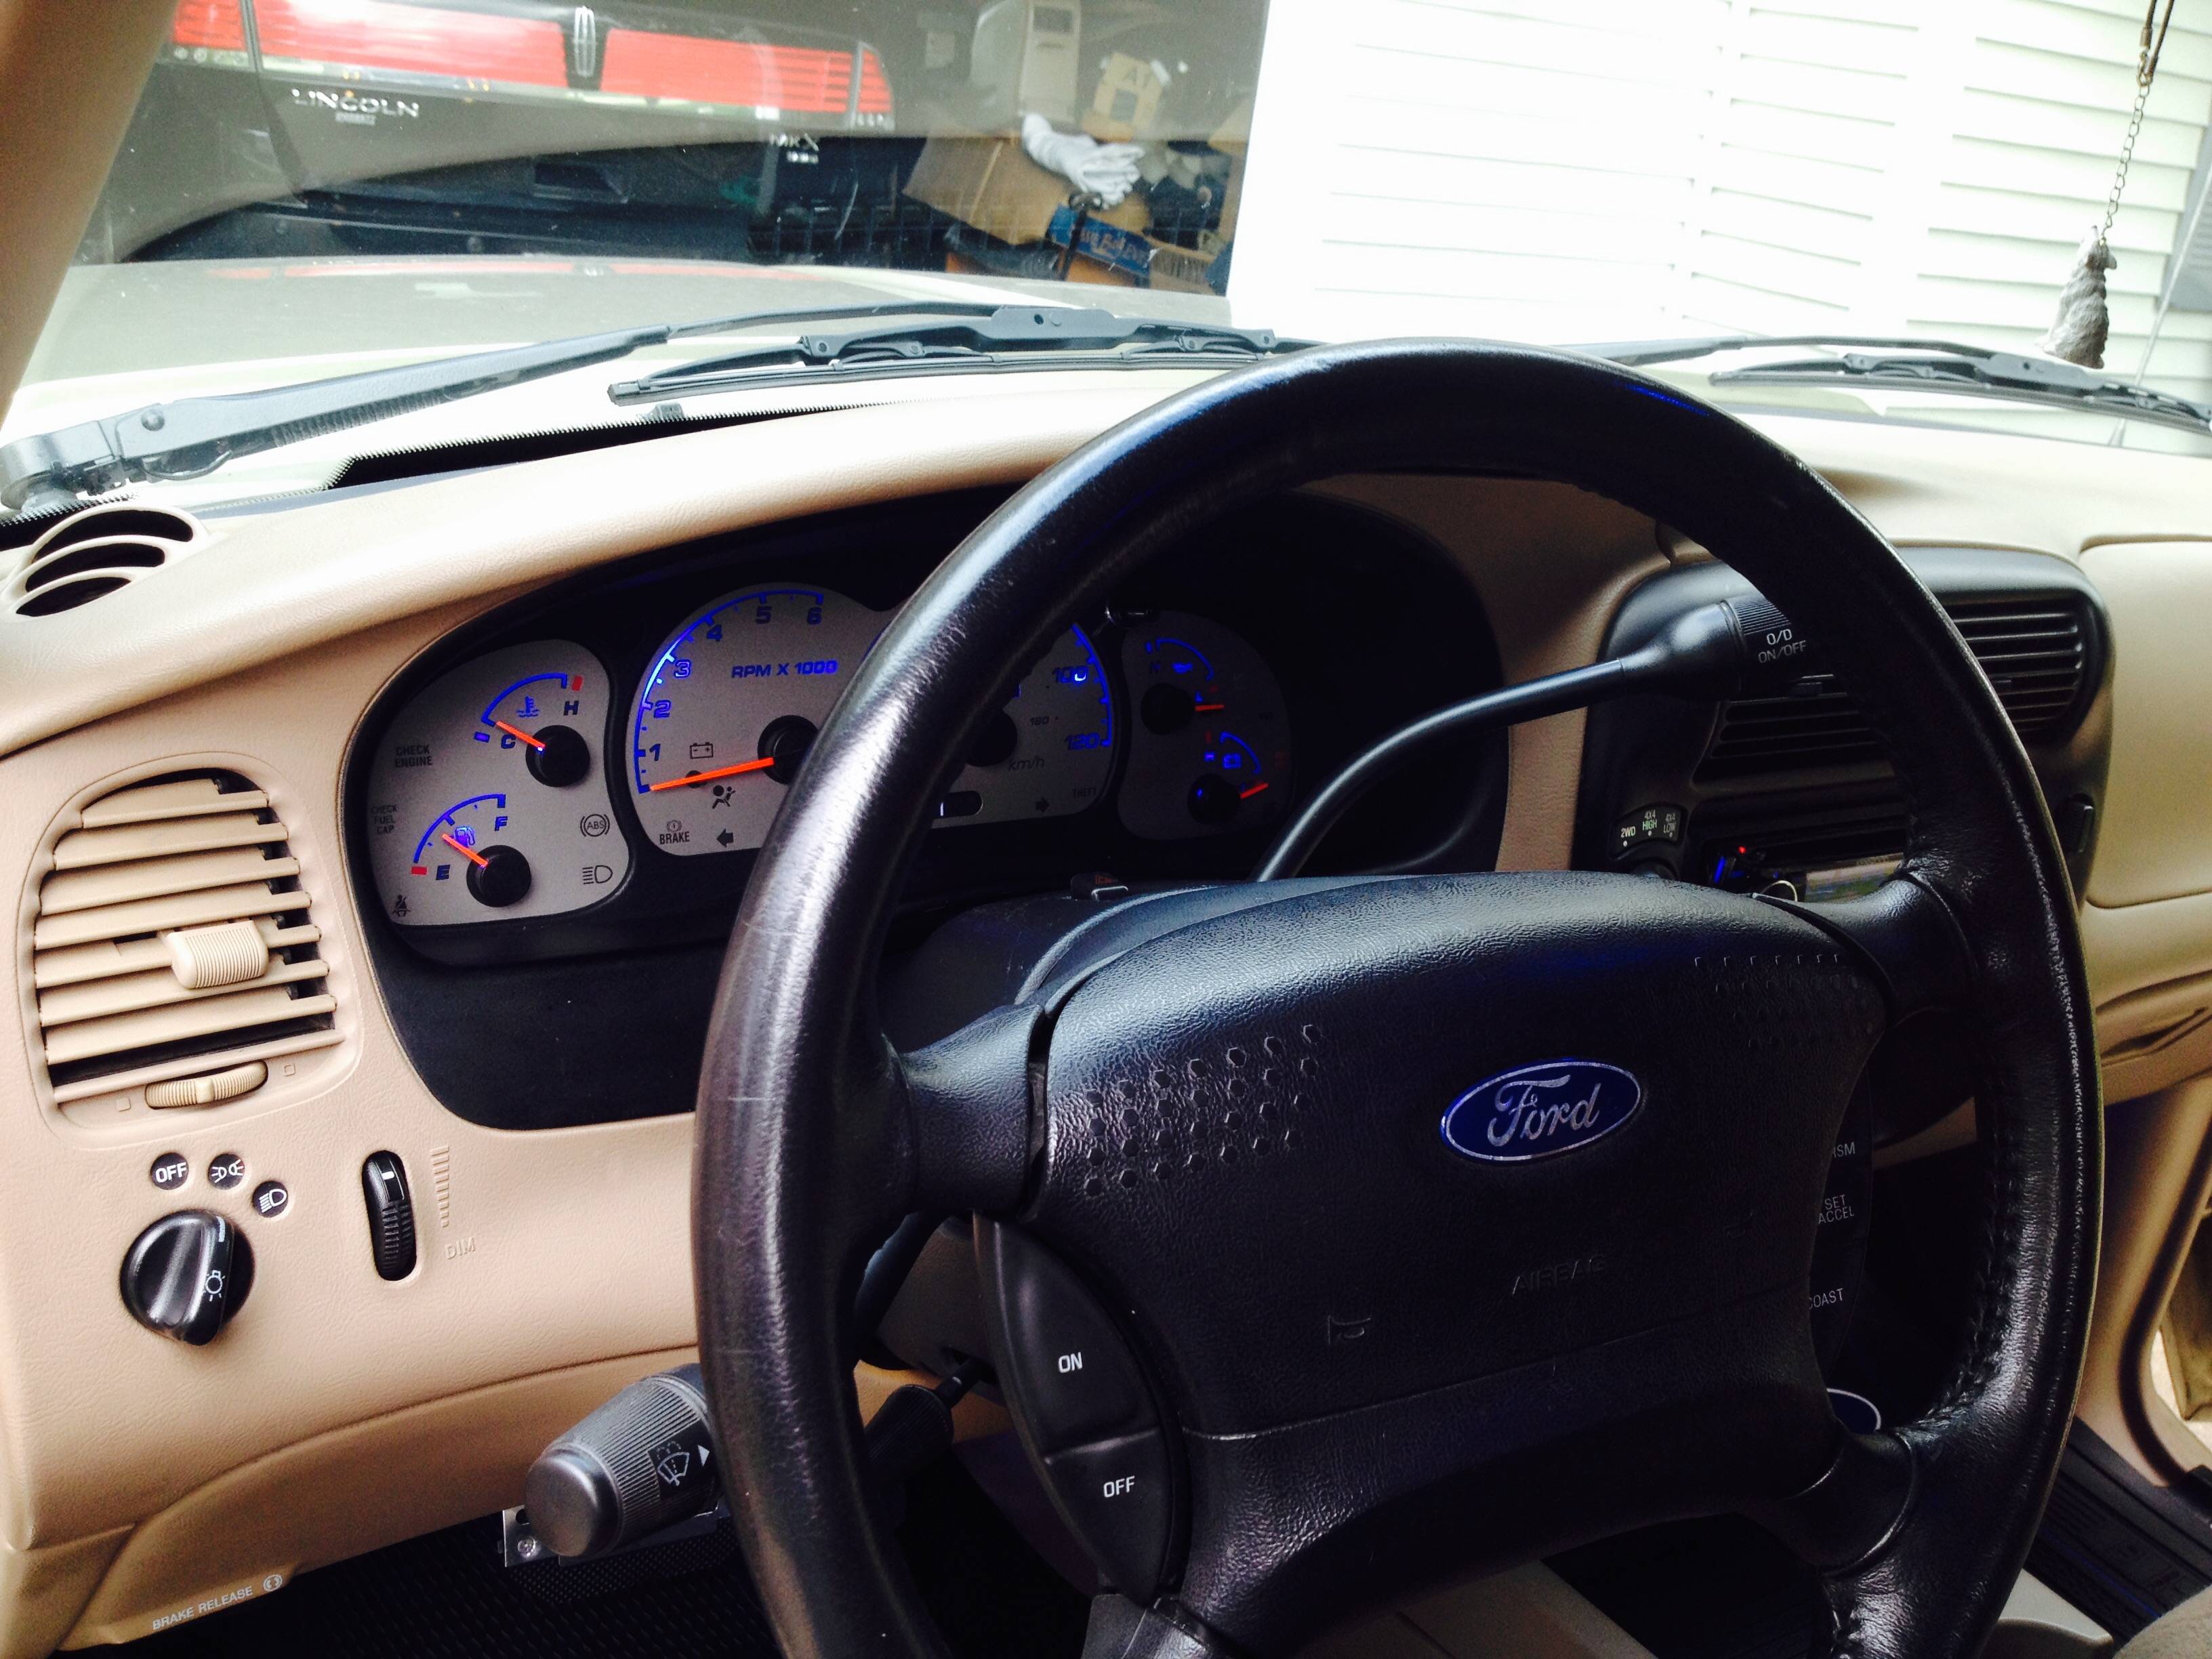
Also a pic of how many miles I have, if anyone wants to know.
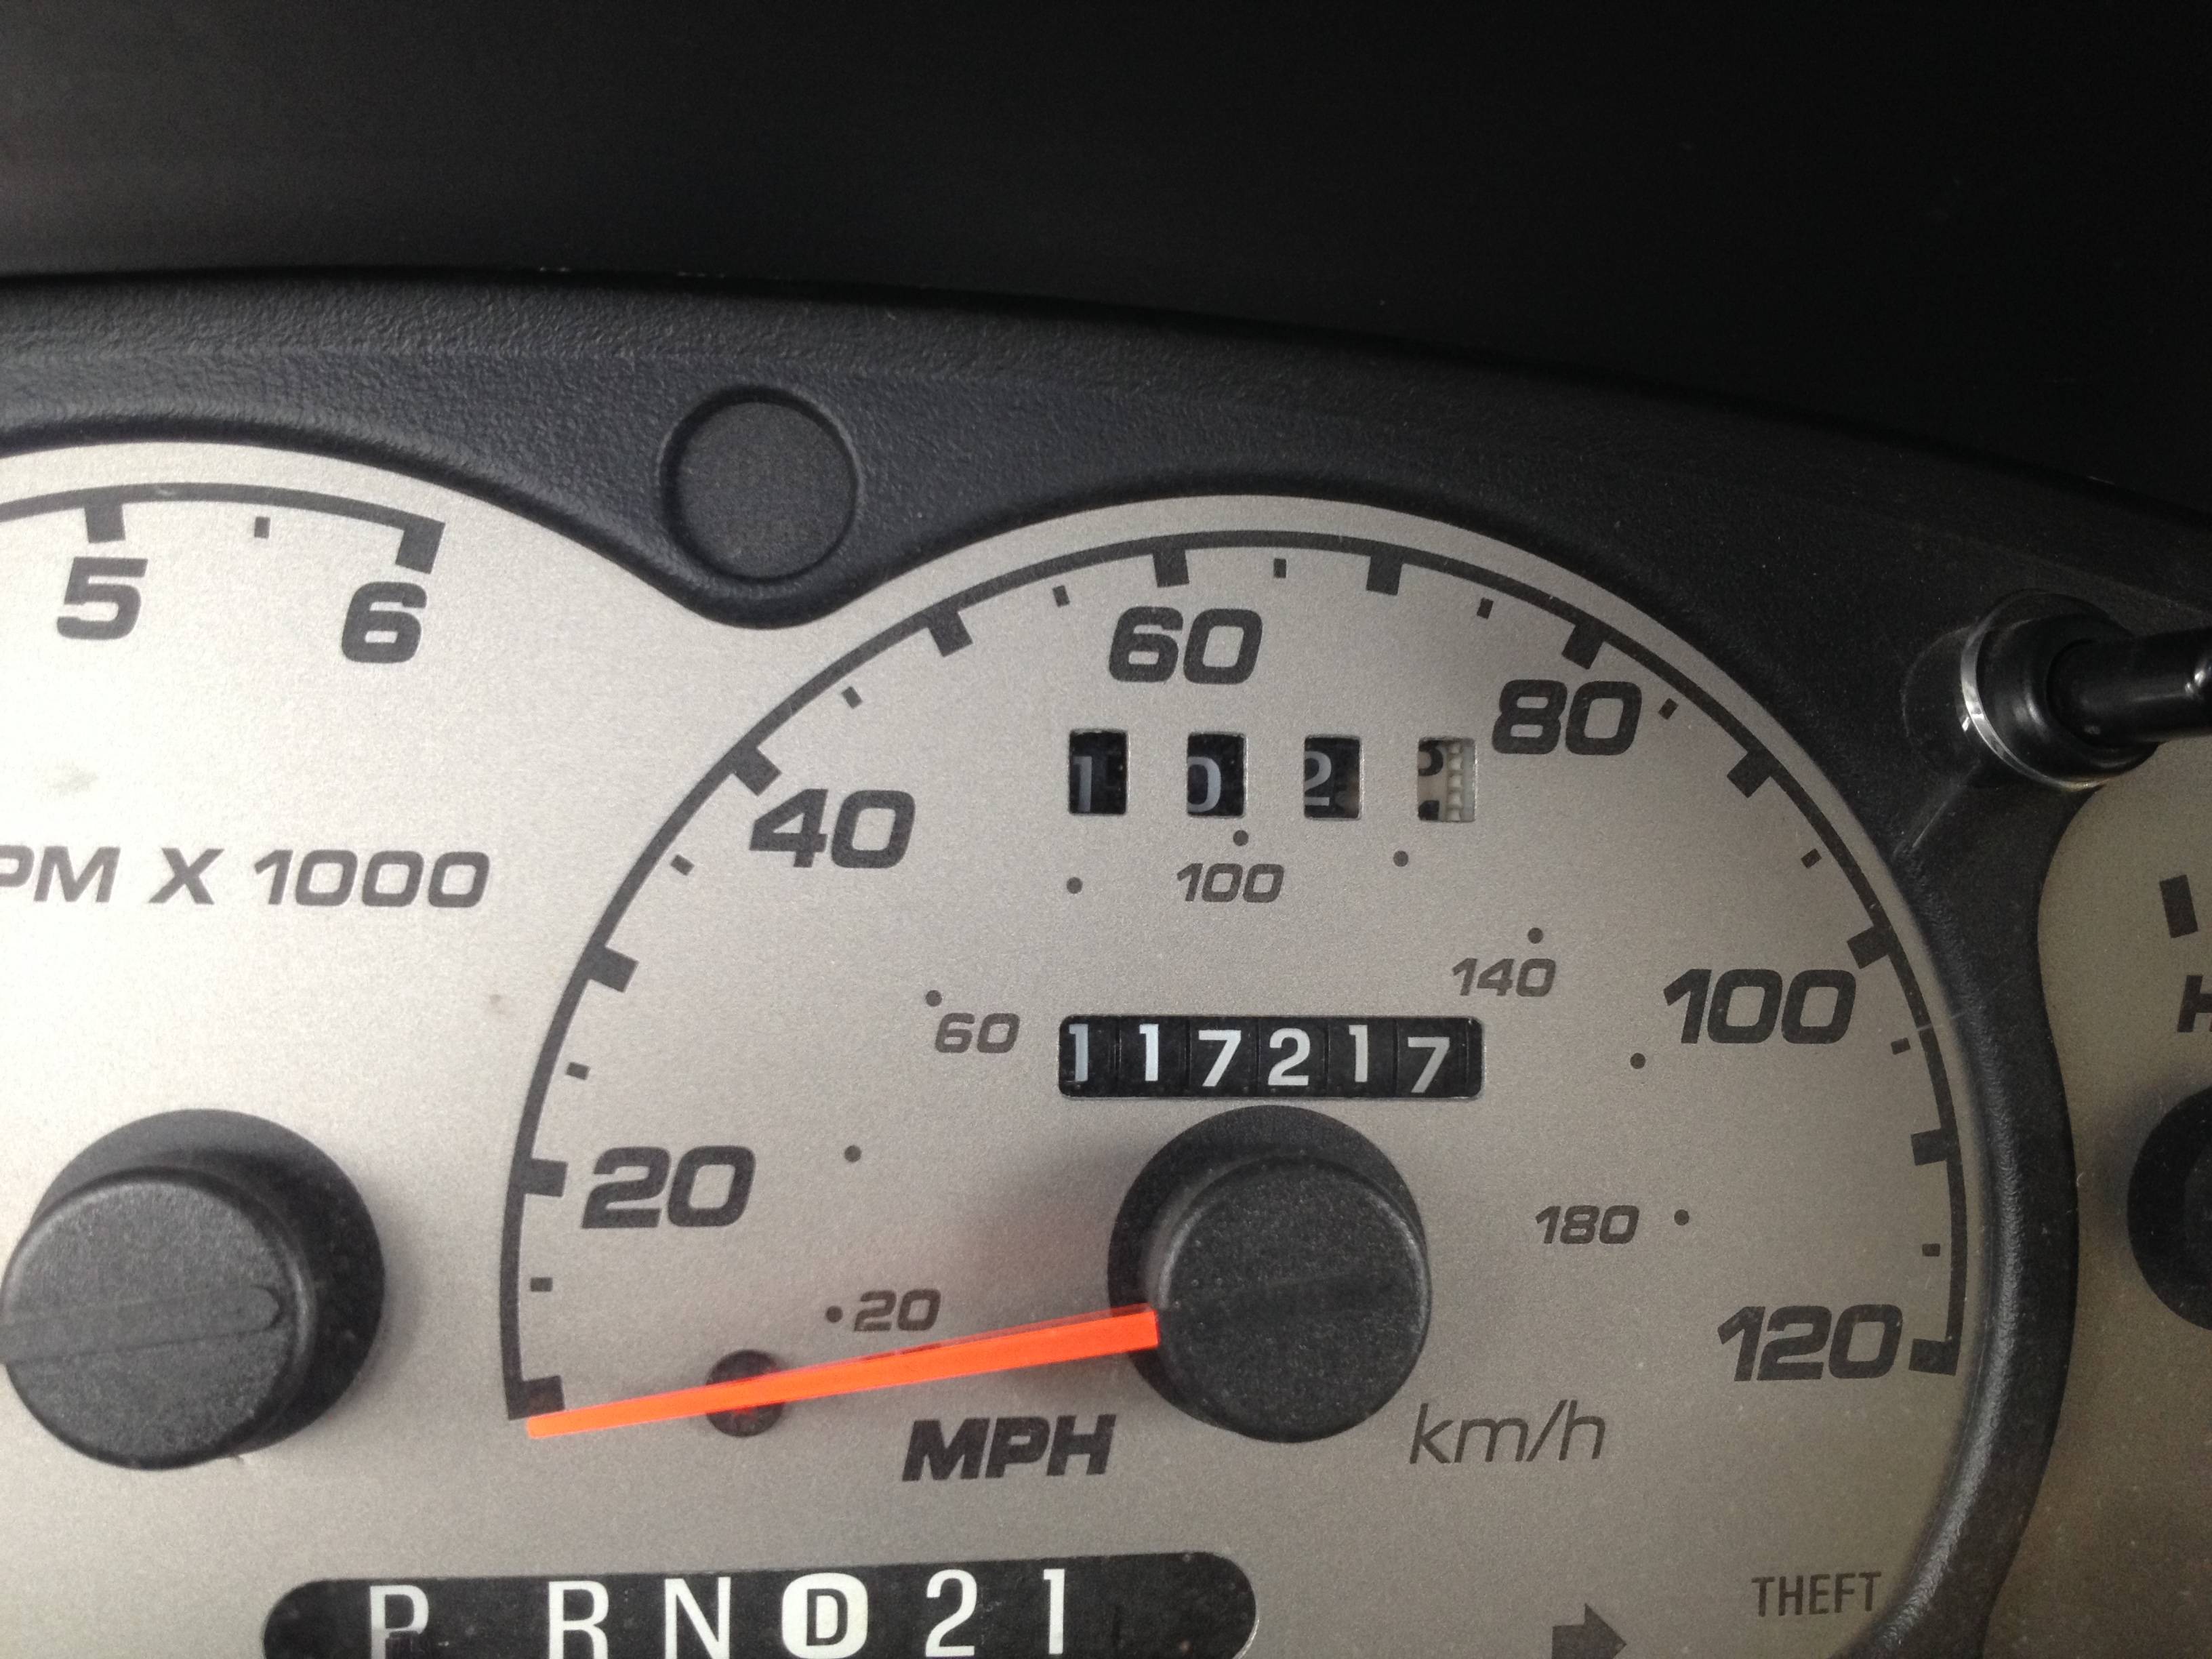

Detailed my interior today. Pics! Not too sure I like how these came out.


Also a pic of how many miles I have, if anyone wants to know.


#328
#330
Thanks! I don't detail it as often as I should. First one of the year, actually. I'd like to do a twice a year detailing.
@Brian: When my father swapped an 04 steering wheel into his 03, I got his leather steering wheel and airbag. I would have reused mine, if it weren't for the fact that his has the colored emblem with the hexagon shapes at the top corners.
@Brian: When my father swapped an 04 steering wheel into his 03, I got his leather steering wheel and airbag. I would have reused mine, if it weren't for the fact that his has the colored emblem with the hexagon shapes at the top corners.
#331
So far it appears my alternator has miraculously recovered. It's charging the battery no problem, now. Maybe the PCM reset had something to do with it? IDK. If I don't have to buy one, awesome.
I did wind up buying the Dayco belt I mentioned earlier from Autozone. Ran me 29.95 all said and done. Put it on after cleaning the pullies, it squeaked for three rotations but quieted down to silence after it settled in.
Part number is 5060883 and appears to fit both the 3.0 and the 4.0 engines. Great buy.
That belt dressing sure makes a royal mess out of the pullies and belt though. Brake clean is the only thing that would take it off. Ended up throwing my old belt away because it was just so gooey and nasty. Yuck.
#332
The new belt seems to be working fine. So far, for some reason, it'll squeak briefly when it's started first thing in the morning, but after it's been run it's quiet as a mouse. I don't get it, but I'm still happy with this belt. I'll update that every so often.
Update on the fan: So far it's running reliably, no issues after I switched to the 60A maxifuse. I still need to hook up the AC, but with winter around the corner I find that a waste of time at this point. I'll do that in the spring. No rattles, no damage, no overheating, working great. I can't say I feel any more pep out of it, but that's not what I was aiming for anyway so, no loss in my eyes. Wanted a mod to do and make it easier to change belts. Both of those were accomplished so, that's a win for me.
The truck is going to stay in one piece for a while, btw. I'm helping my sister find herself a car after *ahem* accidents happened. That's a chevy, for you, though. Oval for life!
Thankfully she feels the same way, so a Ford is what we're finding for her. Found a rather nice 2000 Taurus SE with the DOHC engine. Rather nice car, too. She ticks over like a clock, with very little wrong with it. Transmission is in dire need of a change, fluid at least. It's at the 'waste line' where if you let 'er go any longer you'll lay it to waste. Thankfully we have that covered.
But anywho, not my car and not a Ranger so I won't clog up this build log with Taurus stuff. Gotta say though, I love the MACH stereo system. Want it. It also turns out to be the same color as my truck.
So, if I don't post much about my truck for a while, that's the reason. In the process of this car purchase, she's also asked me to teach her about cars, so she doesn't get ripped off and can do some of the basic things herself. Been doing a lot of this lately.![Teach[1]](https://www.ranger-forums.com/rf/forum2/images/smilies/teach[1].gif) I won't complain though, I enjoy it. If all goes well she oughta have it on Thursday. I'll post a pic of it next to my Ranger if any of you are interested.
I won't complain though, I enjoy it. If all goes well she oughta have it on Thursday. I'll post a pic of it next to my Ranger if any of you are interested.
Update on the fan: So far it's running reliably, no issues after I switched to the 60A maxifuse. I still need to hook up the AC, but with winter around the corner I find that a waste of time at this point. I'll do that in the spring. No rattles, no damage, no overheating, working great. I can't say I feel any more pep out of it, but that's not what I was aiming for anyway so, no loss in my eyes. Wanted a mod to do and make it easier to change belts. Both of those were accomplished so, that's a win for me.
The truck is going to stay in one piece for a while, btw. I'm helping my sister find herself a car after *ahem* accidents happened. That's a chevy, for you, though. Oval for life!
Thankfully she feels the same way, so a Ford is what we're finding for her. Found a rather nice 2000 Taurus SE with the DOHC engine. Rather nice car, too. She ticks over like a clock, with very little wrong with it. Transmission is in dire need of a change, fluid at least. It's at the 'waste line' where if you let 'er go any longer you'll lay it to waste. Thankfully we have that covered.
But anywho, not my car and not a Ranger so I won't clog up this build log with Taurus stuff. Gotta say though, I love the MACH stereo system. Want it. It also turns out to be the same color as my truck.
So, if I don't post much about my truck for a while, that's the reason. In the process of this car purchase, she's also asked me to teach her about cars, so she doesn't get ripped off and can do some of the basic things herself. Been doing a lot of this lately.
![Teach[1]](https://www.ranger-forums.com/rf/forum2/images/smilies/teach[1].gif) I won't complain though, I enjoy it. If all goes well she oughta have it on Thursday. I'll post a pic of it next to my Ranger if any of you are interested.
I won't complain though, I enjoy it. If all goes well she oughta have it on Thursday. I'll post a pic of it next to my Ranger if any of you are interested.
#334
#335
Since I have a bit of a reprieve, I'm taking this time to finish up my center console. The whole thing is wired, save for a single switch for the door locks (however I'm contemplating something else for that....)
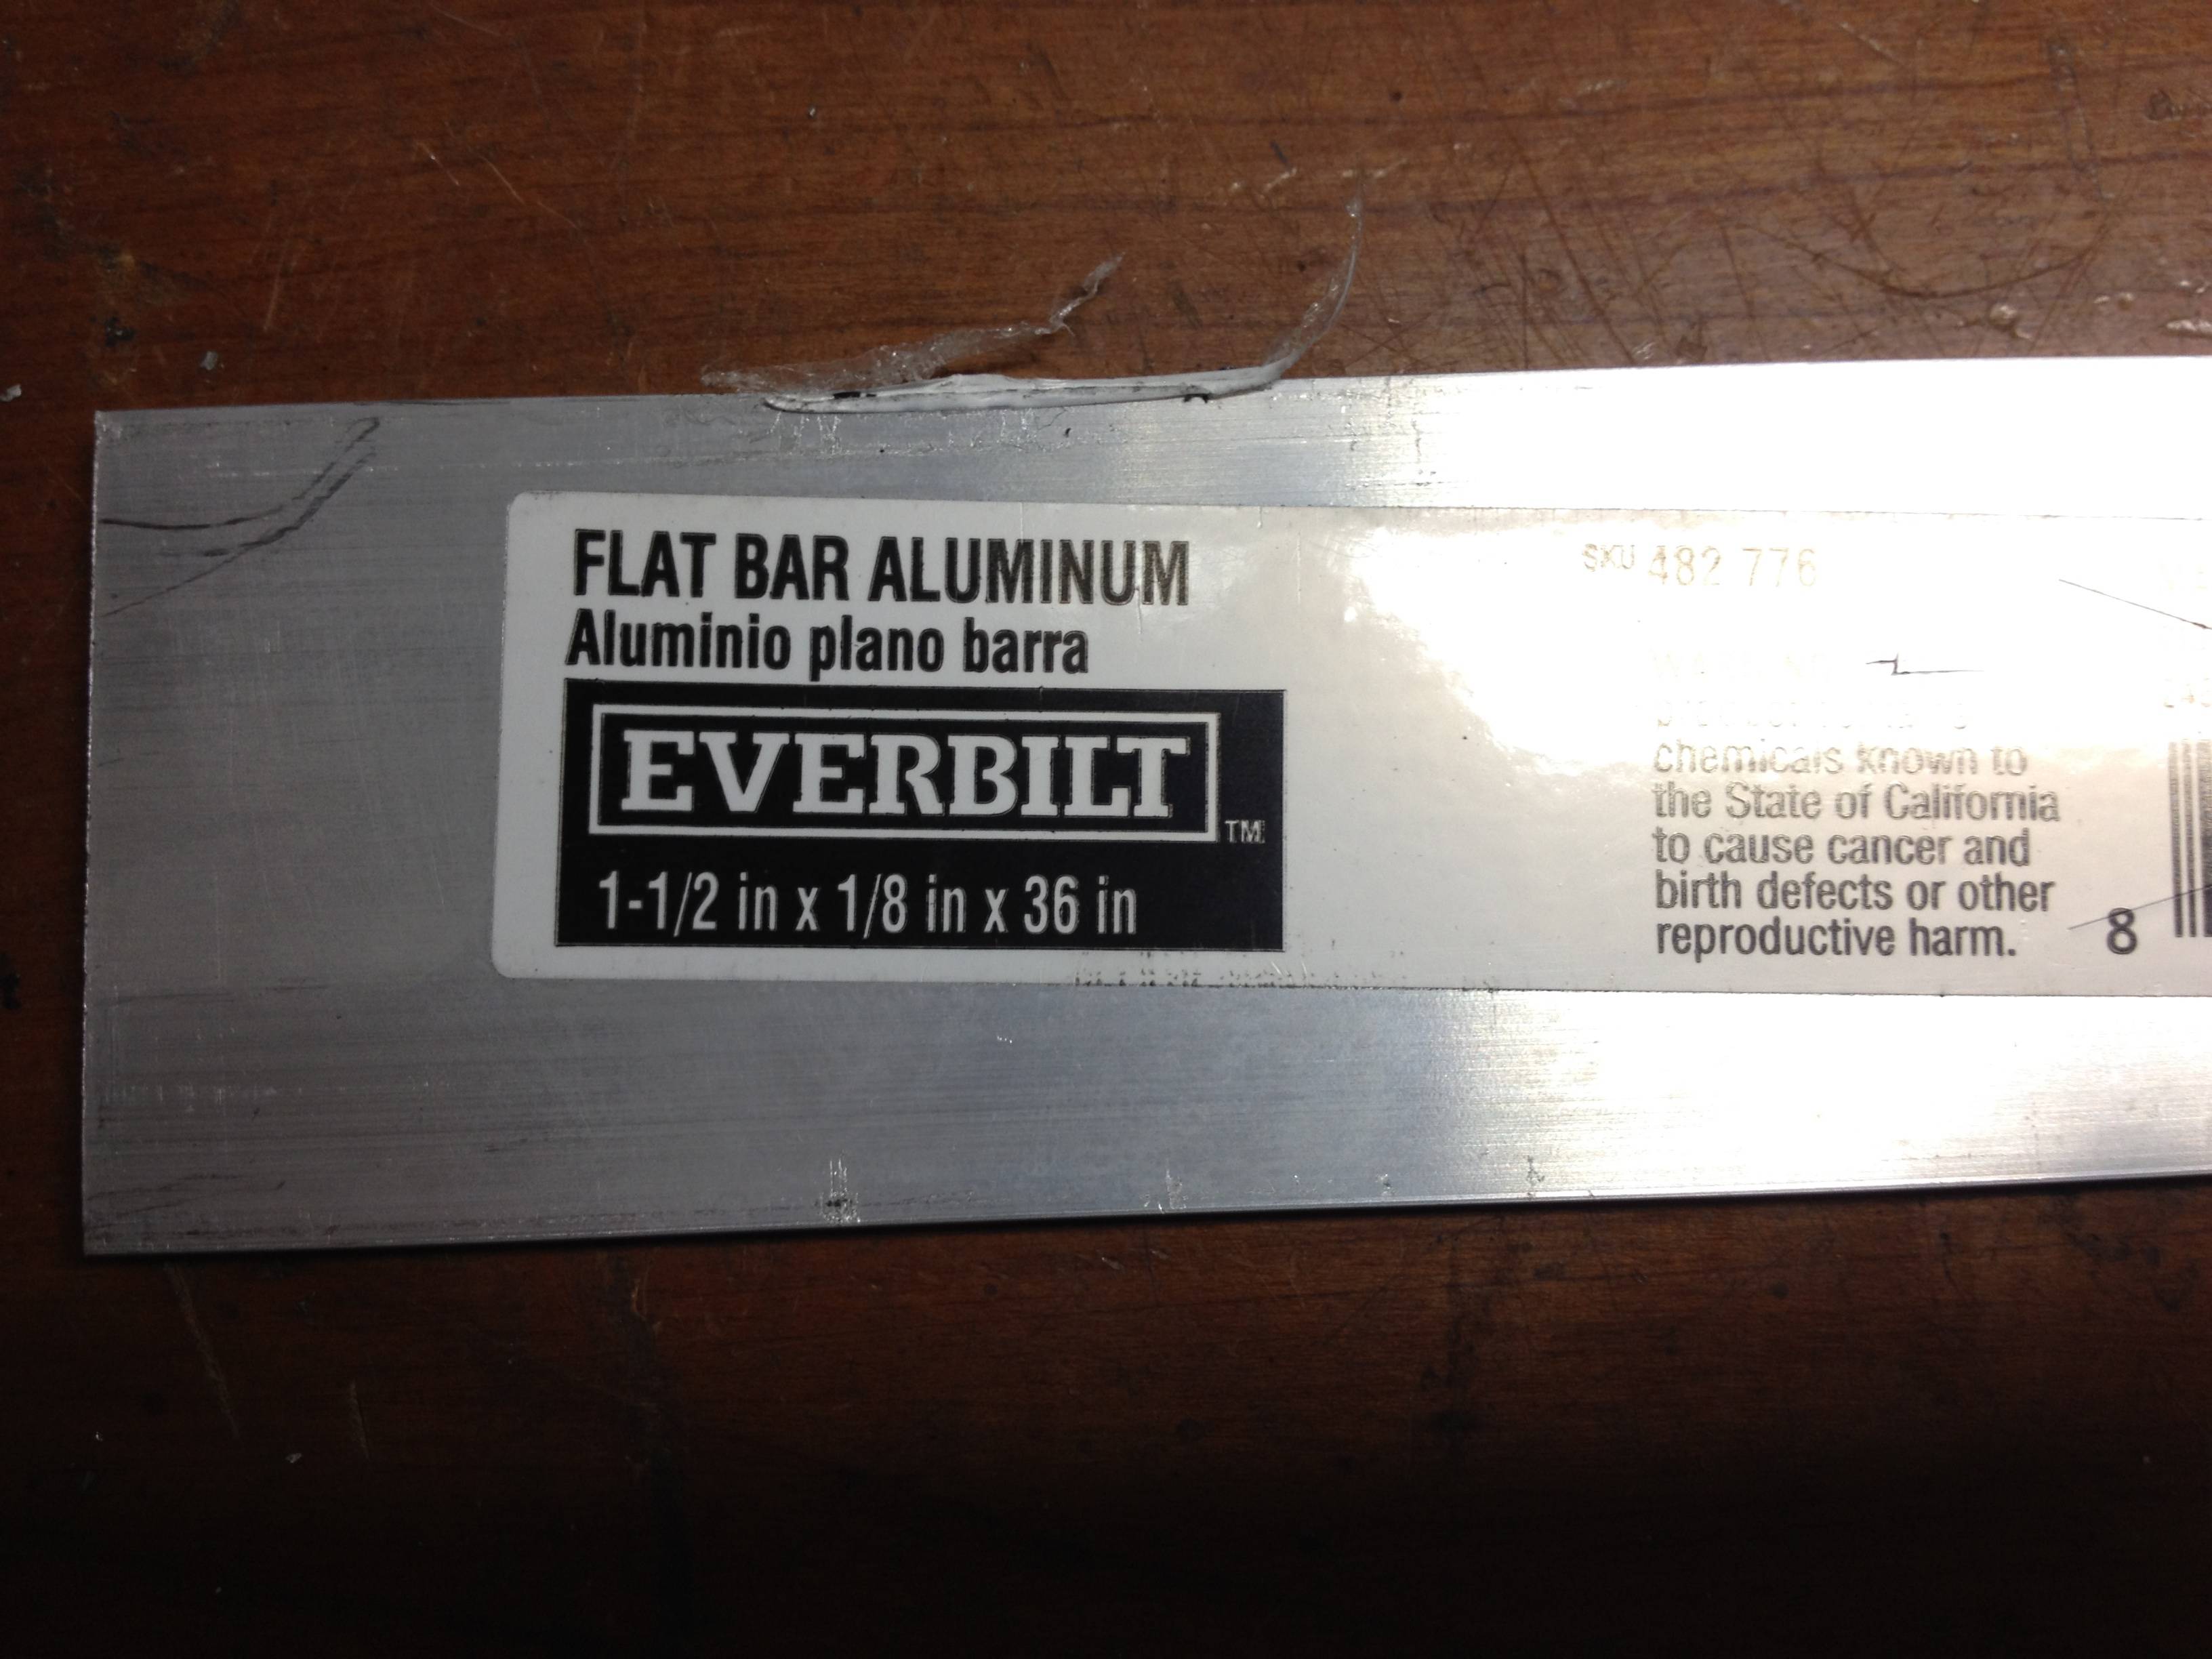
I at least have what will be the mounting for the switches. I have chosen a piece of aluminum flat bar from my local home depot, for a couple of reasons.
First, it's fairly inexpensive. 10 dollars, give or take a few cents for tax, for a 3 foot long, 1 1.5 inch wide, 1/8th thick strip. I don't need three feet of it, but in the future I will need more of this for mounting my relays under the hood, so the extra length isn't an issue, for me.
Second, aluminum is fairly easy to work with, not to mention it is already quite flexible. It won't be nearly as ridged as steel would have been, but steel does one thing that aluminum doesn't: rust. This means I would have to paint the steel, which then leads to wearing of the paint as time goes by. Aluminum doesn't have this problem. And later, if I find that the mounting is too flexible, I can always add some extra support down the road in a variety of ways. Although, anything is better than my first iteration of a switch panel.
I'm also considering a push button that pulls the ignition cylinder to ground. Reason being is, after 40 minutes the battery saver turns off. I'd like a way to re-enable the saver, but without wearing out my door switches. I found that placing the key in the ignition, not even all the way, therefor turns the battery saver circuit back on. Of course the same principle applies if I pull one of the door activity pins on the GEM to ground.
Here is a photo of the label if anyone wants to see it.

#336
Hey guys, fear not the project isn't dead. Just been busy doing other stuff as of late.
Nothing really has changed, but I intend to get the console switch plate done here after a while.
Remember that Taurus I mentioned? That's been keeping me occupied. Perfectly sound car, but just needs some sprucing. Oil changed, faded plastic painted, new tail lights, new rear view mirror with dimming and a compass, headlights restored, etc.
It still needs a good wash and wax job, as well as a small interior clean (it's very clean as it is, just an OCD thing) and it's also in need of a transmission flush, which I'll be the one to do. That's going to require my full attention, and I expect that to be coming up right quick. I want that done as well as any other issues that may be present looked at and checked over before I tear into mine; after all my truck is what we're using to get the parts she needs.
So, that being said, that's what's holding the train up, so to speak.
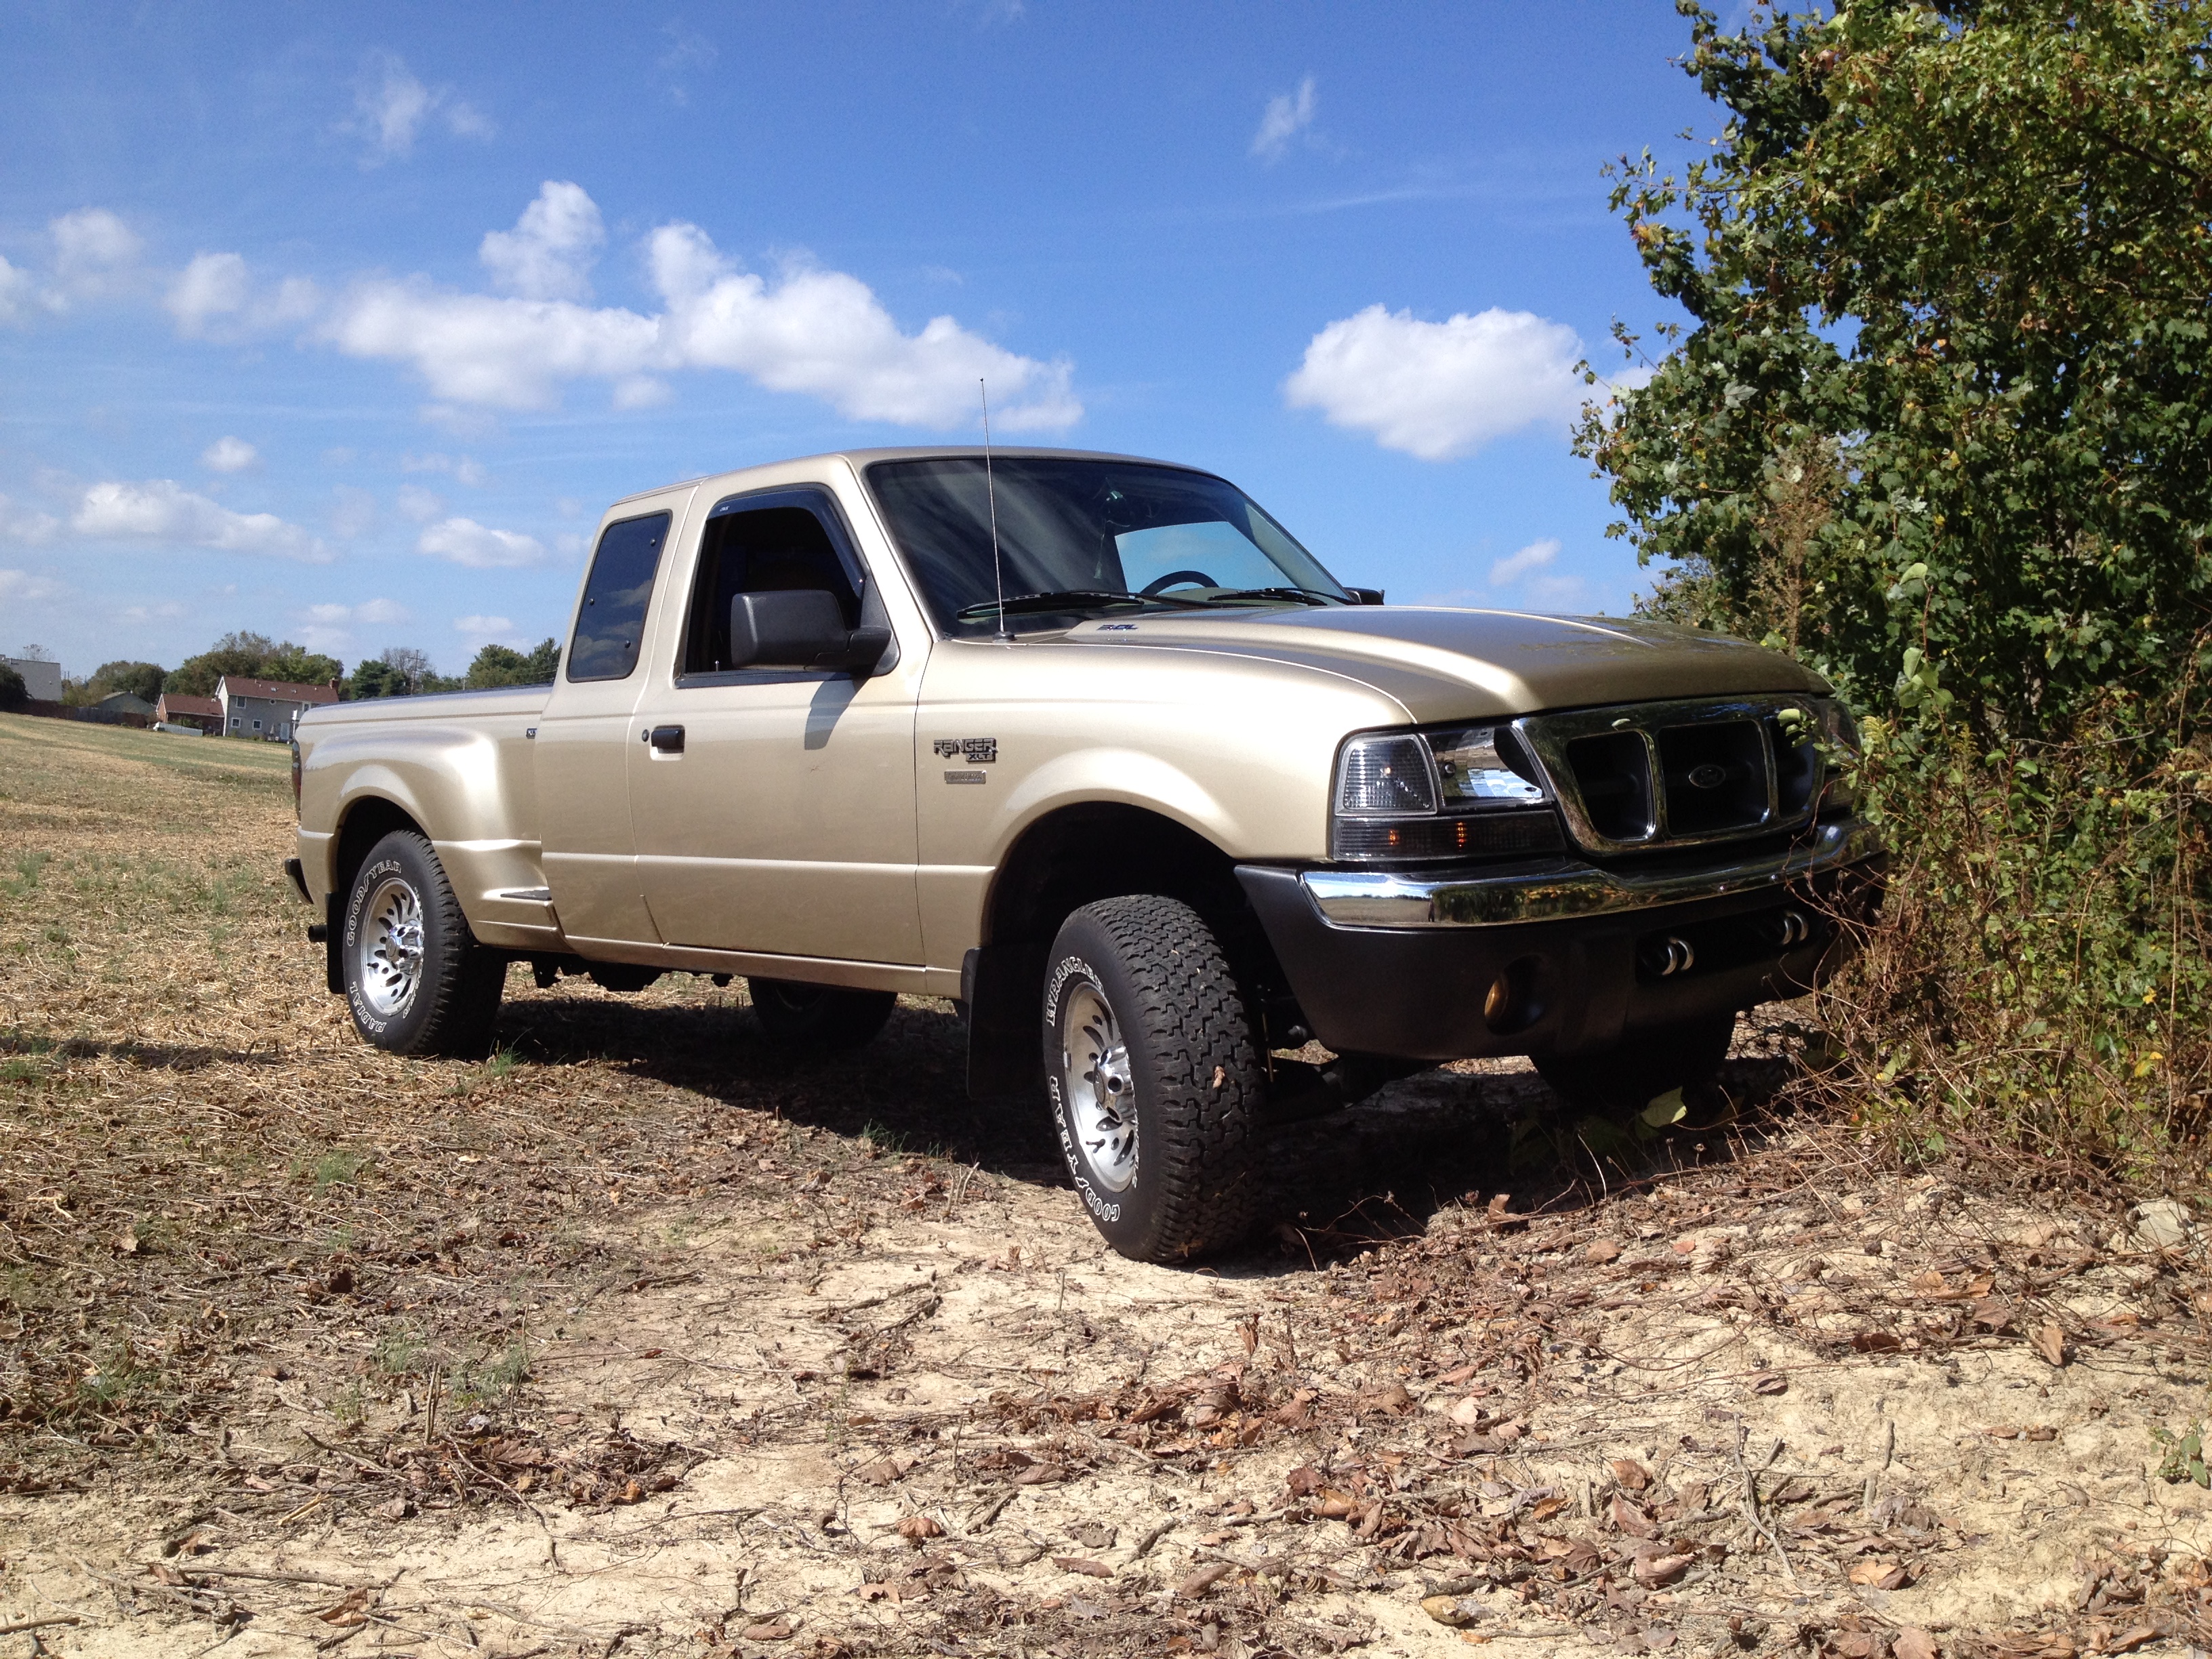
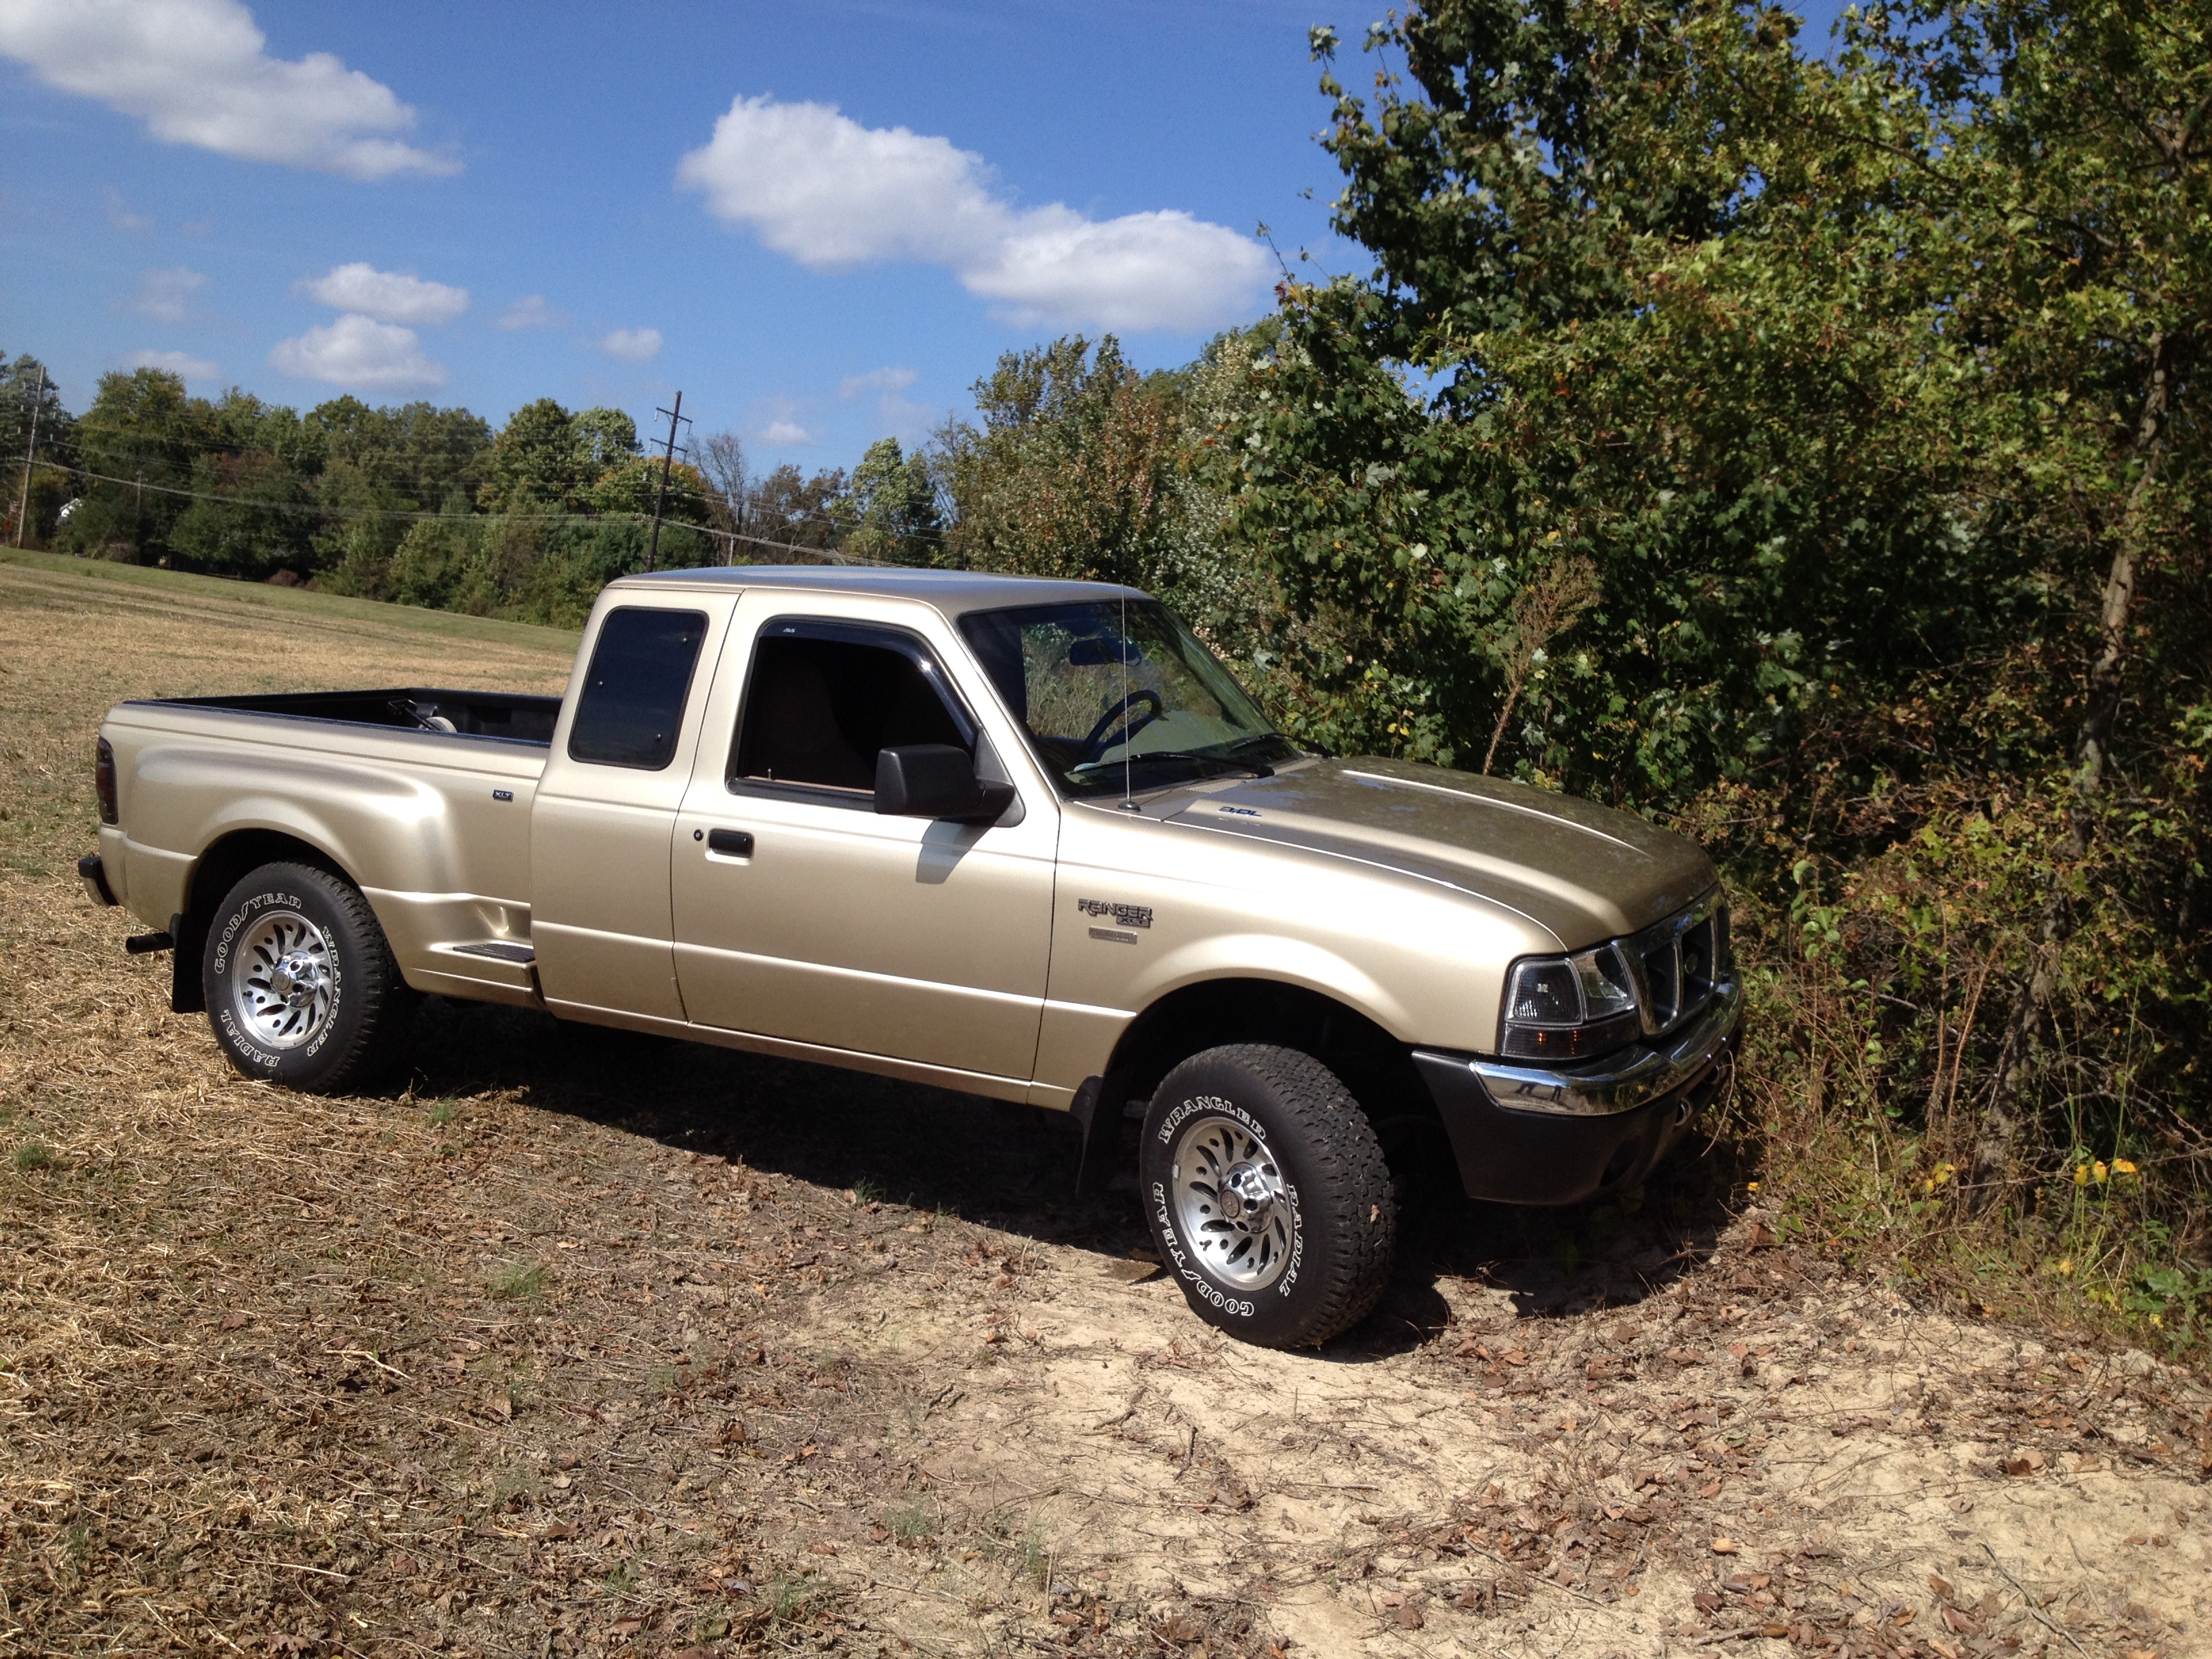
However I did manage to get a bit of fun in the other day. Gold Dust's first flex, guys! Not the best in the world, but it's what I have around. The dirt mound is a lot more prominent from the other side. I plan on doing this again with snow on the ground in a few months.
....I still miss my 3000k fogs....


#337
Ever since I did my turn signal mirrors, I've noticed something strange. Occasionally, the driver's side turn signal will come on and stay on. Only thing that turns it off is activating the switch. Only happens when I get in and first start the truck, never while I'm driving.
Never the passenger side, either. Either I wired something wrong, or the multi-function is starting to go.
EDIT: Prior to installing my LED mirrors, only once, my turn signals stopped working all together for a very brief time. Of course they worked when I got home, though. When I'm at the junkers I'm going to nab a 'new' one that hopefully isn't too worn; if I don't have one in the attic.
Last edited by TheArcticWolf1911; 10-30-2016 at 10:52 PM.
#338
Enjoying catching up on your mods. Installed the new LED third brake light. Did not fit as advertised, small gap around the edges, probably sacrilege, but used clear silicon to ensure no leaks. Had a heck of a learning curve today, went to install the new LED lights for the instrument panel, got everything torn apart, and I ordered the wrong bulbs. everything I found said 194's, pulled the bulbs and they were not 194s, they were smaller. Guess they changed the sizes from year to year. Will just have to do more research. Was not able to fit anything in to try and clean up dimmer switch, not really concerned about have a lamp I can turn on.
#339
The backlighting bulbs, which illuminate the cluster's gauges and needles, are 194s (unless there was some off year). The idiot lights (check engine, seatbelt, airbag, turn signals, etc) are #74 minibulbs; basically a baby brother to the 194s.
You could probably post up some pics of what you have in the interior semi tech or electrical section (either would be appropriate) and get some info on 'em.
I have a hard time believing Ford swapped out bulbs for a couple of years, though. When Ford decides on doing something they tend to stick with it for a looooong time. Good for modders, though; unless it's a particularly crap design.
Thank you for reading, btw.
Speaking of mods, I'm about ready to wind down this center console and finally fit the plate in; well make the plate and then fit it.
I've got a pair of special switches coming from ebay, which will suit my ideas just fine. I have a set of power door locks which were working prior to disassembly, sort of. The switches I was using worked intermittently. Just why I don't know, but I've chosen to go a different route.
I have a pair of DPDT switches headed here. (Double Pole Double Throw) They take on the appearance of a normal toggle switch. Center position is off, left and right are both on for their respective circuits, as well as being momentary. I'm going to wire them so both doors actuate with the flick of one switch, as opposed to each door being separate in the previous rendition.
Now of course there's a second switch, which is identical. While I had my column apart, I chose to disable the keyminder. However, this keyminder also has the ability to re-enable the battery saver circuit after it has timed out. I often have this circuit powering my radio, allowing me to play it without the key in the ignition, so this would be a supporting mod.
The jist of this supporting mod, is I'm taking the key minder wire and using the second switch to momentarily pull it to ground, allowing me to turn the saver circuit back on without shutting the doors or using the key. Simple.
Of course that's just one side of the switch, and the other side will ultimately do nothing, unless I wire that side to do the same thing. If anyone has any ideas on what I could have the other side of the switch do, I'd love to hear 'em.
#340
Use the second side of the switch as engine cutout, I believe that is what it is called. Have to flip it to start the engine.
After more research on the bulbs, they are 74/2721/T5, will do a return of the bulbs, hopefully for an exchange for the right ones. Have eleven of them. Not a total loss though, cause I have learned how to take the dash apart, got a good blow down of the dust (small pancake air compressor). Learned I have to remove the transmission indicator bracket from the cable to remove the cluster. Not as difficult as it seems.
After more research on the bulbs, they are 74/2721/T5, will do a return of the bulbs, hopefully for an exchange for the right ones. Have eleven of them. Not a total loss though, cause I have learned how to take the dash apart, got a good blow down of the dust (small pancake air compressor). Learned I have to remove the transmission indicator bracket from the cable to remove the cluster. Not as difficult as it seems.
#342
Well, my two switches came in today so I decided to get working. I'll post pics when all is said and done as usual.
As a bit of a refresher, the two new switches are DPDT switches, originally intended for ~230 mains applications; or so the stamping says. They feel a bit cheap for that type of use.......
But, as a bit of a refresher, they take the form of a dual direction toggle switch, center being off and left or right (Up or down depending on orientation) being one or the other set of contacts.
One of these switches is used for the door lock and unlock; both doors on one switch.
The other switch will momentarily pull the 'key minder' circuit to ground, causing a chime, which reactivates the battery saver circuit. As a guy who loves playing his stereo, this is an incredibly useful feature. I accomplished this by repinning the steering column connector, the brown one. Instead of the wire leading to the column, it leads to the switch.
Remember that strip of aluminum I bought a short while back? Well I opted to bend it to shape. Went well until one of four bends broke! Great.
I did find a good way to bend them was to place the stock in a bench vise and use a hack saw to cut halfway or less through the metal, allowing a weak point to be formed in which it can be easily bent. Otherwise I find the metal does not want to bend at all. I didn't give this stuff enough credit when I first bought it. Fairly tough!
I think one of these bends was just a fluke, honestly.
So, what now? Well, I could cut another piece and try again, but honestly I don't want to risk the same thing happening twice. I'd rather not. So, my next option is to use a cheap pair of angle brackets on the inside where they won't be seen. One side will be drilled to accept the bracket even though it doesn't need it, and the broken side will be repaired with said bracket; a uniform look.
I figure I can pull this off if made to appear intentional. And if I cant, well it's less than two bucks down the toilet, so who cares?
I can also swap out the fasteners for either countersunk screws or I can also use acorn 'dome' nuts as well, with an optional washer. Perhaps yellow zinc. Who knows? I'll see what I can find and what looks good.
Both of them are wired in, using a dash bolt as their grounding places.
#343
'Tis done!
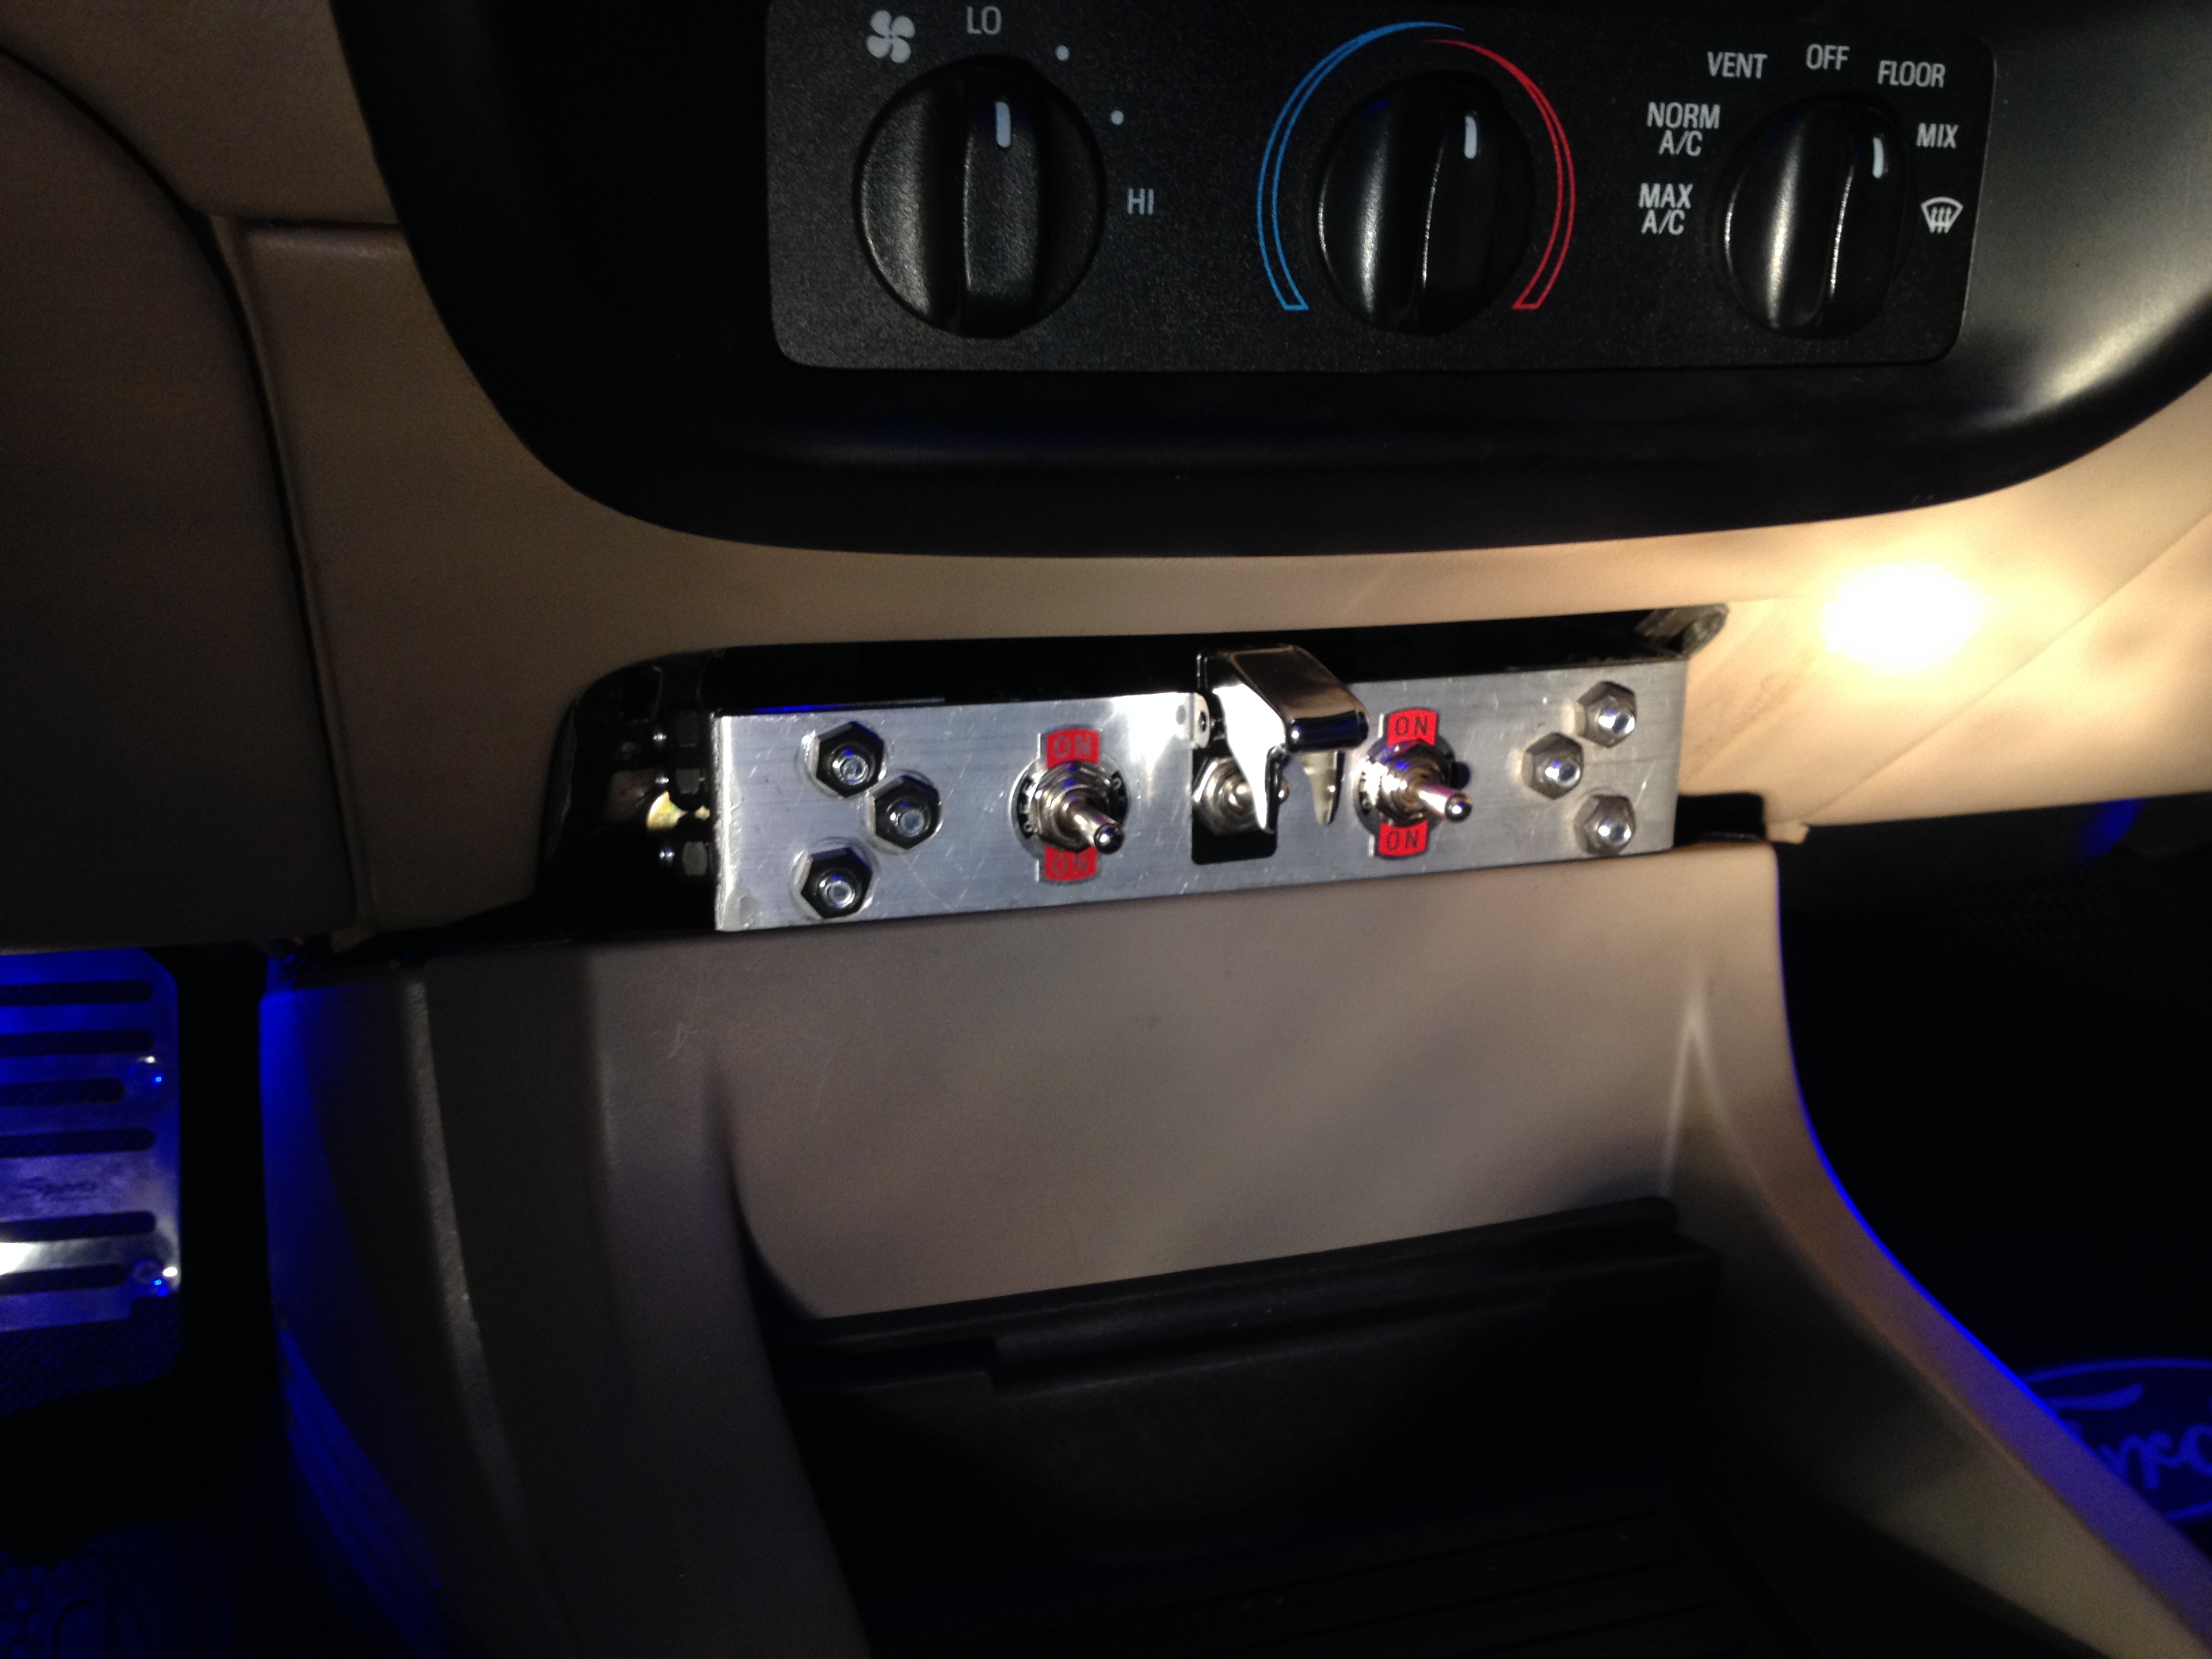
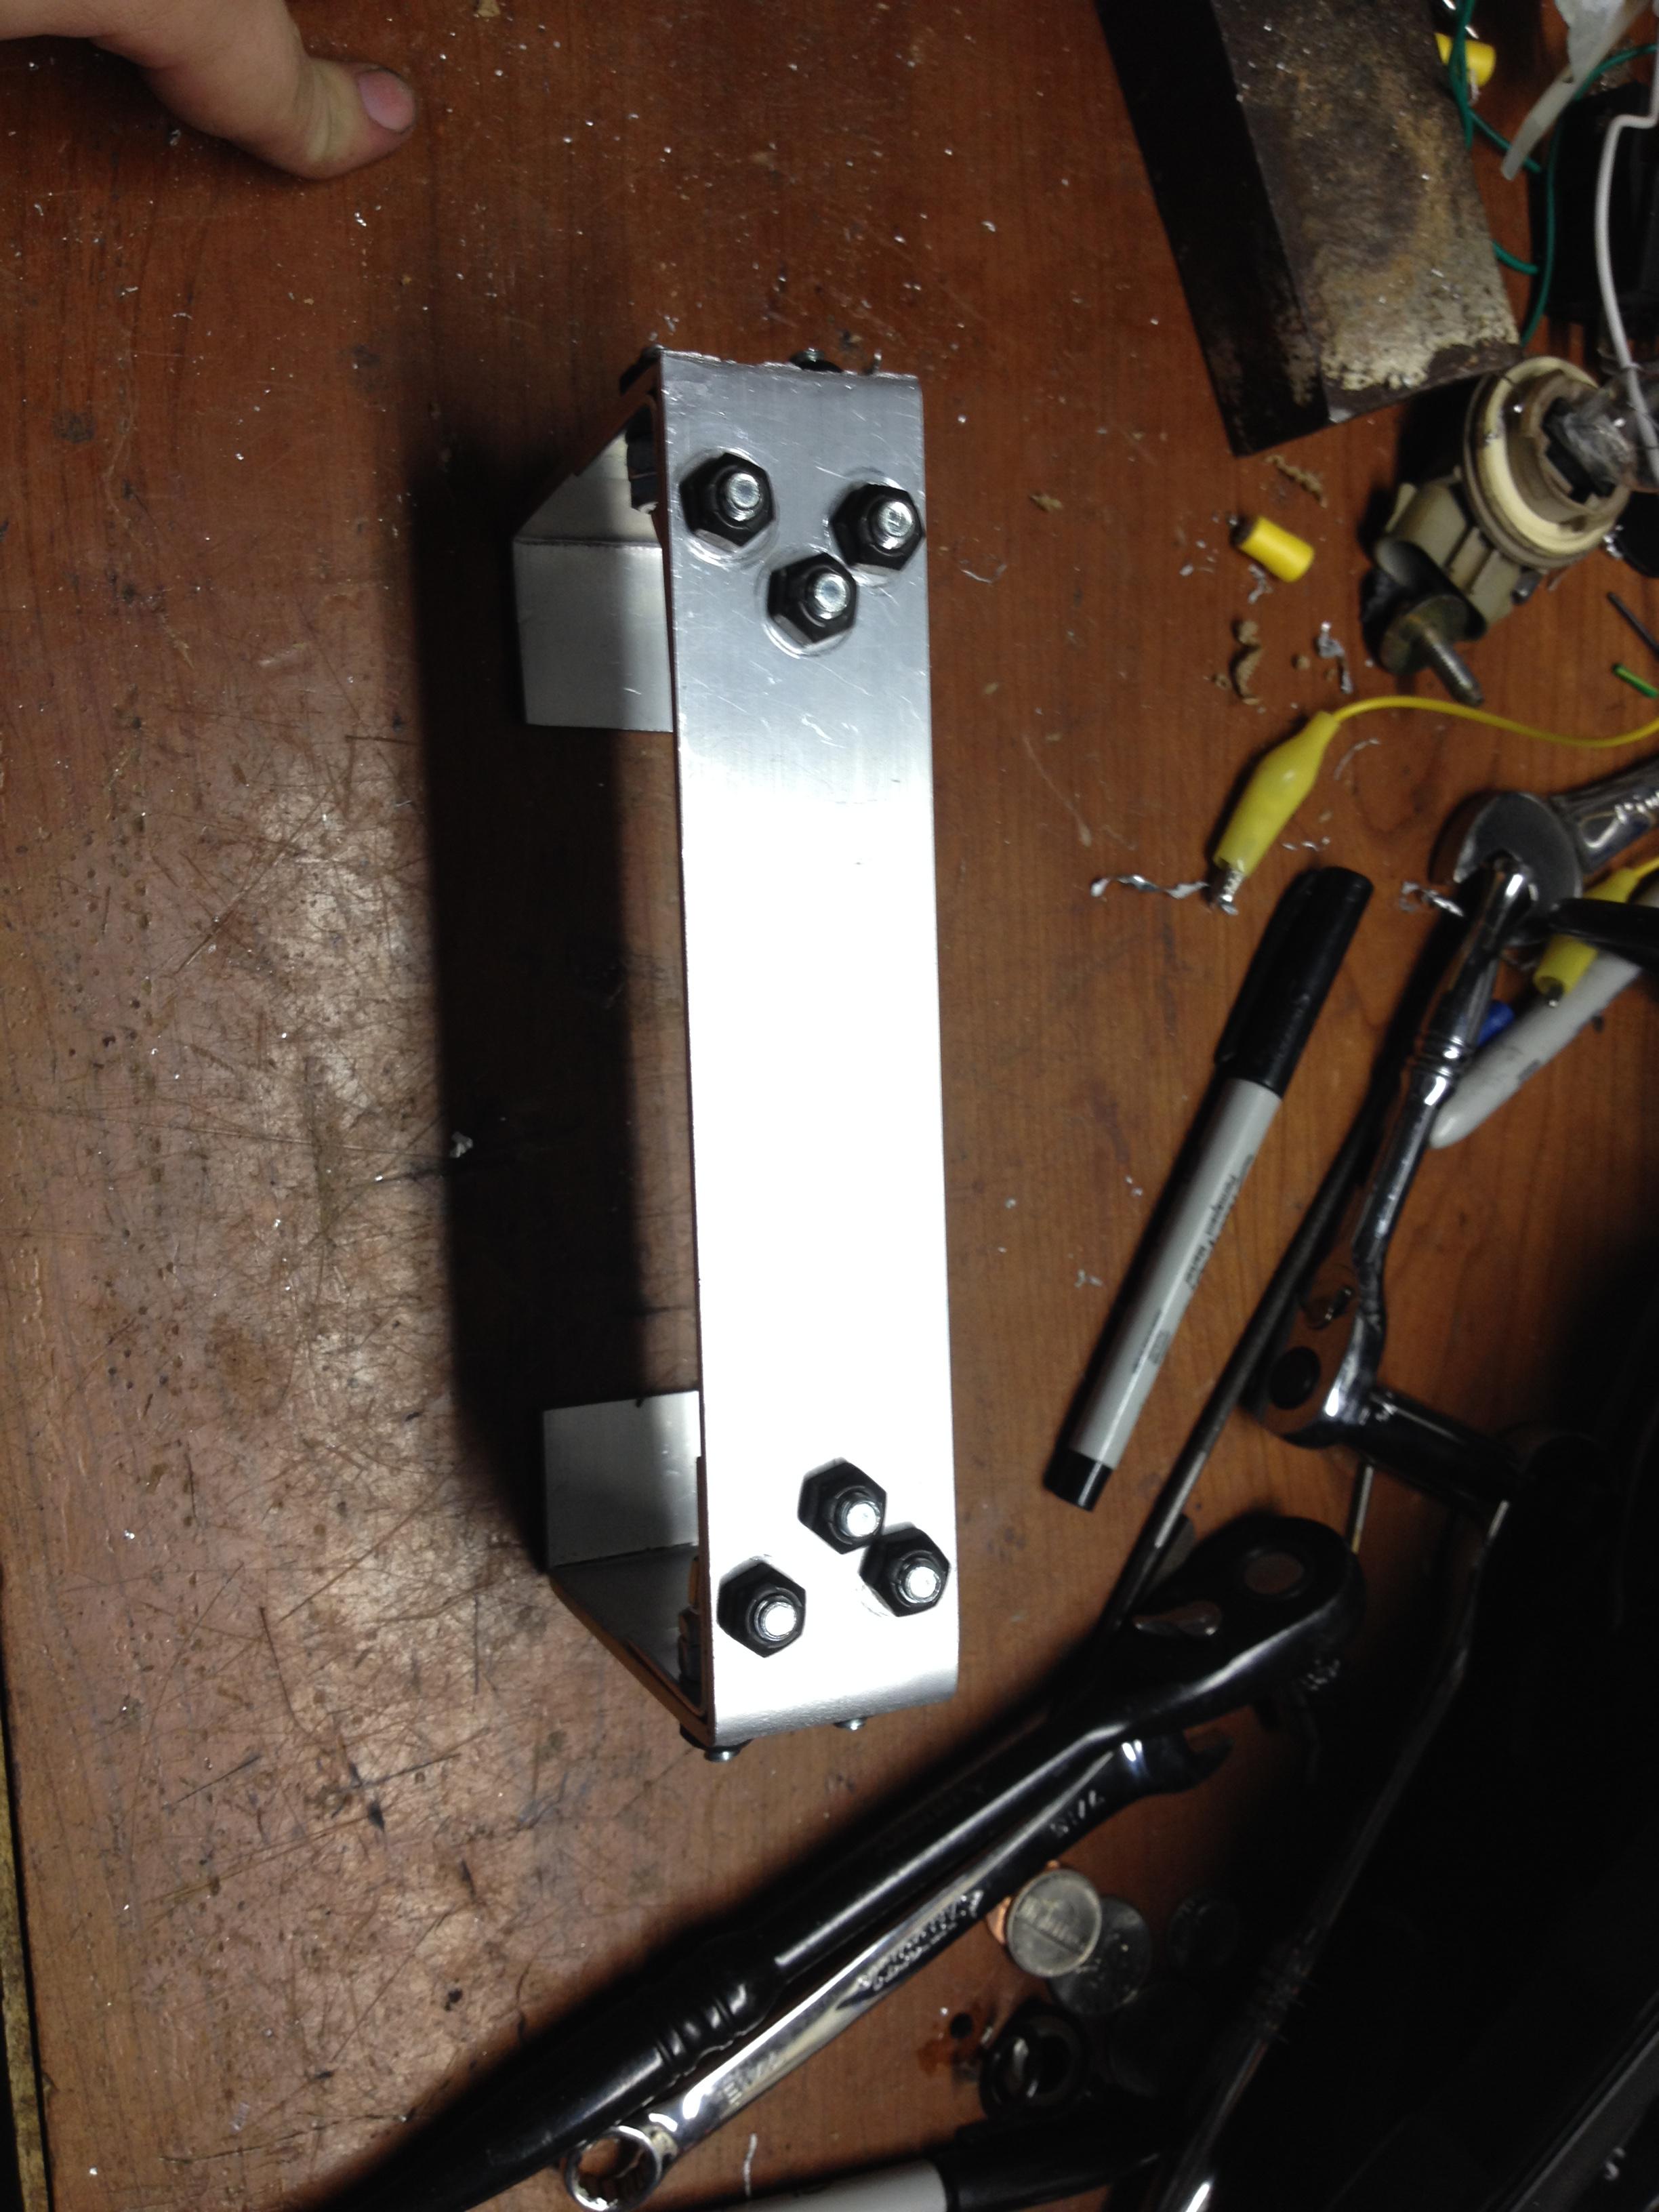
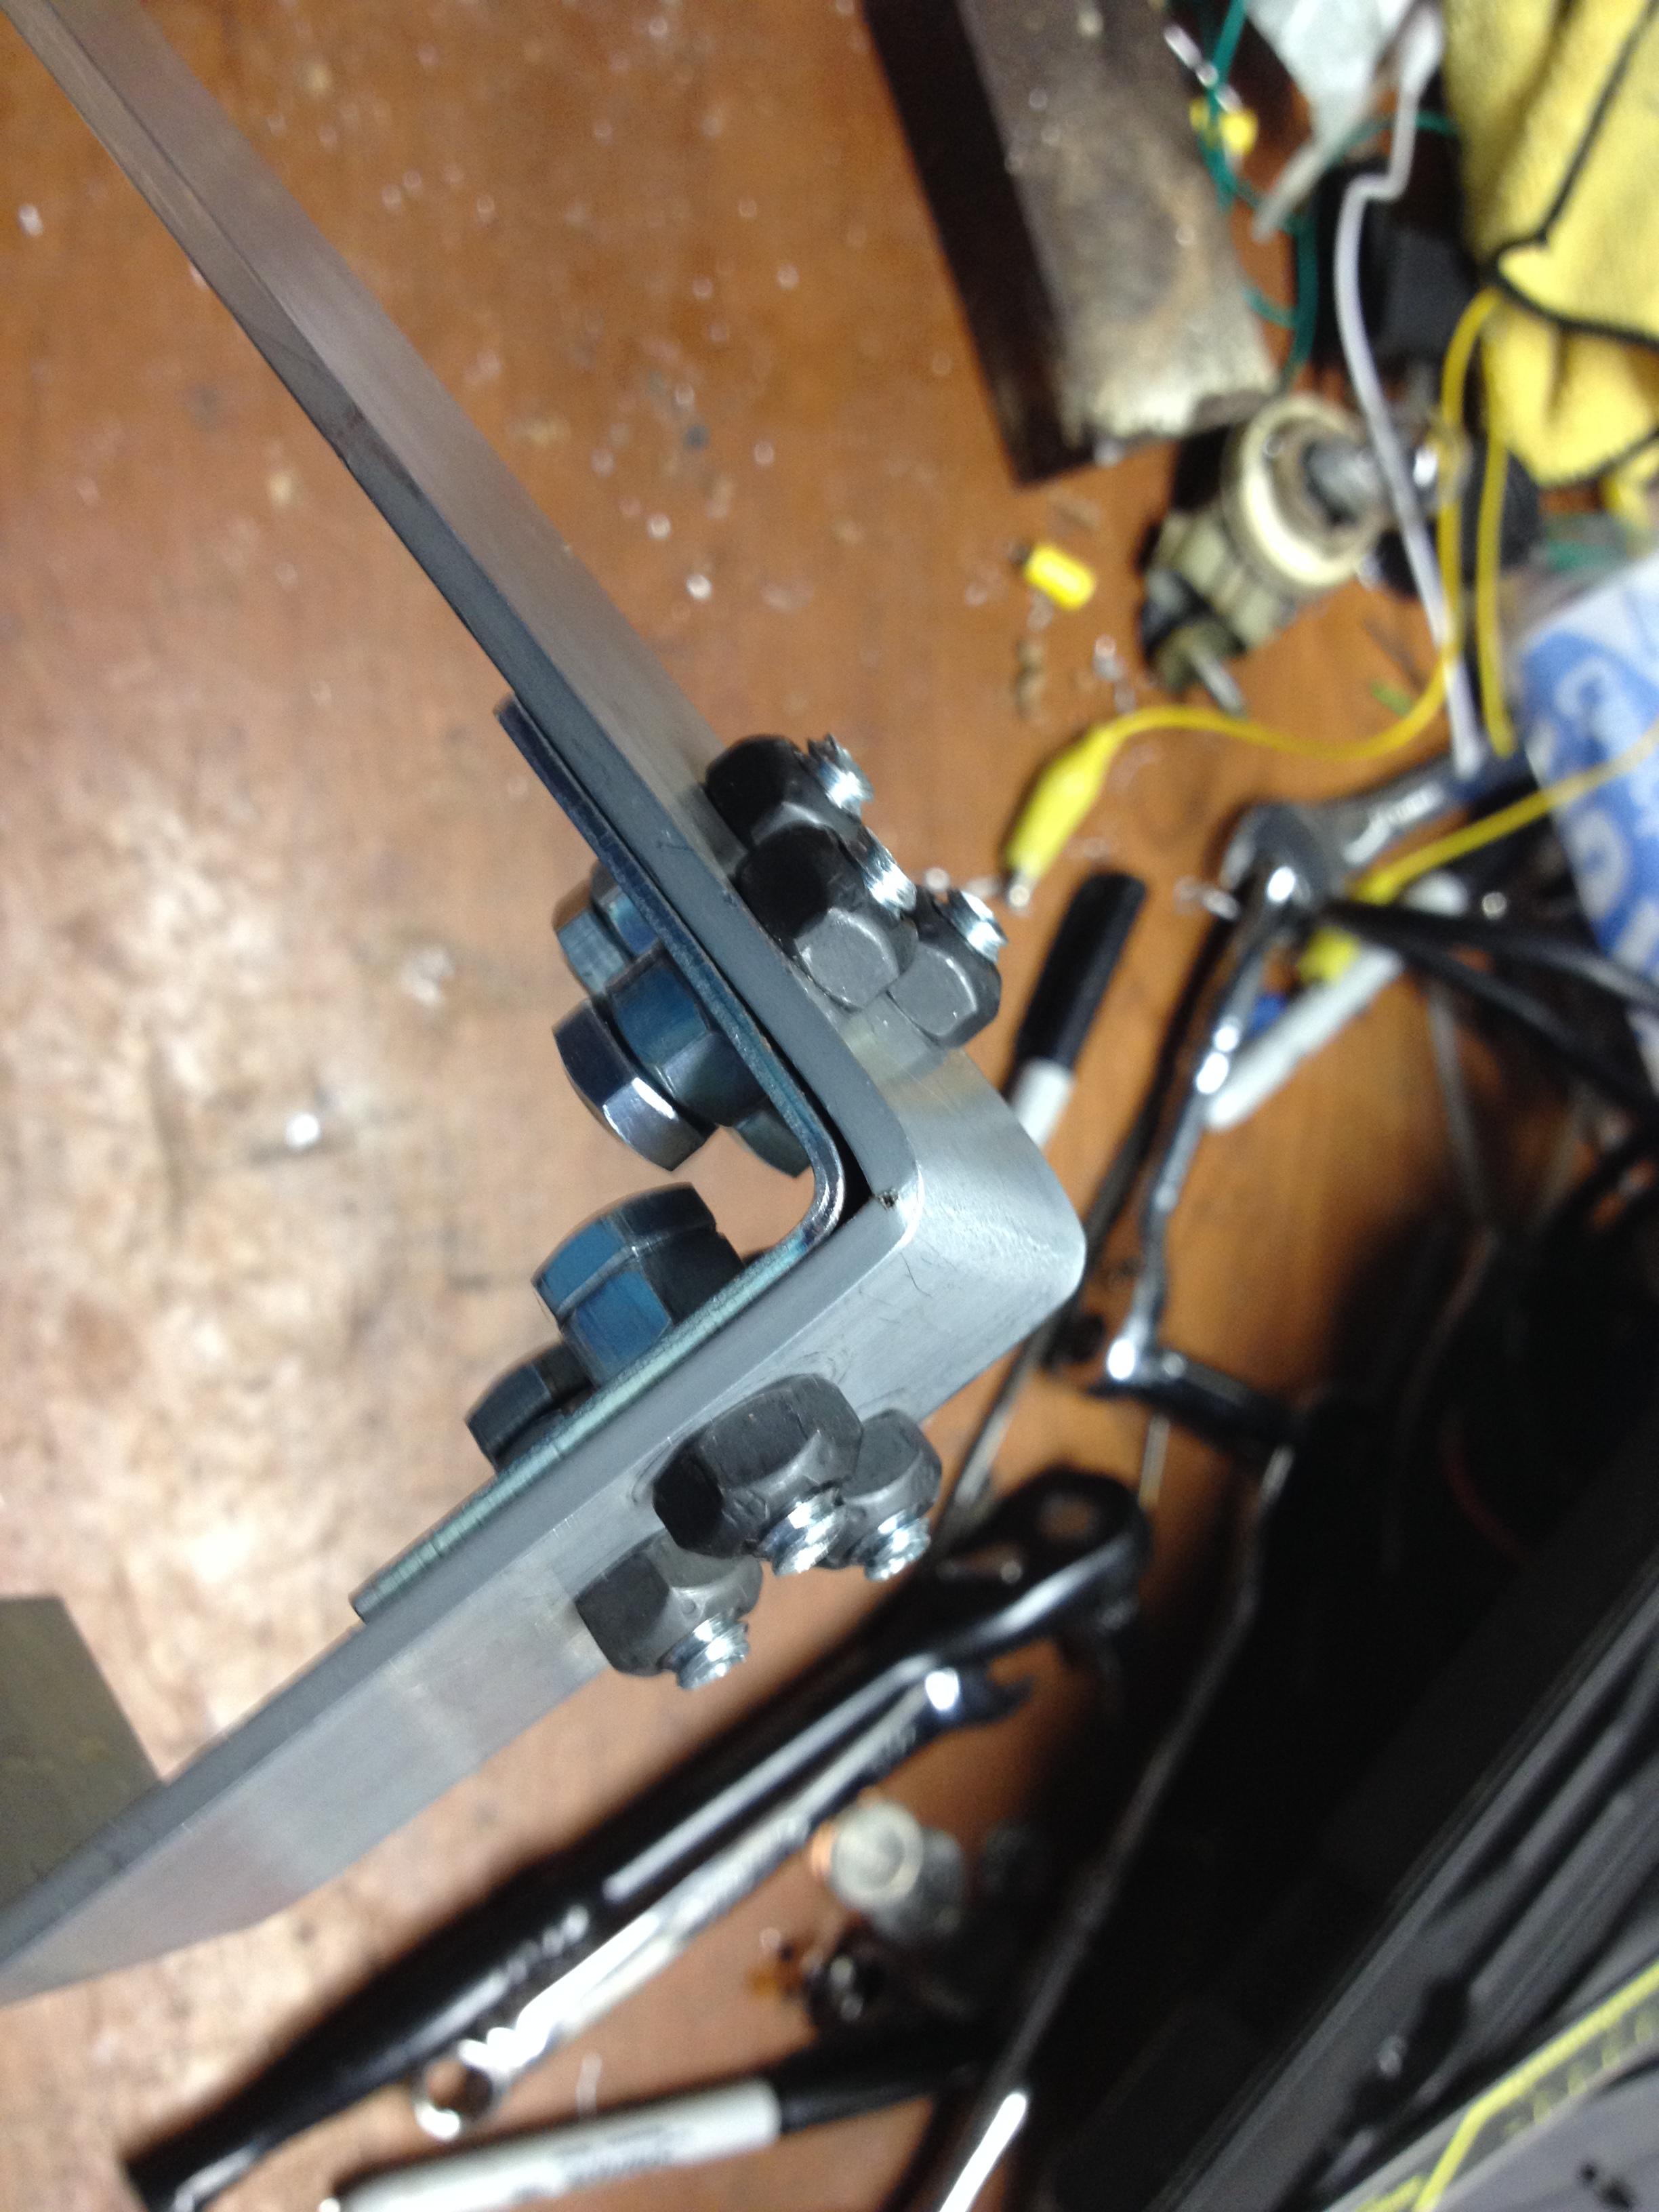
Managed to find a set of 'corner braces' that are the same width as the metal stock. 1/4-20 bolts and nuts are used. It's ultra sturdy and it's a nice, tight, fit in the dash. No flex what so ever. If anyone is wondering, I chose the black nuts for appearances only VS normal silver nuts. Bit of a contrast thing.
The center switch is for the radio, driver's side is for the re-enable, and the passenger side switch is the door locks.
It has occured to me that I could also make the driver's side switch activate the starter. Sort of a spinoff of OzzieinAZ's idea. Ignition set to 'on', flip the switch and start the truck. Would be wired in parallel so the ignition switch's starter function too would still work, should for some reason the switch decide not to work.
Here's some pictures.
Oh, and if anyone is curious, I did add a nut on each bolt to take up some of the length. I would have cut them, but I wanted each bolt to be the same length, and I don't believe that's something I could have accomplished without some other tools that I don't have.


#344
#345
Thanks! That piece is rock solid, just the way it ought to be. This spring I'd like to snag an expo aluminum drive shaft, since I can get it for 10 bucks, but other than that I don't have much else I can do. Around the same time, I do plan on hooking up the AC side of the fan, however. I just haven't bothered considering how cool it is now. I don't need that in the winter, lol.
Her Taurus is requiring more attention than mine, so mechanical wise, hers takes priority. Have to change the tranny fluid in it here soon, before the snow hits. Not a fun job, but we both win so, I can deal with the mess, lol.
Speaking of the Ranger though, I finally got that blasted squeal to go away! My dura-doesn't-last belt tensioner had worked itself crooked, so the pulley was angled one way while the belt was trying to go forward.
One motorcraft tensioner later and she's nice and quiet again. I love how quiet she is.
#346
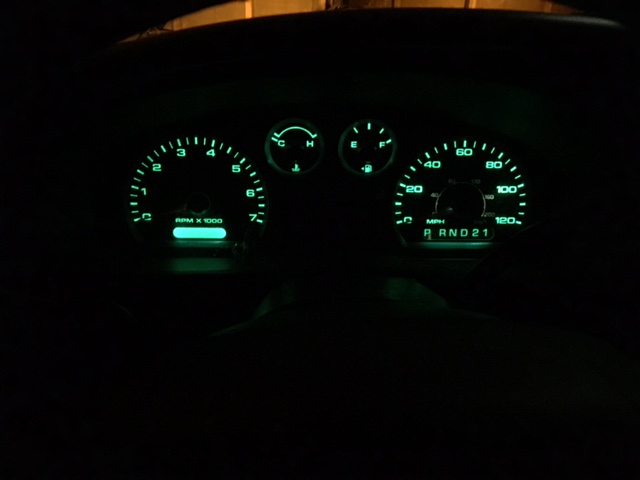
New switch fabrication looks good. Like the switch for the radio. Finally got my green LED's in for my instrument cluster, still having problem. They look awesome, but you cannot see the red instrument needles. Even tried using water based whit paint on one, still no luck. Since I like the look of the LED's may just order white ones. I can pull the instrument panel with my eyes closed now. [/IMG]
 [/IMG]
#347
#348
I really likes the look of the green lights. Ordered white LED. Getting good at going into the console, in and out in about an hour and a half, which included rain delay. Next time will take longer, as you know, I have to ensure the lights are in correctly. You have taught me a whole lot. Again, I thank you.
#349
Cam, you pain me! With how much time I spent "obsessing" over the 04+ clusters to you, I thought you learned something!
The biggest issue on LED swapping them is that the needles are a different color than the overlay and have the same light source, so with factory white everything is its own color and if you change the light source color, you have to ensure it is bright enough to light up everything (green and red)
The biggest issue on LED swapping them is that the needles are a different color than the overlay and have the same light source, so with factory white everything is its own color and if you change the light source color, you have to ensure it is bright enough to light up everything (green and red)
#350
@OzzieinAZ: You're very welcome. I try to help when I can.
@Kealel: See how I am? Although in my defense, you spoke most about their differences and what variations there were, lol.
One thing I would like to note in general: Let's say I have a red lens and I try to pump blue light through it. (I tried this once) At 30 lumens, absolutely no light comes through the red lens. Pure blue light will never penetrate a red lens. This goes for any other color, although results will vary slightly. For example, blue light can travel through a green lens, but it takes a lot of blue light to do this.
It call comes down to wavelengths of light. The reason why it's so difficult for light of one color to pass through a lens of a different color, is because the light emmitted will just bounce around inside the lens, eventually a very small amount leaking through.
However, there's a bit of a * there.
Again, let's take a red lens and blue light. Both lenses are the same, and the bulbs are both blue. However, one is a blue coated incandescent bulb and the other one is an LED bulb. And let's say they're both at 50 lumens, within .5 of each other at their optimum voltage.
The incandescent bulb will be much brighter than the LED bulb. But why? They're both blue, right?
Sort of. LEDs produce a very short wavelength of light. Blue light, or any color (except white, that's more complicated) that the LED is made to produce, will emit only that color, with a small bit being another color because it's not perfect.
In contrast, a plain old incandescent bulb always truly emits white light. After all, we can't make tungsten glow green; only white. (Technically red and yellow as well, but it's all heat and practically no useful light is generated)
The incandescent bulb in the above example is just coated with a blue 'filter', trying to filter out the other wavelengths of color. Naturally, this process doesn't work very well. You still get the blue color, the other colors are just severely diminished, which is why LEDs are so much richer than incandescent coatings.
That extra light (some of which is the red wavelength) can then therefor pass through the red lens.
Of course, a scientist I am not. If I've made an error, I fully welcome it to be corrected. I've read a few things on the subject, and that's what I've learned; which seems to be accurate.
Oh, and also, that's how we see colors in the first place as well, but that's another rant for another day.


 (hint hint)
