Ranger painting 101
#1
 09-22-2007


Ranger painting 101
Me being the kinda guy that can't sit still for very long I have decided to jump into painting the 99 known as body swap. After putting it together and driving it for a few weeks I decided to go for it.
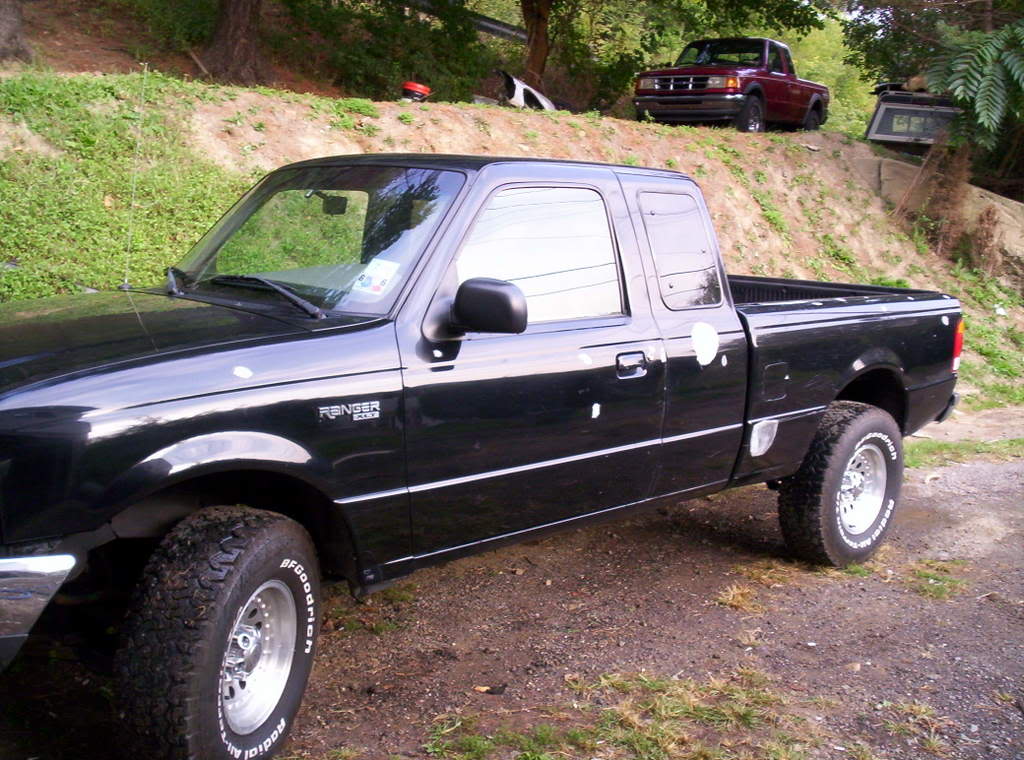
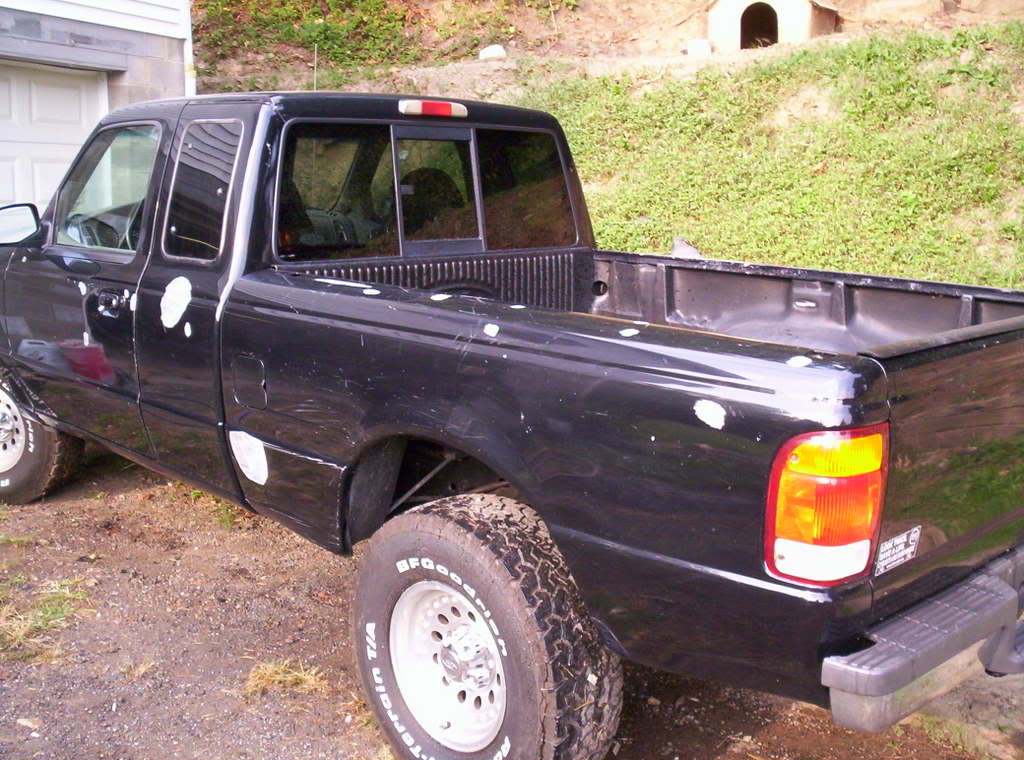
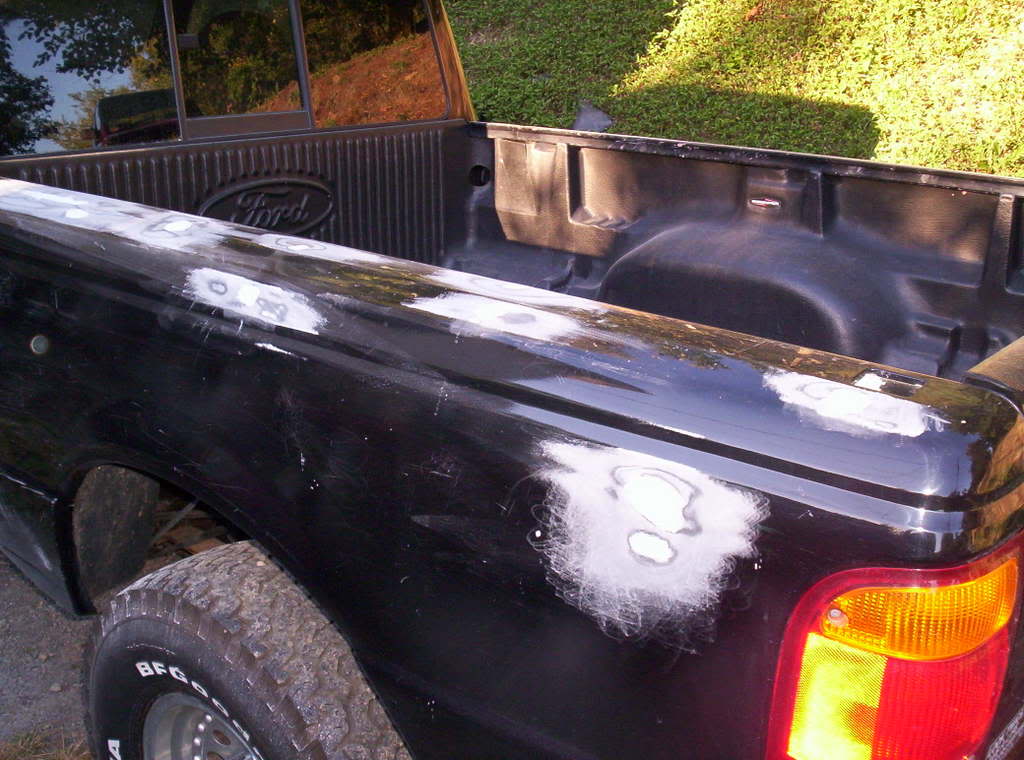
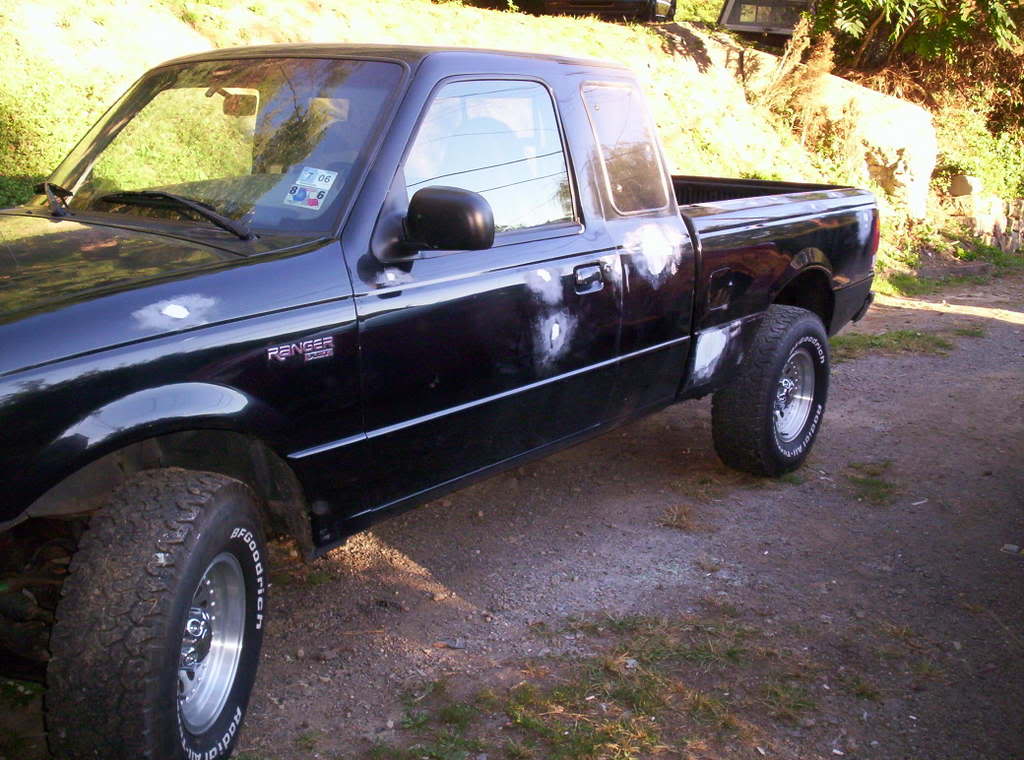
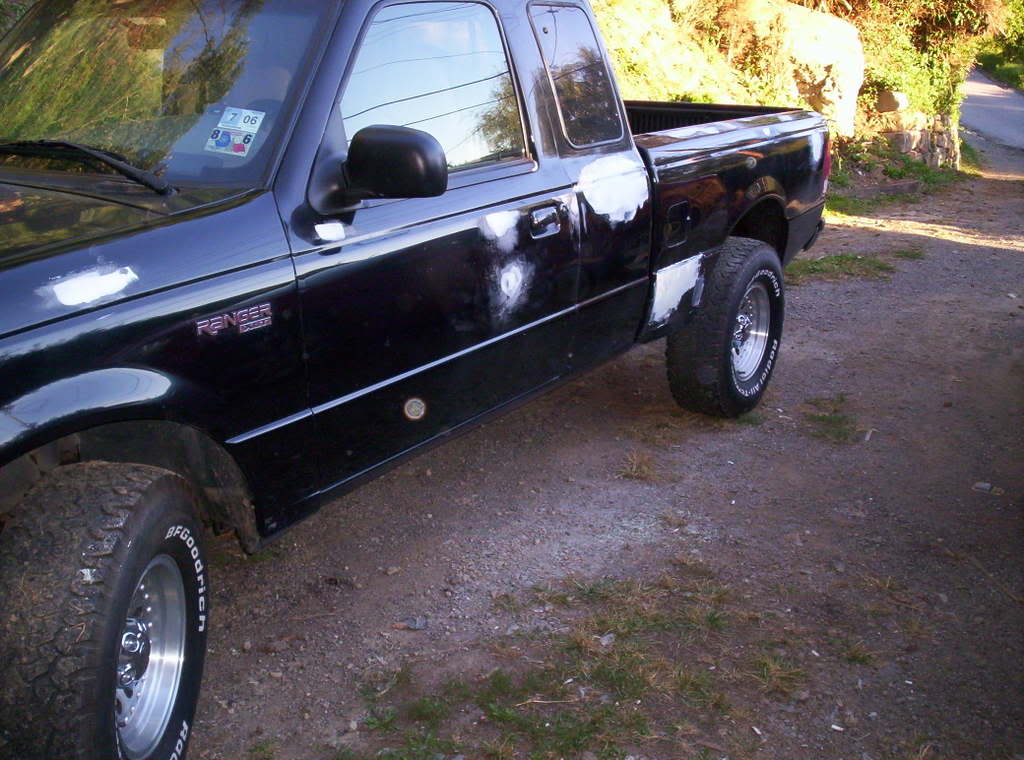
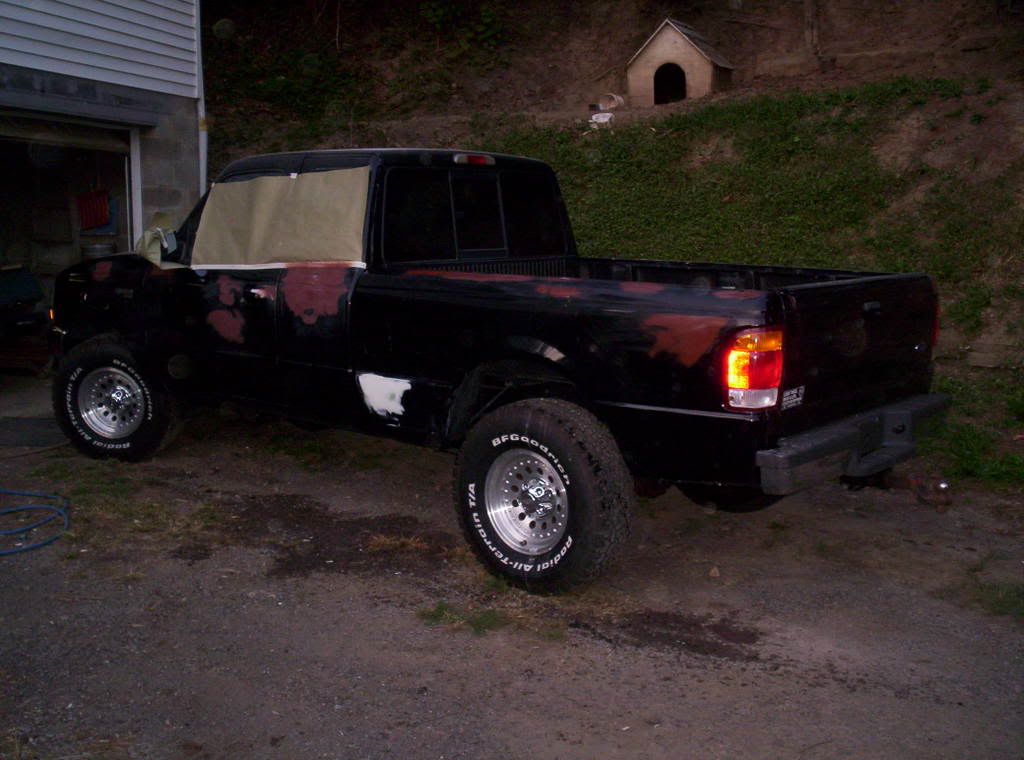
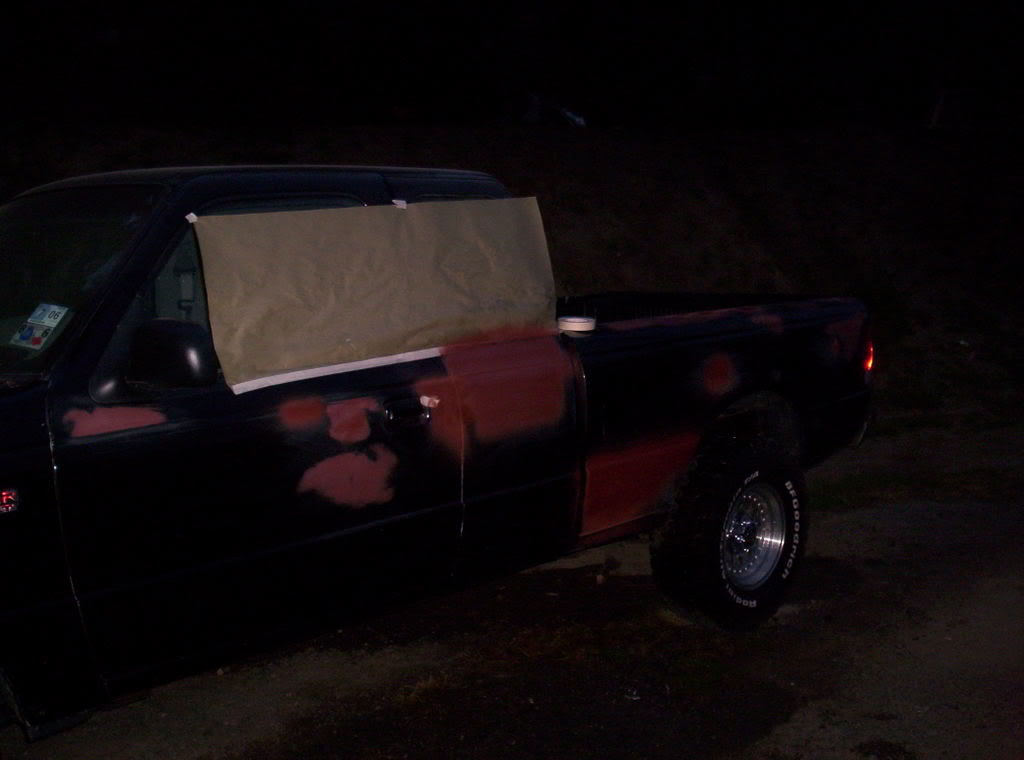
Here is the starting point.
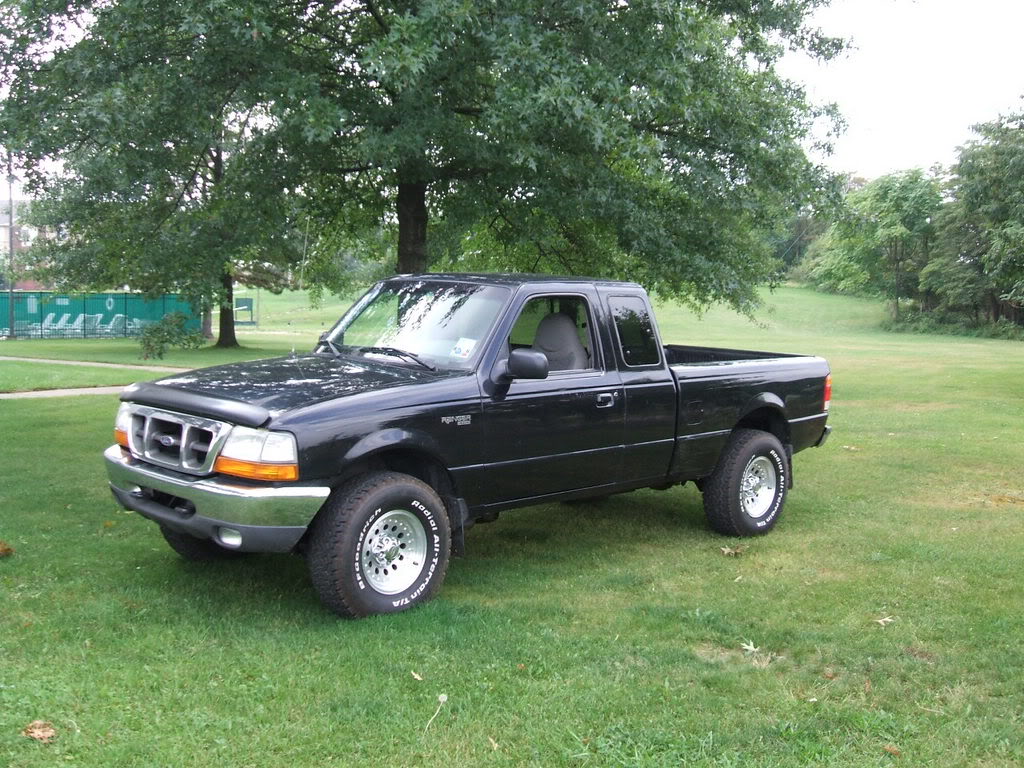
Not bad looking but upon closer inspection she has her share of dings and scratches.
I always start out with a clean vehicle so you can look it over real well and mark all the little dings and waves. I use soap stone but it doesn't stick real well to shiny paint.
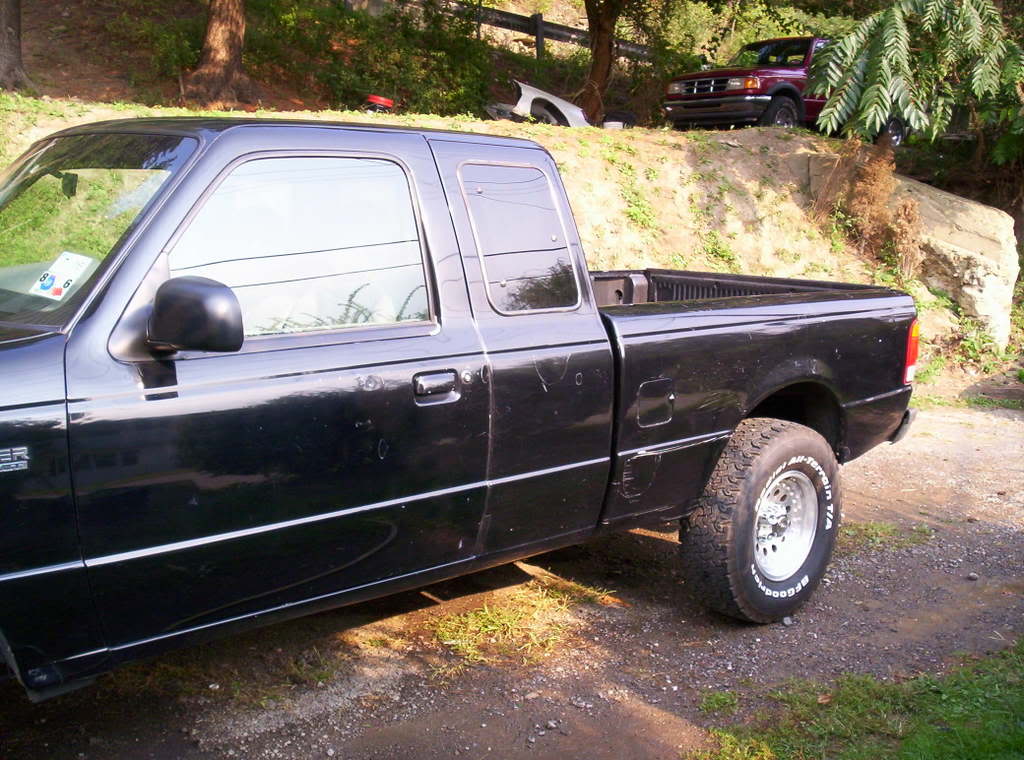
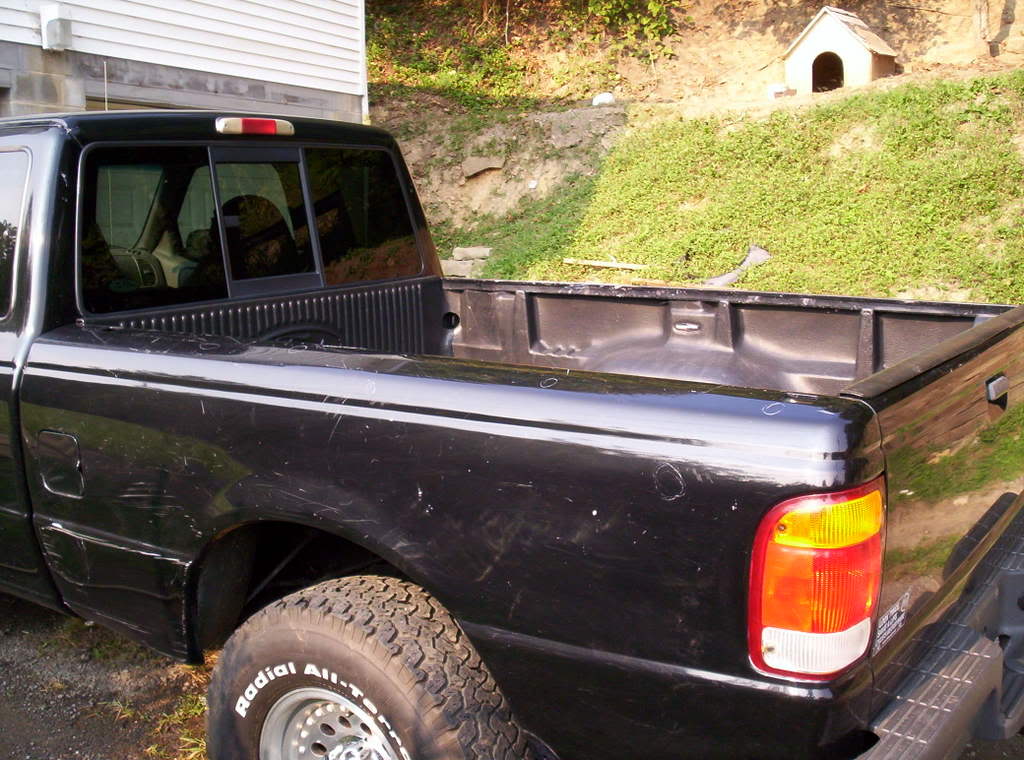
Next I take a grinder to any spots requiring filler.
Thats as far as I got today but in the coming days I will load more progress pictures and continue the thread until she a shiny truck again. I might even have a few tricks up my sleave to share.
John
Here is the starting point.
Not bad looking but upon closer inspection she has her share of dings and scratches.
I always start out with a clean vehicle so you can look it over real well and mark all the little dings and waves. I use soap stone but it doesn't stick real well to shiny paint.
Next I take a grinder to any spots requiring filler.
Thats as far as I got today but in the coming days I will load more progress pictures and continue the thread until she a shiny truck again. I might even have a few tricks up my sleave to share.
John
#3
09-22-2007
Join Date: Mar 2007
Location: Walla Walla, WA
Posts: 705
Likes: 0
Received 0 Likes
on
0 Posts
#4
09-23-2007
Day 2
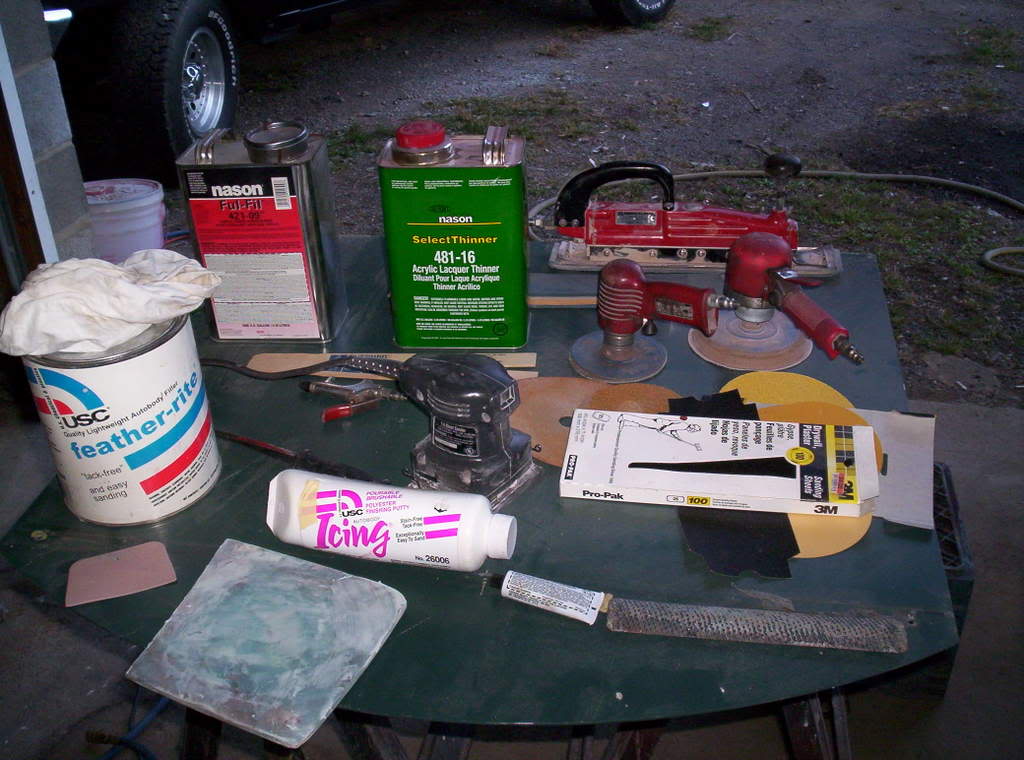
I guess I should start with the tools. Here are some basic tools to get good results. Air grinder, DA sander, air file, electric orbital sander and an assortment of sandpaper & bondo file . There is also some lightweight filler(for basic body work), some icing(for scratch and finnish work, sands real smooth), bondo board & spreader, primer & thinner, blow gun and paint sticks.
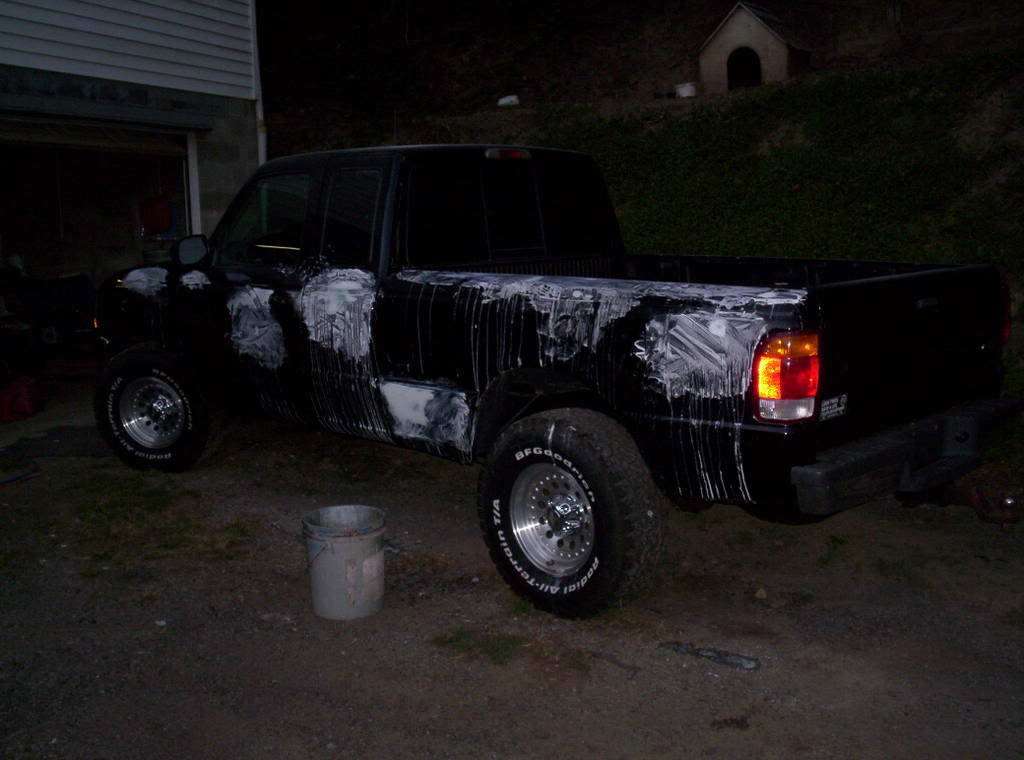
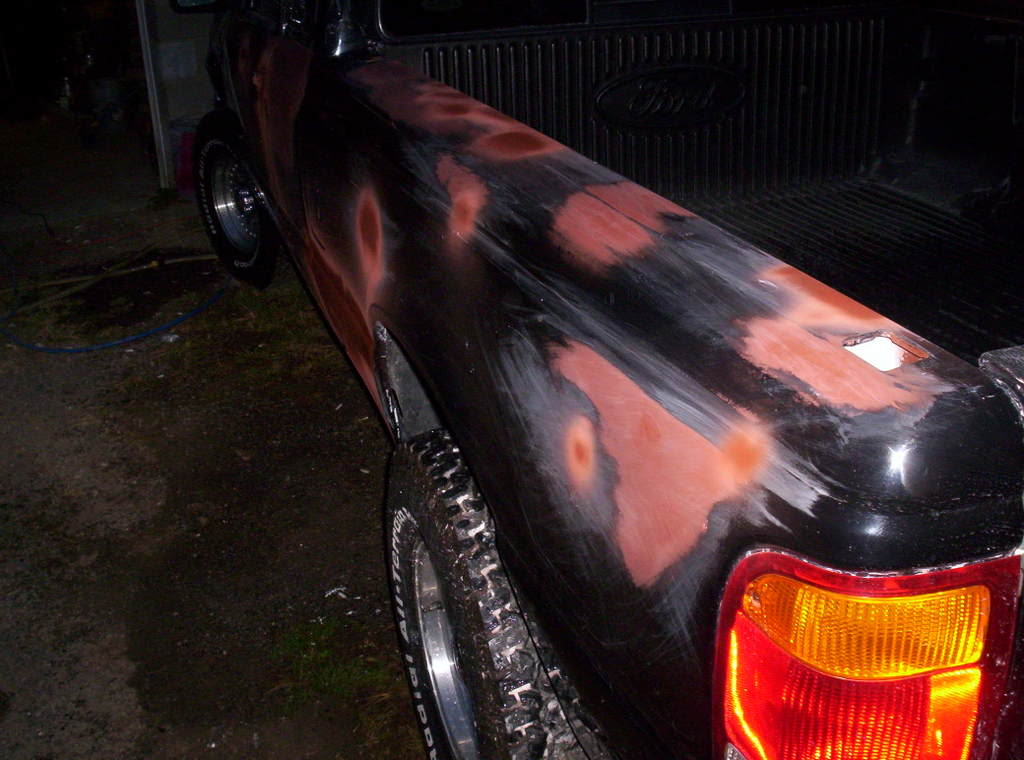
Here's the truck with a light coat of bondo on the bad spots.
After sanding
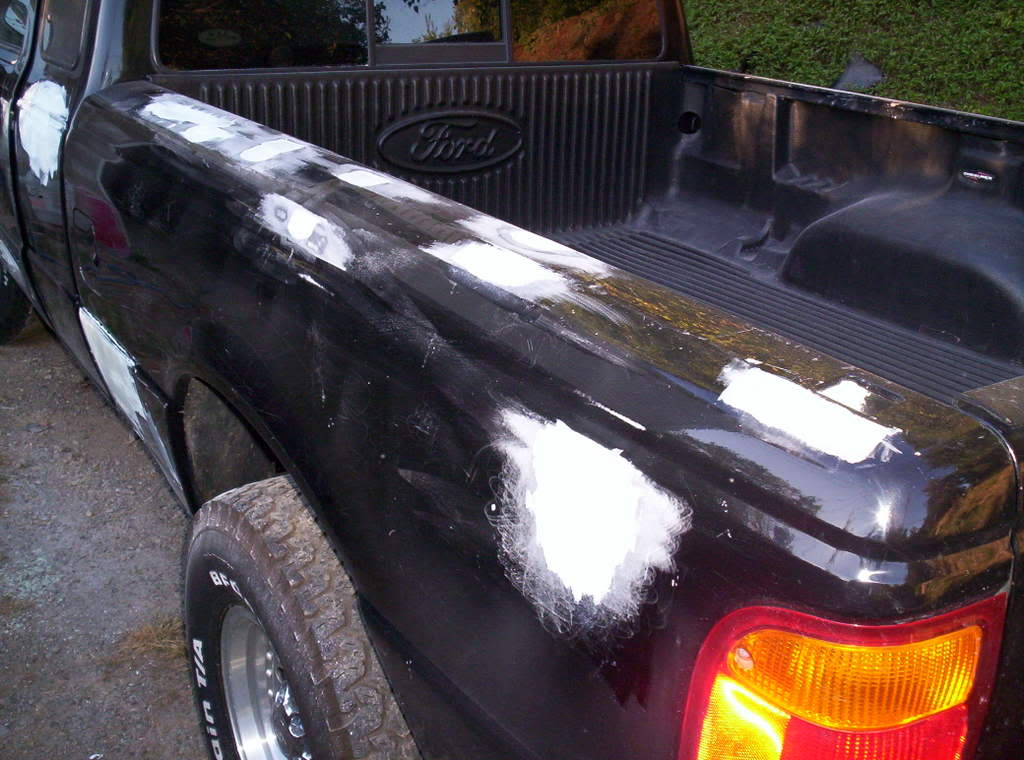
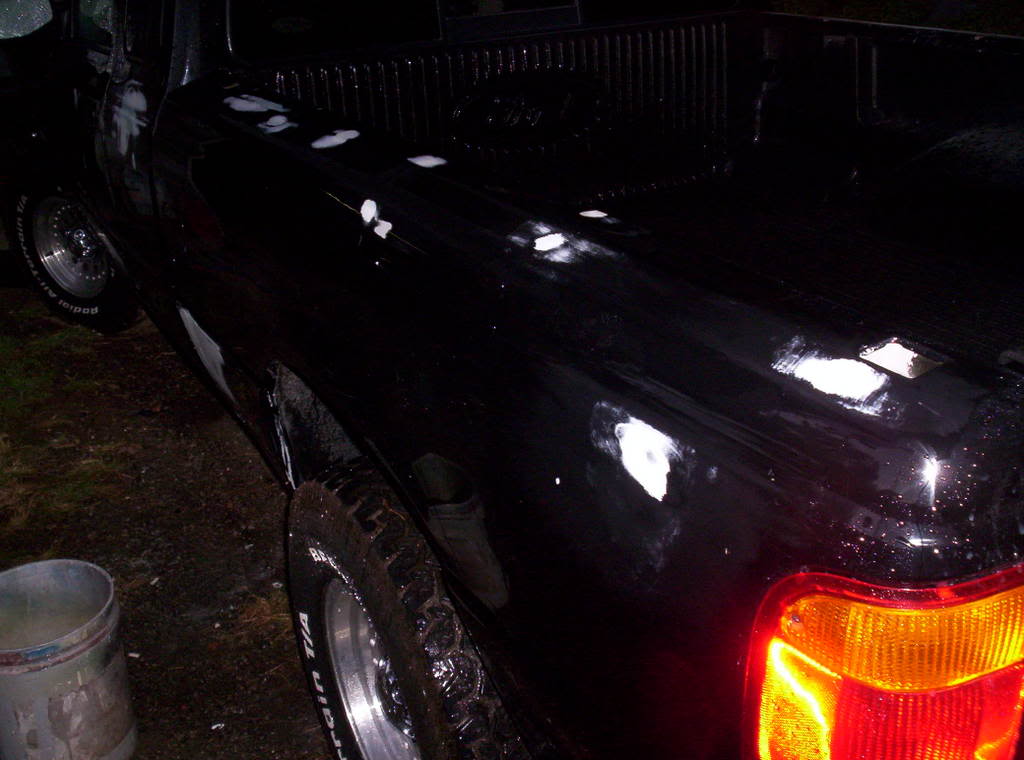
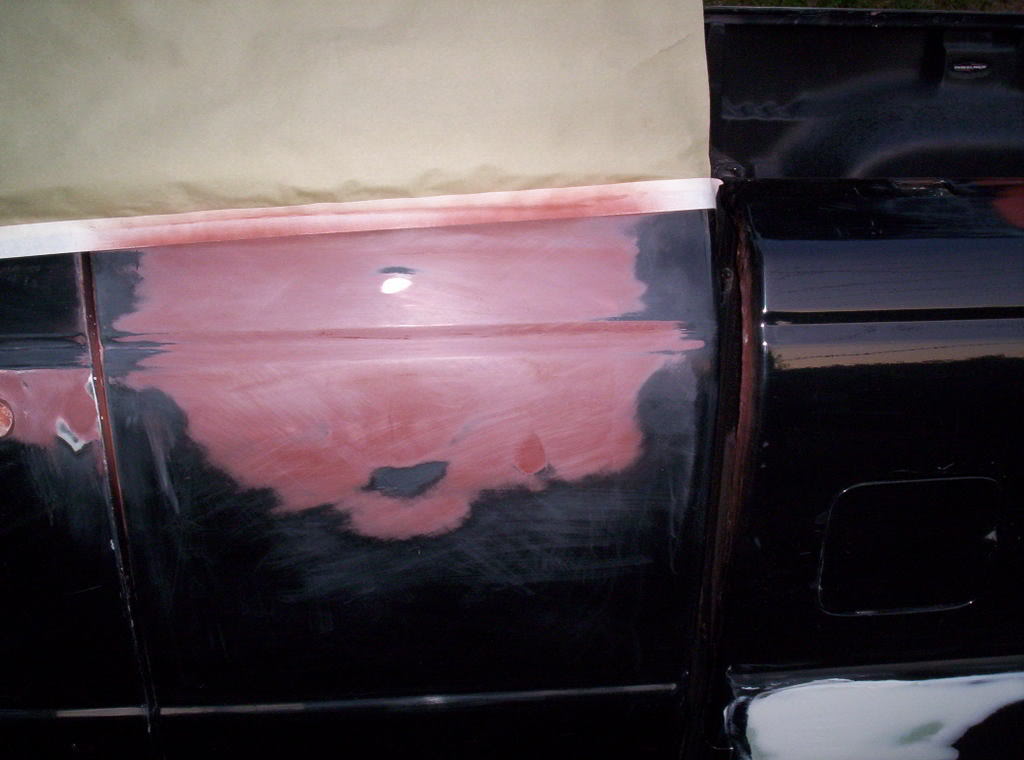
This is a coat of icing or spot putty, this is good stuff. It looks like there is alot on there but you put this stuff on real thin.
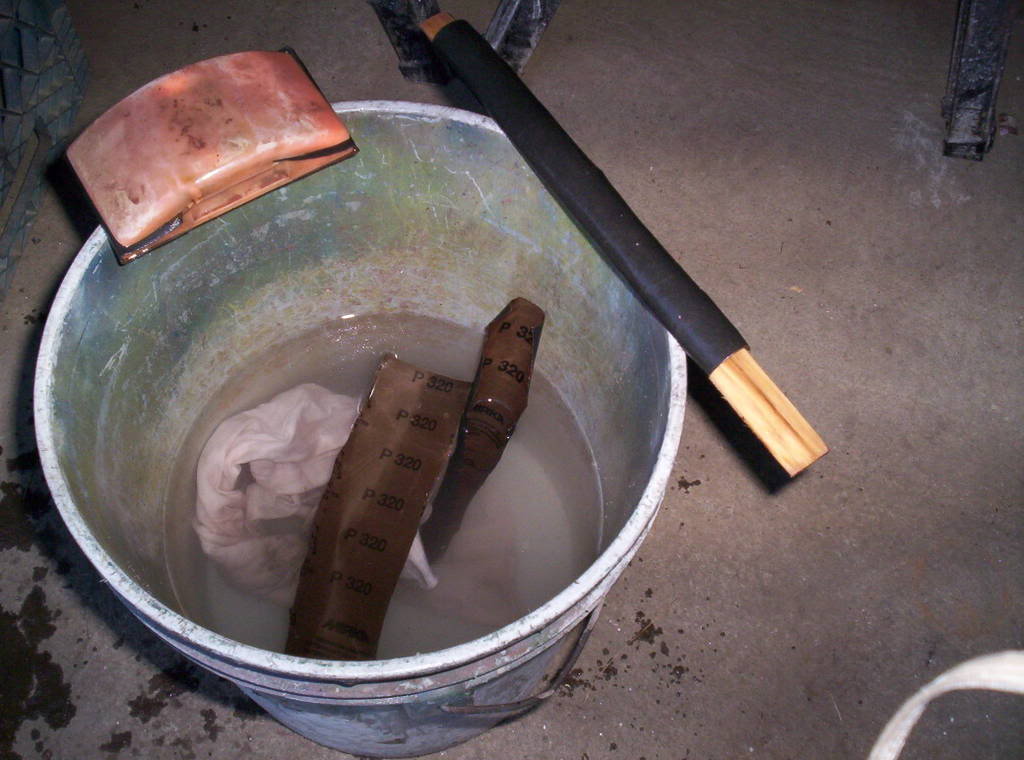
Some more tools of the trade... a bucket of water and some 320 paper. Notice the sanding block and paint stick. The rag is to clean the truck with. Some prefer to use a hose when wet sanding, I like to just use a bucket and a rag.
Here is what the truck looks like after wet sanding...lol By this time it was getting dark and my camera is junk so I'll get some better pics tommorrow.
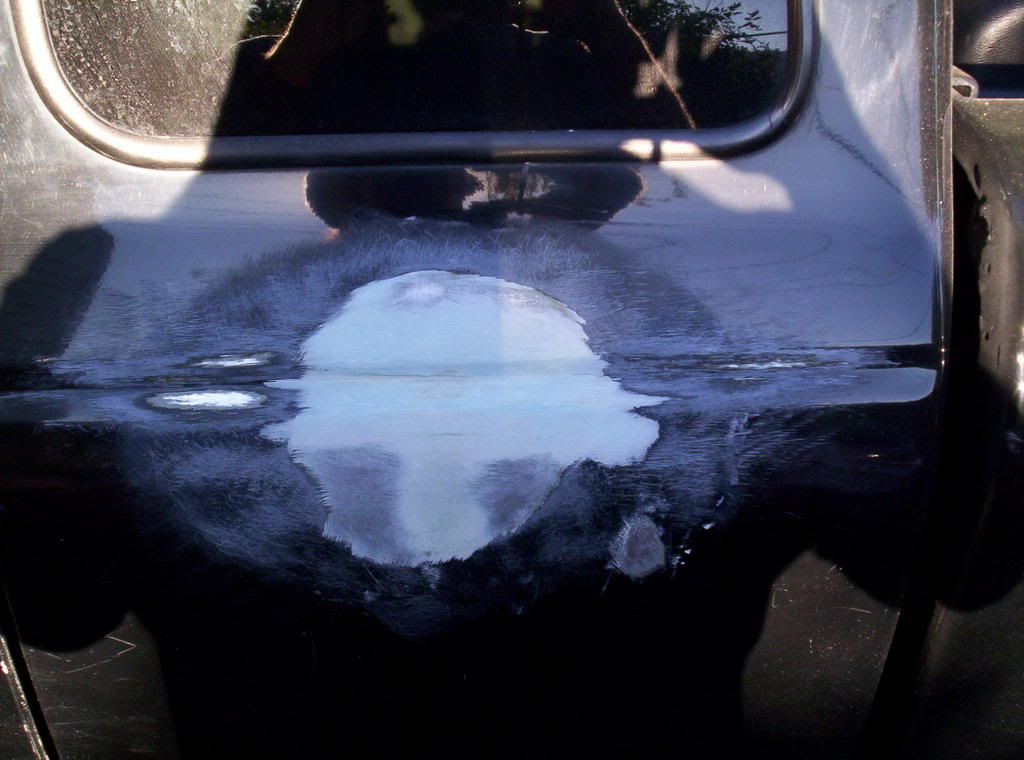
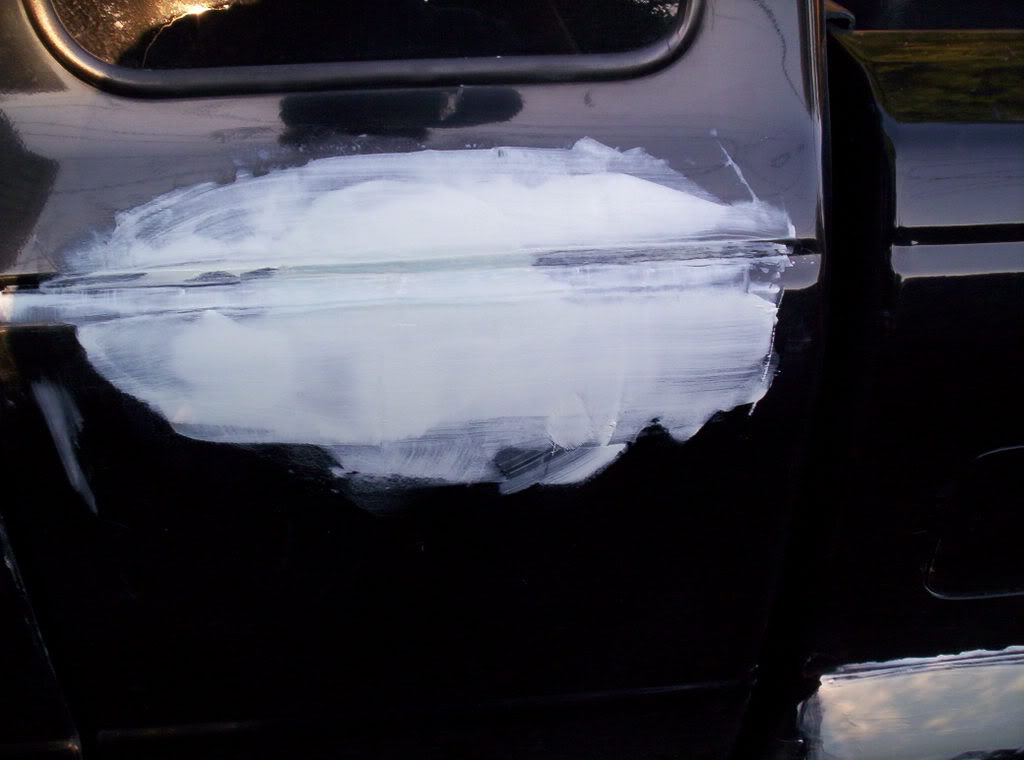
I took some pics of this one spot to show the bodywork progression The first picture shows what is easy to sand with an orbital sander. The second demonstrates the value of a air file to get into the grooves of the body line. The third shows the coat of icing before sanding. Notice how when I put it on I covered all the scrathed up area and in some areas its so thin you can see thru it.

Thats it for day 2. Next will be some spot priming and wet sanding.
John
I guess I should start with the tools. Here are some basic tools to get good results. Air grinder, DA sander, air file, electric orbital sander and an assortment of sandpaper & bondo file . There is also some lightweight filler(for basic body work), some icing(for scratch and finnish work, sands real smooth), bondo board & spreader, primer & thinner, blow gun and paint sticks.
Here's the truck with a light coat of bondo on the bad spots.
After sanding
This is a coat of icing or spot putty, this is good stuff. It looks like there is alot on there but you put this stuff on real thin.
Some more tools of the trade... a bucket of water and some 320 paper. Notice the sanding block and paint stick. The rag is to clean the truck with. Some prefer to use a hose when wet sanding, I like to just use a bucket and a rag.
Here is what the truck looks like after wet sanding...lol By this time it was getting dark and my camera is junk so I'll get some better pics tommorrow.
I took some pics of this one spot to show the bodywork progression The first picture shows what is easy to sand with an orbital sander. The second demonstrates the value of a air file to get into the grooves of the body line. The third shows the coat of icing before sanding. Notice how when I put it on I covered all the scrathed up area and in some areas its so thin you can see thru it.
Thats it for day 2. Next will be some spot priming and wet sanding.
John
Last edited by wvcat; 09-23-2007 at 09:11 PM.

#9
09-25-2007
Dust is pretty easy to control by hanging plastic and wetting the floor down before you paint. Bugs are a little trickier. You can try to control bugs by not painting when they are active but nothing is foolproof. for instance at night with the lights on in a shop the bugs will try to get in so thats not a good time. when its warm out in the evening they are quite active also. I like to paint when its raining but can't always wait for rain.
John
John
#10
09-25-2007
Join Date: Jul 2007
Location: Colorado
Posts: 1,727
Likes: 0
Received 0 Likes
on
0 Posts
#11
09-25-2007
#12
09-25-2007
Join Date: Aug 2006
Location: Demorest,Ga
Posts: 1,724
Likes: 0
Received 0 Likes
on
0 Posts
Originally Posted by graniteguy
What paint are you gonna use? My next paint job is gonna be that new duplicolor product. Old schoold lacquer! If a bug gets in it you can wetsand it out and keep going, plus it dries quick. It's almost made for driveway painting.
wvcat, have you seen the product called "clean sheets"? you put bondo on it, and when your done, you just tear that sheet off and you have a brand new sheet of paper to use. works great.
#13
09-25-2007
I'll be using base coat clear coat but not sure how many colors at this point (probably 3) but it will be something other than plain black. Yes the clear will be urethane. I did used to use laquer back in the days when it was available. I have never seen clean sheets but I will see if my paint store has it, sounds cool. BTW that bondo board in the picture above was a piece of cardboard when I started using it...lol, its about 3/8's thick now and I sand it smooth all the time.
John
John
#14
09-25-2007
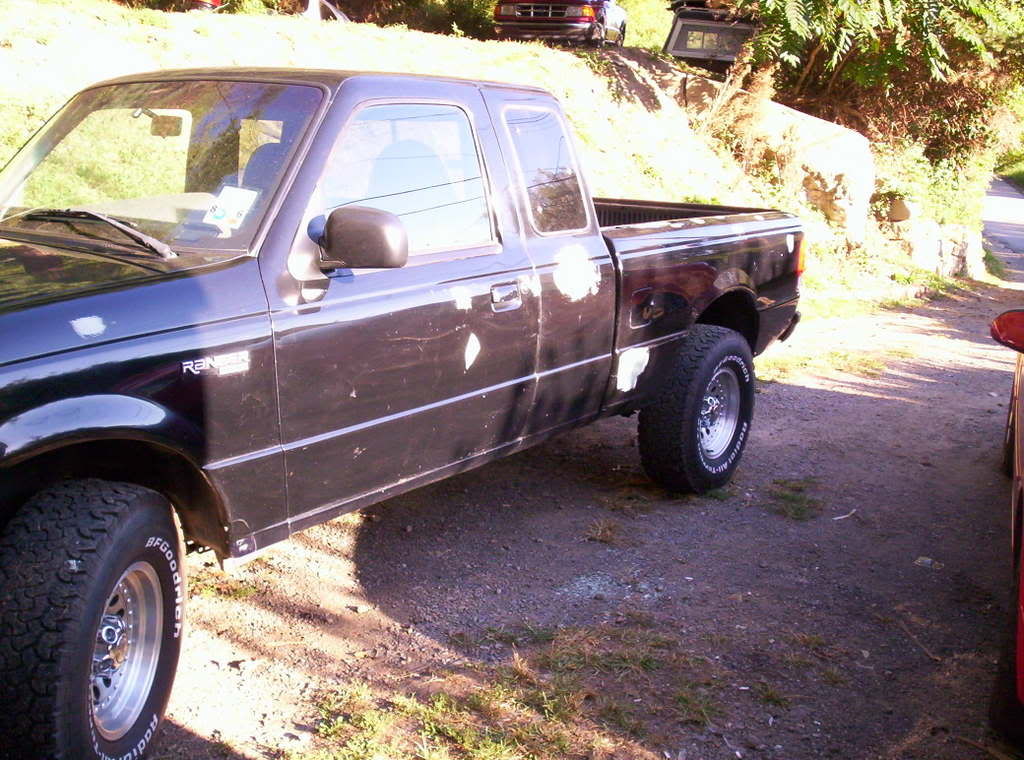
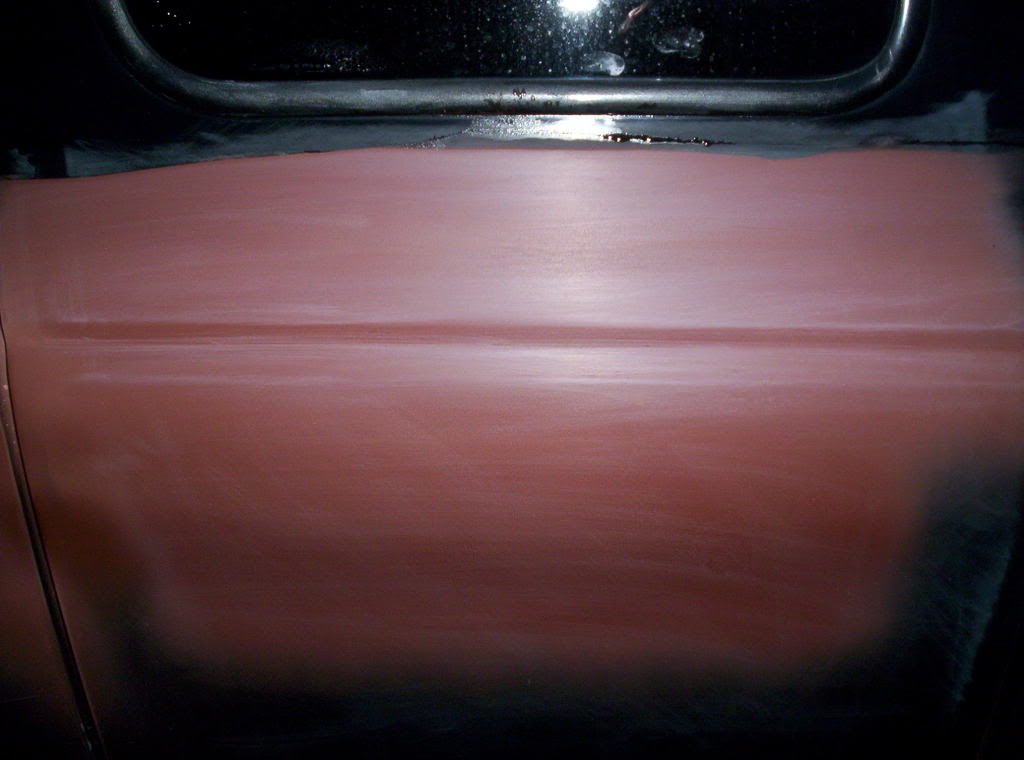
Heres a few pictures from last night and tonight. The first 2 are last night. Just an overall progress pic and a picture of the example spot after a coat of primer. Notice the 2 high spots on the sample. I slightly taped them with a body hammer and filled and sanded them and reprimed(second pic) and finnally a overall with the spots primered.
John
John
#15
09-25-2007
Join Date: Nov 2004
Location: Richmond Hill, Georgia
Posts: 4,306
Likes: 0
Received 0 Likes
on
0 Posts
#17
09-25-2007

Yah Brent, ever gonna get a front bumper? Ya bastard..
And looks sweet on the paint job! I promised my friend I'd paint her Jeep Wrangler pink(shes a stupid blonde) next year, so maybe I'll learn some more here. I already did some pretty sweet body work and paint repair to her jeep, so I don't think it'll be too hard.
And looks sweet on the paint job! I promised my friend I'd paint her Jeep Wrangler pink(shes a stupid blonde) next year, so maybe I'll learn some more here. I already did some pretty sweet body work and paint repair to her jeep, so I don't think it'll be too hard.

#19
09-25-2007
#20
09-26-2007
Join Date: Aug 2006
Location: Demorest,Ga
Posts: 1,724
Likes: 0
Received 0 Likes
on
0 Posts
#22
09-26-2007
I have my other truck on ebay but this ones not for sale, you never know maybe sometime. I actually have the ps of the truck further along than the ds but didn't think about posting the project at first. The reason I primed everything already is because its going to have to be a driver while I'm working on it because the auction for the other truck ends tommorrow night. The primer is Nason Fulfil primer, see pic above(red & white can). I have flares for the truck but they have the cutout for the flaps so I am planing on reinstalling them with the flares.
John
John
Last edited by wvcat; 09-26-2007 at 03:41 PM.
#23
09-27-2007
Join Date: Jul 2005
Location: Fairbanks, AK
Posts: 3,256
Likes: 0
Received 0 Likes
on
0 Posts
You'll be better off with those flaps on there, plus those look alot nicer than the ones on edges with flares... Good job, looks real good, I did my bumper and the second coat of clear somehow magically FUBARed overnight... then I put some bug and tar remover on it the other day to remove some "lovebugs" and now the clear is chemically cooked haha... looks like ****. lol.
#25
09-27-2007
Join Date: Jul 2005
Location: Fairbanks, AK
Posts: 3,256
Likes: 0
Received 0 Likes
on
0 Posts


