Project Logs For detailed builds specific to the Ford Ranger, one thread per vehicle please.

RLong31's 2004 4x4 Edge Build Thread

Thread Tools
 
Search this Thread
 
  #26  
Old 03-12-2010
RLong31's Avatar
The Ban Hammer
Thread Starter
iTrader: (5)
Join Date: Jul 2009
Location: Monrovia, IN
Posts: 2,594
Likes: 0
Received 2 Likes on 2 Posts
Is that the Rustoleum underbody rubber spay paint stuff? I saw that today and almost bought it. Maybe I'll go ahead and pick some of that up. That frame looks nasty, haha. Damn flash on the camera really made it stand out.
 
  #27  
Old 03-12-2010
russian's Avatar
Member
iTrader: (2)
Join Date: May 2009
Location: Windsor, ON
Posts: 574
Likes: 0
Received 2 Likes on 2 Posts
Originally Posted by RLong31
Is that the Rustoleum underbody rubber spay paint stuff? I saw that today and almost bought it. Maybe I'll go ahead and pick some of that up. That frame looks nasty, haha. Damn flash on the camera really made it stand out.
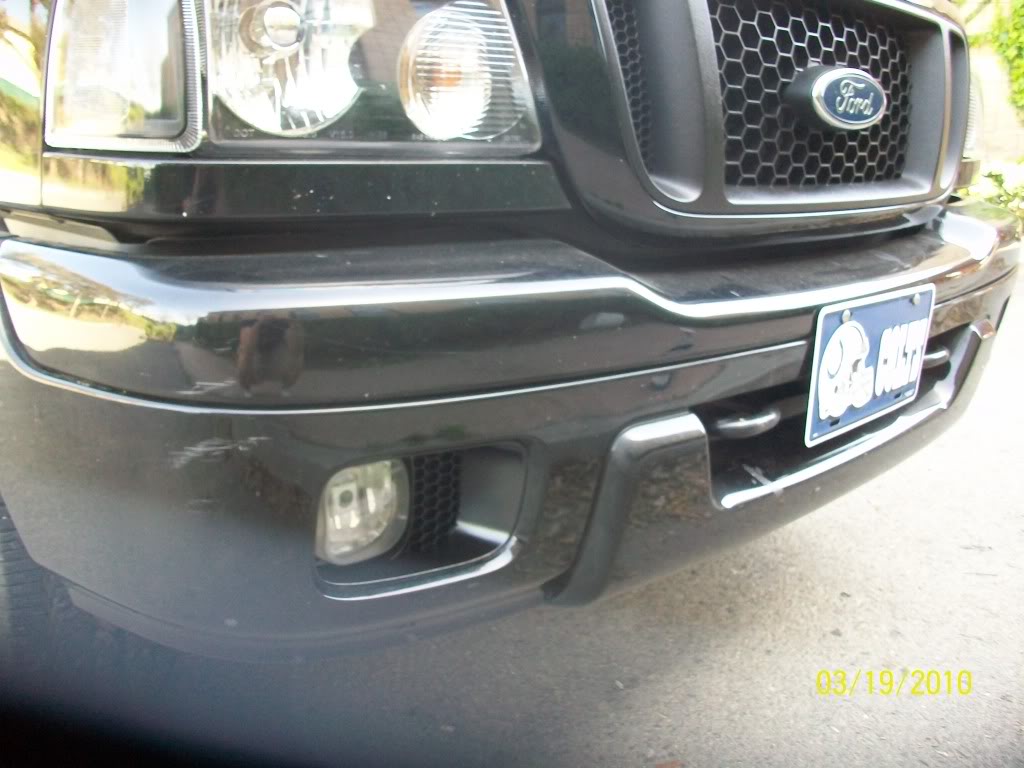
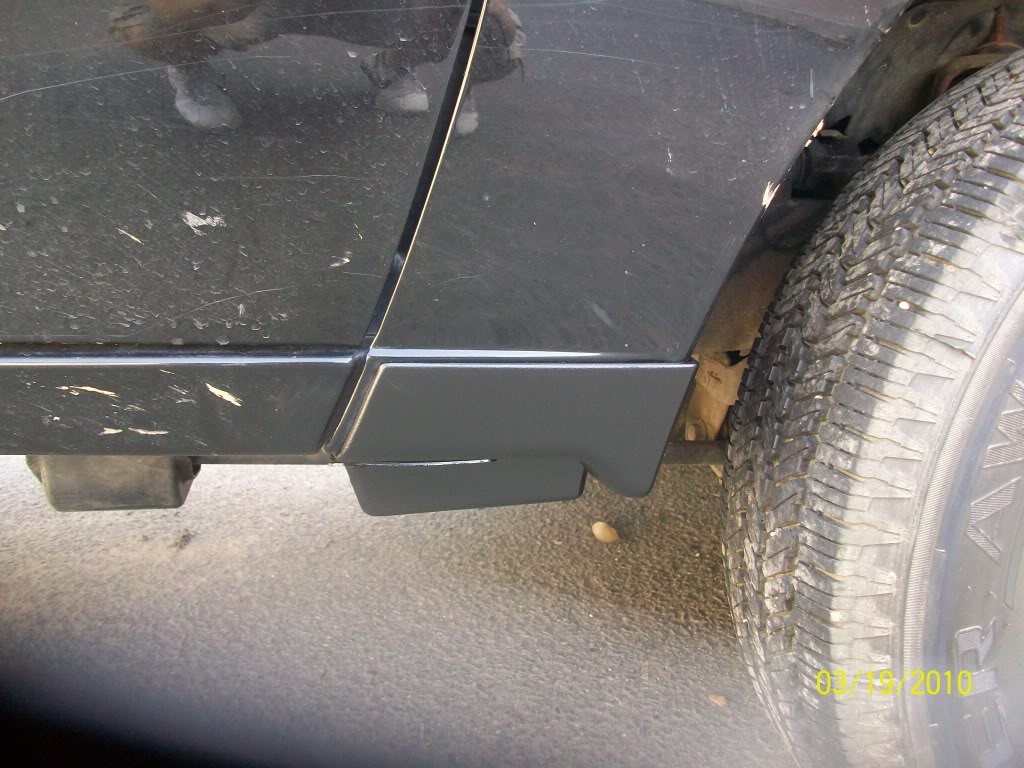
Yeah it's just rubberized undercoating. Comes in a spray can, usually no more then $10 a can. One can will do three light coats on each side which is enough.
 
  #28  
Old 03-12-2010
RLong31's Avatar
The Ban Hammer
Thread Starter
iTrader: (5)
Join Date: Jul 2009
Location: Monrovia, IN
Posts: 2,594
Likes: 0
Received 2 Likes on 2 Posts
I ran it thought in my head, and thought... rubber paint all over the wires and nuts and bolts... that should be fun if I need to fix something.... never even thought to do the wheel wells, will definitely be picking this up, yours looks really clean.
 
  #29  
Old 03-17-2010
Icetek's Avatar
Member
Join Date: Nov 2009
Location: Latina Italy but from NJ
Posts: 5
Likes: 0
Received 0 Likes on 0 Posts
How do you like the tail lights after having them for a few days? I'm looking to replace mine (past owner was a fireman and had extra lights installed in them. Pulled the lights to sell it but left the holes. Now I have 2 fishbowls when it rains!!!). Been looking at the Euro style (black or carbon Fiber) but can't really get a good idea from webpage shots. What brand are they? You mentioned mods... what type? Were they not for your Ranger?

Thanks
Mike
 
  #30  
Old 03-17-2010
RLong31's Avatar
The Ban Hammer
Thread Starter
iTrader: (5)
Join Date: Jul 2009
Location: Monrovia, IN
Posts: 2,594
Likes: 0
Received 2 Likes on 2 Posts
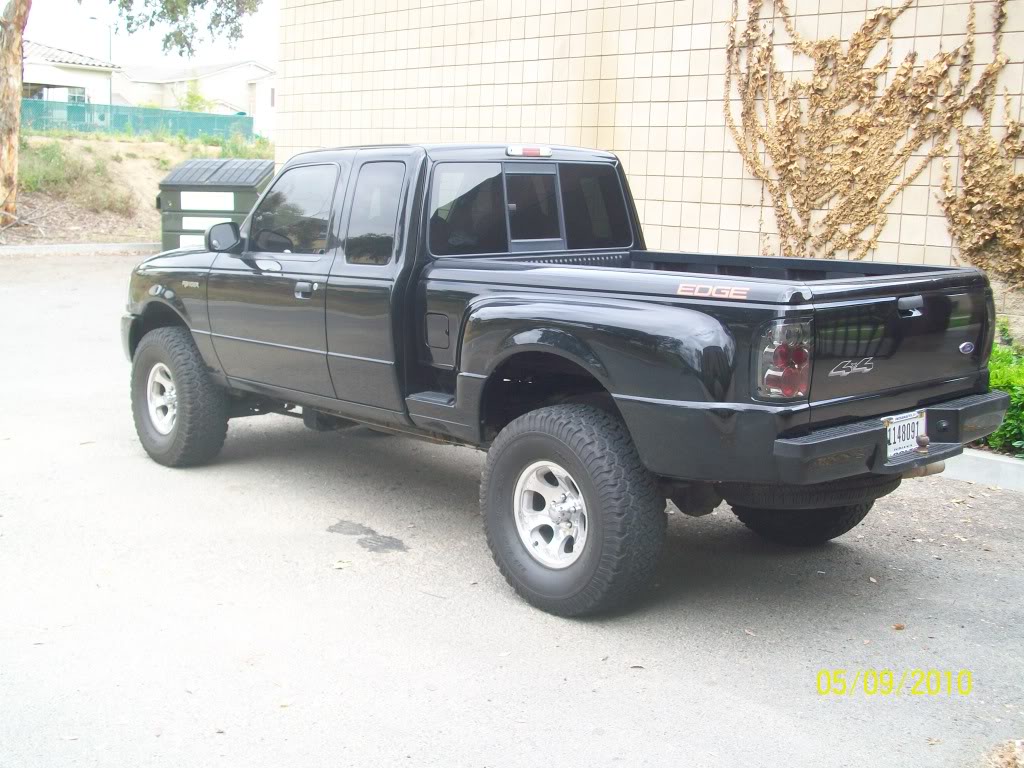
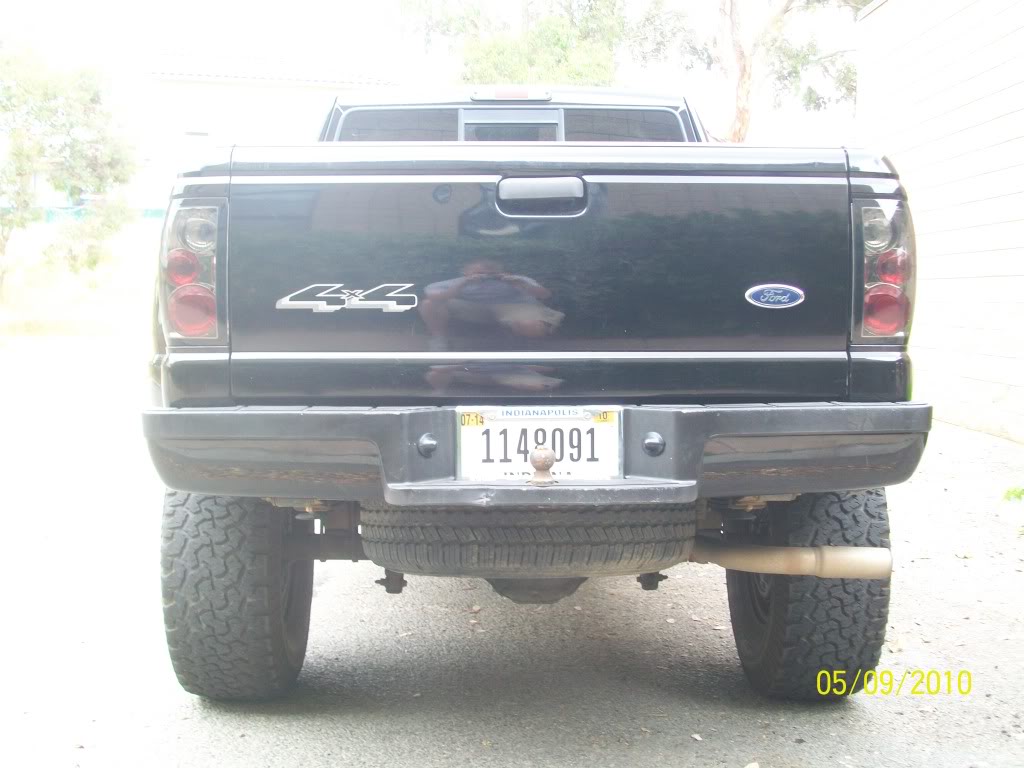
Well, the tail lights I got off e-bay, search for smoked altezza tail lights for ford ranger. said they would fit 01-05, they sort of fit. Since mine were a 2 bulb set-up, and the new ones were 3, they had a little extra plastic at the top that bumped up against the side of the bed. I had to use a rotary tool to cut into part of the bed to trim it off to make the new lights fit. Also, to get the lights to work how I wanted, I had to run a "brake only" wire from the 3rd brake light, which I tapped into at the driver's seat. So, all 4 red lights light up when I hit the brake, the top two are brake/turn, where the bottom is brake/running light. I can always take em off and take pictures of how it's wired in there.

I do like the new lights, I think they look sweet. My 3rd brake light is from a 2005 F250 superduty btw, it has the cargo lights (had to run a wire from the dome light) where my stock one did not, and my dome light is from a 97 mustang iirc.
 
  #31  
Old 03-19-2010
RLong31's Avatar
The Ban Hammer
Thread Starter
iTrader: (5)
Join Date: Jul 2009
Location: Monrovia, IN
Posts: 2,594
Likes: 0
Received 2 Likes on 2 Posts
Painted some plastic with Krylon fusion satin black because it was faded. Did the grille, fog light grilles, door handles, and rear bumper cover, and the little plastic things behind the front wheels.
Name:  100_1438.jpg
Views: 288
Size:  130.3 KB
Name:  100_1439.jpg
Views: 254
Size:  174.6 KB
Name:  100_1440.jpg
Views: 302
Size:  112.2 KB
 
  #32  
Old 03-20-2010
--weezl--'s Avatar
Member
iTrader: (1)
Join Date: Sep 2009
Location: Calgary AB, Canada
Posts: 3,139
Likes: 0
Received 1 Like on 1 Post
Sic
 
  #33  
Old 04-06-2010
RLong31's Avatar
The Ban Hammer
Thread Starter
iTrader: (5)
Join Date: Jul 2009
Location: Monrovia, IN
Posts: 2,594
Likes: 0
Received 2 Likes on 2 Posts
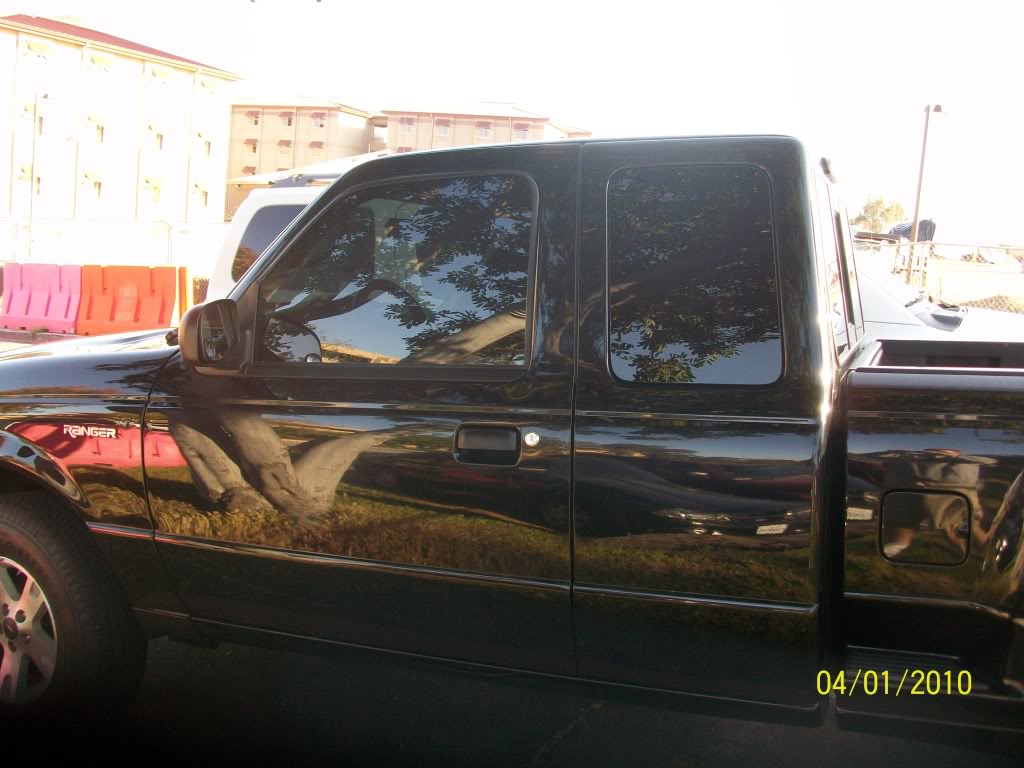
Got my windows tinted last week. 15% on the 2 front to sort of match the factor rear... will go a little darker on the rear because I think from factory they are a little lighter than 15%. It was really sunny and my camera sucks, but you get the idea. Lol.


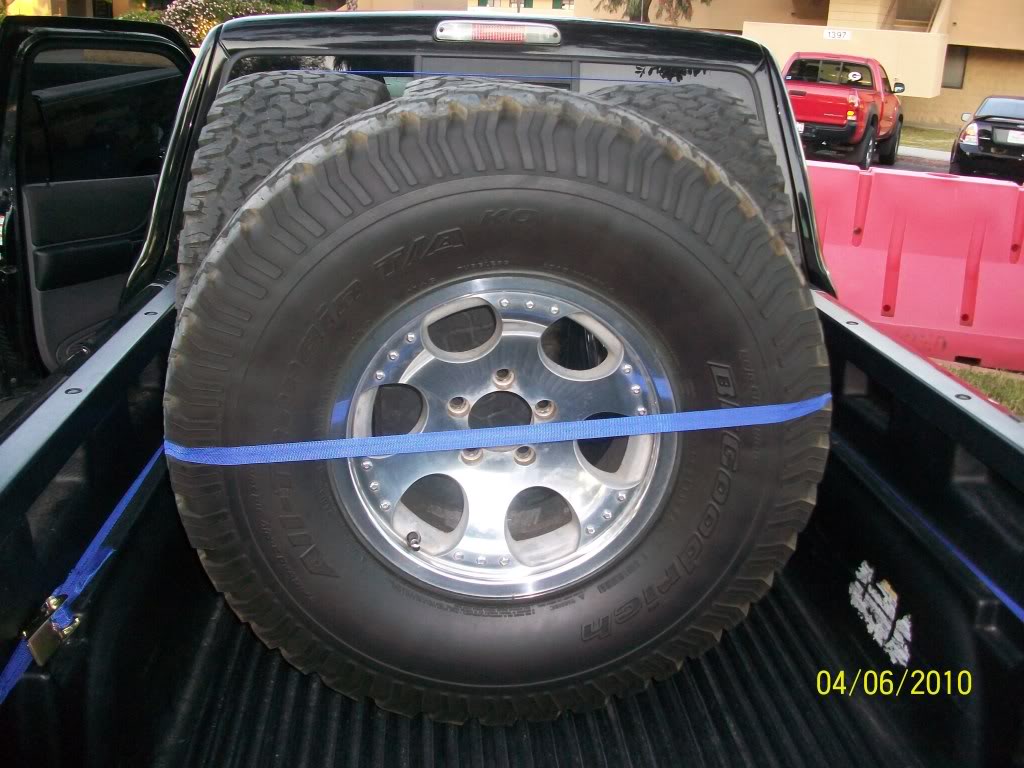
And... this is what I picked up today. 15x8 MB Motoring Overdrive Alum. rims with 33x12.5 BFG AT KO's. Gonna have to crank the t-bars and HOPE.


Still need to install my OHC... and I picked up an auto-dimming mirror to go with it. Hope to get this installed soon. Also doing the door chime push-button mod. Will post more pics when I get it all done.
 
Attached Thumbnails RLong31's 2004 4x4 Edge Build Thread-100_1445.jpg   RLong31's 2004 4x4 Edge Build Thread-100_1447.jpg  

Last edited by RLong31; 02-21-2015 at 01:45 PM.
  #34  
Old 04-06-2010
Hillyard's Avatar
Member
iTrader: (8)
Join Date: Jul 2007
Location: Evansville, Indiana
Posts: 1,029
Likes: 0
Received 1 Like on 1 Post
You have an 04 so how do you get the foglamps to stay on with the brights?
 
  #35  
Old 04-06-2010
RLong31's Avatar
The Ban Hammer
Thread Starter
iTrader: (5)
Join Date: Jul 2009
Location: Monrovia, IN
Posts: 2,594
Likes: 0
Received 2 Likes on 2 Posts
It's crossing a couple wires down by the fuse box. This thread is how to do it. I think it used to have pics, dunno if it still does. Pretty easy to do.
https://www.ranger-forums.com/f43/ho...ight-mod-8283/
 
  #36  
Old 05-09-2010
RLong31's Avatar
The Ban Hammer
Thread Starter
iTrader: (5)
Join Date: Jul 2009
Location: Monrovia, IN
Posts: 2,594
Likes: 0
Received 2 Likes on 2 Posts
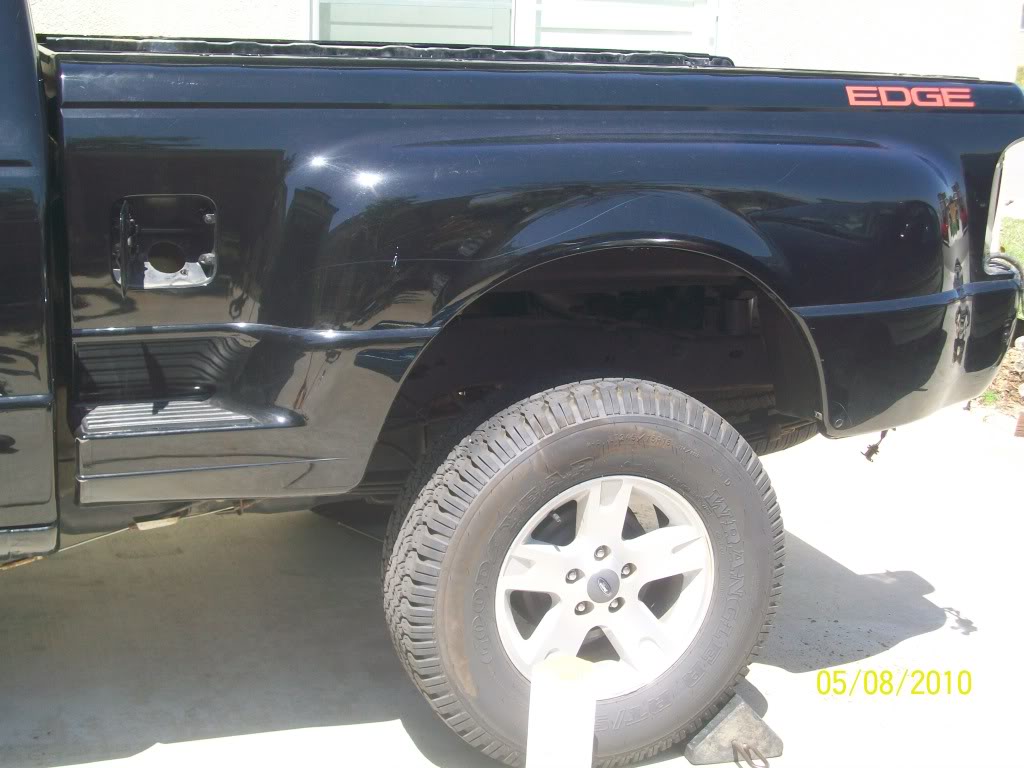
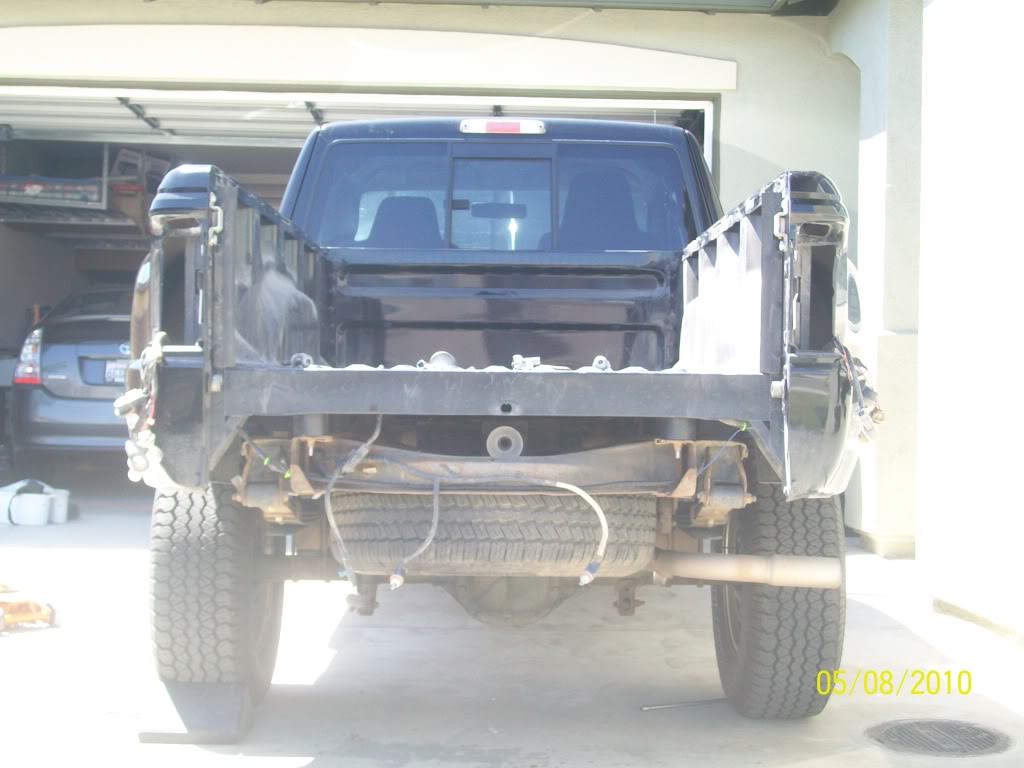
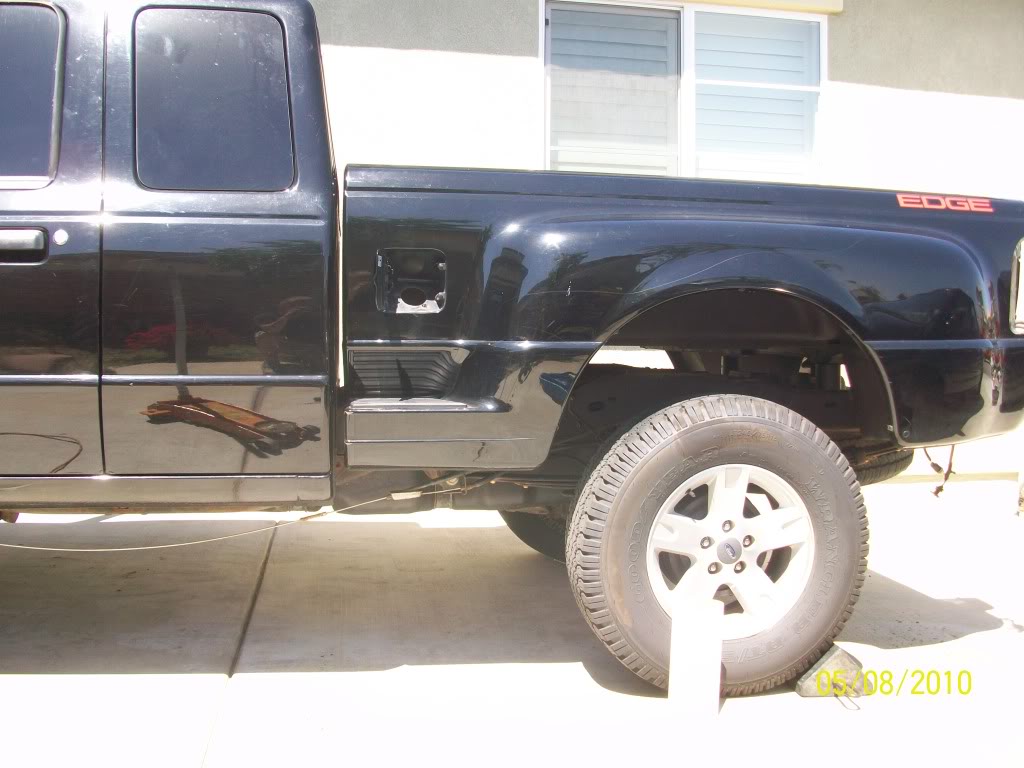
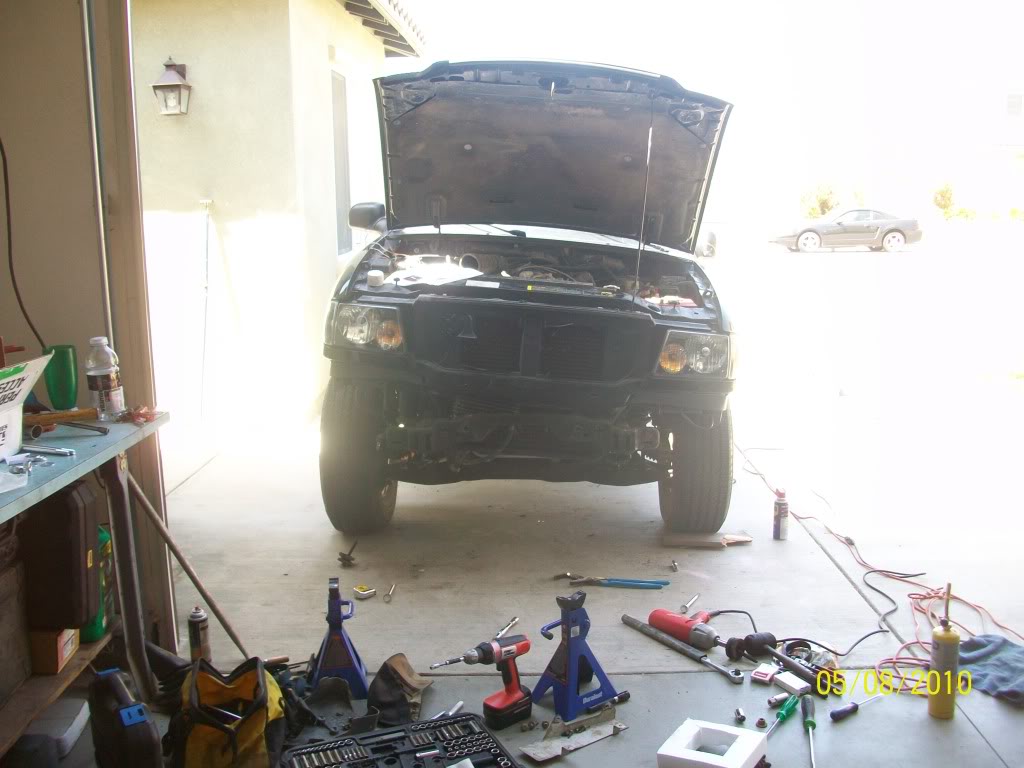
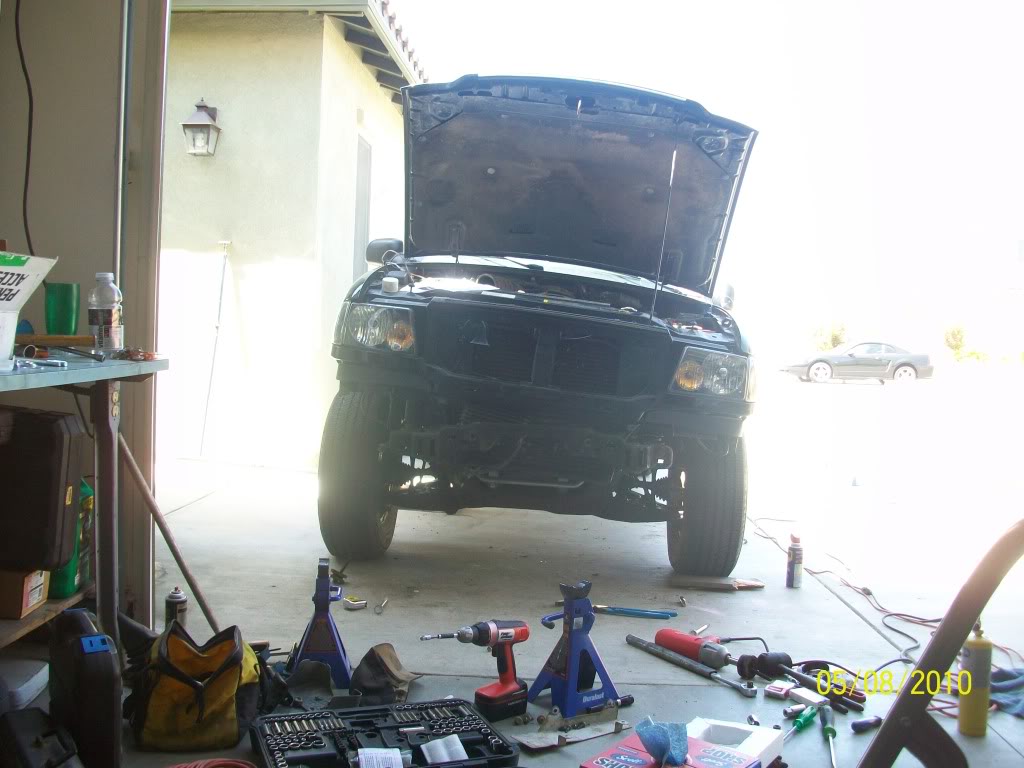
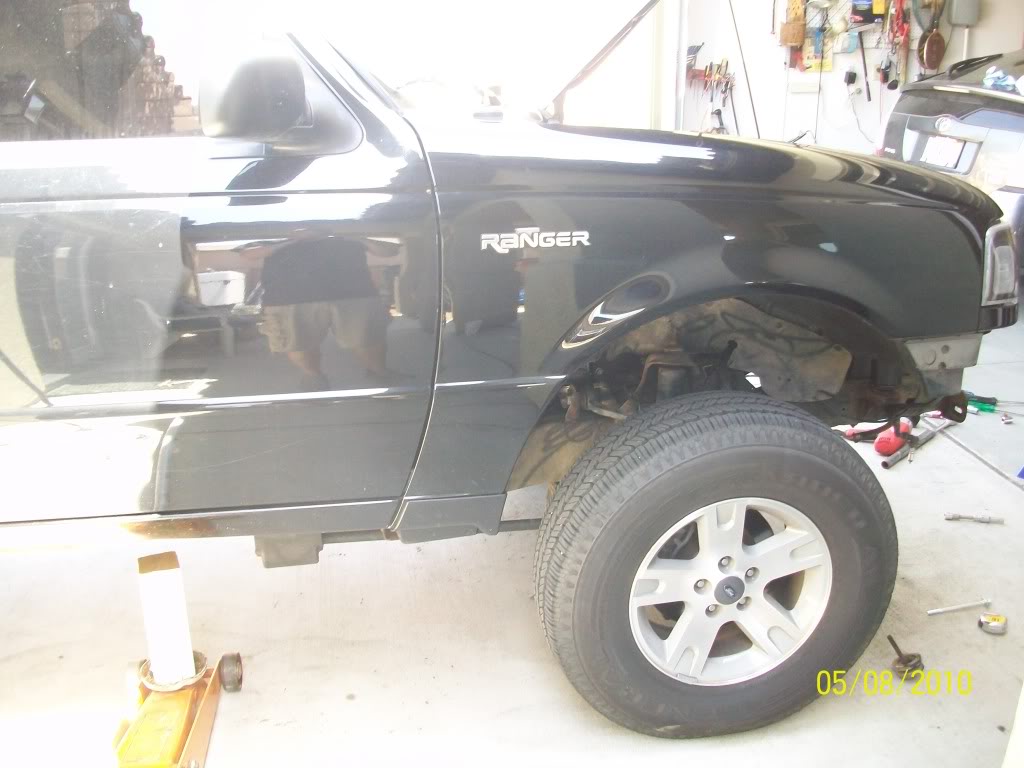
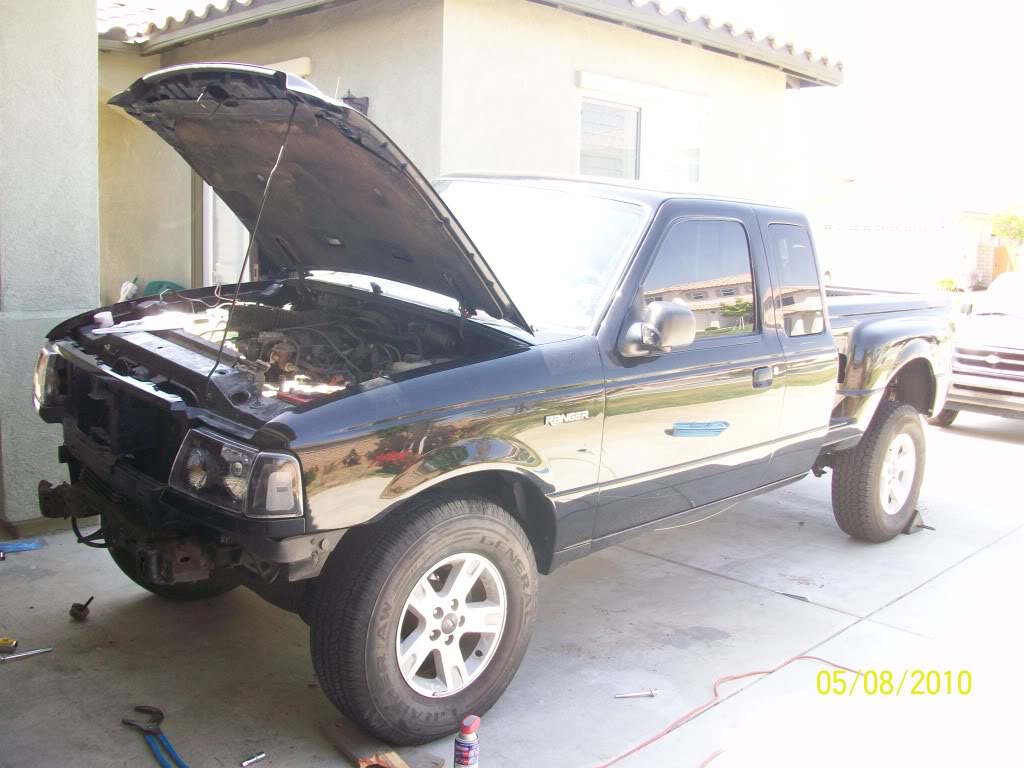
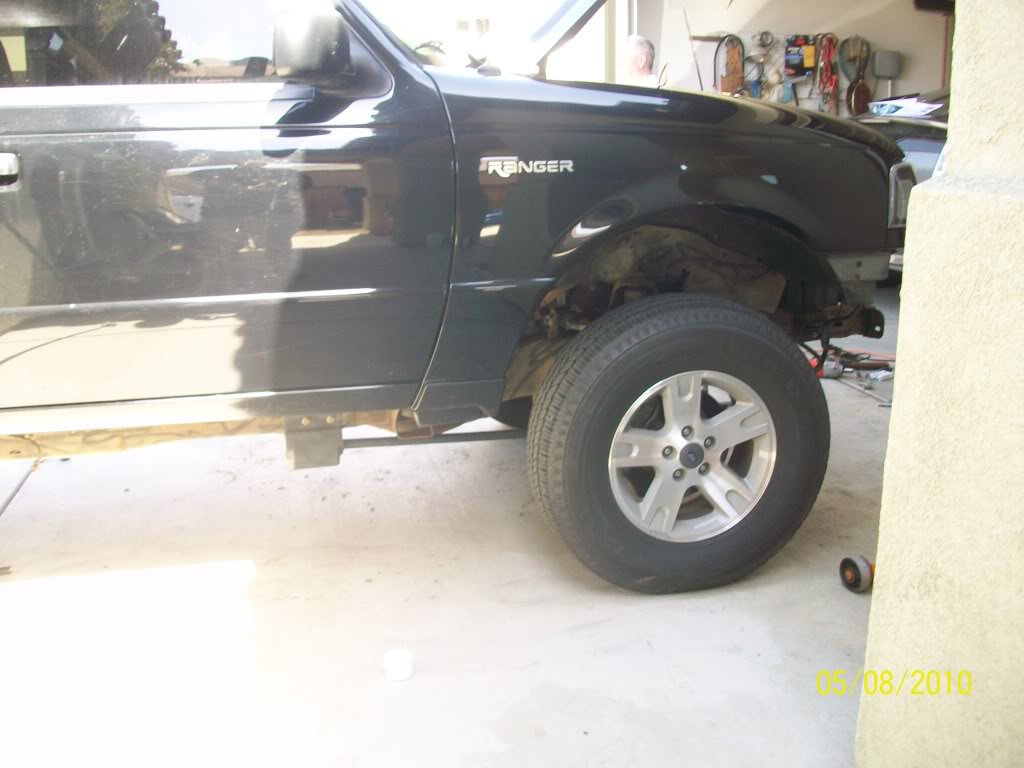
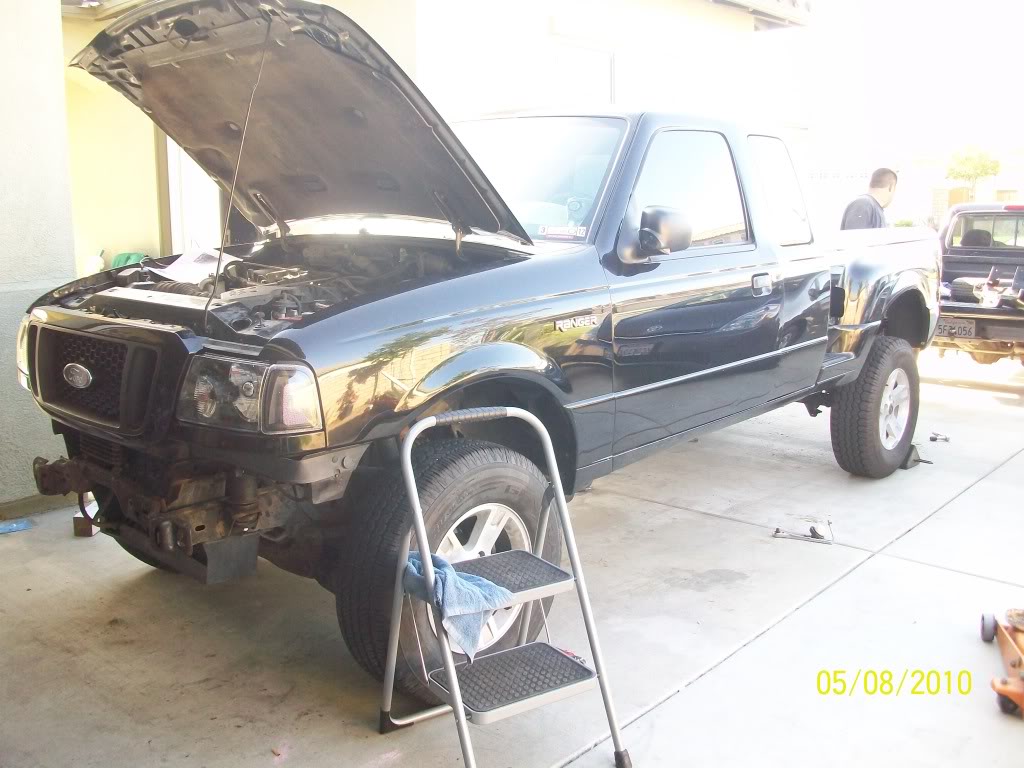
Body Lift PITA... Finally Installed... 56K beware.

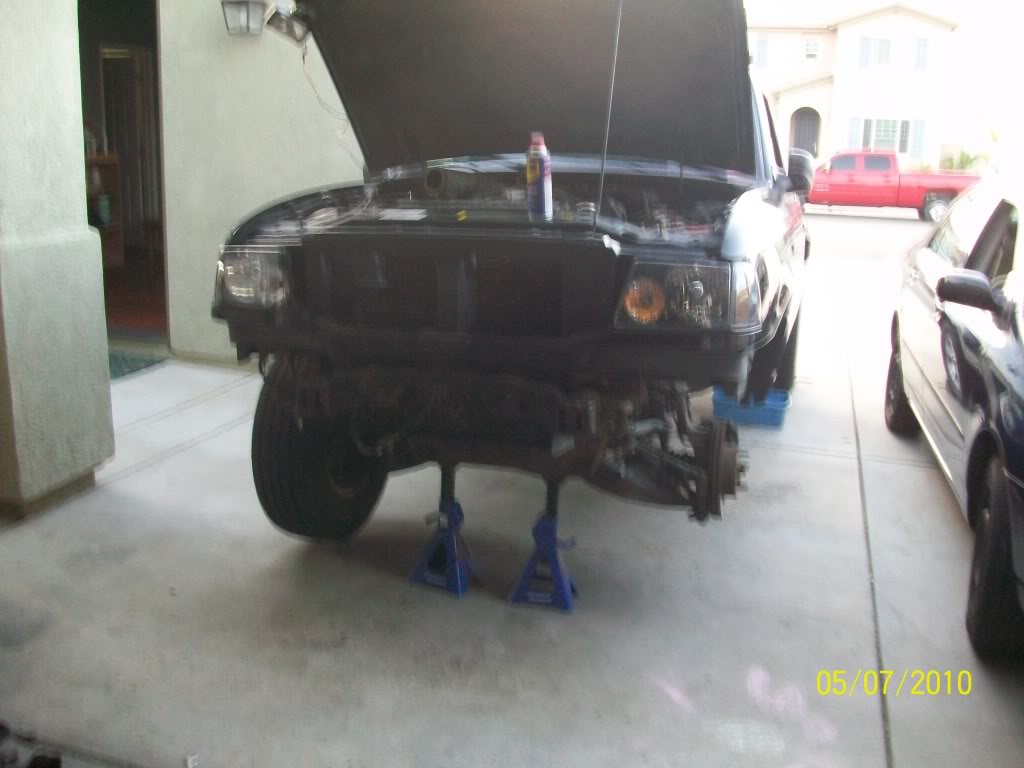
So Friday I drove to a fellow RF member's place (John, jreagan) to install my BL. A couple of other guys were supposed to show up, but things came up, and they didn't end up making it out. Needless to say, it was a pain in the *** to install with no experience. Took all afternoon and evening Friday... and literally ALL day Saturday to install.
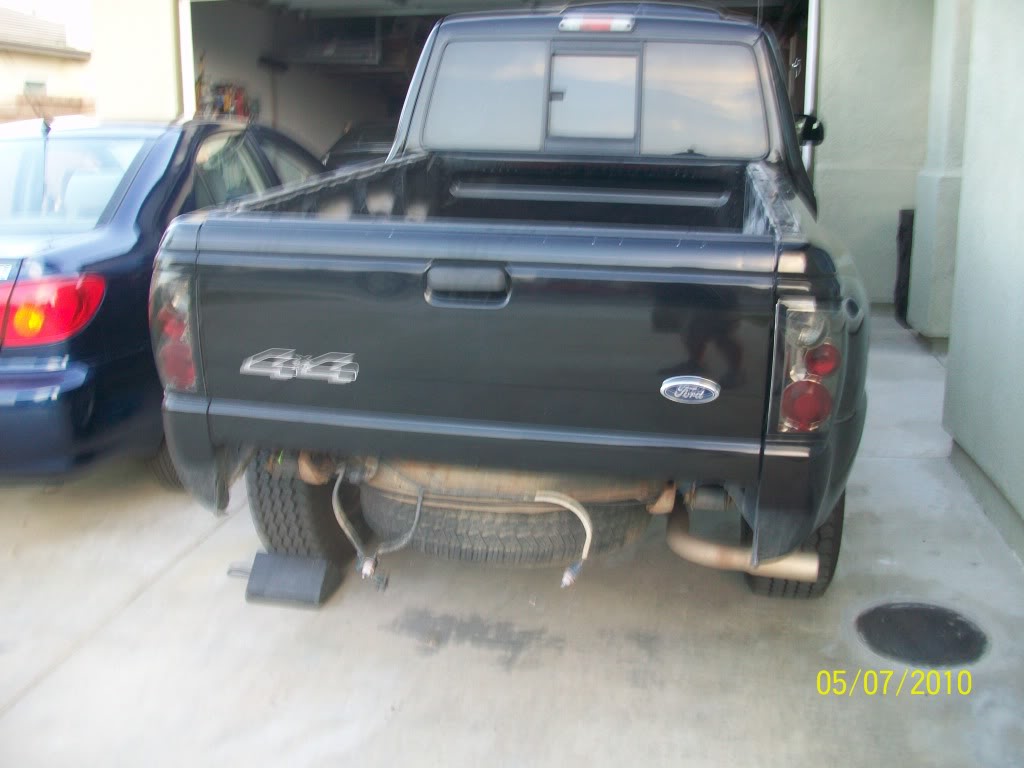
But, it looks good, only ran into a few minor issues. Kit was missing a few brackets for the transmission cooler, ground strap, and I still need to adjust the bumpers a bit, especially the rear, and tweak the bed a little bit. Also need to get the tires re-balanced. And, I need to do the fuel filler extension, right now I just have the cap on and it's wedged in there.

Anyway, on to the pics... not really in any particular order... some are cell pics, so are crappy.

Name:  100_1899.jpg
Views: 265
Size:  102.0 KB
Name:  100_1901.jpg
Views: 252
Size:  112.6 KB
Name:  100_1902.jpg
Views: 259
Size:  157.1 KB
Name:  100_1903.jpg
Views: 273
Size:  134.3 KB
Name:  100_1905.jpg
Views: 260
Size:  114.7 KB
Name:  100_1904.jpg
Views: 255
Size:  131.0 KB
Name:  100_1907.jpg
Views: 267
Size:  141.3 KB
Name:  100_1906.jpg
Views: 253
Size:  147.9 KB
Name:  100_1909.jpg
Views: 245
Size:  128.5 KB
Name:  100_1910.jpg
Views: 264
Size:  134.1 KB
Name:  100_1908.jpg
Views: 257
Size:  123.6 KB
Name:  100_1911.jpg
Views: 264
Size:  144.4 KB
Name:  100_1912.jpg
Views: 265
Size:  148.4 KB
Name:  100_1913.jpg
Views: 269
Size:  136.4 KB
Name:  100_1914.jpg
Views: 286
Size:  97.3 KB
Name:  100_1915.jpg
Views: 257
Size:  109.2 KB
Name:  100_1916.jpg
Views: 253
Size:  153.3 KB
Name:  100_1917.jpg
Views: 262
Size:  108.3 KB
Name:  100_1921.jpg
Views: 251
Size:  117.7 KB
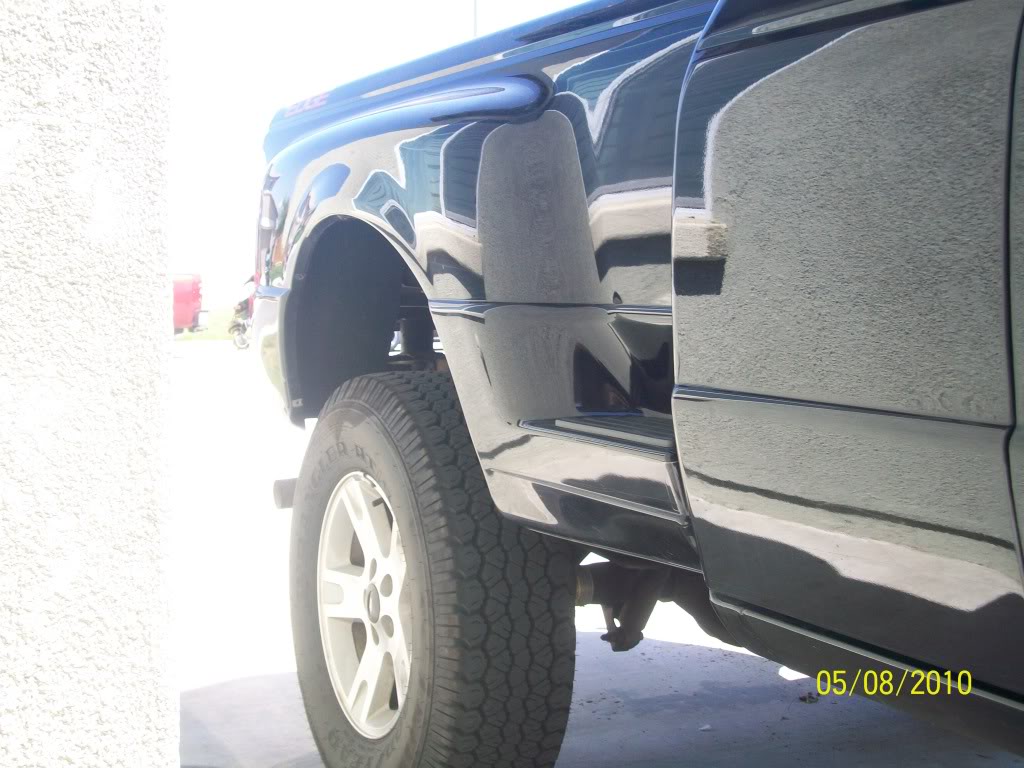
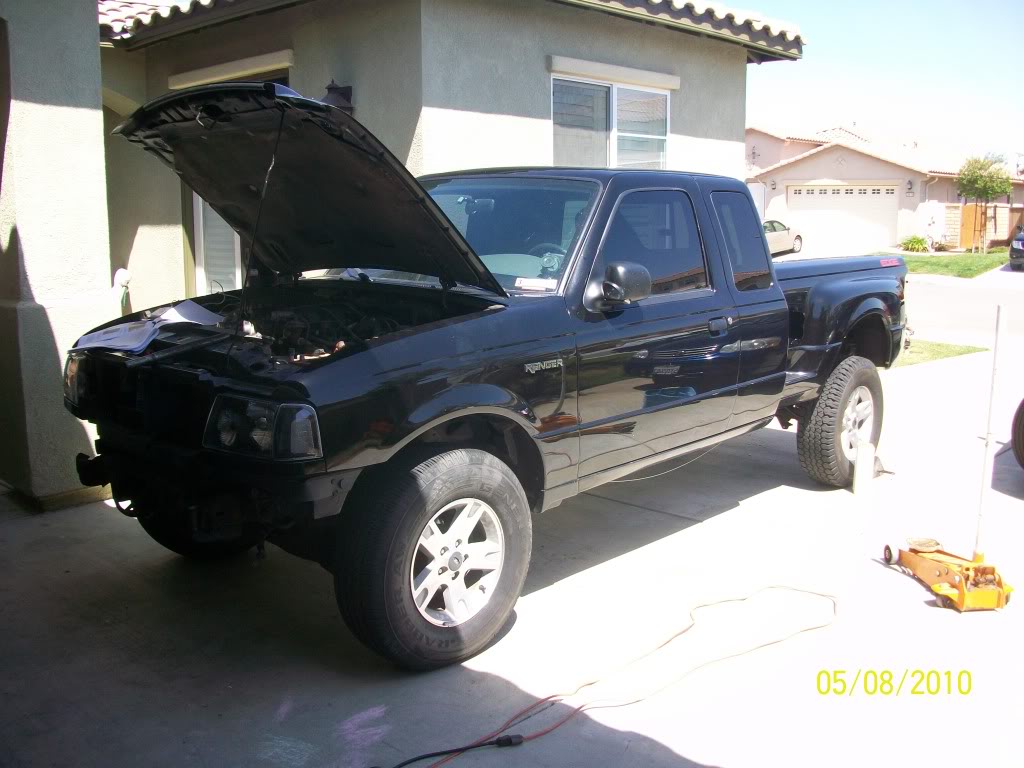
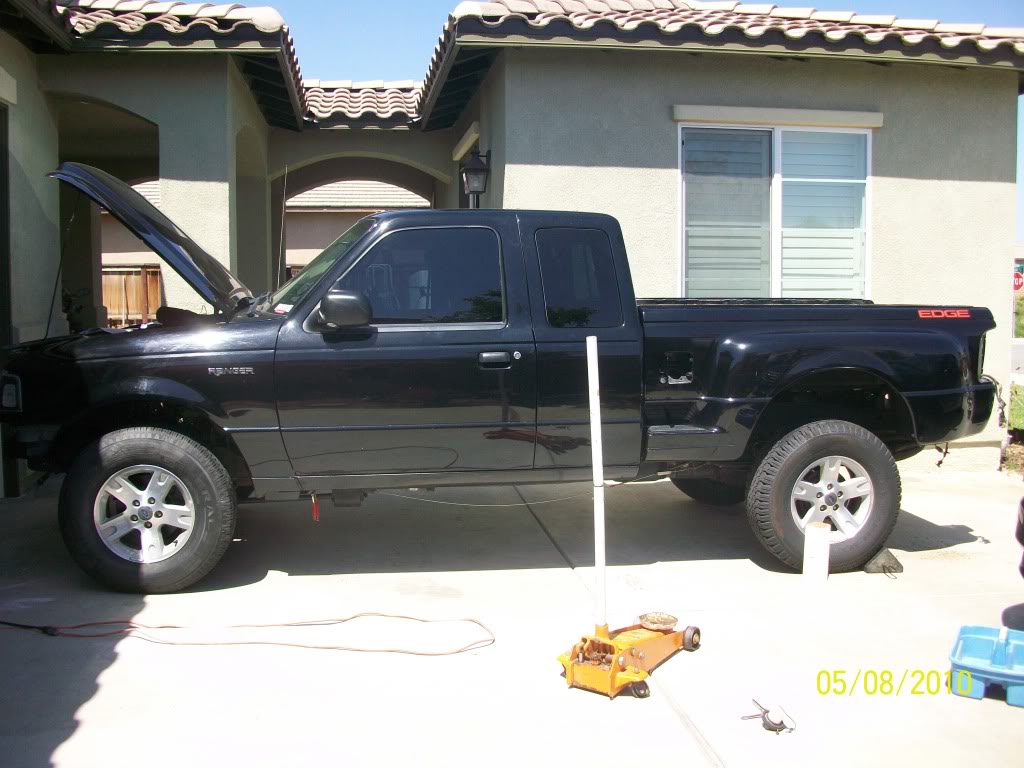
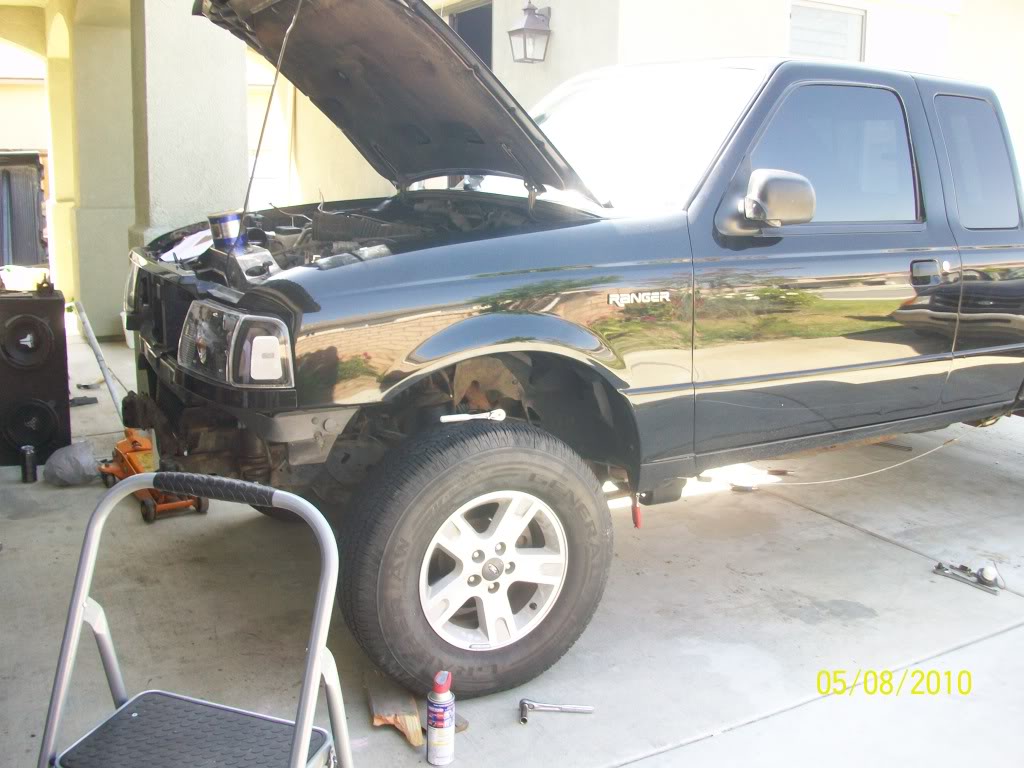
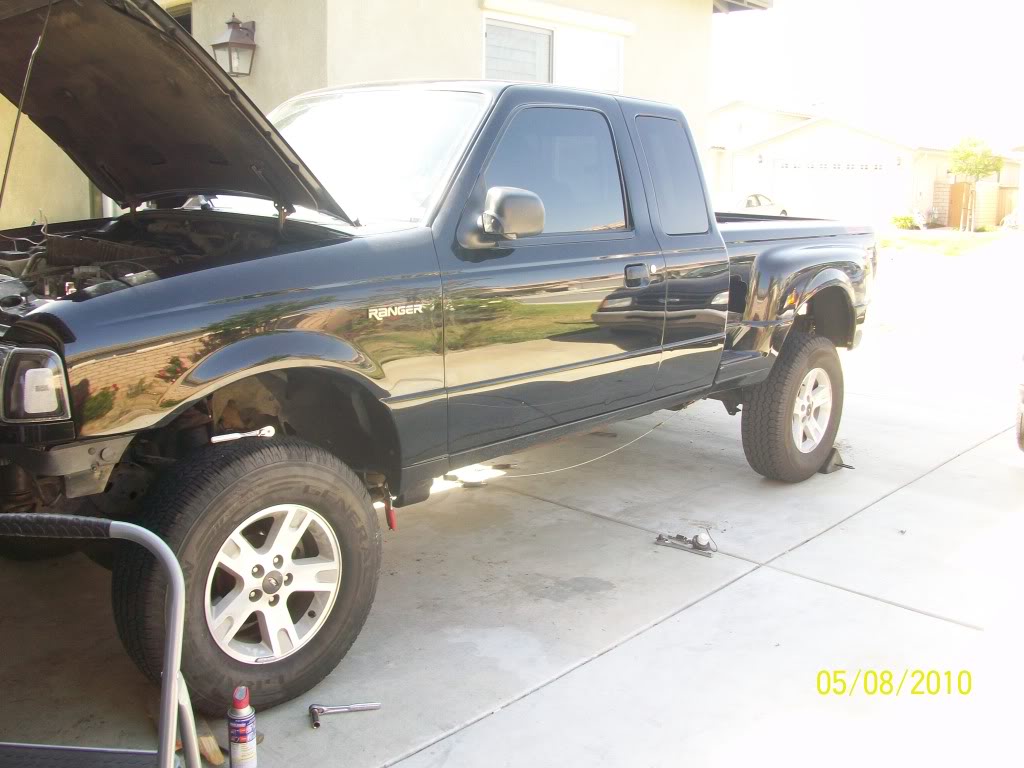
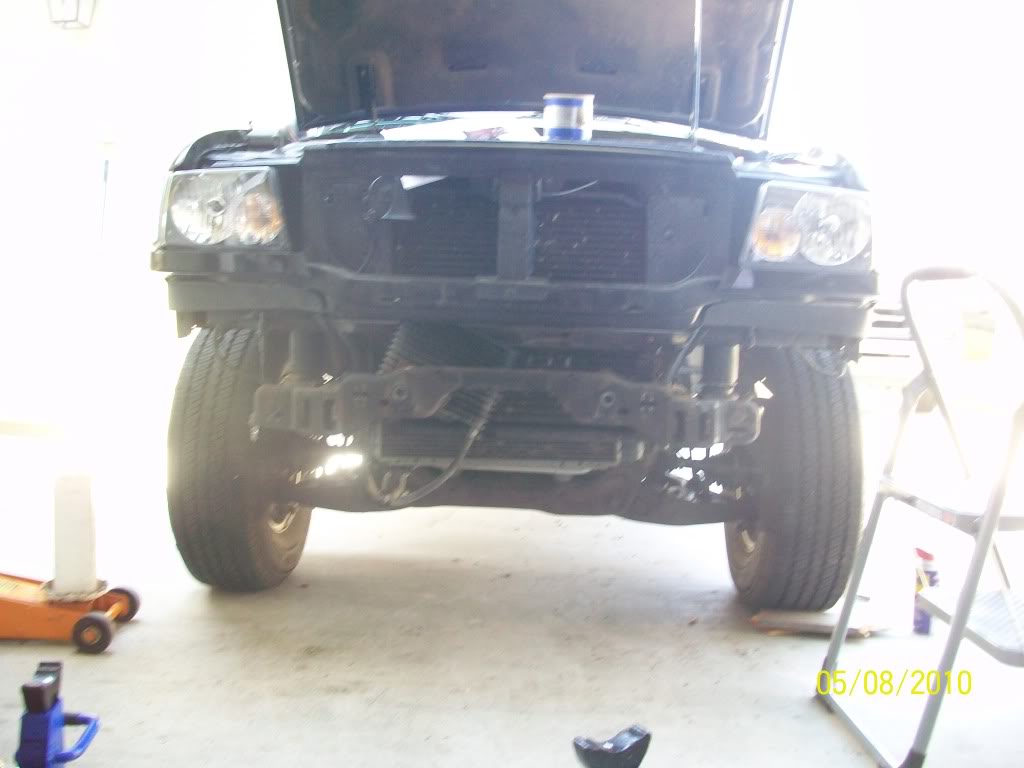
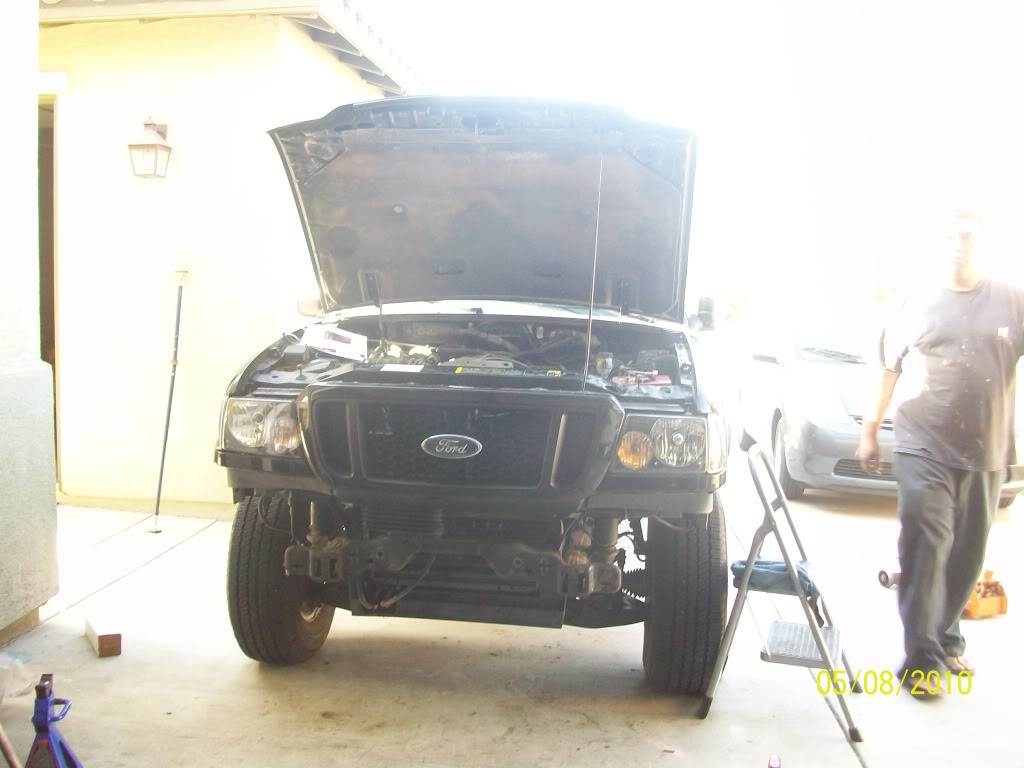
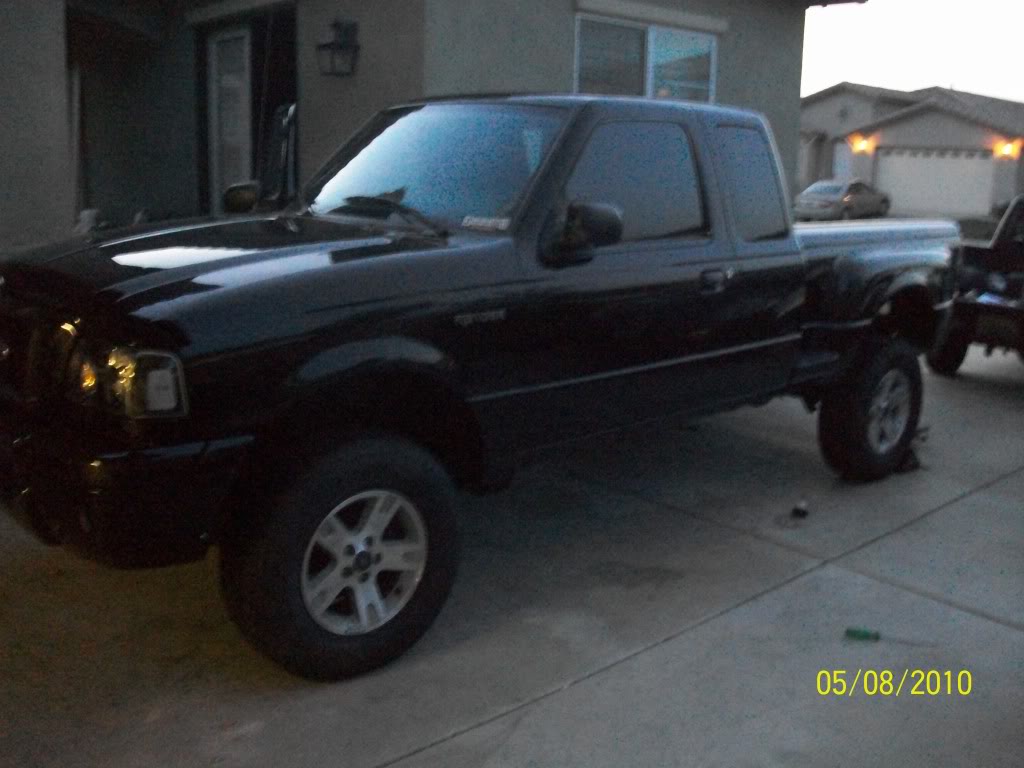
And... After I drove home with the new tires on.
Name:  100_1923.jpg
Views: 252
Size:  133.5 KB
Name:  100_1934.jpg
Views: 347
Size:  209.4 KB
Name:  100_1925.jpg
Views: 299
Size:  186.9 KB
Name:  100_1926.jpg
Views: 257
Size:  129.4 KB
Name:  100_1927.jpg
Views: 260
Size:  165.2 KB
Name:  100_1928.jpg
Views: 318
Size:  211.1 KB
Name:  100_1929.jpg
Views: 273
Size:  224.2 KB
Name:  100_1930.jpg
Views: 281
Size:  184.1 KB
Name:  100_1931.jpg
Views: 287
Size:  209.1 KB
Name:  100_1932.jpg
Views: 279
Size:  214.1 KB
Name:  05092010273.jpg
Views: 295
Size:  117.2 KB
Name:  05092010272.jpg
Views: 290
Size:  121.0 KB

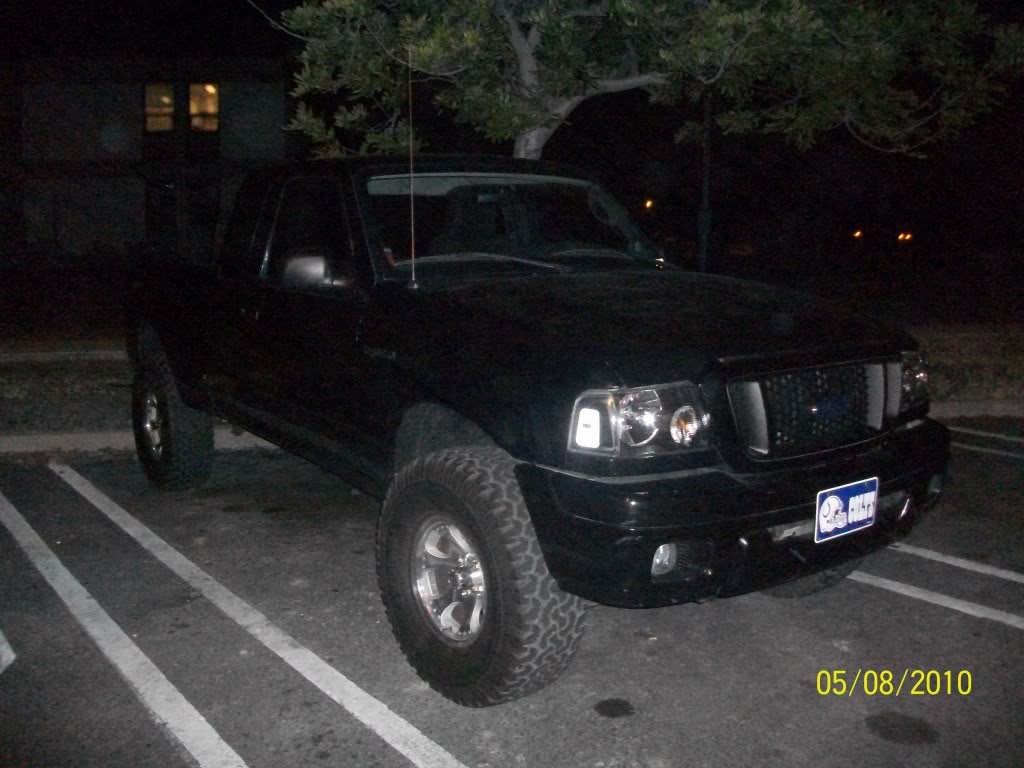
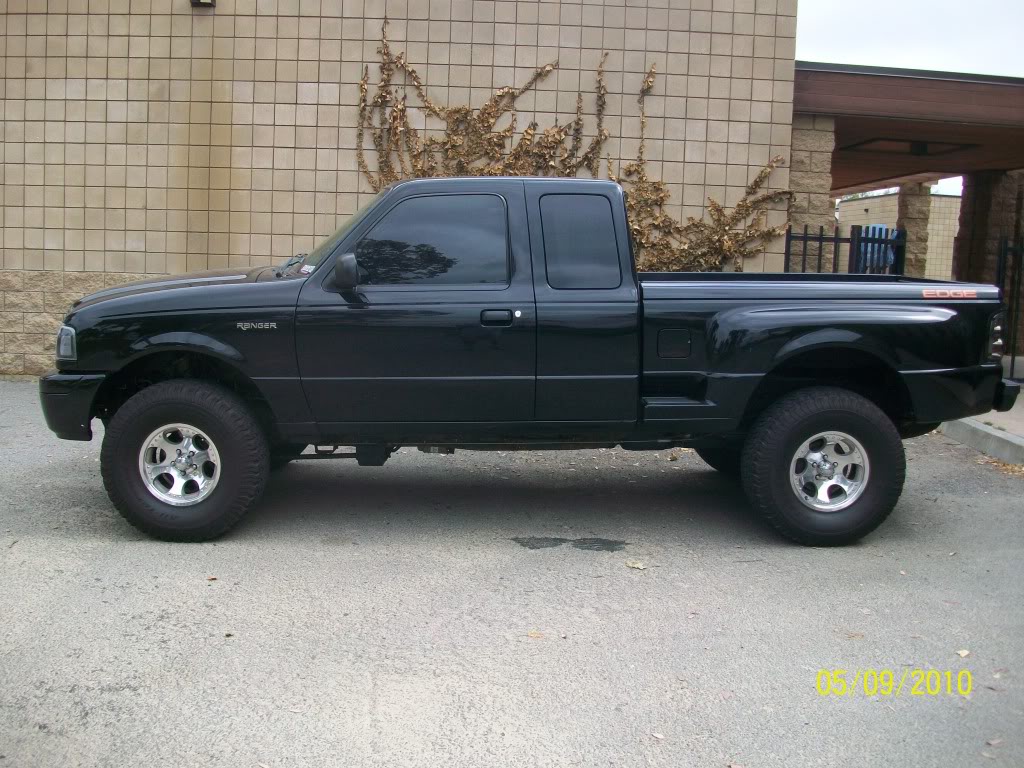
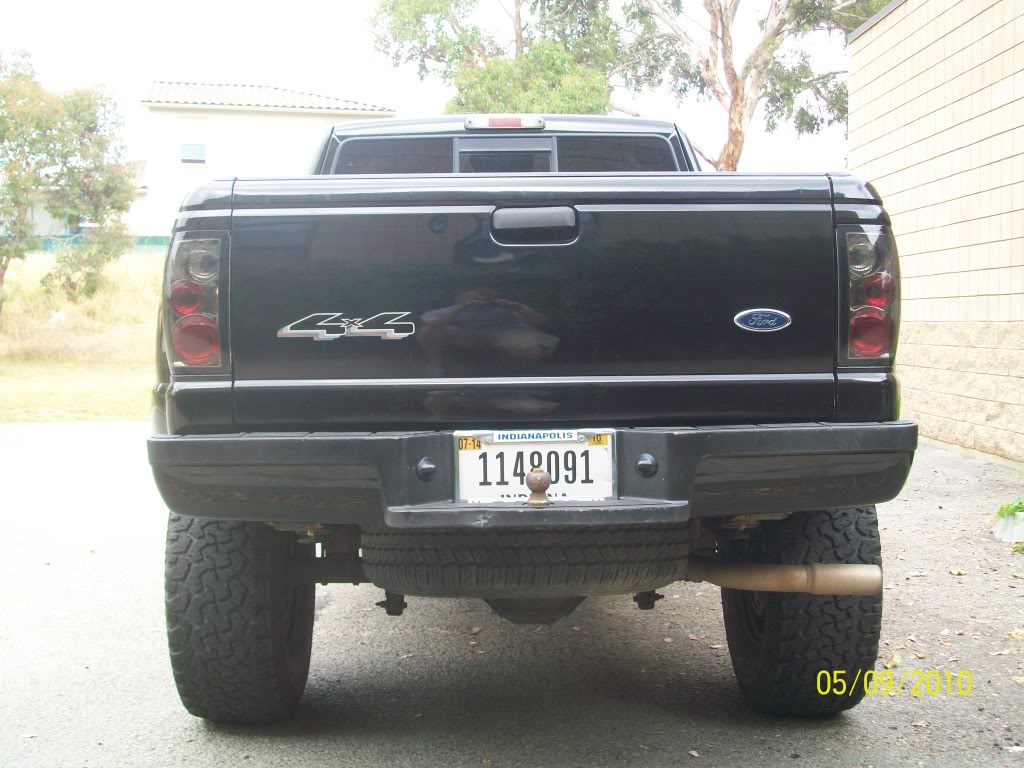
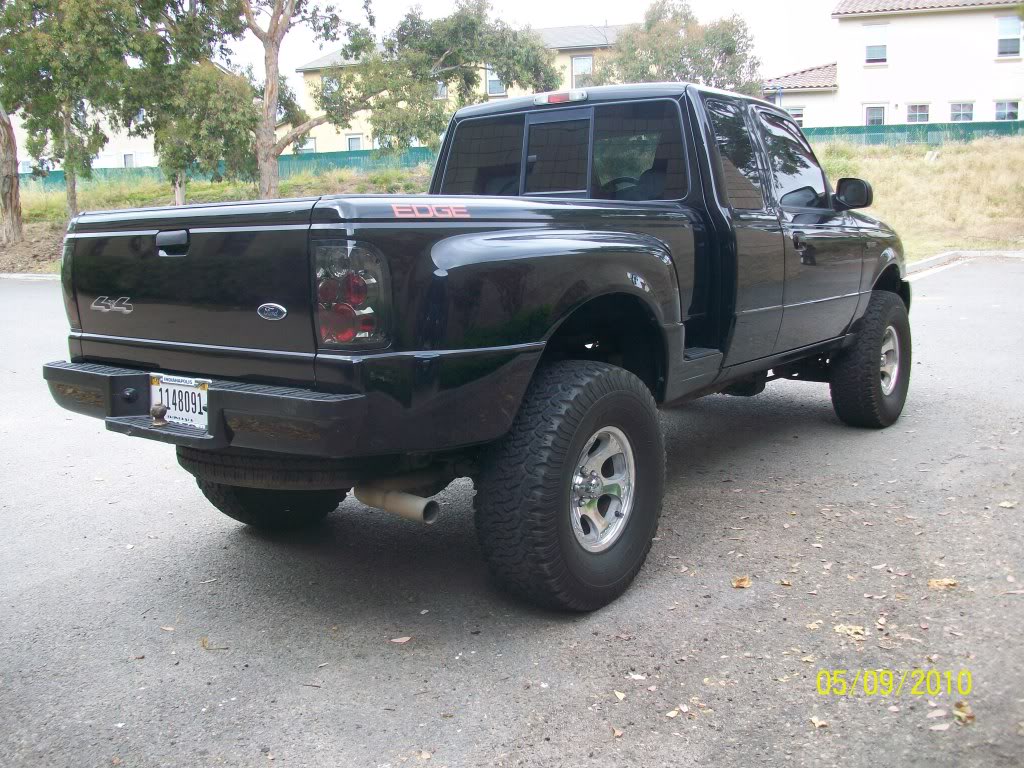
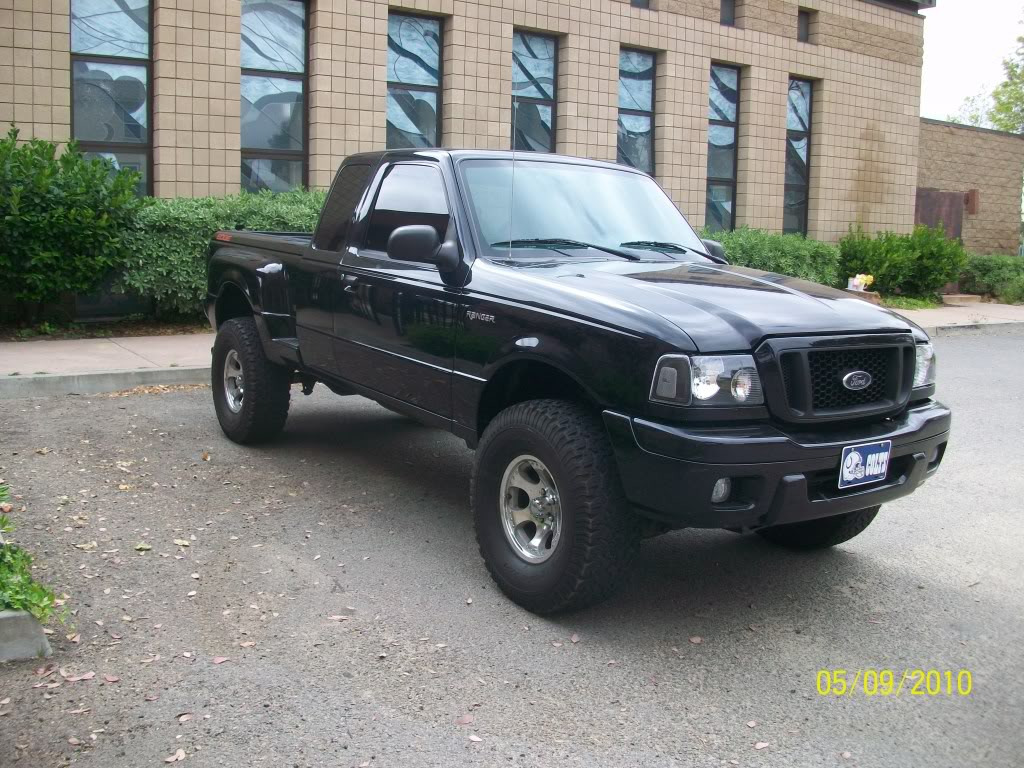
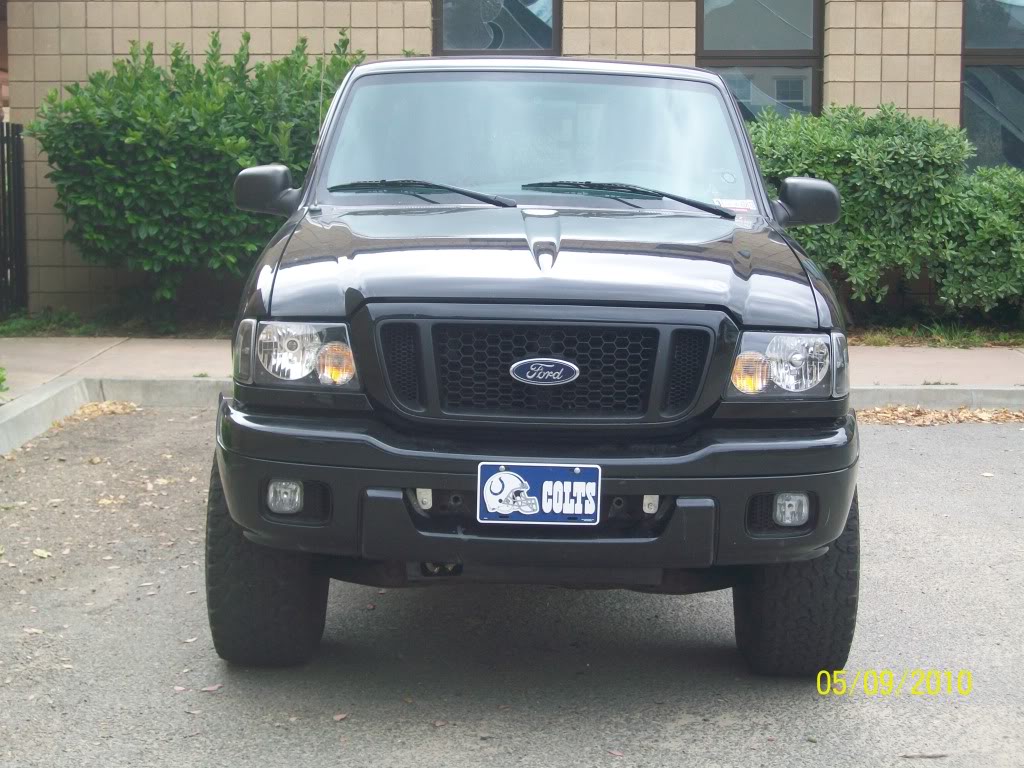
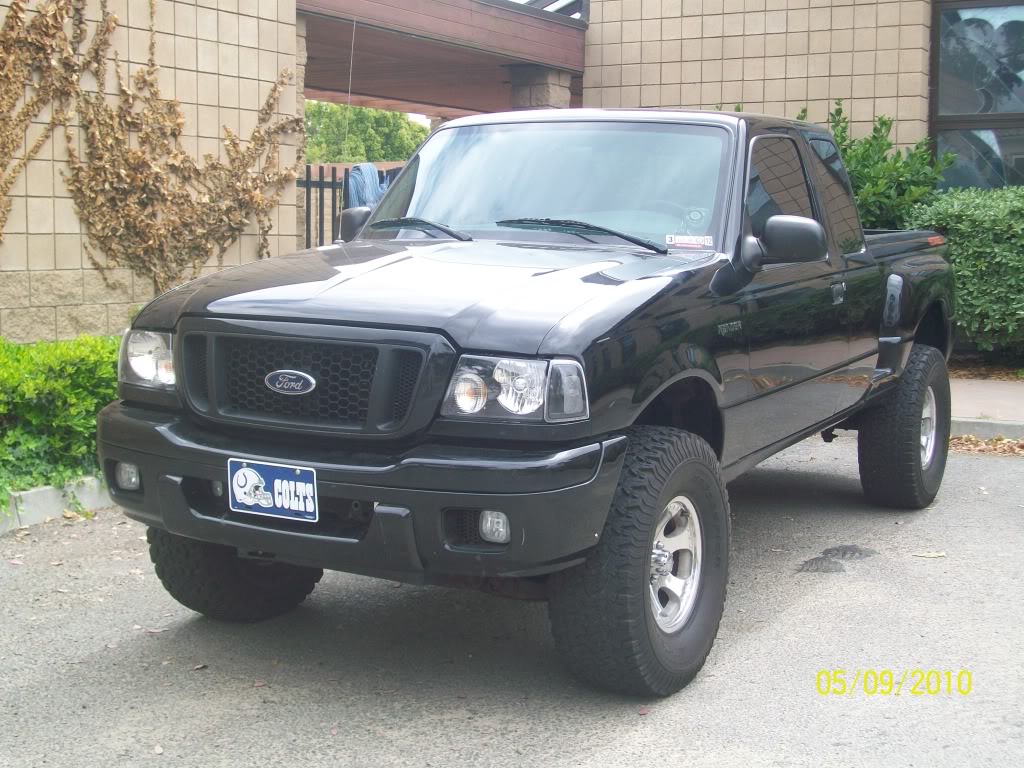
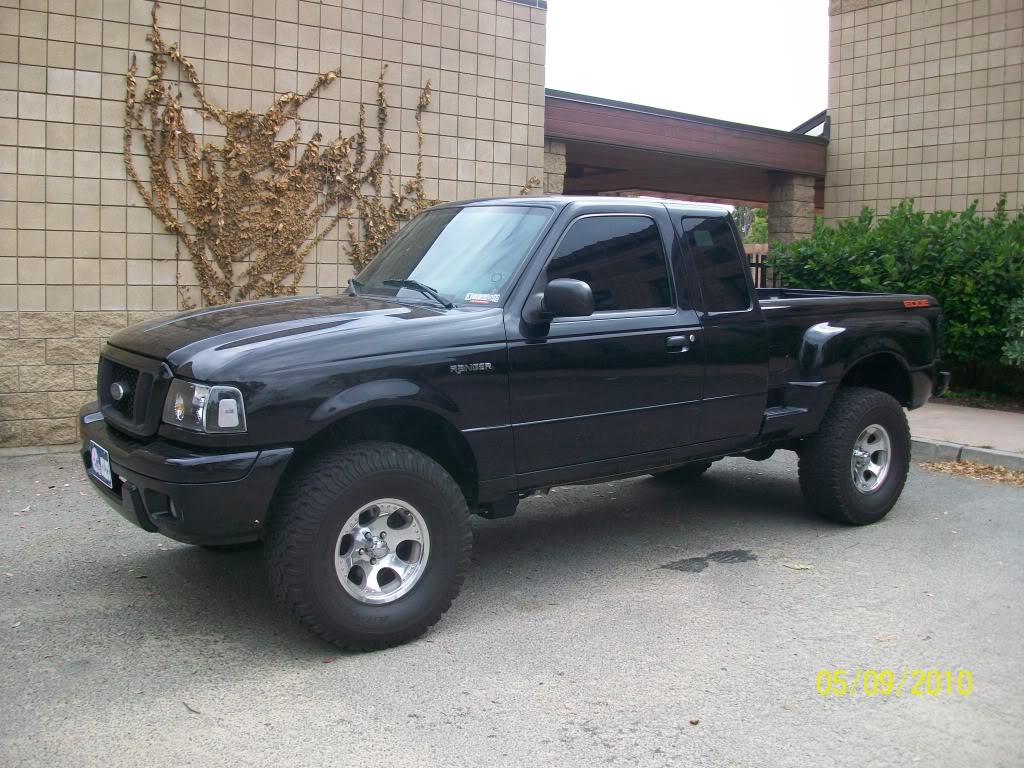
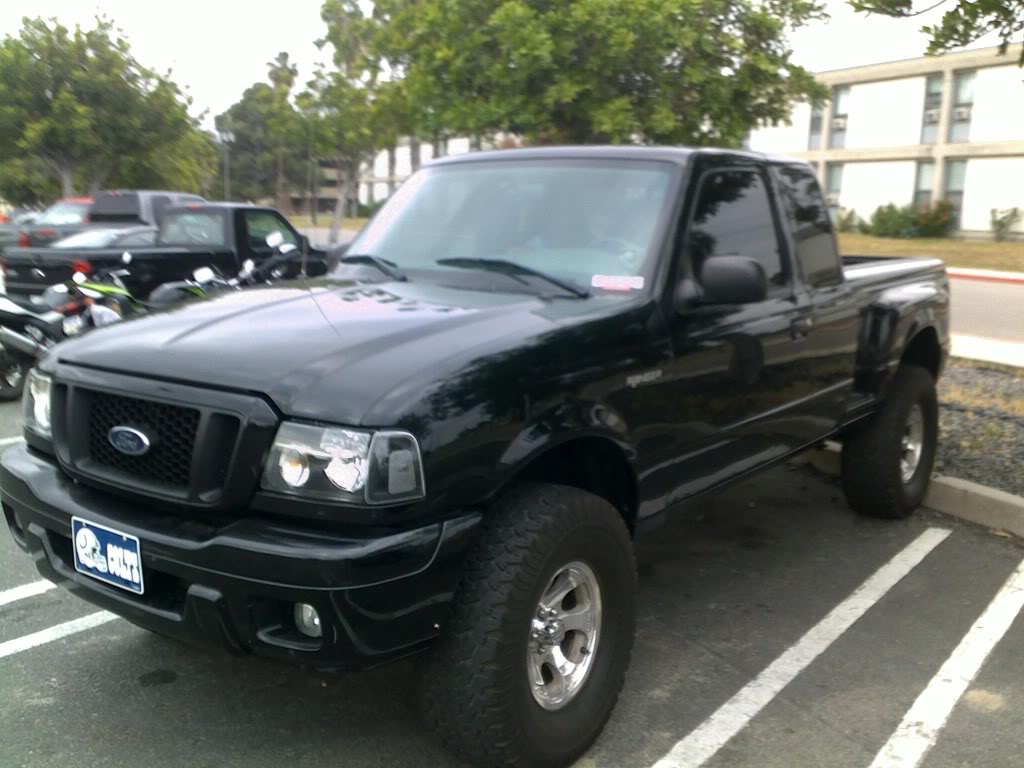
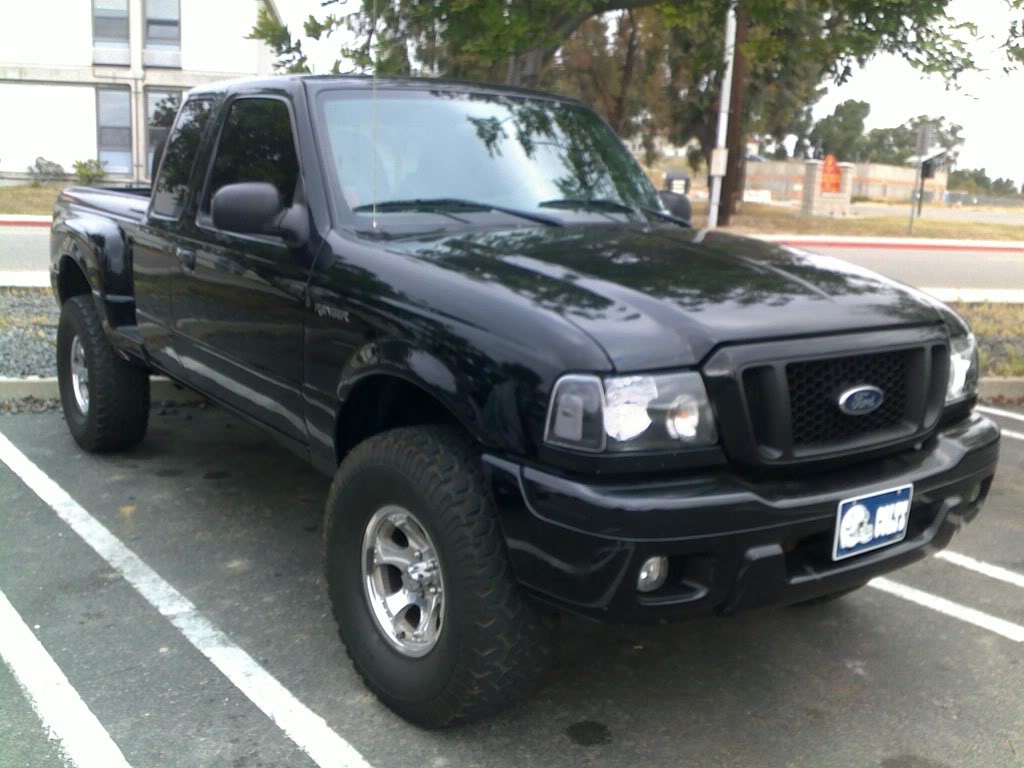
What you guys think? Sorry... Lot of friggin pictures, haha.
 
  #37  
Old 05-09-2010
silverfox's Avatar
Member
Join Date: Jul 2008
Location: Taft, Ca
Posts: 1,040
Likes: 0
Received 1 Like on 1 Post
looks good man im sorry i spaced getting back to you on the filler necks ext. do you still need ground straps ext. and trans cooler brackets?
 
  #38  
Old 05-09-2010
Downey's Avatar
RF Veteran
iTrader: (1)
Join Date: Oct 2007
Location: Muncy, PA
Posts: 8,470
Likes: 0
Received 6 Likes on 6 Posts
looks good man i like it. what wheels are those
 
  #39  
Old 05-09-2010
RLong31's Avatar
The Ban Hammer
Thread Starter
iTrader: (5)
Join Date: Jul 2009
Location: Monrovia, IN
Posts: 2,594
Likes: 0
Received 2 Likes on 2 Posts
MB Motoring Overdrive. They're discontinued now, but it came as a package with the tires, which are BFG AT's. Got all 4 tires and rims for $500 off a local ranger owner.
 
  #40  
Old 05-09-2010
TurdFX4's Avatar
Member
Join Date: Dec 2008
Location: My house
Posts: 933
Likes: 0
Received 1 Like on 1 Post
looks good, now do mine! lol Ive only had it for over a year now
 
  #41  
Old 05-09-2010
RLong31's Avatar
The Ban Hammer
Thread Starter
iTrader: (5)
Join Date: Jul 2009
Location: Monrovia, IN
Posts: 2,594
Likes: 0
Received 2 Likes on 2 Posts
Don't blame you for putting it off. especially if it's your DD. My ABS light was on, and I thought we really screwed something up... turns out we just unplugged a sensor, haha. With help of a friend and the right tools, it wasn't too bad. 2 guys with no experience managed to get it done, but it was a pain in the ***.
 
  #42  
Old 05-09-2010
03ranger's Avatar
Member
Join Date: Jul 2009
Location: Irwin, Pa
Posts: 519
Likes: 0
Received 0 Likes on 0 Posts
what did you do with your emergency brake cable??? how did you do it?? i just finished mine today and cant seem what to do or how to do it??
 
  #43  
Old 05-09-2010
cchsbuzz19's Avatar
Member
iTrader: (5)
Join Date: Jul 2007
Location: North Canton, Ohio
Posts: 2,417
Likes: 0
Received 2 Likes on 2 Posts
^^ You shouldn't need to worry about the E-brake cable. I've done 2 bodylifts and never messed with the E-brake. Truck looks great man!
 
  #44  
Old 05-09-2010
03ranger's Avatar
Member
Join Date: Jul 2009
Location: Irwin, Pa
Posts: 519
Likes: 0
Received 0 Likes on 0 Posts
i was going on with the instructions and it told me to disconnect it but my friend did it in the wrong spot and now i cant get it back where the bodylift puck things go.
 
  #45  
Old 05-09-2010
RLong31's Avatar
The Ban Hammer
Thread Starter
iTrader: (5)
Join Date: Jul 2009
Location: Monrovia, IN
Posts: 2,594
Likes: 0
Received 2 Likes on 2 Posts
My instructions said to pull some slack in the line, then clamp it with vice grips. Then after you lift it, you release the vice grips... test the e-brake... all should work fine.

And, thanks for the compliments guys. Forgot to add, I have some rubber that I got from John that I need to make gap guards with. I was just so tired today after the last 2 days of working on the truck, that I don't even wanna look at it, haha.
 
  #46  
Old 05-09-2010
03ranger's Avatar
Member
Join Date: Jul 2009
Location: Irwin, Pa
Posts: 519
Likes: 0
Received 0 Likes on 0 Posts
sorry for like thread jacking but my buddy undid my ebrake cable its just hanging there now and i cant seem to get it back into where it was in the stock location.
 
  #47  
Old 05-09-2010
RLong31's Avatar
The Ban Hammer
Thread Starter
iTrader: (5)
Join Date: Jul 2009
Location: Monrovia, IN
Posts: 2,594
Likes: 0
Received 2 Likes on 2 Posts
I'm not sure man. I would start a new thread, take some pics and post em up, ask for help there. Might try lowering that side down, and trying to reconnect the cable.
 
  #48  
Old 05-09-2010
powerranger262's Avatar
Member
iTrader: (1)
Join Date: Feb 2009
Location: Hartford, WI
Posts: 1,222
Likes: 0
Received 1 Like on 1 Post
Looks sharp man.
 
  #49  
Old 05-10-2010
Fx4wannabe01's Avatar
RF Veteran
iTrader: (23)
Join Date: May 2005
Location: Boring, Oregon
Posts: 21,721
Likes: 0
Received 10 Likes on 10 Posts
looks good...now, go please remove that damn stupid plastic thing under the radiator!!!
 
  #50  
Old 05-10-2010
Sonic04Edge's Avatar
RF Veteran
iTrader: (6)
Join Date: Jun 2004
Location: Madison. AL
Posts: 5,718
Likes: 0
Received 1 Like on 1 Post
Looks great man. Having a lifted truck is a blast


Quick Reply: RLong31's 2004 4x4 Edge Build Thread


All times are GMT -6. The time now is 01:09 AM.