


installation help on lights inside grille



installation help on lights inside grille
I've peeked behind the grille, but I can't figure out WHERE people are mounting their lights...
The inside top is just plastic, so mounting lights there is out....
The inside bottom is ok on the drivers side, but there's something that looks like an oil cooler mounted on the passenger side... this prevents the light being mounted on THAT side.
Please post pics of how you mounted your behind-the-grille lights.
Thankz.
The inside top is just plastic, so mounting lights there is out....
The inside bottom is ok on the drivers side, but there's something that looks like an oil cooler mounted on the passenger side... this prevents the light being mounted on THAT side.
Please post pics of how you mounted your behind-the-grille lights.
Thankz.
That would be your transmission cooler on the passenger side. You should be OK mounting them on the top. I think that's what most people do. If you search for Hella, you should find some advice and information for mounting them behind the grill, but you'll have to either move or reposition the transmission cooler to make it work.
Member

Joined: Jul 2007
Posts: 1,727
Likes: 0
From: Colorado
The top portion is fiberglass. Mount them upside down drill a larger hole in the upper part and a smaller hole in the bottom part. The larger hole is so you have access with your socket to get to the bolt that holds the hella light mount. I went to the hardware store and also got rubber washers to go on either side of the mounting washers just to prevent any vibrations from cracking the fiberglass. I have had mine in almost a year and have never had a problem. Also it is much easier if you take the whole header panel off to gain access to where the lights will be mounted
Here's the thread where rstangboi shows some shots of his during installation : Hella ella ella
I'm working on mine right now. I've got the grill, surround, and cowl off. The grill is cleaned and ready for paint. I'm going to try to get to the lights tomorrow. If I do, I'll post some pics then.
I'm working on mine right now. I've got the grill, surround, and cowl off. The grill is cleaned and ready for paint. I'm going to try to get to the lights tomorrow. If I do, I'll post some pics then.
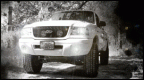
i mounted mine to the plastic above. 6" kc slimlight 130w. the fit was almost snug enough for me, but i put some thick foamy tape at the bottom underneath the lights to keep them snug and from coming out of adjustment. hope this helps.
Good idea on the tape to help hold them in place. I also plan to go out and pick up some ribber washers like RangerMuse did.
I got them fitted in today, but still have the finish work to do, as well as the wiring. Anyway, here's some pics of how I mounted them.
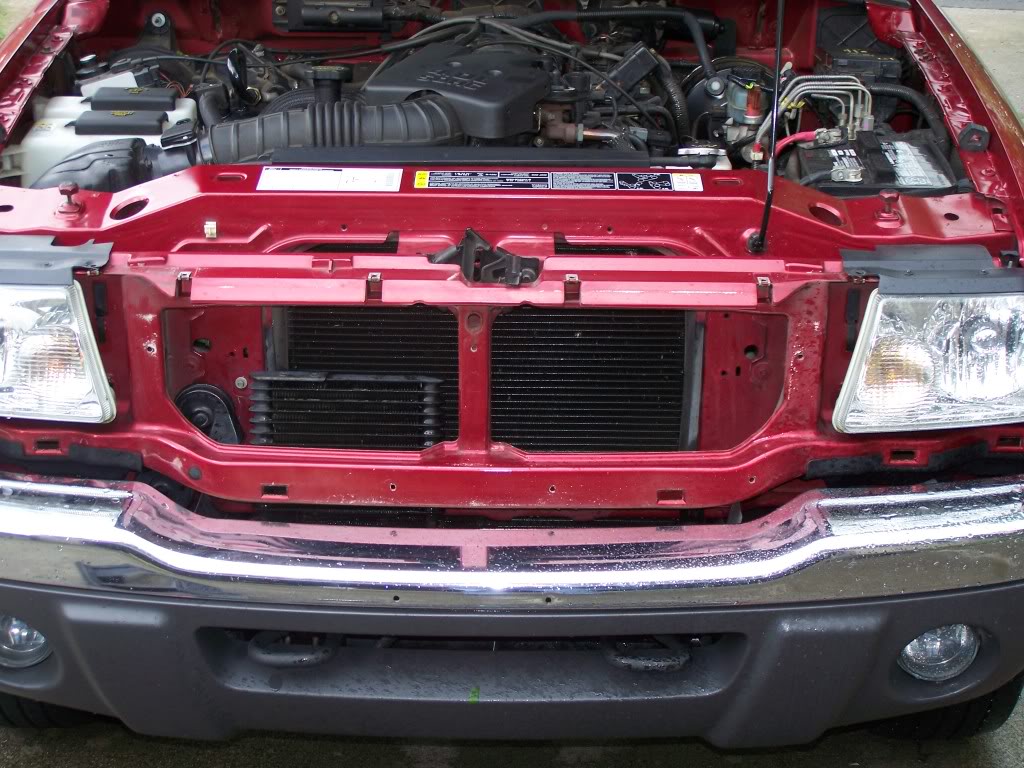
First, I removed the grill, surround, and the black cowl:
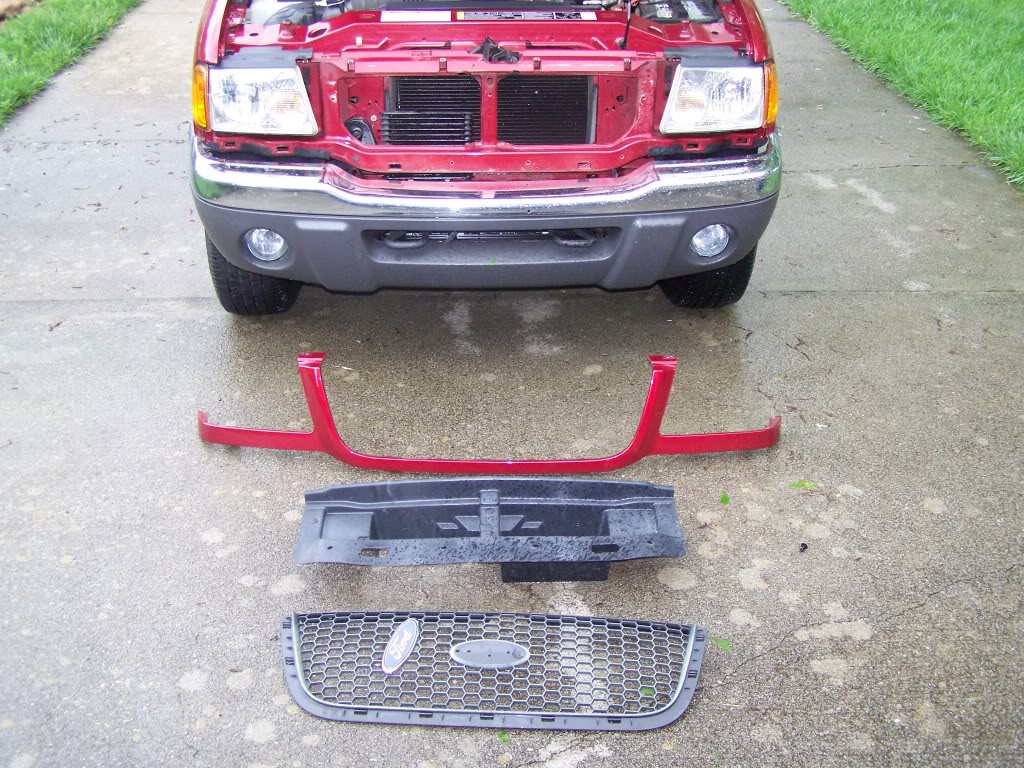
which left me with this:
I then measured, and marked it off with tape as a guide:
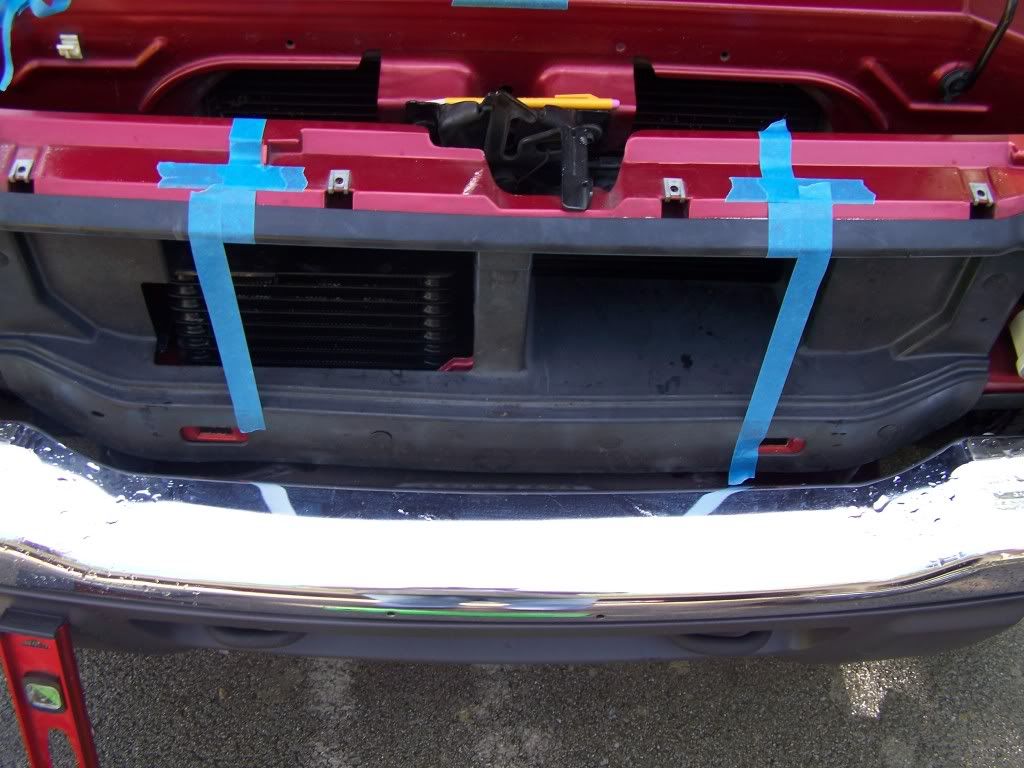
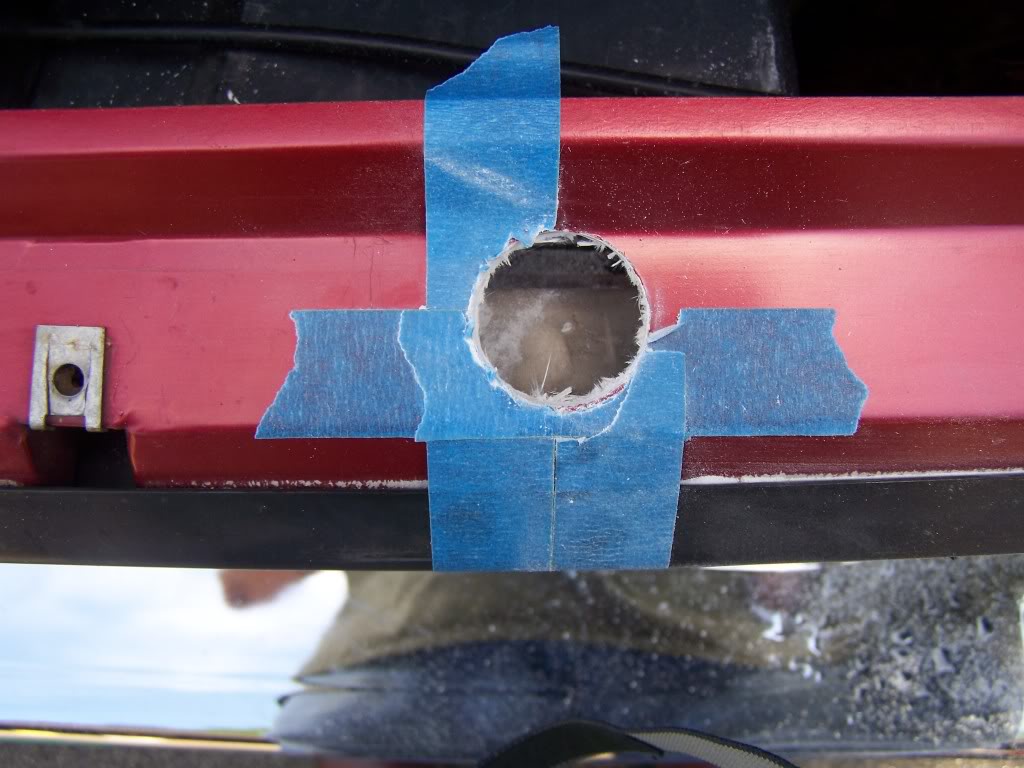
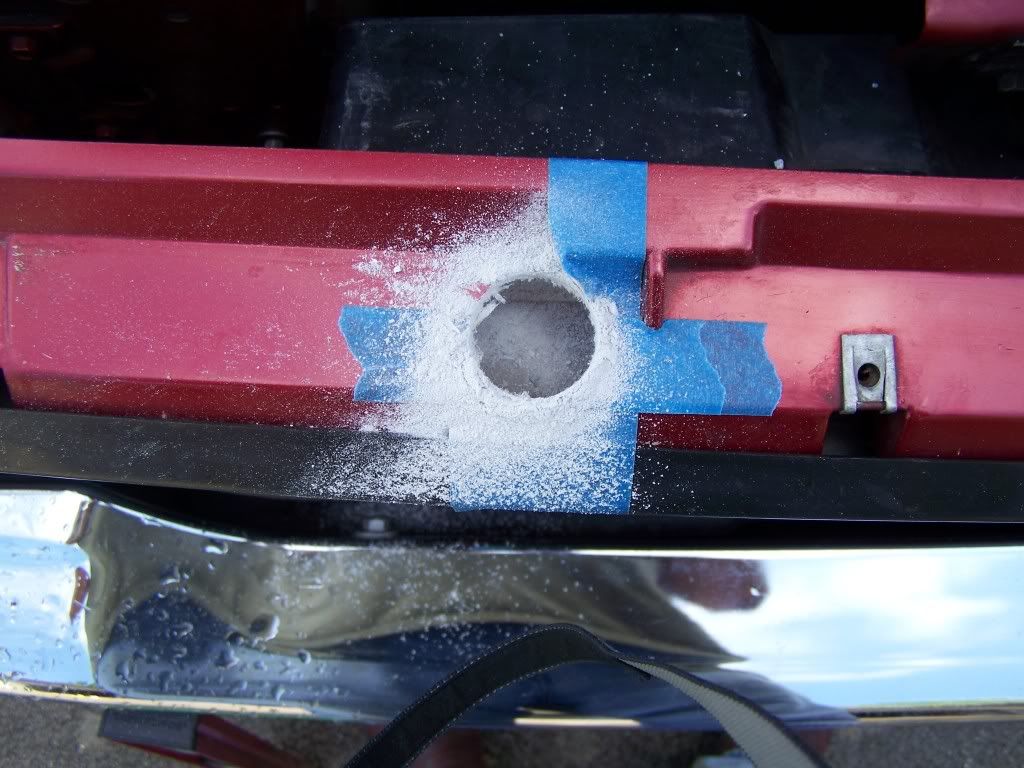
The mounting location has two levels (you can see it once you get the front pieces off). I used a hole saw to make the larger hole in the top level, then the recommended 10mm bit to make the actual mounting holes.
Driver side:
Passenger side:
Then I just bolted them in to see how it looked:
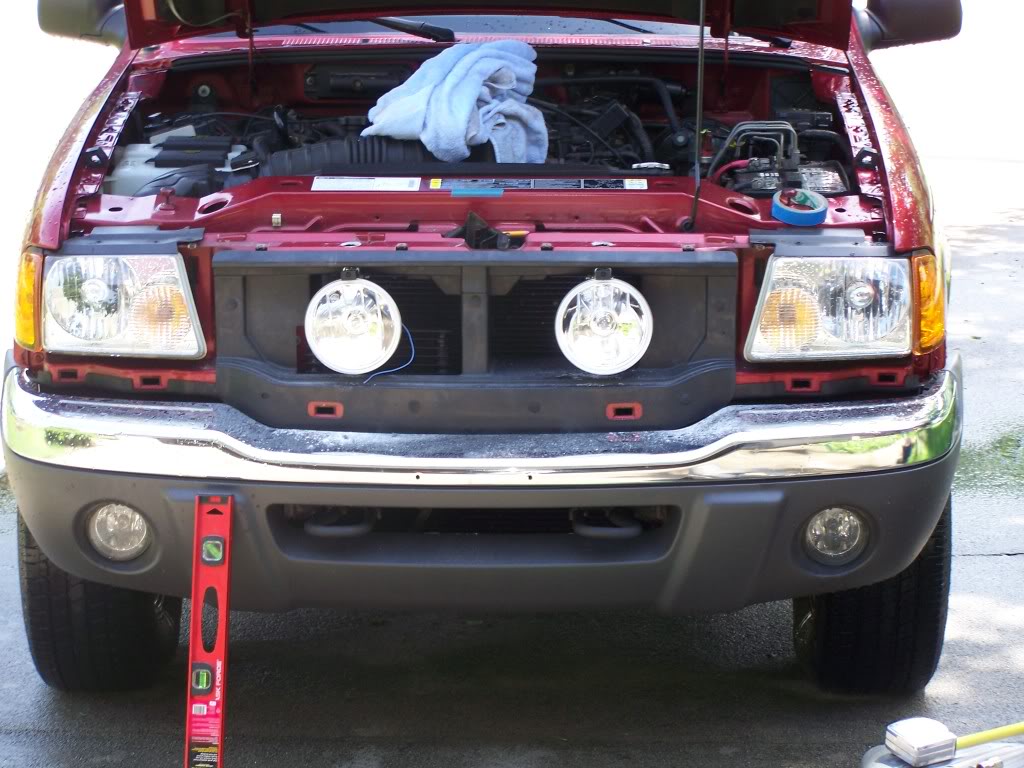
Like I said, I still need to clean up the install, wire them up, and then aim them. Painting the grill comes next.
I got them fitted in today, but still have the finish work to do, as well as the wiring. Anyway, here's some pics of how I mounted them.
First, I removed the grill, surround, and the black cowl:
which left me with this:
I then measured, and marked it off with tape as a guide:
The mounting location has two levels (you can see it once you get the front pieces off). I used a hole saw to make the larger hole in the top level, then the recommended 10mm bit to make the actual mounting holes.
Driver side:
Passenger side:
Then I just bolted them in to see how it looked:
Like I said, I still need to clean up the install, wire them up, and then aim them. Painting the grill comes next.
Member
Joined: Jul 2007
Posts: 1,727
Likes: 0
From: Colorado
Install looks good pink. I would put some rubber washers on either side of the mounting screws though. Just so that when your wheeling the vibrations dont crack that fiberglass. Its worth the piece of mind anyhow right.
Its a nice write up too though man good work
Its a nice write up too though man good work

Thread
Thread Starter
Forum
Replies
Last Post
Red
General Technical & Electrical
21
Mar 3, 2010 10:14 AM
AndyRanger1
Exterior Semi-Tech
6
Feb 26, 2008 10:24 PM


