Winch Buildup/Cleanup Thread


Thread Starter
|
RF Veteran

Joined: Jun 2004
Posts: 5,600
Likes: 0
From: Palm Bay, FL
Winch Buildup/Cleanup Thread(Updated)
Well as you all have seen in the other thread I picked up a HS9500i Warn Winch. It was permanantley mounted to a Jeep for two years in the lovely salt of Michigan winters so it needs help. Its heavily oxidized and the powdercoat is peeling everywhere. Just though I would post this thread as a before/teardown/paint/rebuild if anyone wanted to know what is involved.
Before


Cable Removed

Right side end housing and solenoid cover removed.

Motor Removed

Inside view of the motor.

Drum and center section.

Solenoids

Winch totally disassembled.

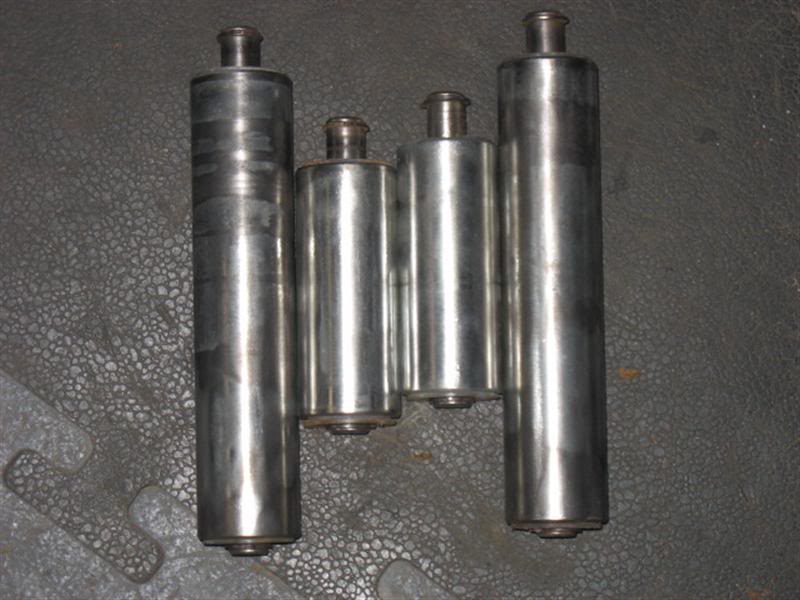
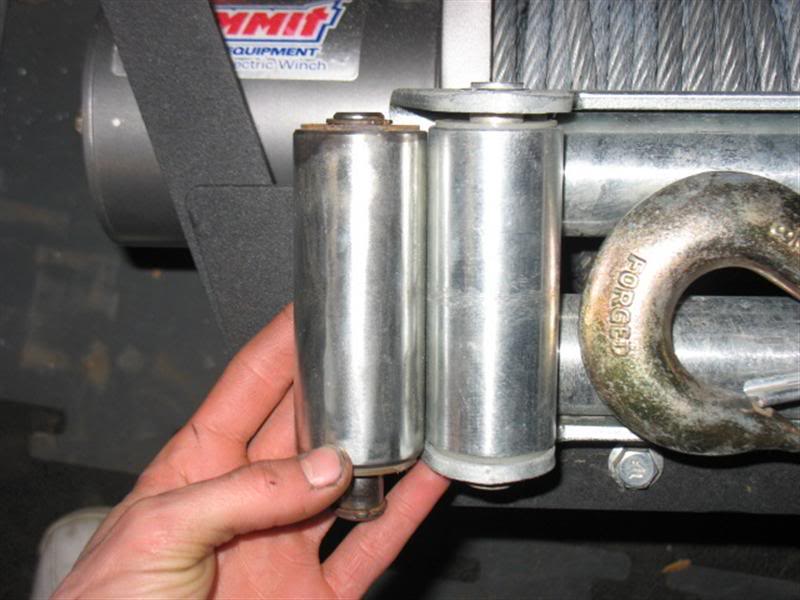
Evan took the fairlead rollers home to clean them up. This is some before and after of them.


I have contacted Warn and they have sent me new labels and emblem for it. I have new gaskets for it as well that I have to pick up from the local offroad shop.
Well here are the accomplishments of Erv and I today. I sandblasted everything in the AM and took off to his house around 1. After a can of Self Etching Primer, Two cans of Duplicolor Dark Shadow Grey and Two and a half cans of clear here is the result. Hopefully pics of it all mounted will come tommorrow. I am very impressed with how it came out.
Primer


Solenoid cover done. This is the only peice that I may repaint, it was the test peice, doesnt look bad but could stand to be redone.

Roller Drum coated in leftover POR15 that Evan had.

Everything sprayed with paint.


All components cleared. If I remember there is about 6+ coats of paint and 6+ coats of clear on everything but the motor. The motor got 10 coats or more of clear and numerous coats of paint. The cooling fins were a pain to cover. fairlead not pictured.


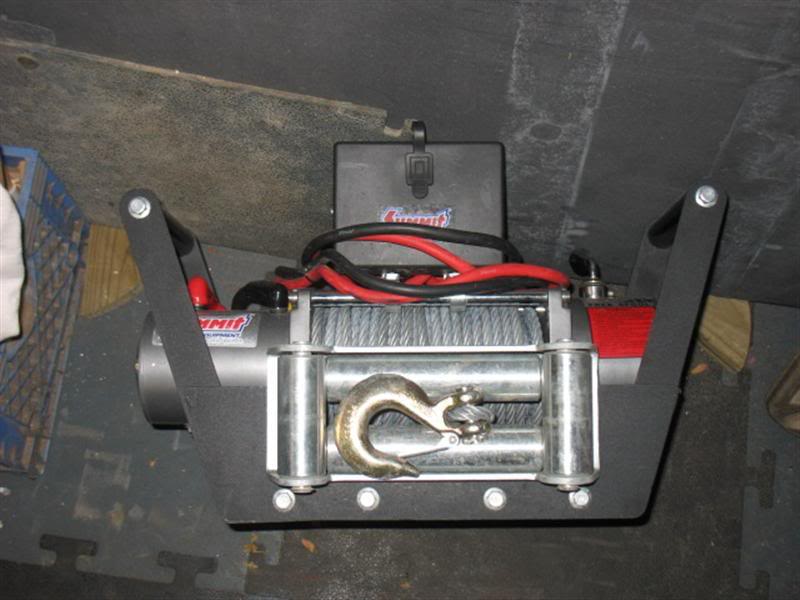
Ok its all done, looks great. I will get better pics when its light outside. Have to wire it up for the front and rear, also install the front hitch.


Before
Cable Removed
Right side end housing and solenoid cover removed.
Motor Removed
Inside view of the motor.
Drum and center section.
Solenoids
Winch totally disassembled.
Evan took the fairlead rollers home to clean them up. This is some before and after of them.
I have contacted Warn and they have sent me new labels and emblem for it. I have new gaskets for it as well that I have to pick up from the local offroad shop.
Well here are the accomplishments of Erv and I today. I sandblasted everything in the AM and took off to his house around 1. After a can of Self Etching Primer, Two cans of Duplicolor Dark Shadow Grey and Two and a half cans of clear here is the result. Hopefully pics of it all mounted will come tommorrow. I am very impressed with how it came out.
Primer
Solenoid cover done. This is the only peice that I may repaint, it was the test peice, doesnt look bad but could stand to be redone.
Roller Drum coated in leftover POR15 that Evan had.
Everything sprayed with paint.
All components cleared. If I remember there is about 6+ coats of paint and 6+ coats of clear on everything but the motor. The motor got 10 coats or more of clear and numerous coats of paint. The cooling fins were a pain to cover. fairlead not pictured.
Ok its all done, looks great. I will get better pics when its light outside. Have to wire it up for the front and rear, also install the front hitch.
Last edited by 04lvl2; Oct 29, 2006 at 10:10 PM. Reason: Updated pictures





Thread Starter
|
RF Veteran
Joined: Jun 2004
Posts: 5,600
Likes: 0
From: Palm Bay, FL
Originally Posted by RockysFord
Looks good, are you going to mount it to your front or how are you going to do that?
Rocky
Rocky

Thread Starter
|
RF Veteran
Joined: Jun 2004
Posts: 5,600
Likes: 0
From: Palm Bay, FL
Originally Posted by casfz1
nice. make sure to tape up the end of the motor really good and to use as little pressure as posible with the sand blaster.
Did you find the moly lube you needed.
Did you find the moly lube you needed.
Thread Starter
|
RF Veteran
Joined: Jun 2004
Posts: 5,600
Likes: 0
From: Palm Bay, FL
Originally Posted by Matt
No powdercoating for it? Would that hold up better than paint because the type of tool that it is?


Thread Starter
|
RF Veteran
Joined: Jun 2004
Posts: 5,600
Likes: 0
From: Palm Bay, FL
Originally Posted by Roach2004
Are you going to put the wire cable back on or you getting the rope one?