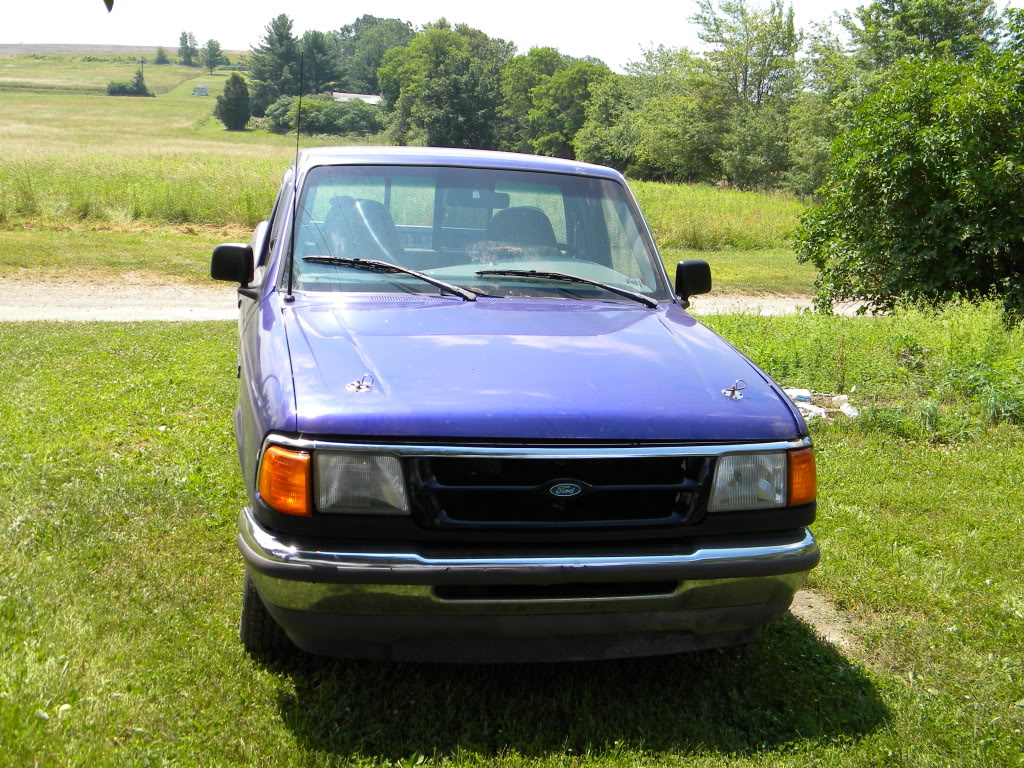
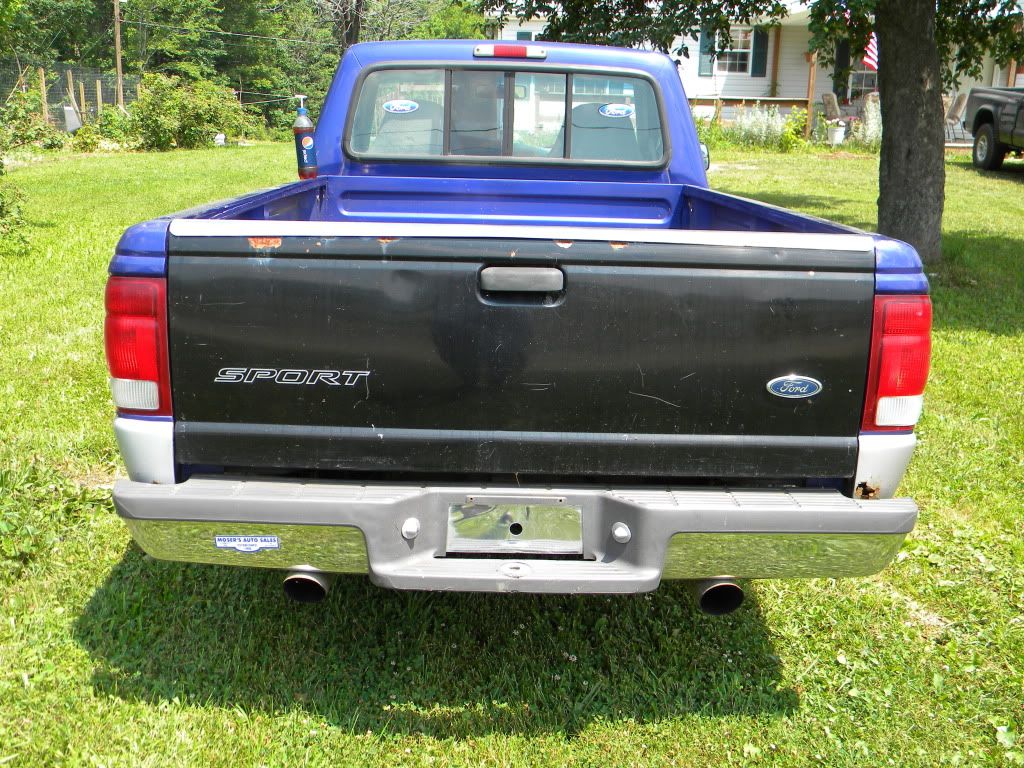
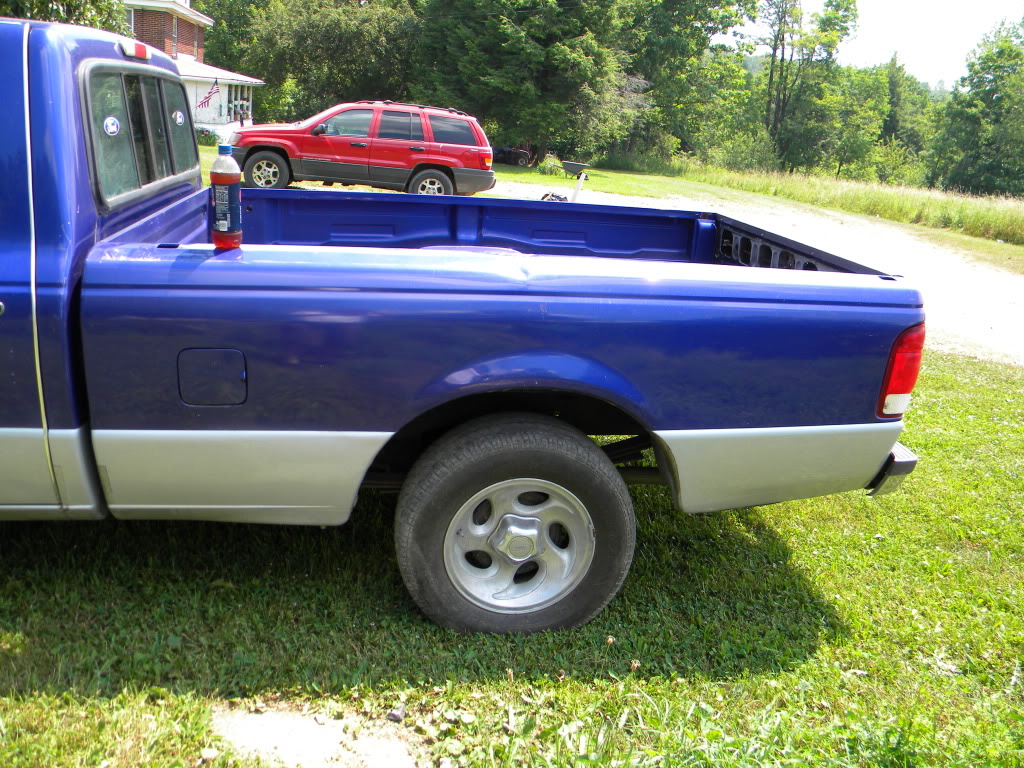
96 Single Cab, Long Bed 5.0
#1
 11-08-2010


Join Date: Oct 2010
Location: Morrisdale, PA
Posts: 76
Likes: 0
Received 0 Likes
on
0 Posts
Alright everyone, i guess it's time i start my project log on here.
To get you all started.. truck is a 96 Ranger, Single Cab, Long Bed, Carb'd 5.0 swapped in by previous owner.
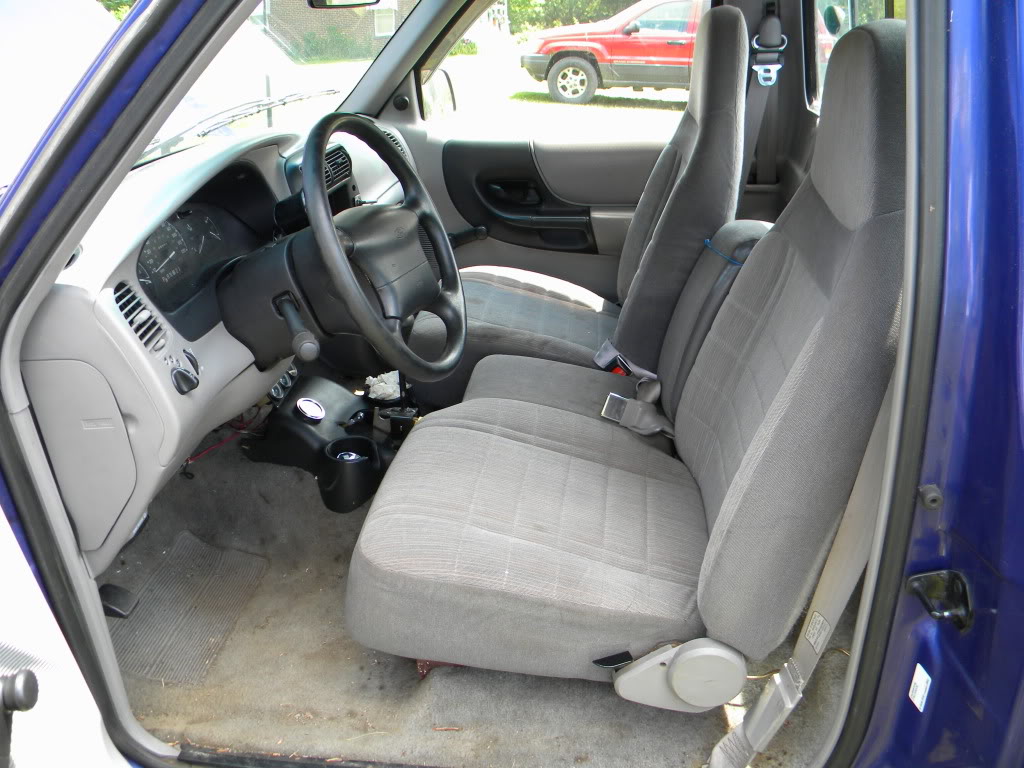
I bought the truck july 4th-ish for 300$, running and in what i thought was pretty damn good shape. ( not bad for 300, either way. )
Here's a few pics from when i got it:
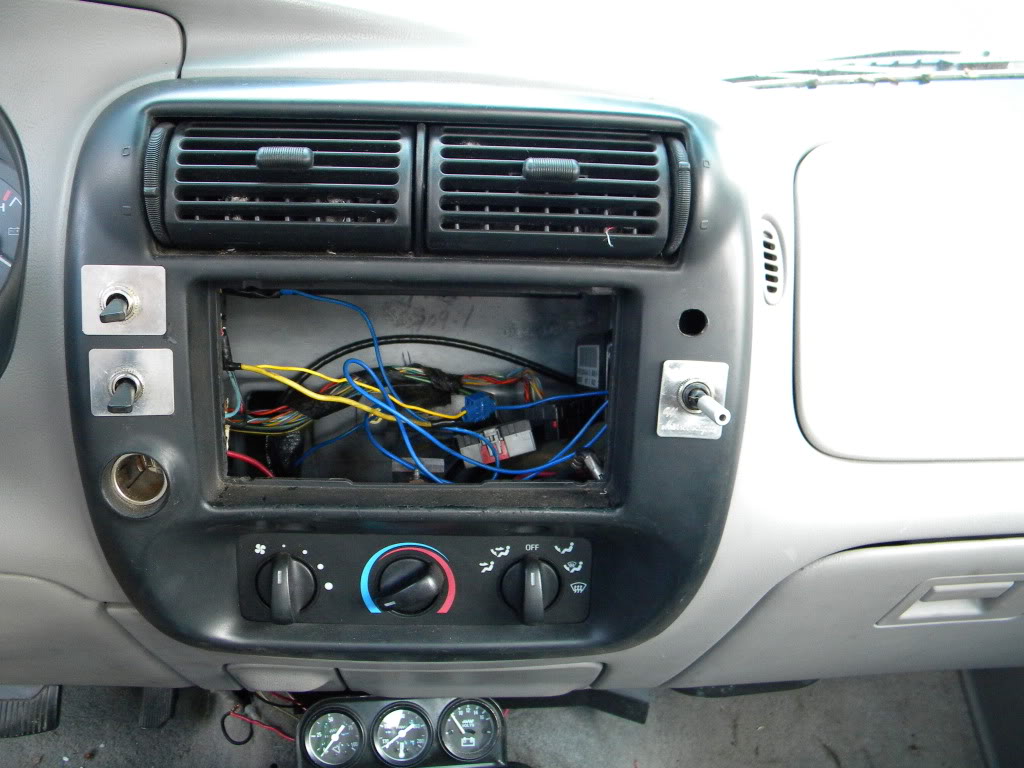
So the next day i started tearing into the truck.. i knew wiring was going to be an issue when i got it. the stock stereo was removed, and there were holes drilled all through the stereo bezel with multiple switches in there. All of the switches were wired together, ( 1 powered another, and that one powered another, which powers the alternator and then another one for the Electric fans ) So i just cut them all out, and ran a new single switch. Much nicer Here's a before pic. I'll add a picture of my wiring after it's all complete.
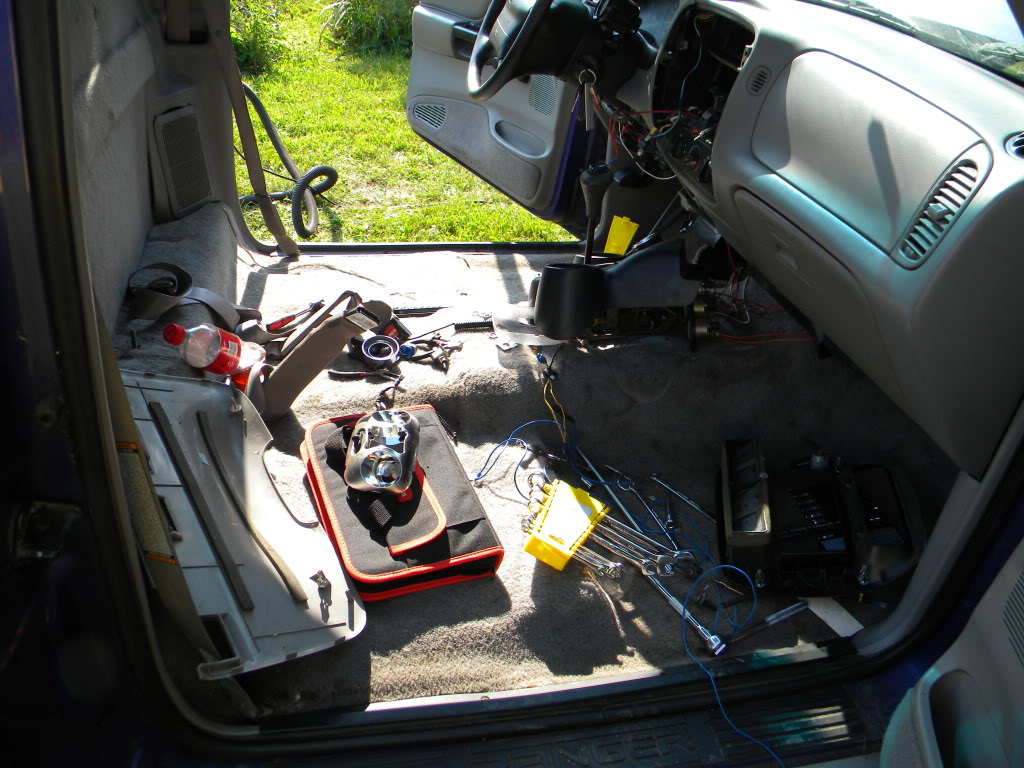
So i fixed my switch issue there, and decided to pull the seats and whatnot to clean the interior.

So i pulled the seats and swept the floor... the seats haven't been back in since. I cut the 20 sect. off the drivers side seat, and will remove the center console part when i get the chance, planning to add a full length expo center console at some point!
Seats out:
So while this was apart, i figure " what the hell, i might as well pull the dash and re-do all the wiring in there, i know how the rest of it was... "
Well boy am i glad i decided to do that!
Here's a few pics of the wiring..
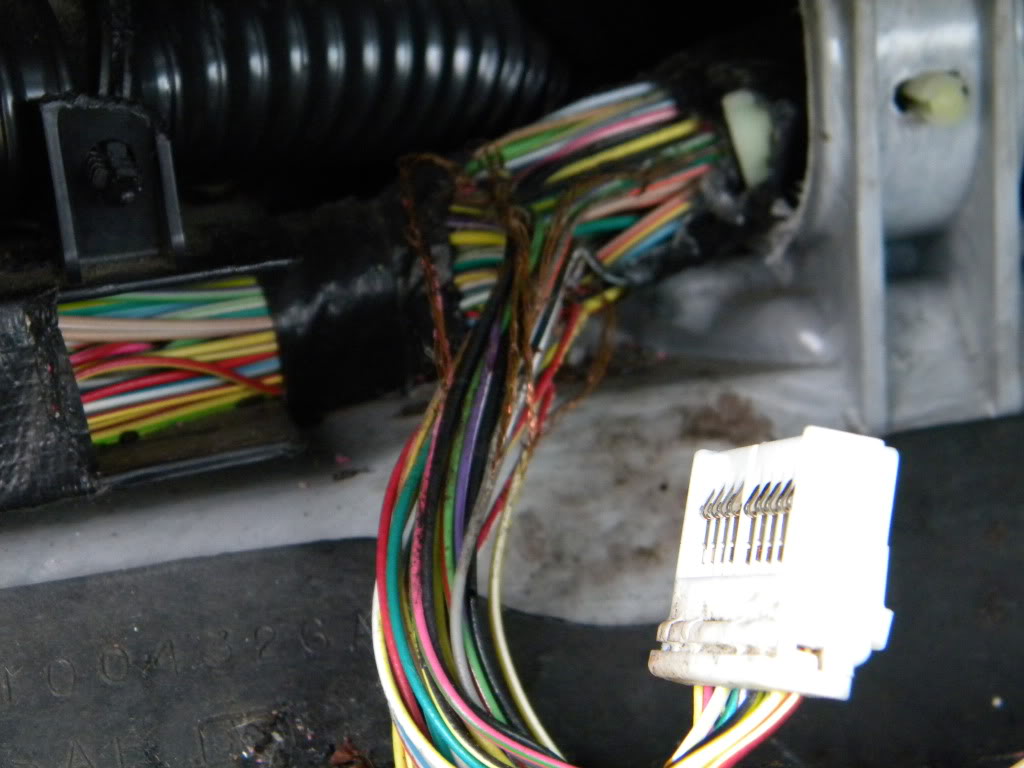
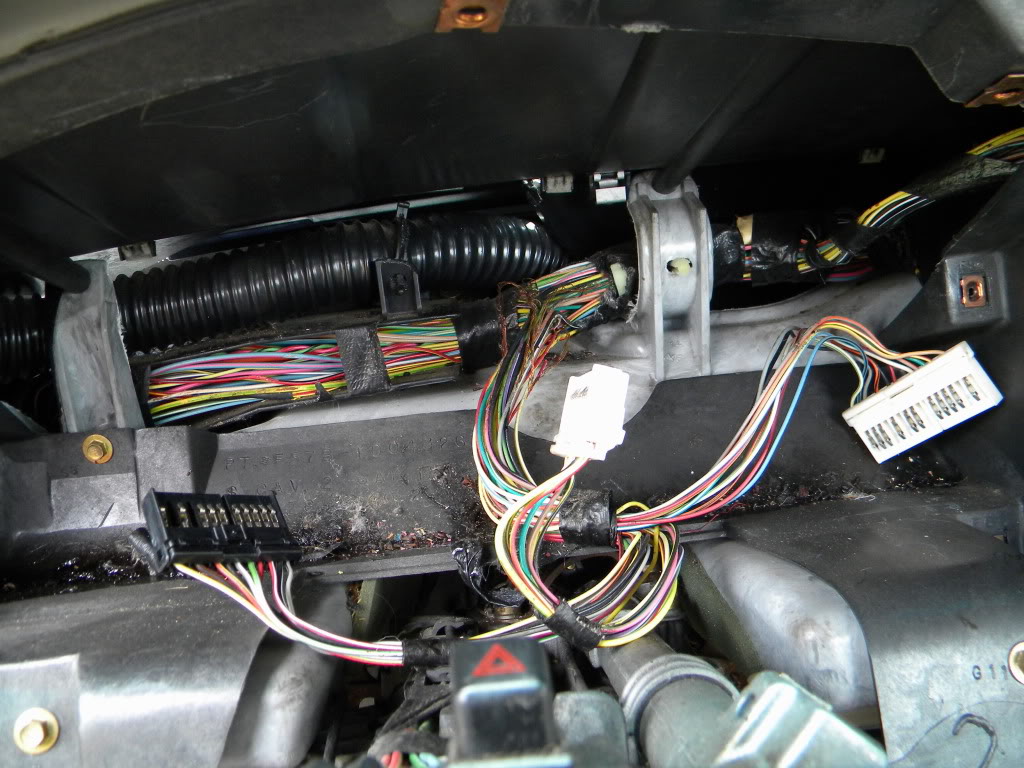
So the wiring to the gauge cluster is screwed..
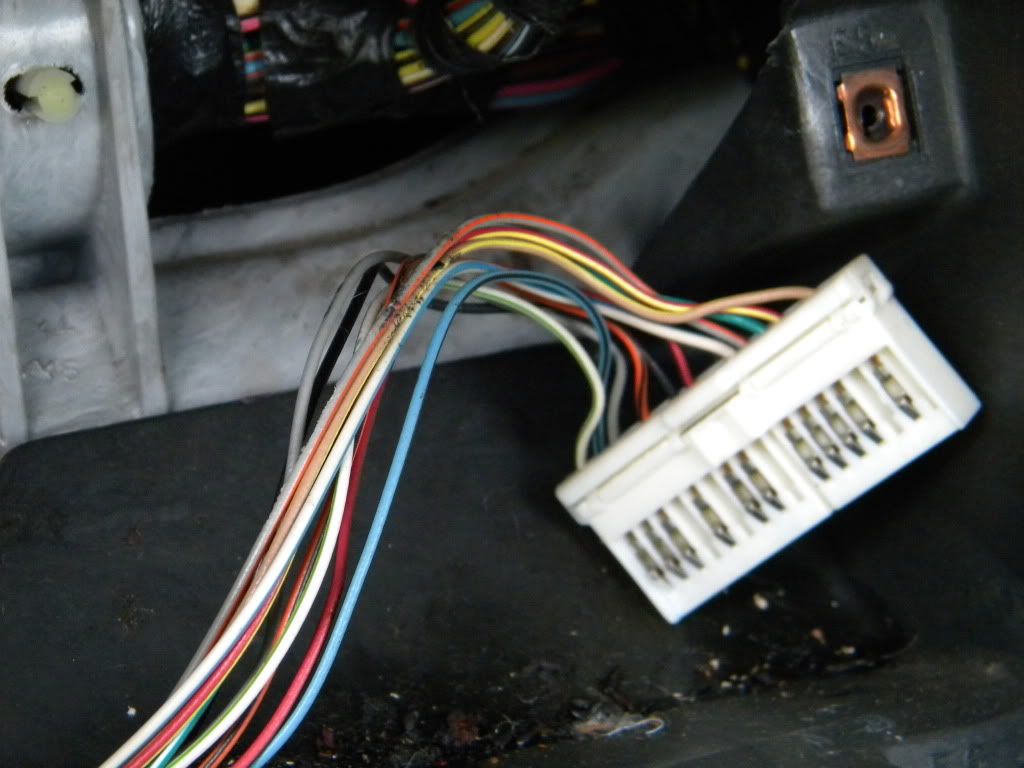
Took the harness to work, and a good buddy of mine ( dave ) lent me the supplies to repair the harness. Everything turned out great on that part.
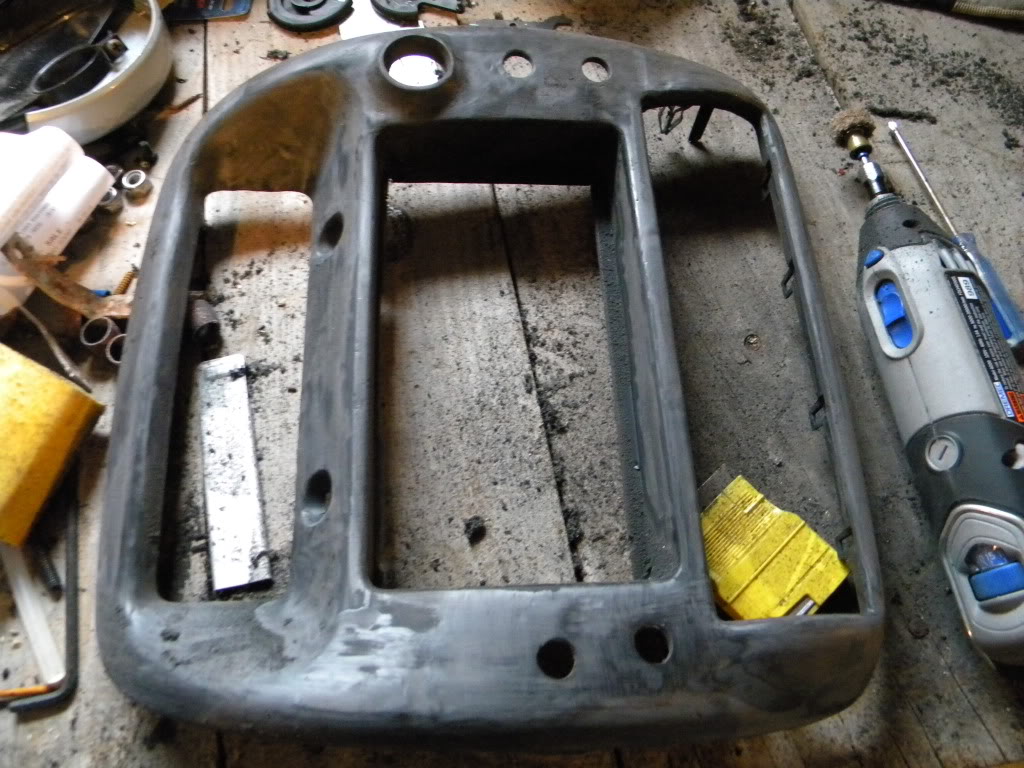
So while i have the dash out, i decide i'm going to paint all of the dash ( man am i kicking myself in the *** for this now! ) i painted a few pieces with a satin aluminum paint that krylon makes... turns out awesome, but i hate the grain in the plastic! ( i can fix that, right? Hahaha ) So i start sanding... hours and hours later i ended up with a half decent looking glove box.. So the project of the interior smoothing begins.. I'm still working on sanding all of the interior panels, and am priming them when i get the chance. So far have like 90% of the main dash sanded and ready for primer, have the glove box primed and wet sanded, door handle bezels are primed and sanded, dash bezel is being worked on, but should be ready for paint soon, 1 door panel sanded ( don't sand these! they just get really fuzzy... and are going to be a huge pain in the *** to work with!!! ) And some other misc **** done, like the vents and what not.
Removing that stupid rubber coating:
So somewhere in the middle of all of that... i decided to start sourcing things to paint the truck. My uncle ended up selling me that paint, he bought it for his 85 chevy 1500 before he sold it, and has sat for a year or so in a heated garage. 35$ for a gallon of acrylic enamel ( stage coach black ) a quart of Porsche Red, a quart of body filler, all the hardner and fish eye reducer and all that ****. Couldn't beat it.. even if i repaint in 2 years down the road.
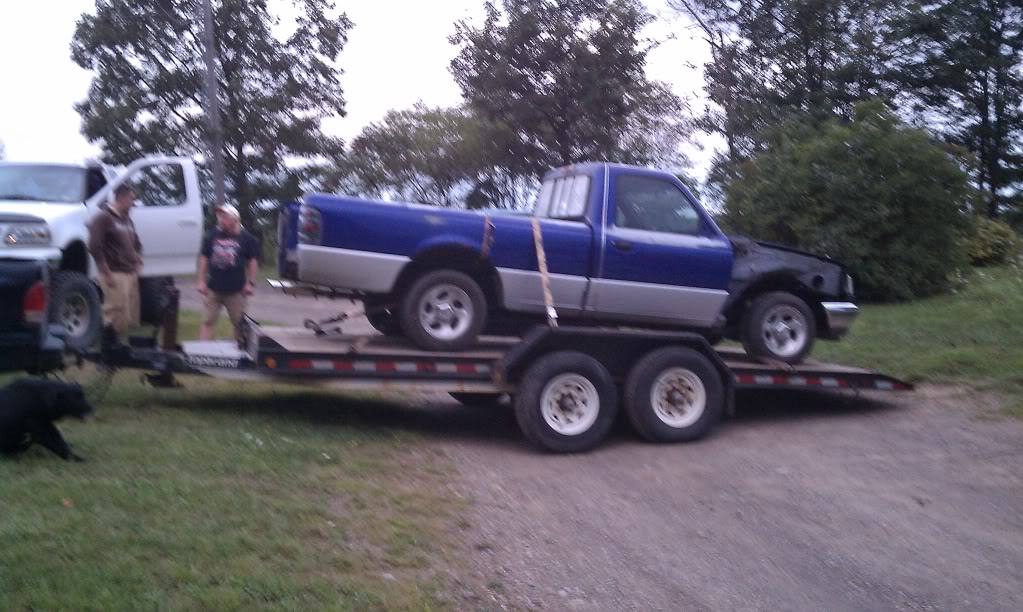
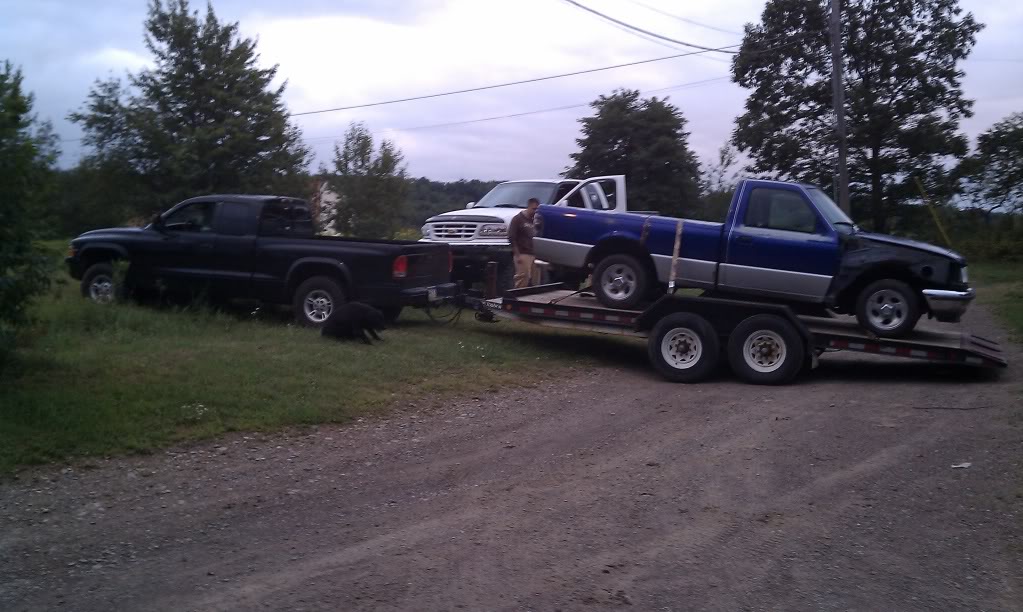
So talking to a good friend of mine at a local auto parts store... he says he'll paint the truck! SICK only a hundred bucks. So i load the truck up: Good ole dodge hauled her for 50 miles to the guys house..
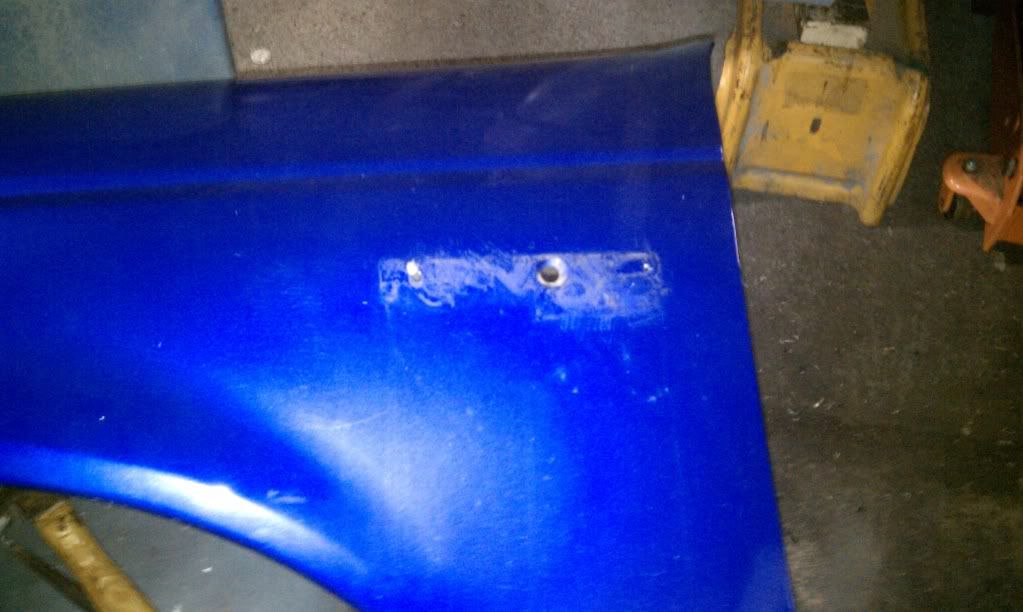
I took the fenders down before hand
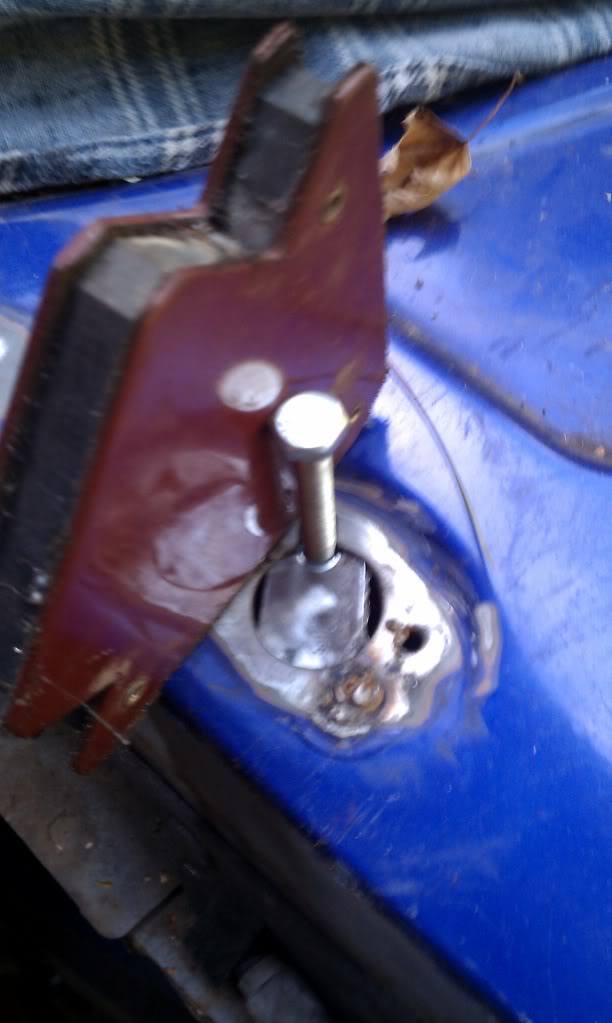
So while the truck is at the shop, i decided i'm going to shave the door locks, emblems, the antenna and tailgate handle.
Shaving the emblems
Shaving the tailgate
Shaving the antenna:
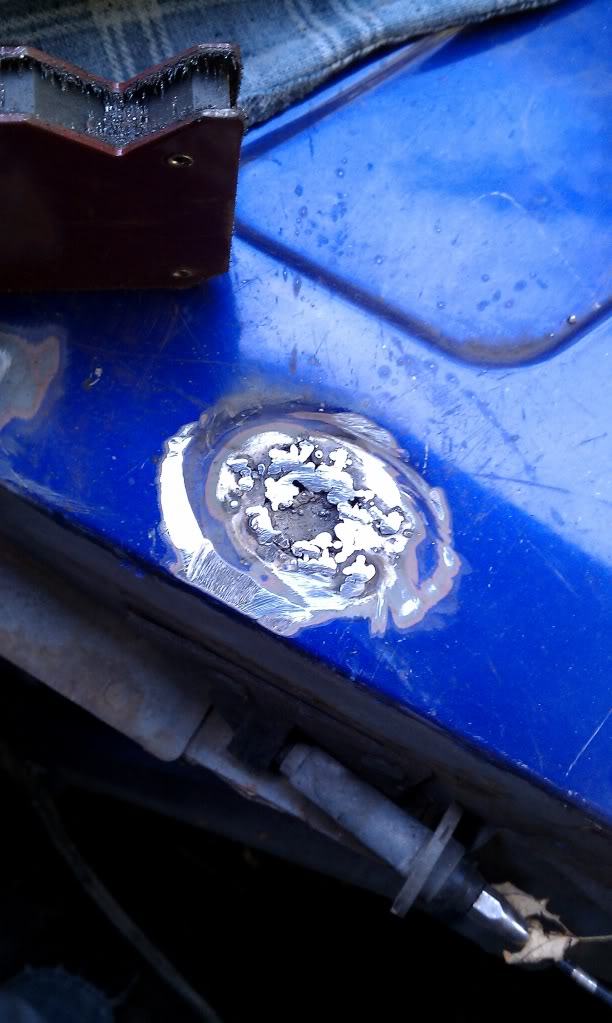
I know, not the prettiest weld ever.. but it's strong as hell!
To be continued in the next post... I'm Tired of typing! Haha
To get you all started.. truck is a 96 Ranger, Single Cab, Long Bed, Carb'd 5.0 swapped in by previous owner.
I bought the truck july 4th-ish for 300$, running and in what i thought was pretty damn good shape. ( not bad for 300, either way. )
Here's a few pics from when i got it:
So the next day i started tearing into the truck.. i knew wiring was going to be an issue when i got it. the stock stereo was removed, and there were holes drilled all through the stereo bezel with multiple switches in there. All of the switches were wired together, ( 1 powered another, and that one powered another, which powers the alternator and then another one for the Electric fans ) So i just cut them all out, and ran a new single switch. Much nicer Here's a before pic. I'll add a picture of my wiring after it's all complete.
So i fixed my switch issue there, and decided to pull the seats and whatnot to clean the interior.
So i pulled the seats and swept the floor... the seats haven't been back in since. I cut the 20 sect. off the drivers side seat, and will remove the center console part when i get the chance, planning to add a full length expo center console at some point!
Seats out:
So while this was apart, i figure " what the hell, i might as well pull the dash and re-do all the wiring in there, i know how the rest of it was... "
Well boy am i glad i decided to do that!
Here's a few pics of the wiring..
So the wiring to the gauge cluster is screwed..
Took the harness to work, and a good buddy of mine ( dave ) lent me the supplies to repair the harness. Everything turned out great on that part.
So while i have the dash out, i decide i'm going to paint all of the dash ( man am i kicking myself in the *** for this now! ) i painted a few pieces with a satin aluminum paint that krylon makes... turns out awesome, but i hate the grain in the plastic! ( i can fix that, right? Hahaha ) So i start sanding... hours and hours later i ended up with a half decent looking glove box.. So the project of the interior smoothing begins.. I'm still working on sanding all of the interior panels, and am priming them when i get the chance. So far have like 90% of the main dash sanded and ready for primer, have the glove box primed and wet sanded, door handle bezels are primed and sanded, dash bezel is being worked on, but should be ready for paint soon, 1 door panel sanded ( don't sand these! they just get really fuzzy... and are going to be a huge pain in the *** to work with!!! ) And some other misc **** done, like the vents and what not.
Removing that stupid rubber coating:
So somewhere in the middle of all of that... i decided to start sourcing things to paint the truck. My uncle ended up selling me that paint, he bought it for his 85 chevy 1500 before he sold it, and has sat for a year or so in a heated garage. 35$ for a gallon of acrylic enamel ( stage coach black ) a quart of Porsche Red, a quart of body filler, all the hardner and fish eye reducer and all that ****. Couldn't beat it.. even if i repaint in 2 years down the road.
So talking to a good friend of mine at a local auto parts store... he says he'll paint the truck! SICK only a hundred bucks. So i load the truck up: Good ole dodge hauled her for 50 miles to the guys house..
I took the fenders down before hand
So while the truck is at the shop, i decided i'm going to shave the door locks, emblems, the antenna and tailgate handle.
Shaving the emblems
Shaving the tailgate
Shaving the antenna:
I know, not the prettiest weld ever.. but it's strong as hell!
To be continued in the next post... I'm Tired of typing! Haha

#3
11-08-2010
Join Date: Oct 2010
Location: Morrisdale, PA
Posts: 76
Likes: 0
Received 0 Likes
on
0 Posts
Well... long story about it coming back from paint..
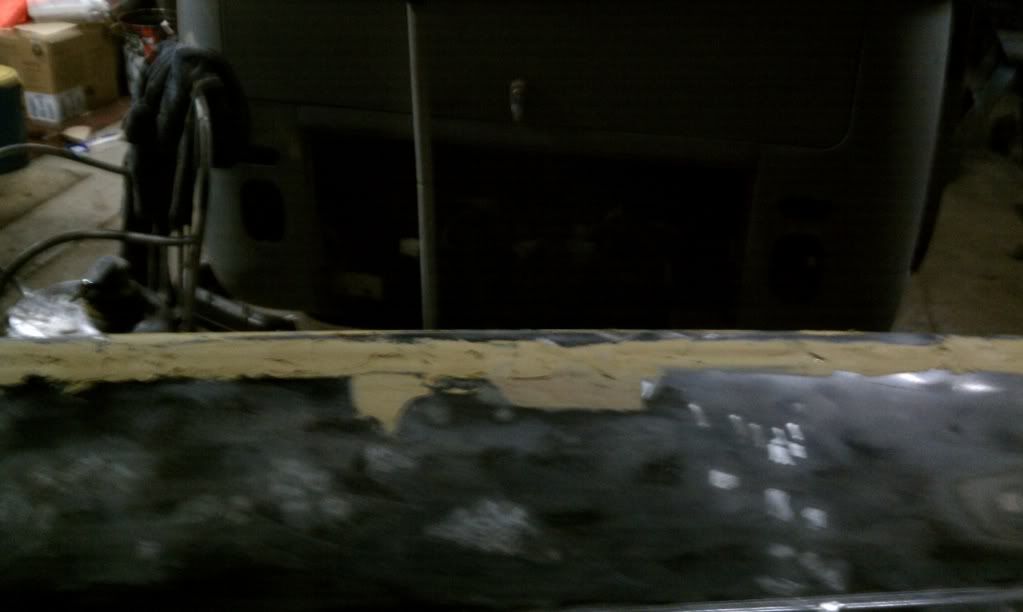
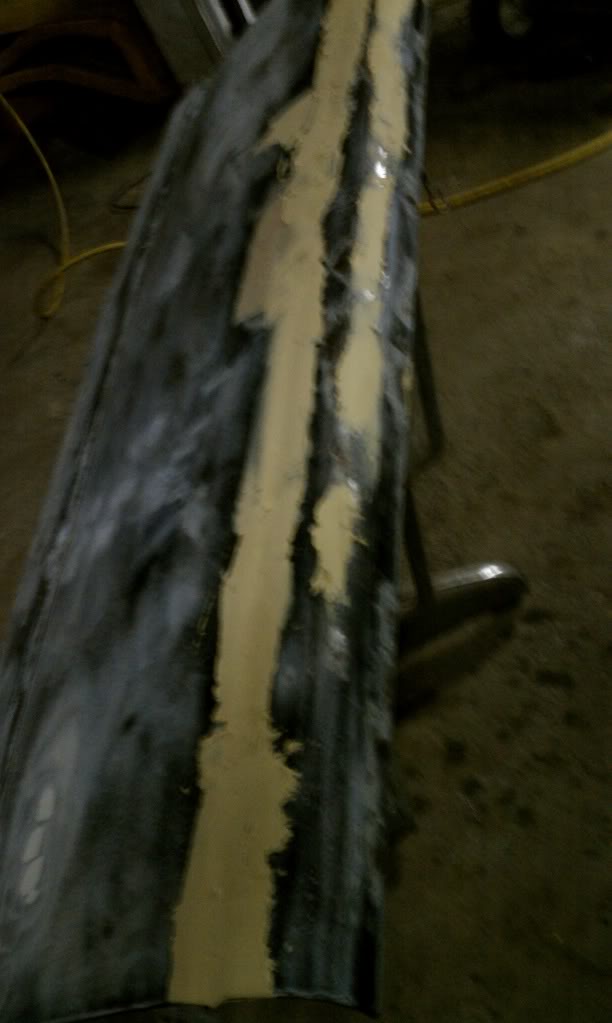
I'll write the whole story in my next post, but it's no longer at the garage getting painted.. the guy couldn't afford to have me use the garage ( i ended up doing all of the work to it so far! ) So i brought it home, and have been pulling panels and painting them in the basement.. ( i know.. not the ideal way to paint.. but you make due with what you have to do, i guess... )
I'll write the whole story in my next post, but it's no longer at the garage getting painted.. the guy couldn't afford to have me use the garage ( i ended up doing all of the work to it so far! ) So i brought it home, and have been pulling panels and painting them in the basement.. ( i know.. not the ideal way to paint.. but you make due with what you have to do, i guess... )
#4
11-28-2010

#5
11-28-2010
Join Date: Oct 2010
Location: Morrisdale, PA
Posts: 76
Likes: 0
Received 0 Likes
on
0 Posts
#7
11-28-2010

Thread
Thread Starter
Forum
Replies
Last Post
cas3214
General Ford Ranger Discussion
11
10-21-2023 09:53 PM
jordanvw
Interior Semi-Tech
3
04-18-2011 08:32 AM
Virtualbong
SOHC - 2.3L & 2.5L Lima Engines
11
10-13-2010 09:36 PM


