


Audible Odyssey's Front bumper Makeover

Thread Starter
|
Member

Joined: Sep 2009
Posts: 273
Likes: 0
From: Las Cruces, New Mexico
Audible Odyssey's Front bumper Makeover
So after a long day of torching, cutting, grinding and welding, I finally finished the face lift on my truck. If you haven't seen my bumper how it was.........................take a look.
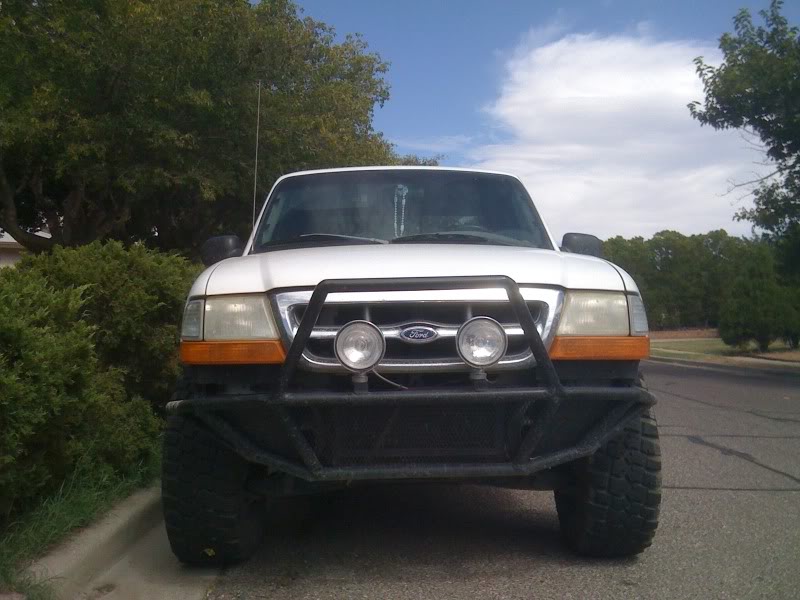
A little saggy if you ask me. So I decided that I needed to change it up a bit. So using the same basic concept of my "saggy" bumper, I refined the design and look of it. I will be posting pics of the process and the before and after shots later today. So check back soon!
01-16-10
Ok, So first off we had to remove my to KC's
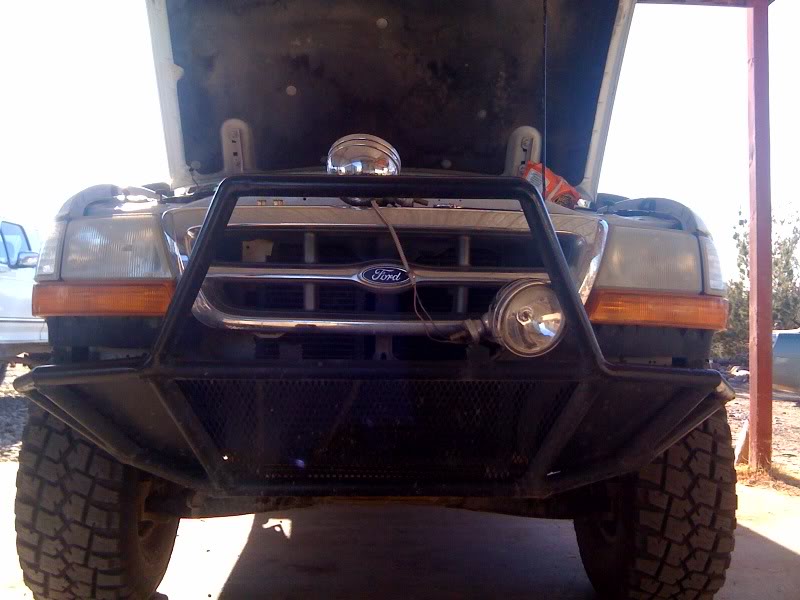
Then we began cutting the light supports and the braces holding up the bumper. Which wasnt much by the way (Too much alcohol when I first built it. Which is probably the main cause of the saggyness.)
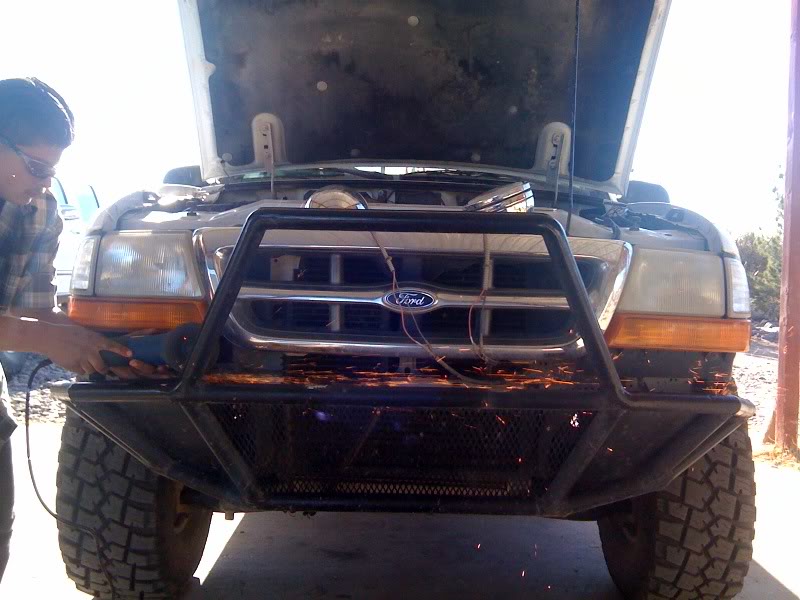
Removed the bumper.
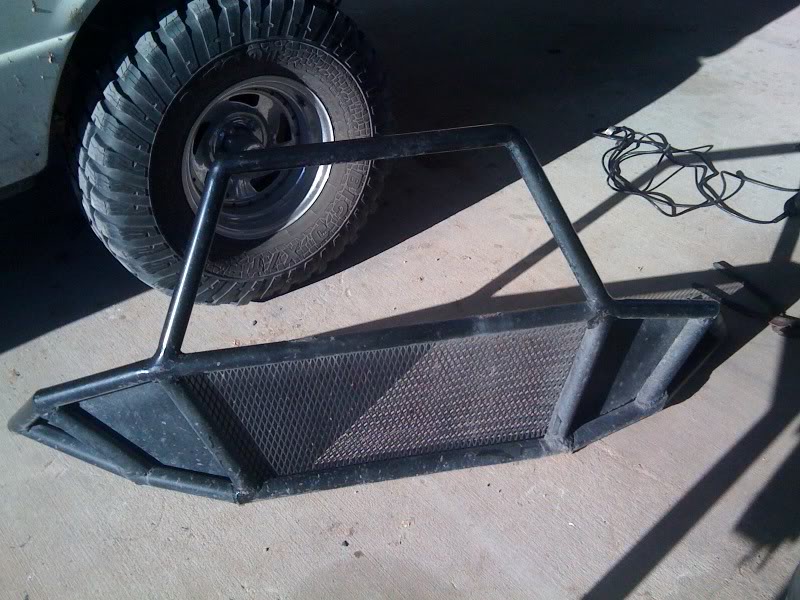
After that, we had to cut the frame another inch for more room to play with, to mount it straight.
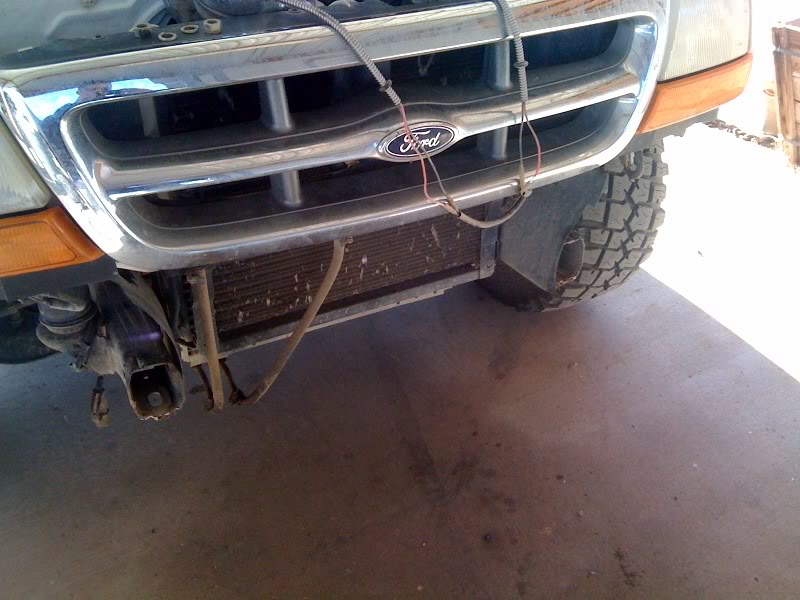
Then we welded plates on the end of the frame to build off of. Then began to weld angle iron from one side of the frame to the other as the bracket.
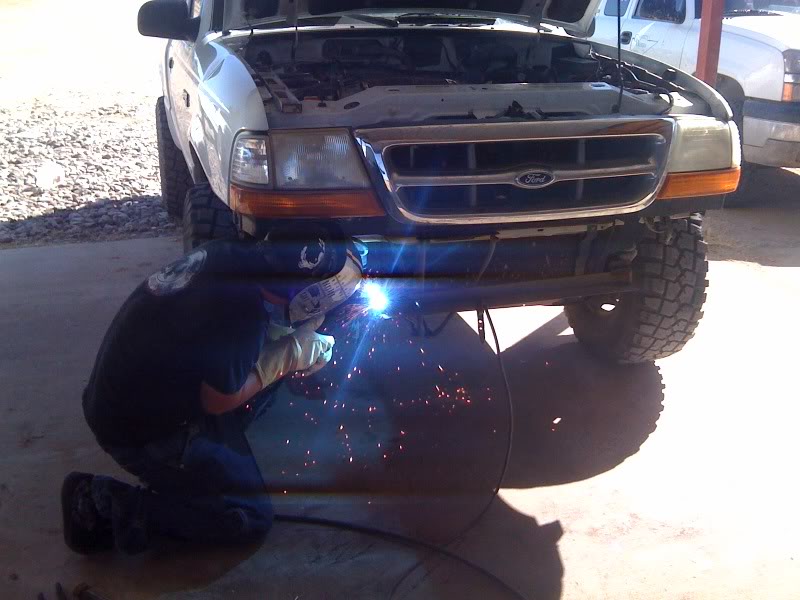
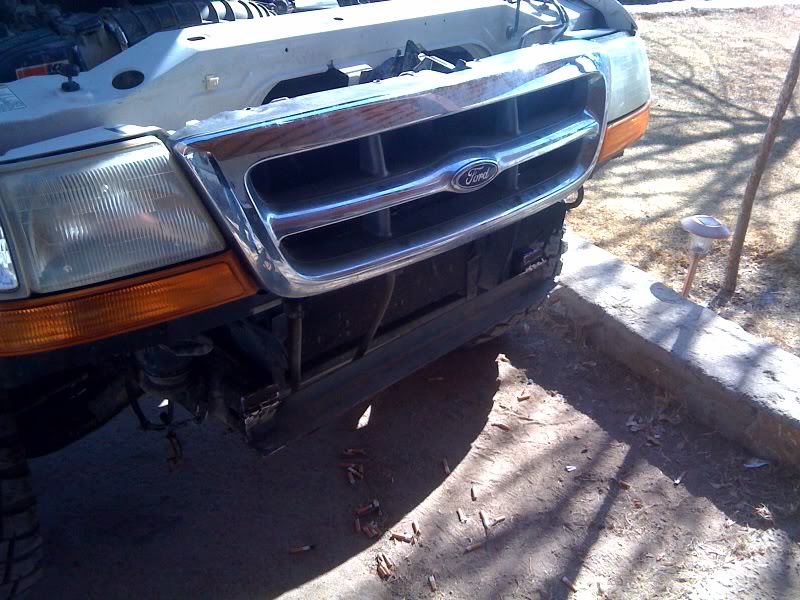
Once we added that bracket, we began welding the bumper back on after we grinded down the old welds on it.
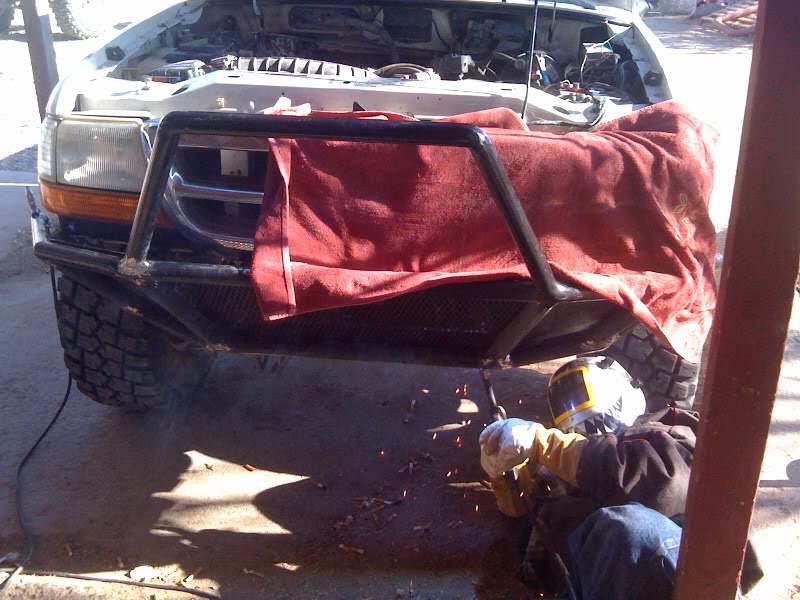
After we welded all the way across the bottom of the bumper on the bottom to the angle iron, we began welding on supports from the frame to the back of the bumper.
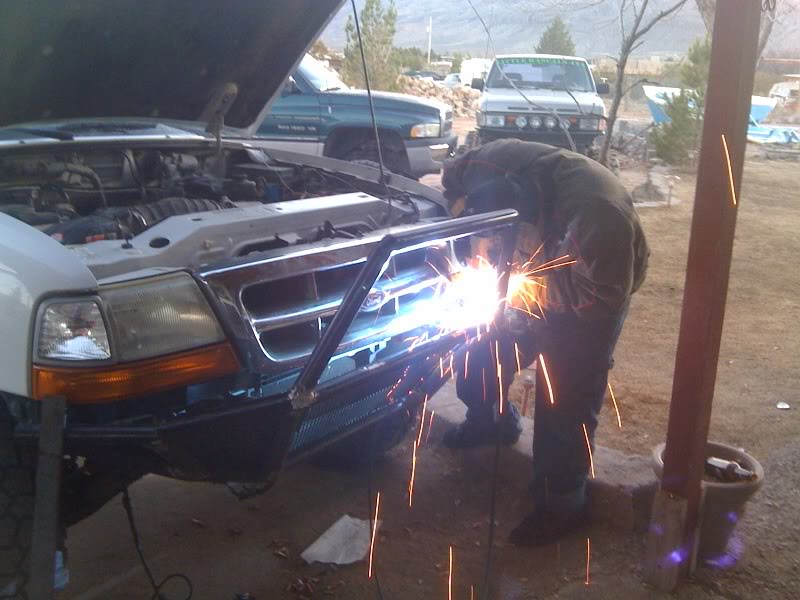
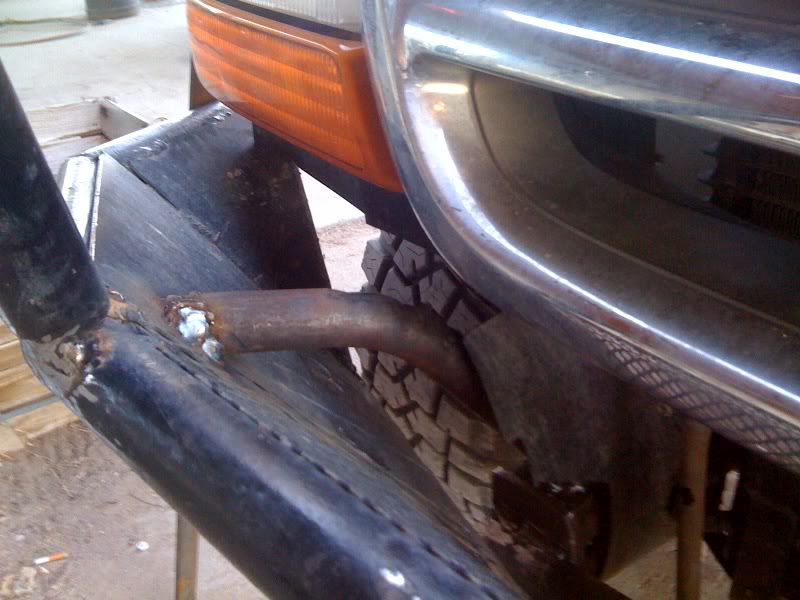
After we were all finished up with that, we cut pieces of angle iron 2" wide for the KC mounts. Positioned them properly then welded them on.
Once everything was all done, we went ahead and painted it flat black, instead of the gloss black.(personal choice)
Thats about it. Ofcourse there was much more work and issues than I have mentioned on here, but I decided I wanted to make this thread a little more brief and interesting.
Oh, and I didn't mention that one of my buddies was a jacka$$ and was cutting the braces from the frame to the bumper and sliced his arm open. Haha! Oh, and I didn't mention that I added two more KC's.
Now onto the end result.
Heres a few pics of what it looked like before....
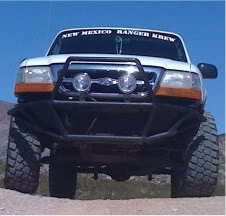
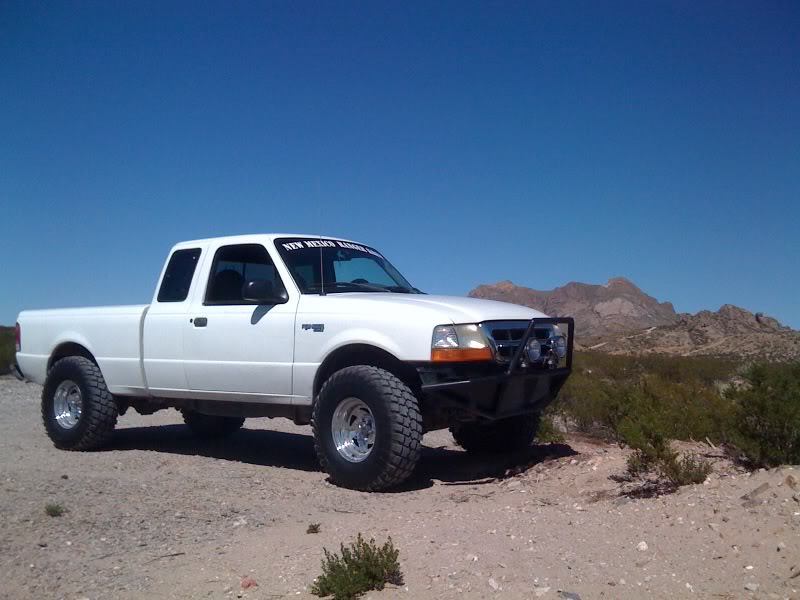
And of course the one I posted yesterday
And what it looks like now......
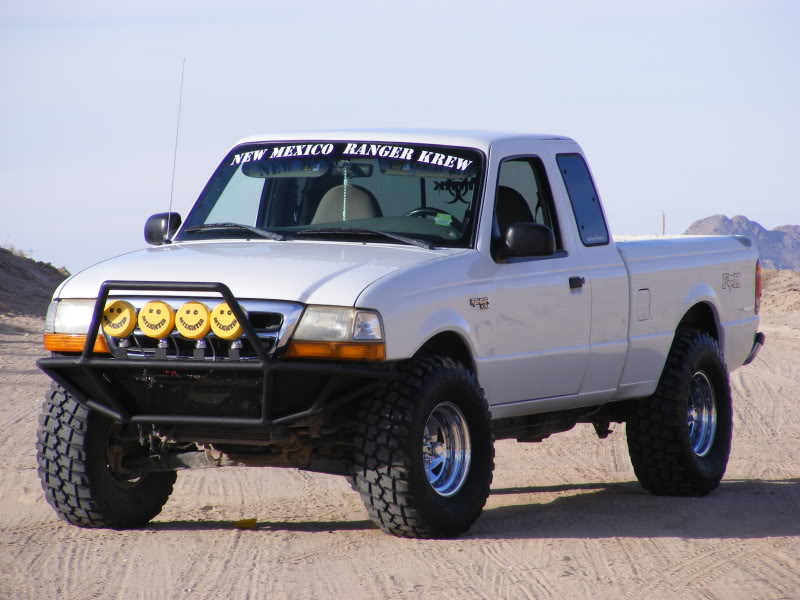
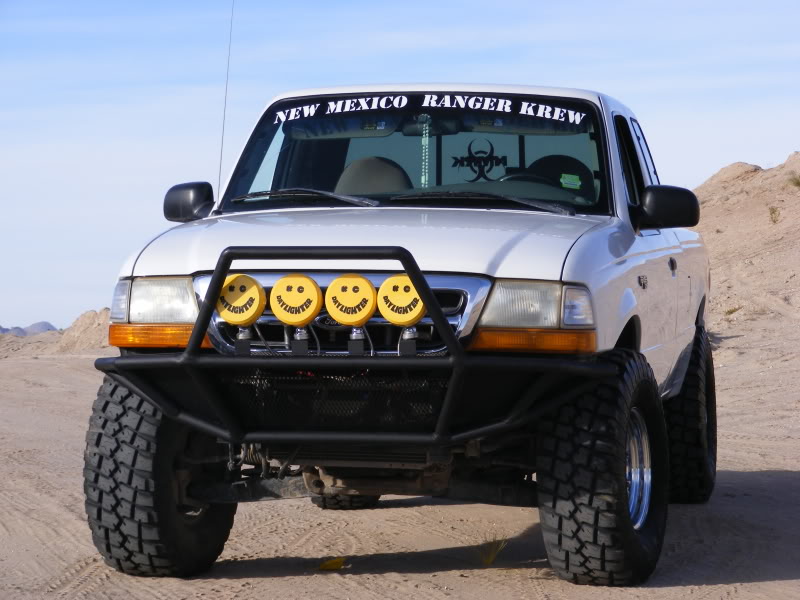
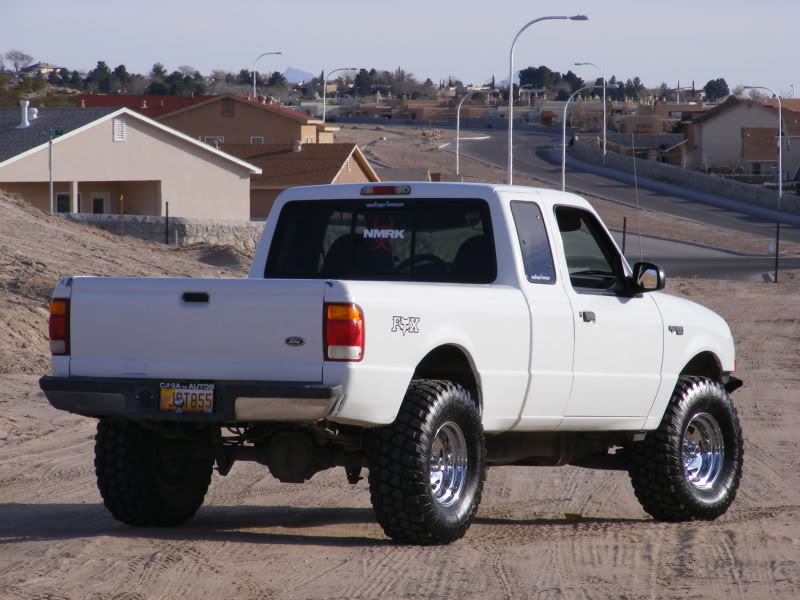
Thanks for checkin' out my thread, and feel free to express your opinion!
A little saggy if you ask me. So I decided that I needed to change it up a bit. So using the same basic concept of my "saggy" bumper, I refined the design and look of it. I will be posting pics of the process and the before and after shots later today. So check back soon!
01-16-10
Ok, So first off we had to remove my to KC's
Then we began cutting the light supports and the braces holding up the bumper. Which wasnt much by the way (Too much alcohol when I first built it. Which is probably the main cause of the saggyness.)
Removed the bumper.
After that, we had to cut the frame another inch for more room to play with, to mount it straight.
Then we welded plates on the end of the frame to build off of. Then began to weld angle iron from one side of the frame to the other as the bracket.
Once we added that bracket, we began welding the bumper back on after we grinded down the old welds on it.
After we welded all the way across the bottom of the bumper on the bottom to the angle iron, we began welding on supports from the frame to the back of the bumper.
After we were all finished up with that, we cut pieces of angle iron 2" wide for the KC mounts. Positioned them properly then welded them on.
Once everything was all done, we went ahead and painted it flat black, instead of the gloss black.(personal choice)
Thats about it. Ofcourse there was much more work and issues than I have mentioned on here, but I decided I wanted to make this thread a little more brief and interesting.
Oh, and I didn't mention that one of my buddies was a jacka$$ and was cutting the braces from the frame to the bumper and sliced his arm open. Haha! Oh, and I didn't mention that I added two more KC's.
Now onto the end result.
Heres a few pics of what it looked like before....
And of course the one I posted yesterday
And what it looks like now......
Thanks for checkin' out my thread, and feel free to express your opinion!
Last edited by Smokey; Jan 16, 2010 at 05:35 PM. Reason: 01-16-10



looks a lot better man! the only that that still kinda bugs me is the angle at which it wraps around. it kinda points downwards. but its not that bad.
leaps and bounds better then it was!! good work!
leaps and bounds better then it was!! good work!
Thread Starter
|
Member
Joined: Sep 2009
Posts: 273
Likes: 0
From: Las Cruces, New Mexico

Thanks!
oh well either way it looks a ton better. badass looking bumper.
what did you use to fill in the holes? mine is kind of open and gaping and i kinda like how you filled all the gaps in yours
what did you use to fill in the holes? mine is kind of open and gaping and i kinda like how you filled all the gaps in yours




Thread
Thread Starter
Forum
Replies
Last Post
HillPrideRanger
General Technical & Electrical
1
Jan 27, 2010 03:22 PM


