When you click on links to various merchants on this site and make a purchase, this can result in this site earning a commission. Affiliate programs and affiliations include, but are not limited to, the eBay Partner Network.
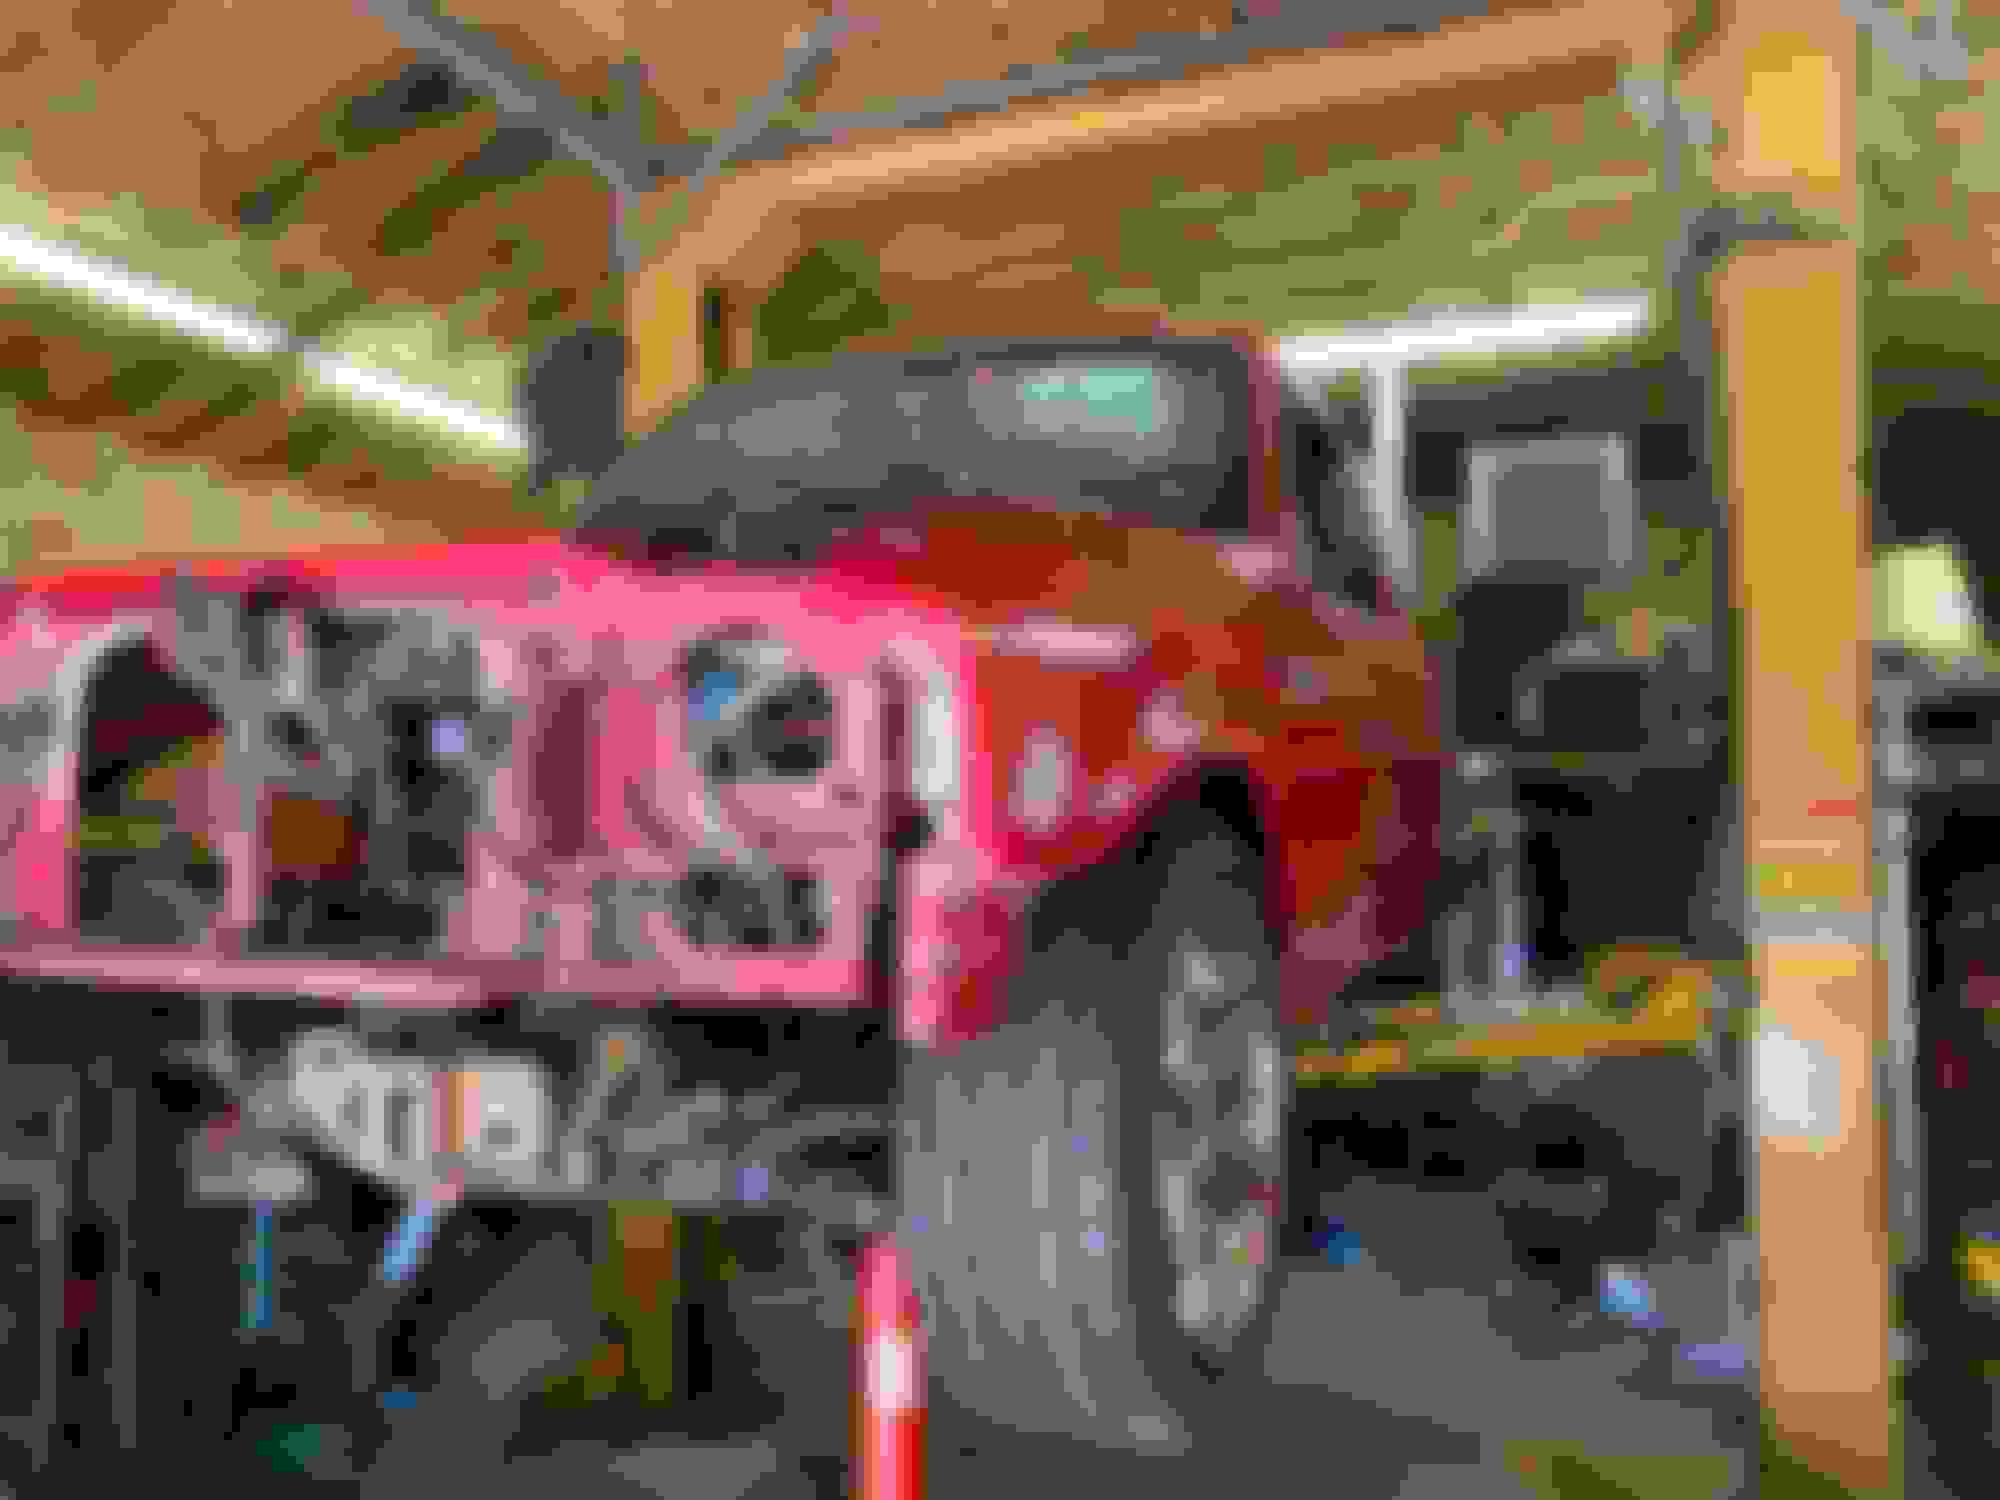
10\" max inside off set Removed overload spring and added another regular spring. 15 gal fuel cell and battery will go where the spare tire was. Need traction without adding a lot of extra weight! Once the truck is "fully loaded", I will take a look at the ride height. May need to adjust shackel length to adjust ride height. Using the Explorer rear end lowers the rear by 3.5\", due to the spring pads being on the bottom of tha axle tube.
Waiting to weld spring pads and torque arm mounts until it is fully loaded with bed, fuel cell, battery, so I can set the pinion angle correctly.
Front and rear brakes from 2004 Sport Trac.
Fronts are 12", rears are 11 1/4".
Last edited by Bob Stockum; Jun 7, 2020 at 08:33 AM.
Reason: Clarify
ARP wheel studs I had to shorten them and machine a new starter spud on the tip. (In the lathe. The knurled part was bigger on these studs, so i had to drill out the hubs to a .005\" press-fit. 2004 Sport Trac brakes up front, 3" lowering springs 9" Saleen rims up front w/ Nitto 255/45/18's ...and they CLEAR everything! Giant 97 V-8 Explorer swaybar, fits like a glove! Lock to lock clears fine!
I installed some stronger ARP wheel studs in the hubs, for more security. Still inside fenders. A must for me. This is on it's own weight Need to raise upper A arm mounts to avoid excessive camber changes. Toe is moving a lot too. So i need to work on that too. (Raise steering rack and lower tie rod some. Stock turning angles work fine Need to move rubber brake line mount on frame about an inch. (Tire is very close! )! I opted for coated, drilled and slotted rotors and powder coated/rebuilt calipers just cause they look nice to me! I had to make some custom mounts for the SportTrac calipers.
Last edited by Bob Stockum; Jun 8, 2020 at 06:05 AM.
Reason: Clarify
This project started from me seeing a very clean 98 2wd Step side on my way to town. I had noticed it before, but the motor was gone and I thought it might be available. I owned a 1999 F150 Lightning a few years back. Kinda wish I never sold it. Job closed down and some things had to go to keep the home stead solvent! 2004 Sport Trac brakes up front, 3" lowering springs 9" Saleen rims up front w/ Nitto 255/45/18's ...and they CLEAR everything! Giant 97 V-8 Explorer swaybar, fits like a glove! Lock to lock clears fine! Still inside fenders. A must for me. This is on it's own weight Need to raise upper A arm mounts to avoid excessive camber changes. Toe is moving a lot too. So i need to work on that too. (Raise steering rack and lower tie rod some. Stock turning angles work fine Need to move rubber brake line mount on frame about an inch. (Tire is very close! )! I opted for coated, drilled and slotted rotors and powder coated/rebuilt calipers just cause they look nice to me! I had to make some custom mounts for the SportTrac calipers.
The guy I got the Ranger from is a Buick Grand National lover too. He had two in his yard and a bunch of parts too. So my "baby Lightning" was going to have some SERIOUS TURBO POWER!! It just so happened he had a bunch of motor goodies and was willing to trade/sell. Badazz polished stainless headers, Turbonetics upgrade turbo and wast gate, kenny Bell 65mm polished throttle body. Mounting this wide, but short v-6 causes some issues with steering shaft location Headers cleared nicely down below
Last edited by Bob Stockum; Jun 9, 2020 at 07:07 AM.
Reason: Spelling
Now we get to the "BLOWN" part of the story! These V-6 Buicks can easily make 500 HP with stock internals. And that is where I am going. I would not normally go ... or lets say PAY for a bunch of "Bling" , but this looks cool. Jet Hot coated down pipe and polished headers are very nice to look at, I must say. He made me a deal I couldn't refuse!! All this clears the hood by about 4", so we are good. He has one of the Grand National under hood heat blankets too with the turbo V-6 logo on it.
I will need to cut it down some to fit the Ranger hood.
This is the Buick Turbo V-6 logo
Last edited by Bob Stockum; Jun 11, 2020 at 09:24 AM.
Reason: Clarify
These turbo V-6's were famous for twisting the hell out of those big Buick Regals!
So I decided from the start to strengthen the front as I built this machine.
the front gets some down bars.
there will be an "X" across the front too, as well as a fire wall cross bar, (dash bar). It will slip right under the hood hinges.
Steering shaft
** up two pix;
had to "work around" the headers! First, moved the steering shaft, at firewall as far left as I could, (1 1/2"). From there a U-joint, then a support bearing, (on-a-steek). Another support bearing, ... then final turn, u-joint, then on to the steering rack. NOT EASY, nor done in one try!!
there were all kinds of complications! (Hit motor mount)
Had to notch the driver's side motor-mount to clear the factory u-joint lock-bolt! Cut, grind, weld, grind some more.
Last edited by Bob Stockum; Jun 6, 2020 at 01:11 PM.
Reason: Claarify
** up four pix
Check out the V-8 Explorer sway bar, compared to the stock!
stock is black
V-8, is held up with bungie cord to check fit.
up three pics, looking up from the bottom.
stock bar is black. Explorer sway bar is still brown w/rust. (It will be sanded and painted)!
Last edited by Bob Stockum; Jun 8, 2020 at 06:12 AM.
Reason: Clarification
The way to put down power these days, seems to be a 4-link with coil overs. Some are doing quite well with leafs and a proper Torque arm. The biggest problem with leafs is they are doing too much. Control side to side as well as up and down. So I will use a Watts Link for side to side and free up the leafs to just handle the ups and downs. Using the round urethane connection allows the rear to rotate without binding, as well as slip front to back with ease. This 56" torque arm is almost twice the length of the front leaf spring mount. So if it couldn't slip front to back, it would bind up!! The multiple holes in the mount changes the instant center, (when the rear torques up under power, the torque arm will be lifting the entire weight of the truck, not just the bed, which is fiber glass. I removed the radiator and grill support, so I can get in there to work. It will be made to "bolt in" For ease of engine/trans removal. Oh yea! I will be using the Grand National transmission too. (TH 200R4) 4 speed auto. Hanging off the front of the engine is the GN turbo intercooler. The chrome pipe going to the throttle body is a Kenny Bell chiller pipe. It is inner and outer pipes. Runs cold water in the water jacket to cool down the boosted air even more. Here is the torque arm in place To check fit.
Last edited by Bob Stockum; Jun 5, 2020 at 03:03 PM.
Reason: Spelling
The 12" diam rotors required the larger calipers from the SportTrac, to get "full pad contact". I looked at just using the Ranger calipers, but opted for the bigger ones that match.
1/2" steel plate and 1/4" support rib.
custom all the way.
weld, grind, fit, mill, weld again, grind.
the fit was sooo close to the orig mount holes, I had to do a lot of fitting and grinding to interlock the mounting holes
This is how the Watts link will be set up, ...soon!
Last edited by Bob Stockum; Jun 12, 2020 at 02:17 PM.
Reason: Clarify
Started running the exhaust. 3" hi-flow CAT, into a splitter, 3" to two 2.5" pipes. Then angle out to the passenger side, in front of the rear tire. Going for the "Lightning look". Waiting until the bed goes back on to get just the right fit, from under the truck. Will be cutting the oval notch in the bottom of the bed, for the pipes to pass under.
Last edited by Bob Stockum; Jun 7, 2020 at 01:24 PM.
Reason: Spelling
This is the look I am going for. There will be some cutting and fiberglass work on the bottom of the bed. So I will do the final cut & fit of the polished stainless pipes, once the body work is done.
Saw this somewhere, took screen shot, but don't remember who makes the body kit. Anyone know who makes Lightning-like ground effects for the 98 Ranger?
Notice that I have the down-pipe \"spaced off" from the ex housing about 1". The headers are from one Co. and the "down pipe is from another. When you bolt them up they hit each other!! (I think that is why I got such a "DEAL" on them)!! You can' t use them together without a ""FIX". Here is the "FIX\". A one inch wide spacer that has all the correct holes. I first made a cardboard template, then traced it onto the 6061 aluminum. Bored out the 2.5" hole. Then drilled the mounting holes, (fiddled with them some to get a snug fit). Not done with outer profile just yet! Now for some custom copper gaskets. This stuff is tricky to work with!! Grabs, bends, dents, will cut you QUICK! I will sandwitch this between the alumInum spacer and some wood, then use a hole saw to cut the center ex hole. I will be clamping this down, because I KNOW, this is going to try to grab!!
There are two pieces of copper stacked together. One for each side of the spacer.
Last edited by Bob Stockum; Jun 14, 2020 at 12:22 PM.
Reason: Spelling
Used a hole saw to remove the majority of the copper, which is "tightly" pressed between the aluminum and a piece of wood, on the bottom, the copper is so soft, it will grab and tear while cutting, The copper has the correct size hole, to match the turbo exhaust hole. Here I am slightly enlarging the alum spacer to match. Cutting the hole in the boost controller spacer. Using the same thickness 6061 aluminum for the spacer. Copper gaskets under there, between the aluminum and wood. Both clamped down "tight"! Spacers and copper gaskets, in place. Studs are a little short, on turbo. I will be installing longer stainless studs and nuts. Boost controller studs are correct. Even with spacers in place, you can see how close the pipes are. This is not quite enough!
there is a pipe and clamp that need to go there.
I need to modify the spacer plate to angle the down-pipe away from the header.
Last edited by Bob Stockum; Jun 15, 2020 at 10:03 AM.
Reason: Clairify
Ceramic 2,000 degree paint on finished exhaust. Red heat gun blowing hot air through, to cure paint.
all the hot air was comming out of the top pipe, so I put some steel wool, "loosely" to balance out the heat. Can says 200 degrees for 1hr.
Last edited by Bob Stockum; Jun 15, 2020 at 07:24 AM.
Reason: Clarify
I found that I needed a little more room between the pipes to use the clamp that holds the ex pipes together. So I decided to "angle-cut" the spacer plate, to shift the pipe over about 1/8" to the passenger side. The plate is in the vice 1/8" higher on the right. Here you can see that the spacer plate is thinner on the bottom than the top. This shifts the down pipe to the "left" (as you look at it). Here we see the clearance the "angle-cut" gave the pipe, and the clamp being used.
Here is the down-pipe and clamp in place and tight. Notice the room between the pipes. I did not want the pipes to be under mechanical pressure while under the extreme heat of the exhaust! This might cause stress and possible cracks in the exhaust system.
The pipes (from right to left), the polished header, on the far right, is going forward, to the turbo.
The middle pipe, (not polished yet), is from the driver's side headers. (Cross-over pipe), also going forward to the turbo and will be polished!
The larger pipe on the left, is the "down-pipe", from the turbo exhaust. (Going rearward under the truck and into the Cat, splitter, and mufflers & out).
This pipe was "Jet-Hot", ceramic coated, for reduced heat and will remain satin silver.
Last edited by Bob Stockum; Jun 15, 2020 at 10:54 AM.
Reason: Clarify
When is duct tape OK to use?! How about mocking things up, to get it level and lined-up, maybe.??!
Duct tape, wood, C-clamps, coat hanger, ... what ever it takes to get it "right", just long enough to weld it. Align, level, space, then tack-weld and check again. There will be another " exhaust-hanger" out near the ends, to keep them from shaking off!
Oh yea! Then, ... REMOVE TAPE! 👍
Last edited by Bob Stockum; Jun 15, 2020 at 12:40 PM.
Things are starting to come together Bed to go back on soon, once the fuel cell and battery are mounted
the "enjoyment" of a project like this, (for me), is building these things myself.
Money is in short supply, so good old fashion hard work will have to do!
Last edited by Bob Stockum; Jun 30, 2020 at 09:45 AM.
Reason: Clairify
The Buick T type and Grand Nationals had a low bump in the hood. The chrome emblem on each side of the " bump", says 3.8 SFI TURBO. I will be doing a tribute to a classic muscle car on the Ranger hood. (Only purests will understand) The hood bump is fiberglass and is bonded on with some "short fiber" Bondo adhesive and some screws. The screws pull things down "snug", not TIGHT! I just want some "squeeze-out", not de-form the hood, or fiber glass. Once the adhesive is cured, (the next day), I will remove the screws. Screws have a way of causing cracks in the filler and paint, (later). Ground off paint, to the metal, with 80 grit, about 2" past the bump, Ground the fiberglass, just slightly, at an angle, to flair it into the hood.
Then laid down some Bondo, tapering away from the bump. Let it set over night.
next;
Started Block-sanding, with 60 grit, then 120, 180, 240, now at 320 and using some glazing putty (red) to fill in small pin holes and scratches. (wet sanding)
I am doing this in concert with my painter, using chemicals and paint that he suggests, so there are no bad chemical reactions when he does his thing later. Some spray-can paints are NOT compatible with Commercial Automotive Paints!! So please check with your painter.
I am more "at home " on the Mill or Lathe than doing body work. ... Just trying to $ave where I can!!! Paint and body work are EXPENSIVE!!
Last edited by Bob Stockum; Jul 9, 2020 at 08:33 PM.
Reason: Spelling
Just ran across this thread, and WOW. It's been a long time since we've seen a build like this on the forum, so thanks for sharing it! I was hooked as soon as I saw the mention of GNX.
Just ran across this thread, and WOW. It's been a long time since we've seen a build like this on the forum, so thanks for sharing it! I was hooked as soon as I saw the mention of GNX.
THANKS !!
covid19 therapy to keep me sane and safe!
Have built many hot rods/race cars, just NOT for me!
I have already gotten "haters", (expected).
"Why a GM motor? Should have used a ... ! "
The Grand National was the final BLAST for Buick, for that time. The engine was YEARS ahead of many others and a real sleeper.
A tribute to the Lightning and GN I think, will be a sweet "sleeper" ... so on I go.
thanks again for the props!
Last edited by Bob Stockum; Jul 10, 2020 at 10:05 AM.
Sad people can't respect other's builds and ideas. I'm not a fan of all of these kids throwing newer Super Duty parts all over their pre-1996 F-Series trucks, but I don't bash them for it. Not my truck, not my worry.
You may be the only person with a Buick Turbo 3.8 powered Ranger when all is said and done, and that's awesome.
Last edited by Fordzilla80; Jul 13, 2020 at 06:50 PM.
Lots of pipes involved in a turbo setup. Mass air flow sensor, (middle-right, black w/blue label). Putting the cone K&N air filter in the lower driver's side front corner. Beneath the original battery box. (Box is now gone. This will be just behind the lower opening in the grill. (Up 1 pic).
This will get fresh air from behind the grill. The head lights go in the upper opening.Filter will basically follow, (lay on top of the plastic wheel well), protecting it from dirt and water. I will wall off the radiator side area to stop hot air from getting in the air box.
Stainless steel spaghetti Anyone? (Boosted air, coming and going) !
Anyone notice Thomas the Train, in the corner?
(My 4 year old neighbor, Evan, just loves Thomas) !!
He came over one day, while the air compressor was running, w/his mom, And started shouting Thomas! Thomas! , Pointing at the air compressor.
Sooo of course, the next day, I took a sharpie, red paint and some blue tape and made a some what poor impression of Thomas!! Just for fun/Evan
Last edited by Bob Stockum; Jul 13, 2020 at 12:49 PM.
Reason: Spellingspell


 These V-6 Buicks can easily make 500 HP with stock internals. And that is where I am going.