


Quasi242's RCD to DBR and other stuff

Thread Starter
|
Member

Joined: Jun 2008
Posts: 155
Likes: 0
From: Tucson, AZ
Quasi242's RCD to DBR and other stuff
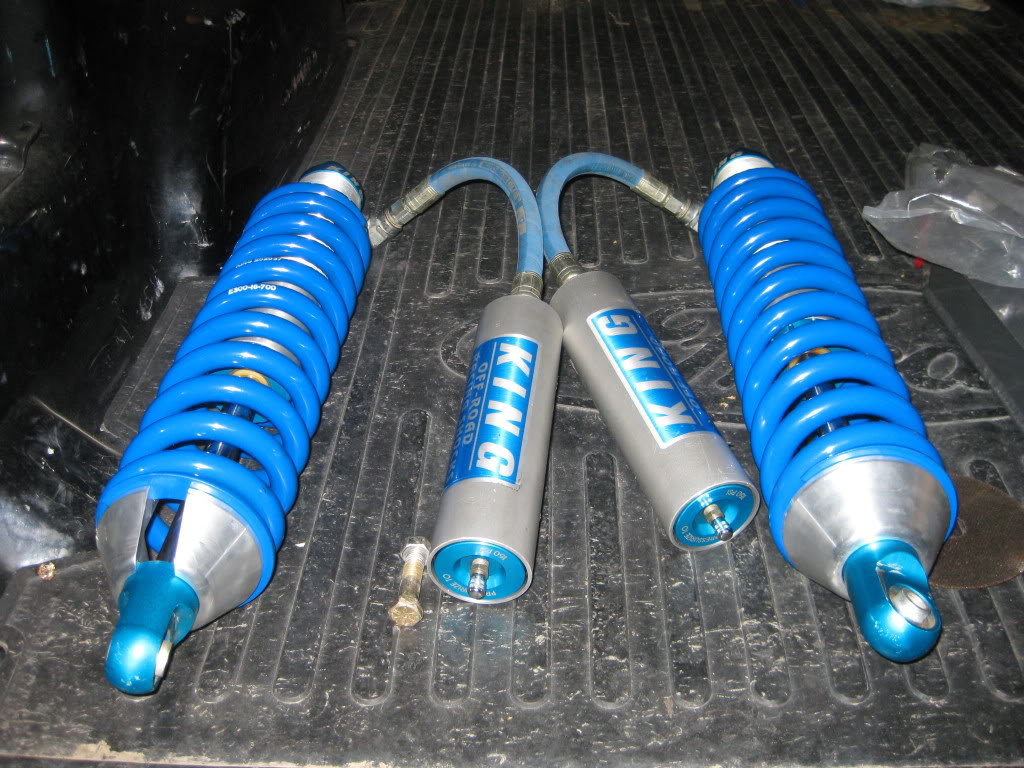
So tonight is the night that it all begins. A friend and I will begin to disassemble the front end of my 2000 4X4. To start, we will remove the lightbar, bumper, front fenders. Next step will be to remove the front suspension components. The DBR kit will require the removal of the stock shock mount, so that will be the point of no return. The kit from DBR is scheduled to arrive tomorrow by FedEX, so hopefully all will go as planned. This is a DD so it can not sit in the garage for too long. A couple of notes, since Aaron Dixon is waiting on parts for the front half shafts, I will be temporarily setting up the kit in 2WD mode. I am also waiting on springs for my King coil over shocks. A shipping error has delayed their arrival. I hope to have them by Saturday, but it might be Monday before they arrive.
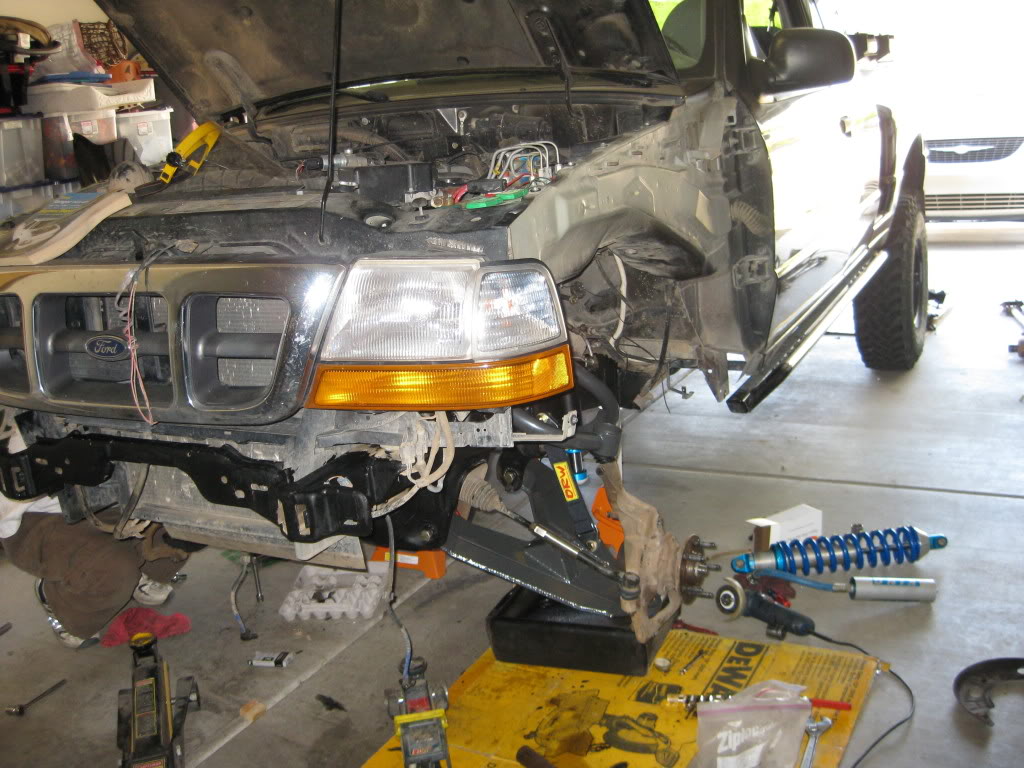
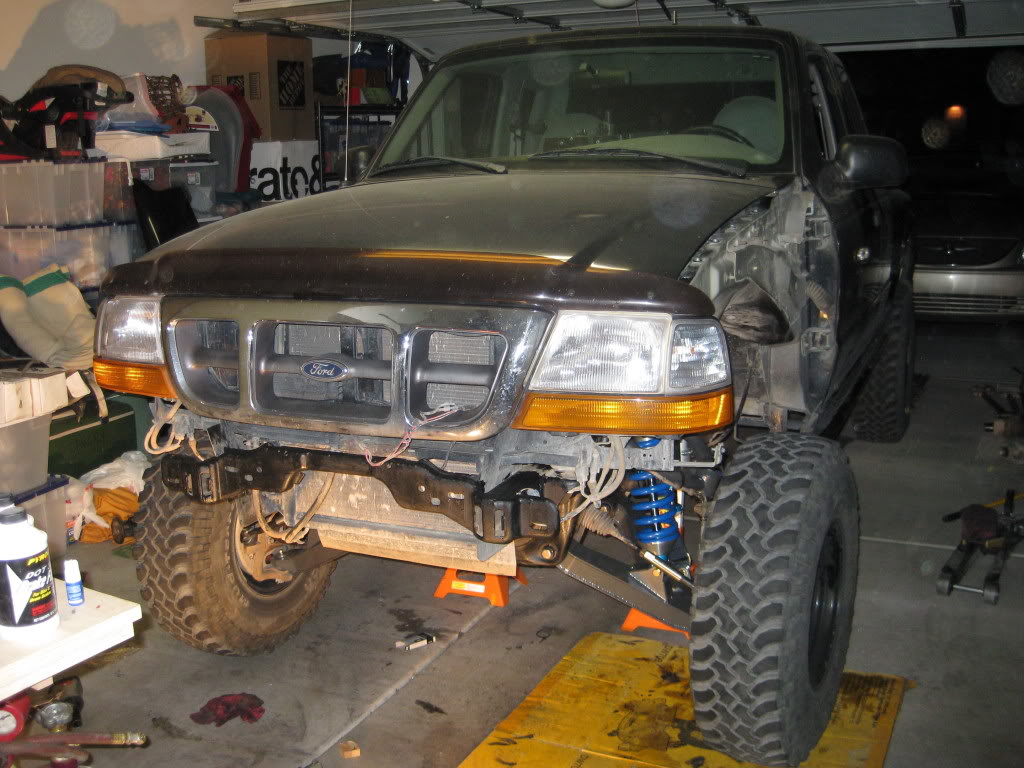
Here are a few pictures of the truck in it's current form:
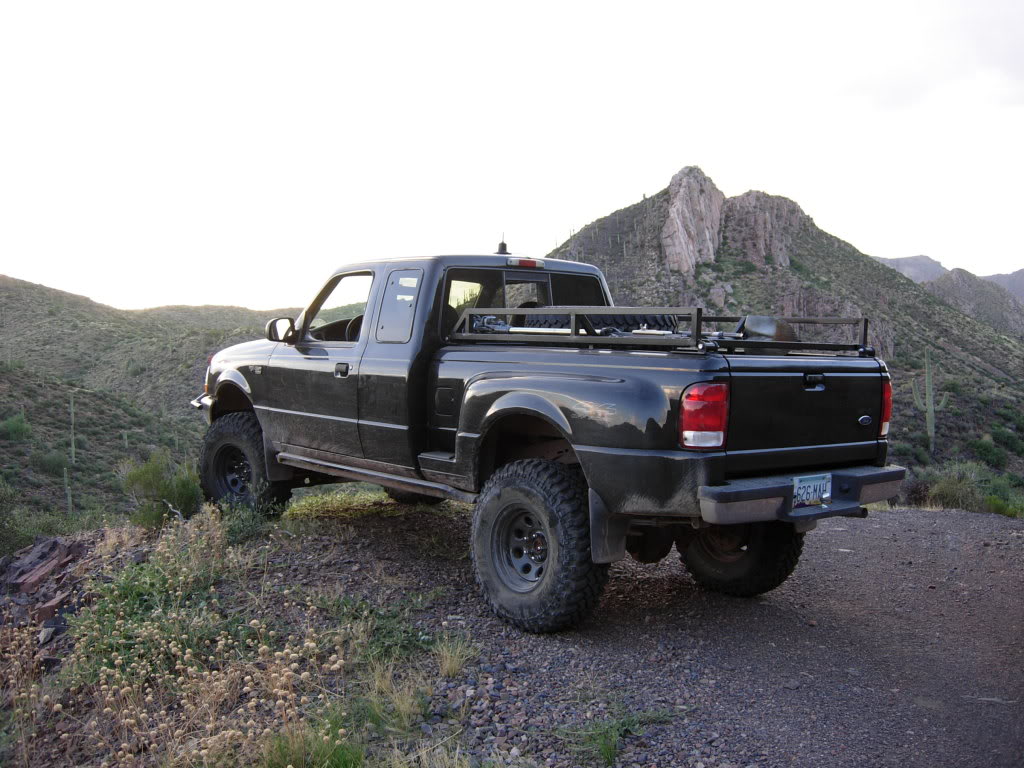
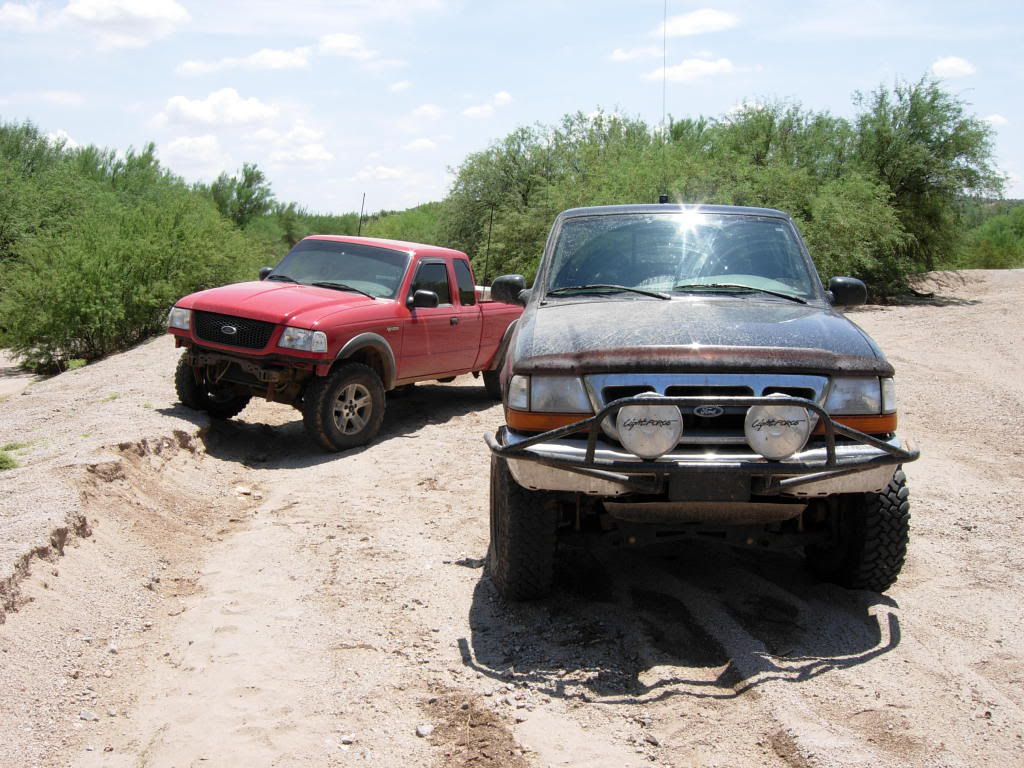
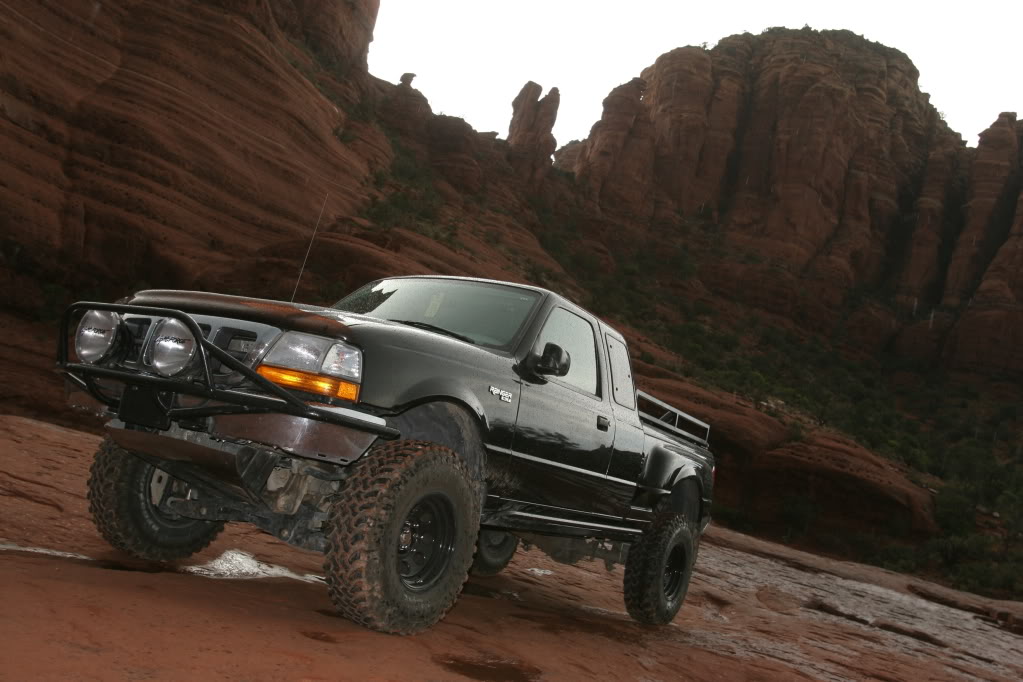
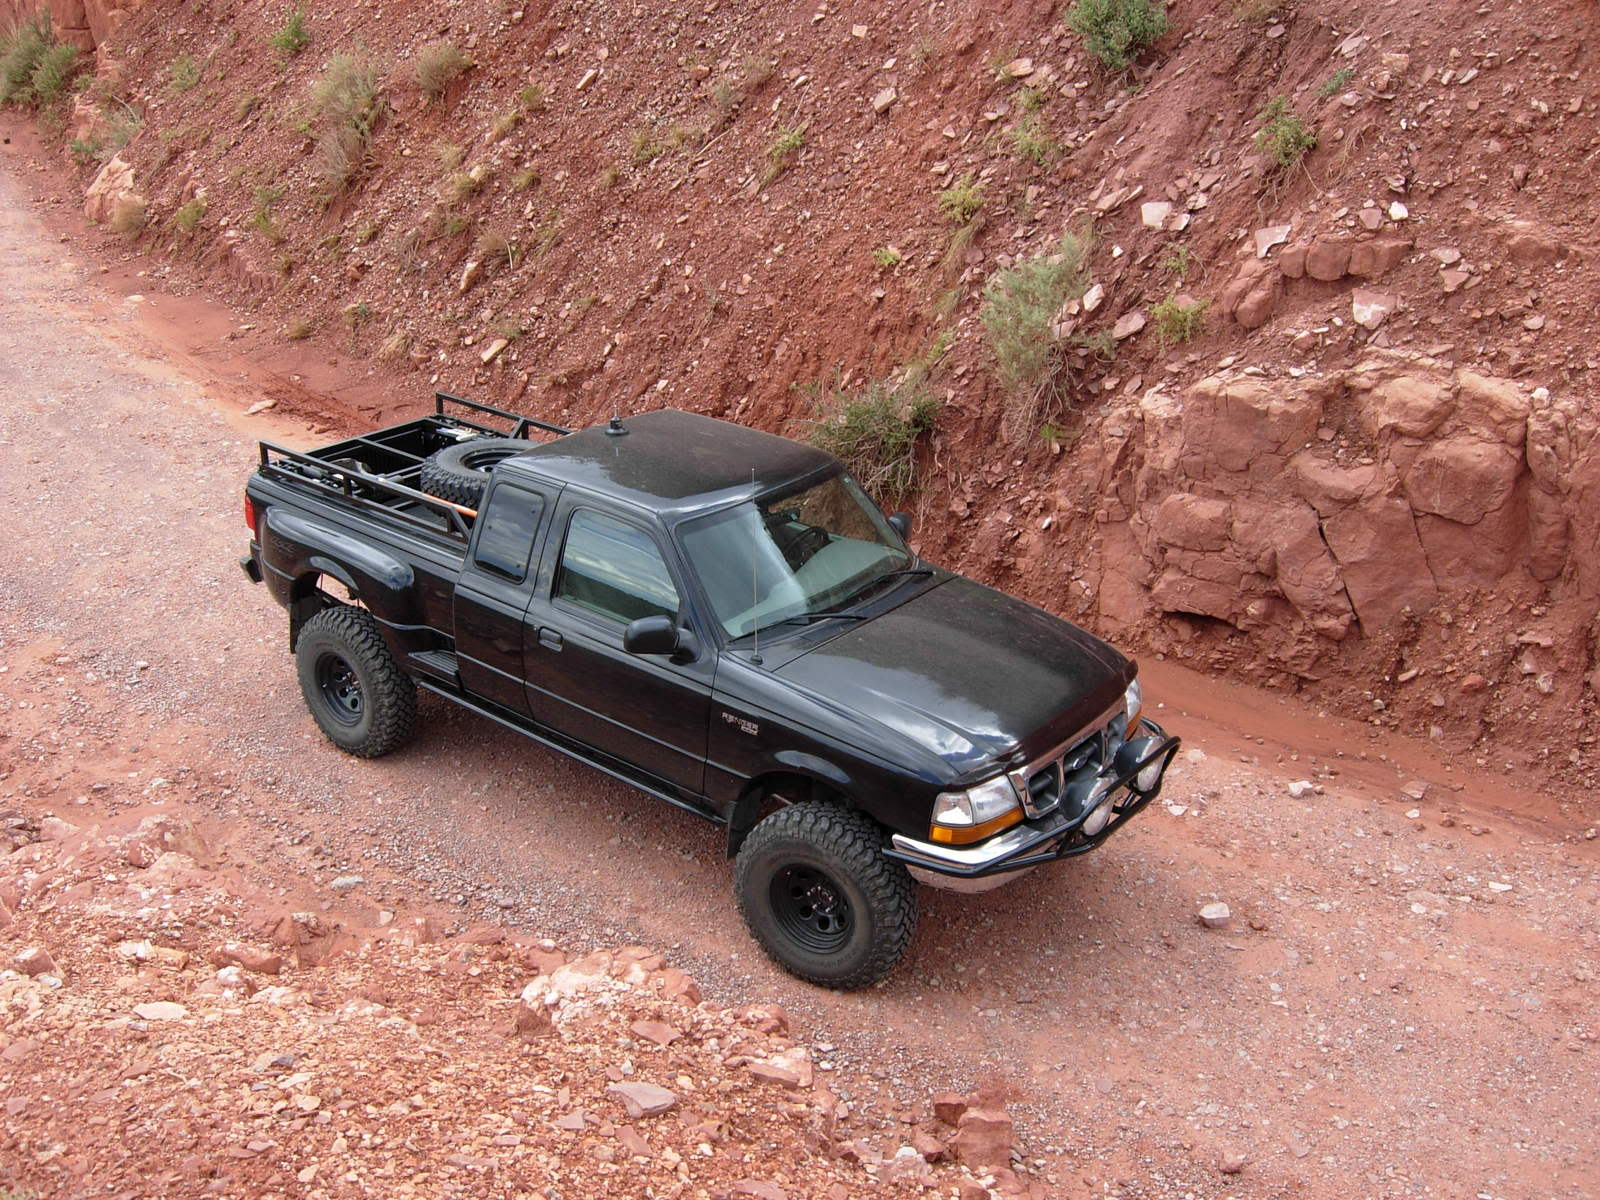
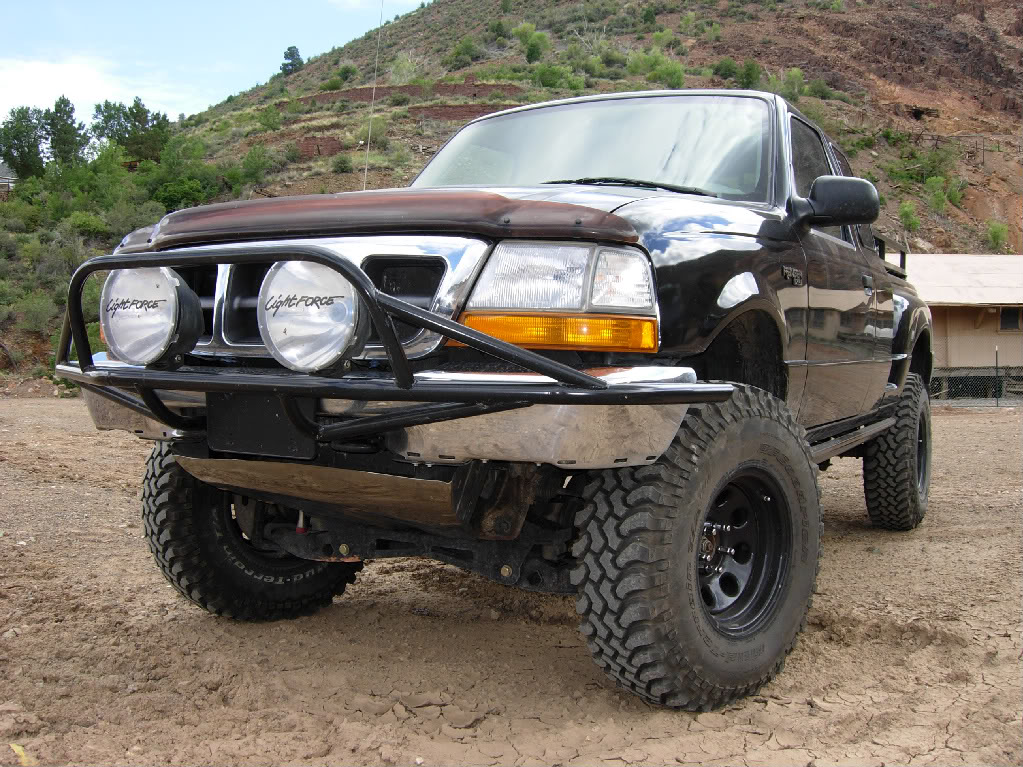
Here are a few pictures of the truck in it's current form:





Thread Starter
|
Member
Joined: Jun 2008
Posts: 155
Likes: 0
From: Tucson, AZ
In a little over 5 hours, we shot some beginning photos:
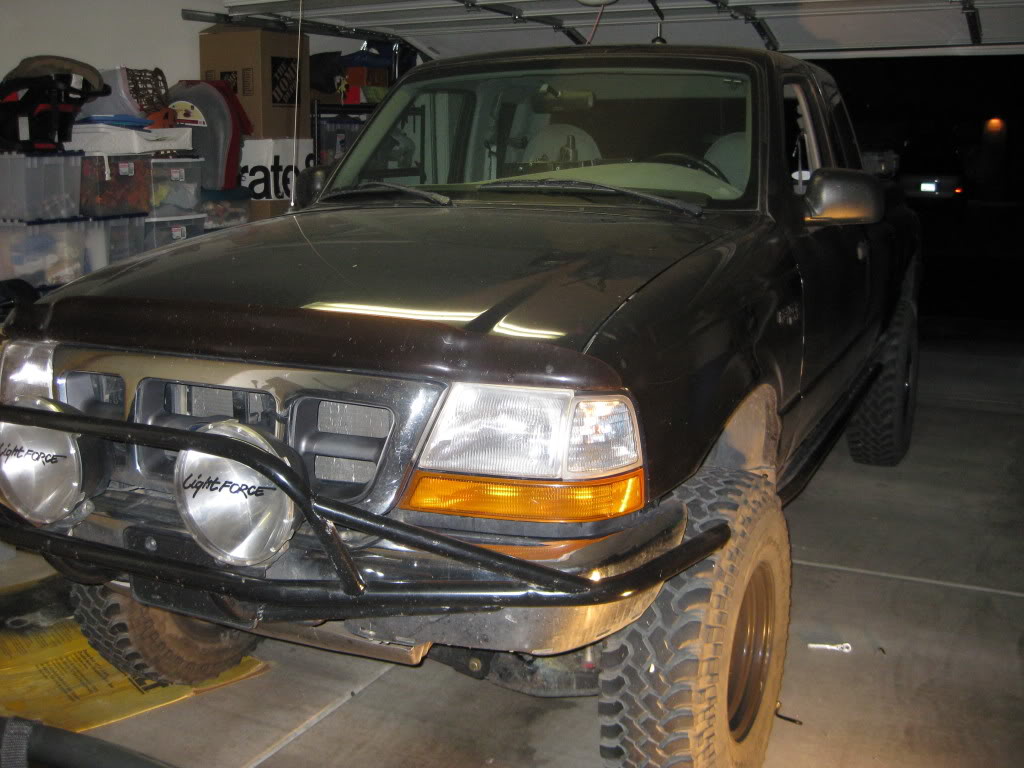
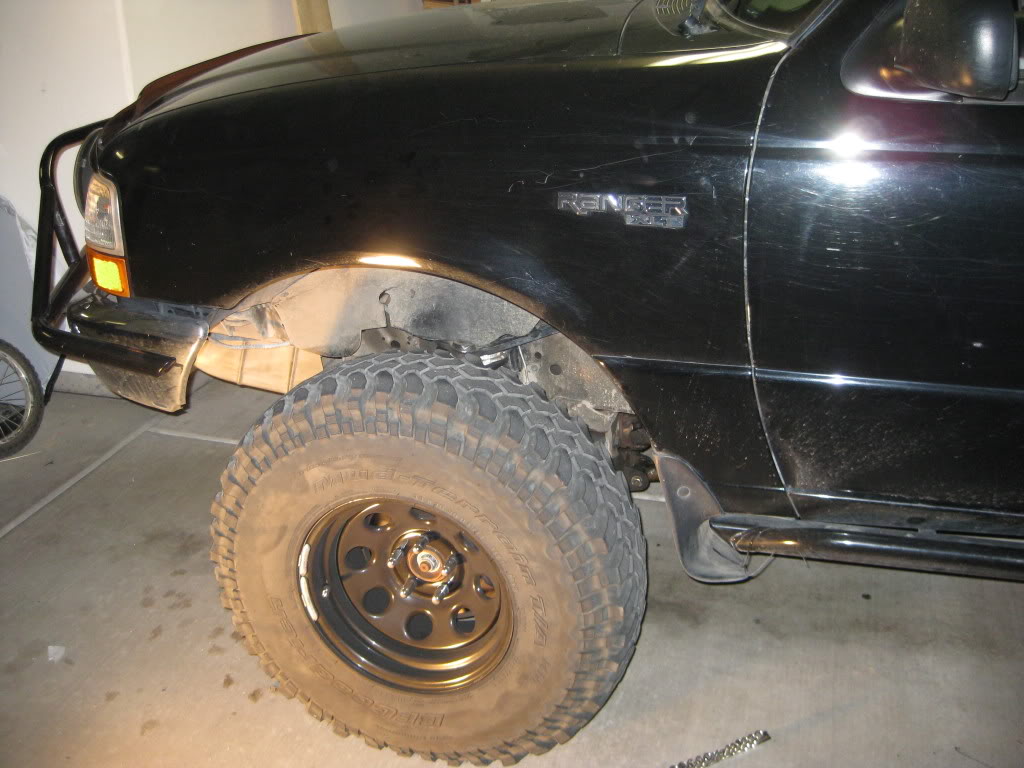
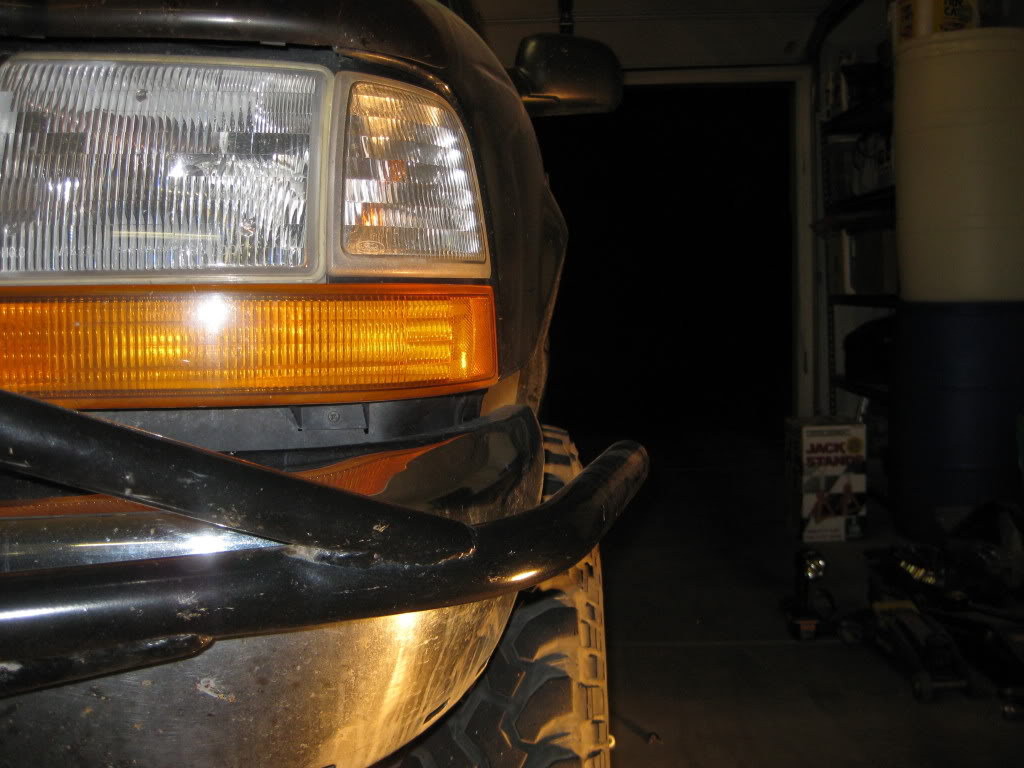
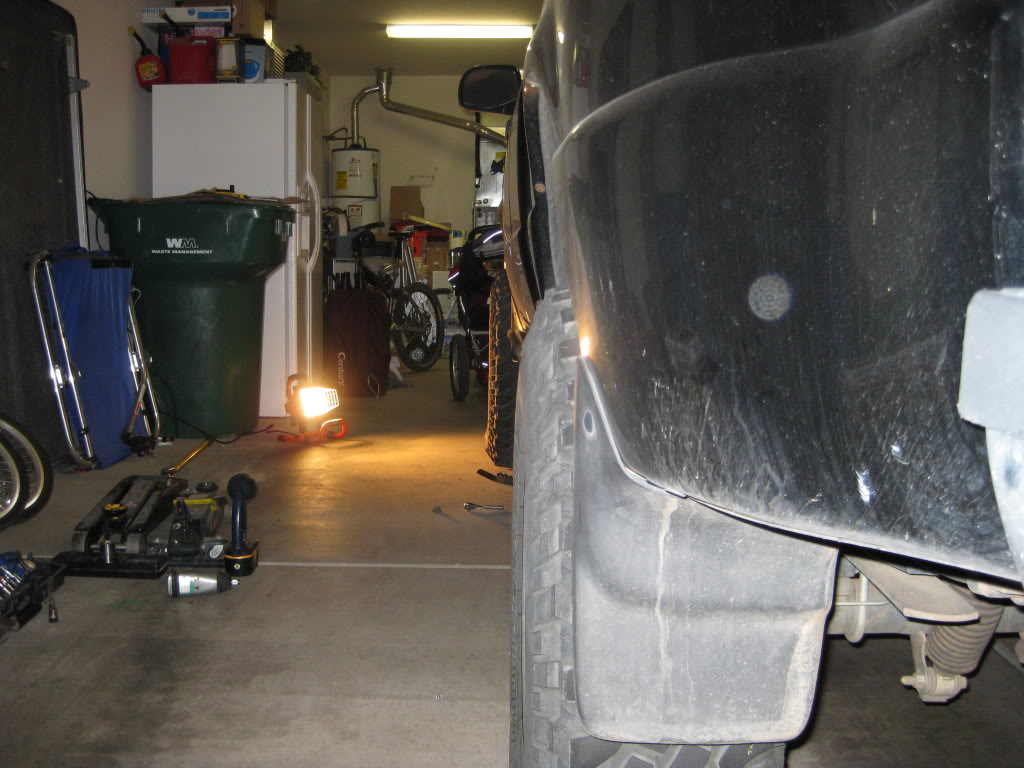
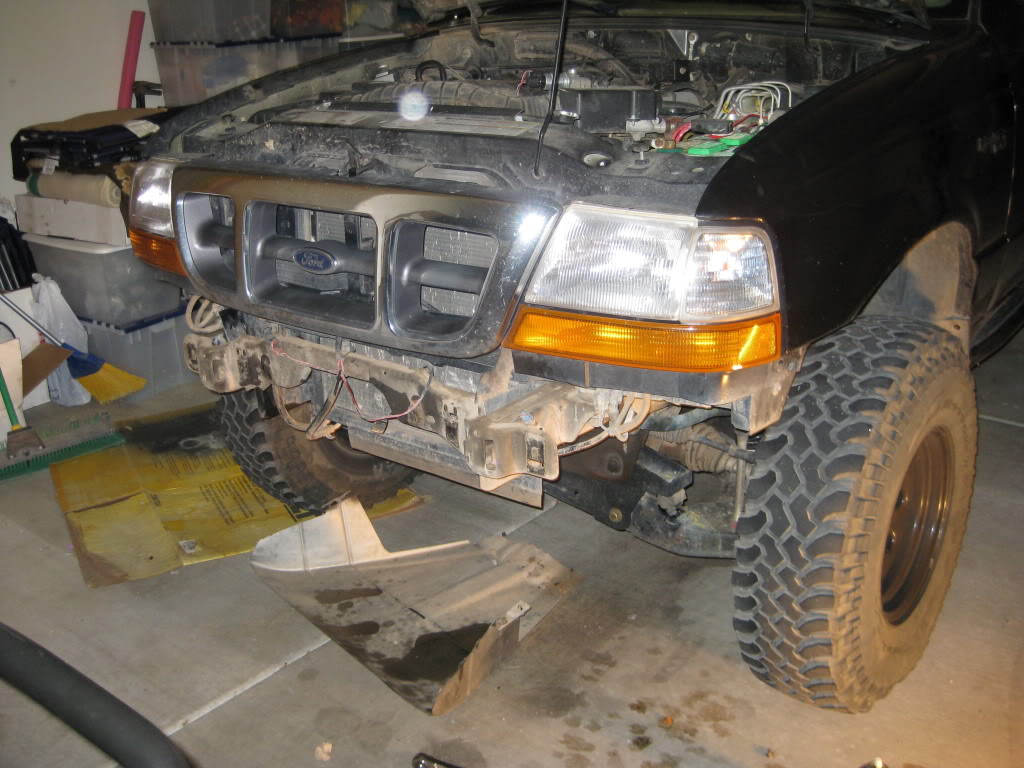
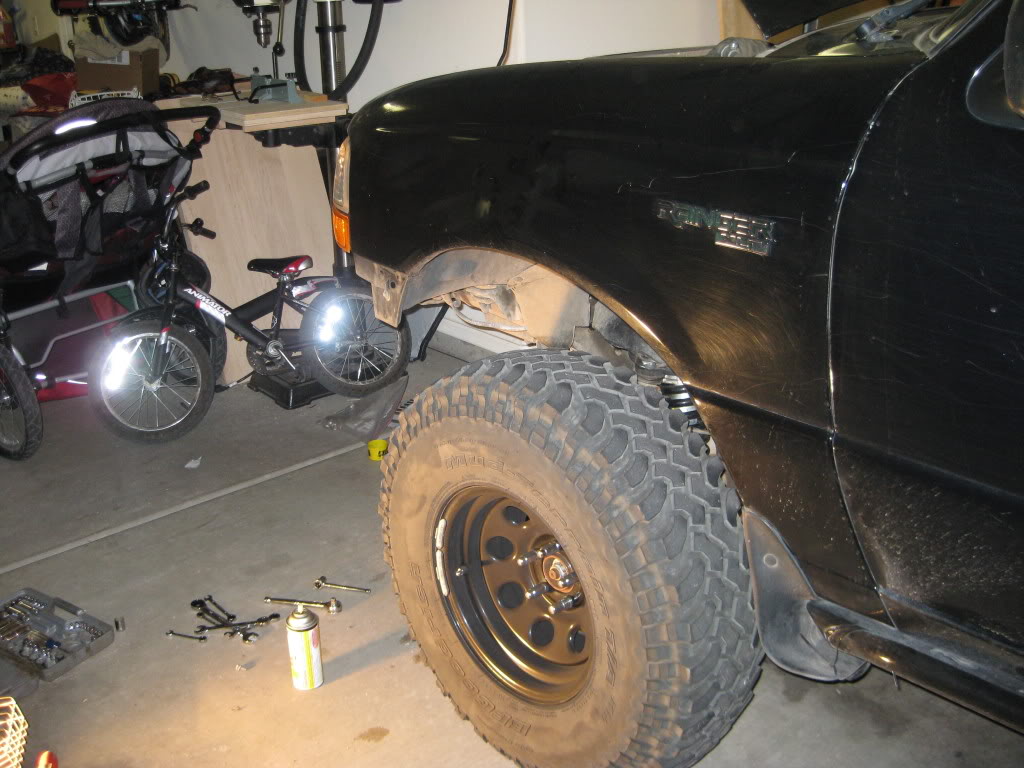
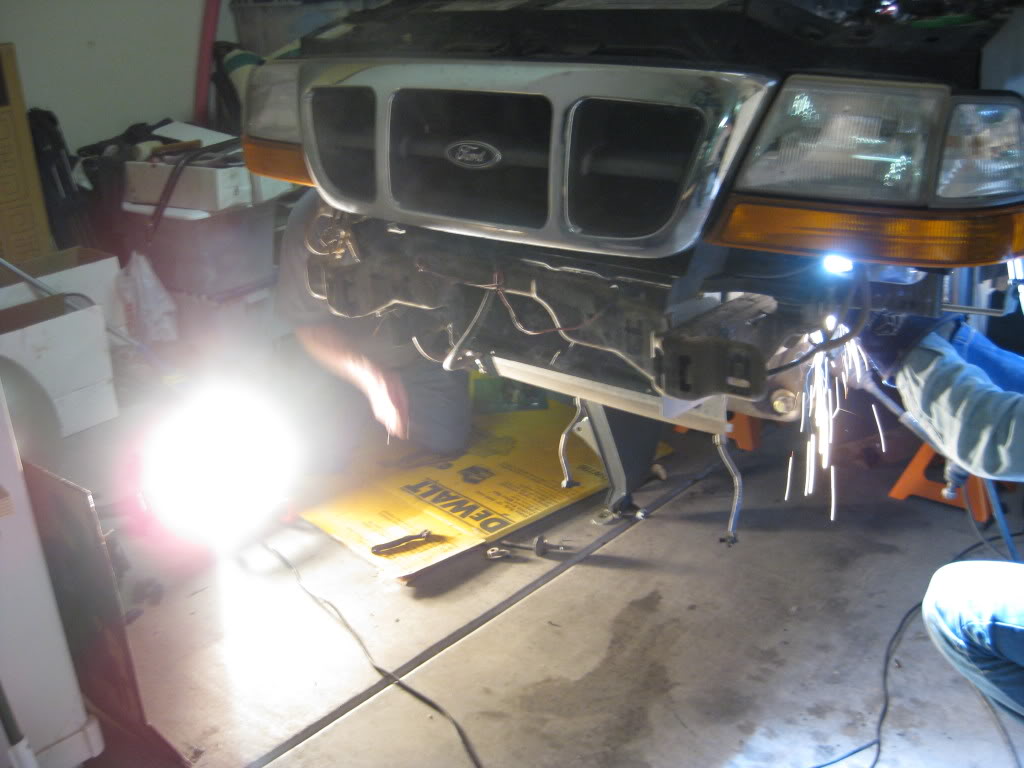
Removed the light bar and front bumper:
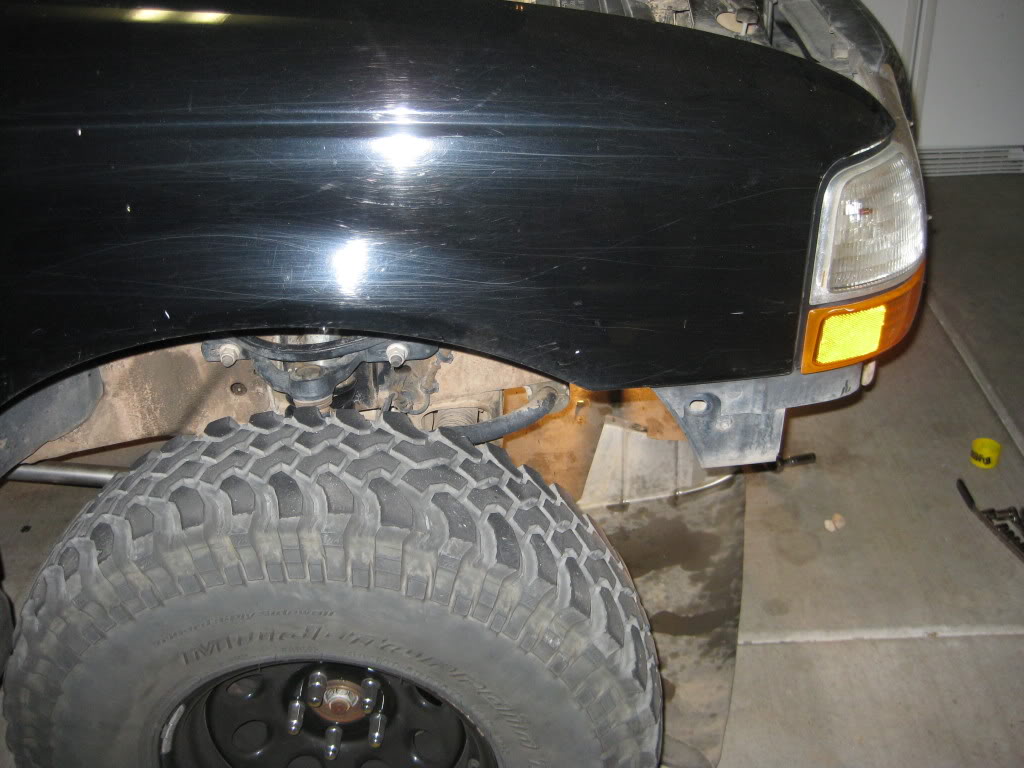
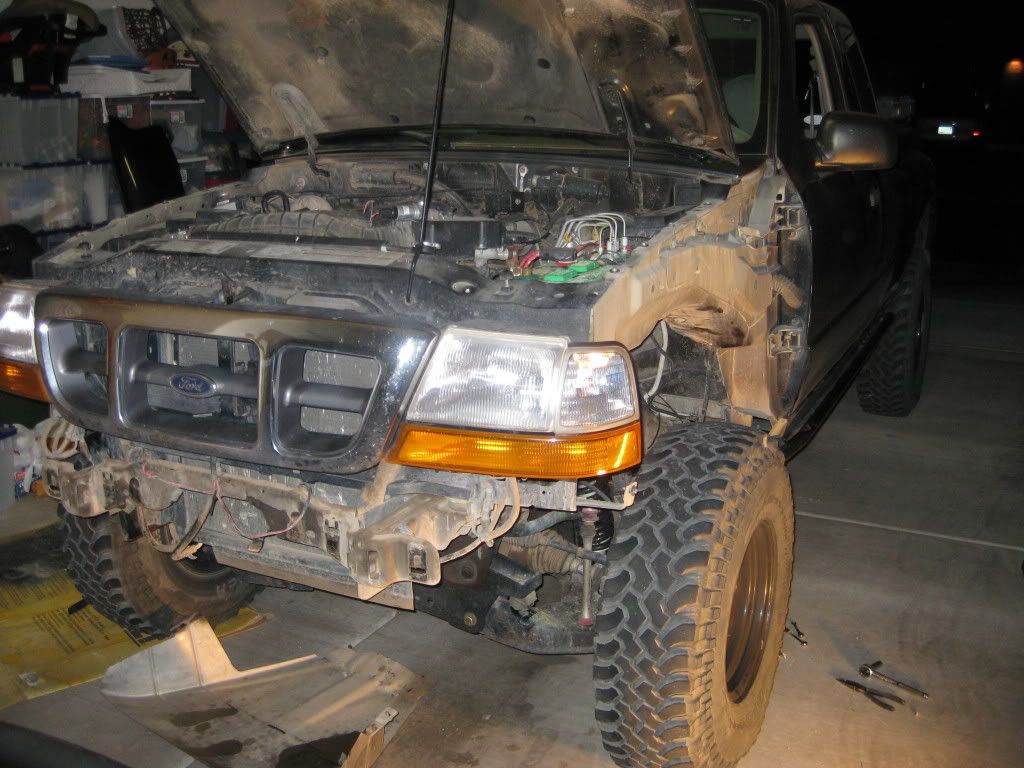
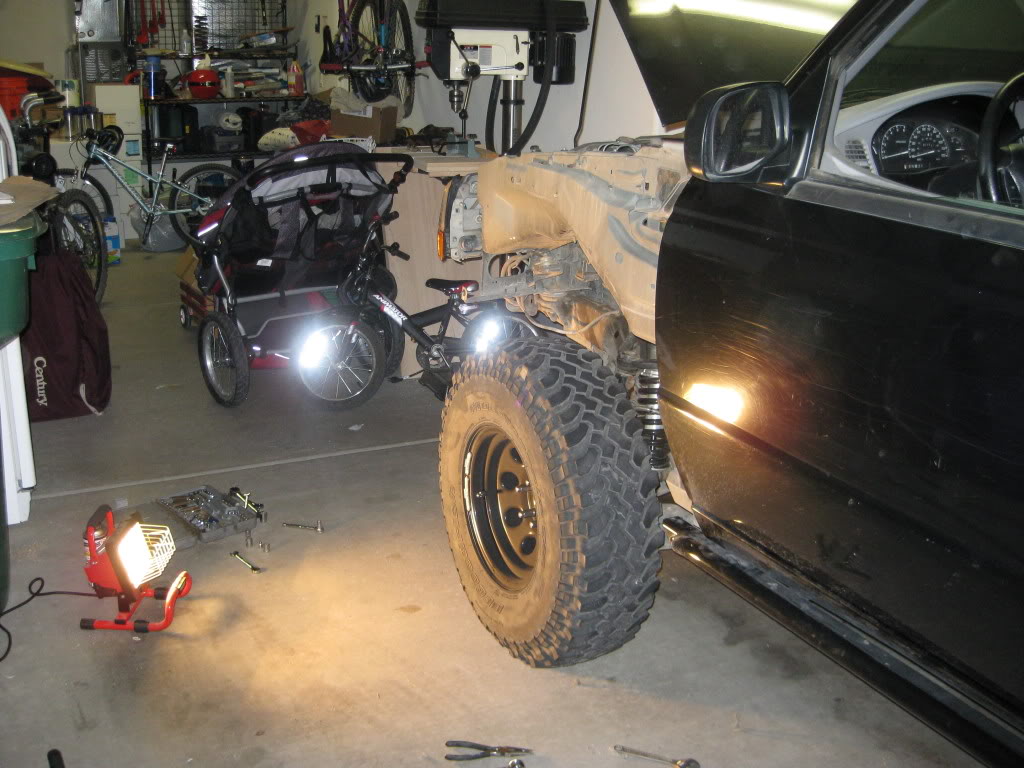
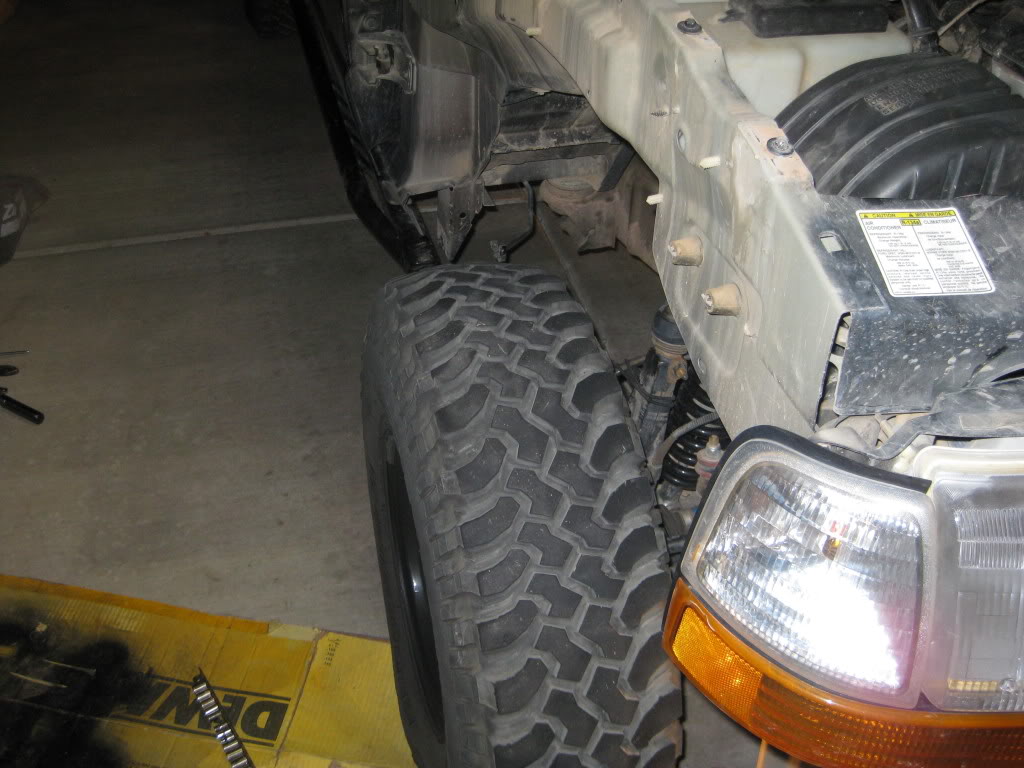
Removed the front fenders. This was a pain since I had to partially detach the sliders to get access to the bottom bolts:
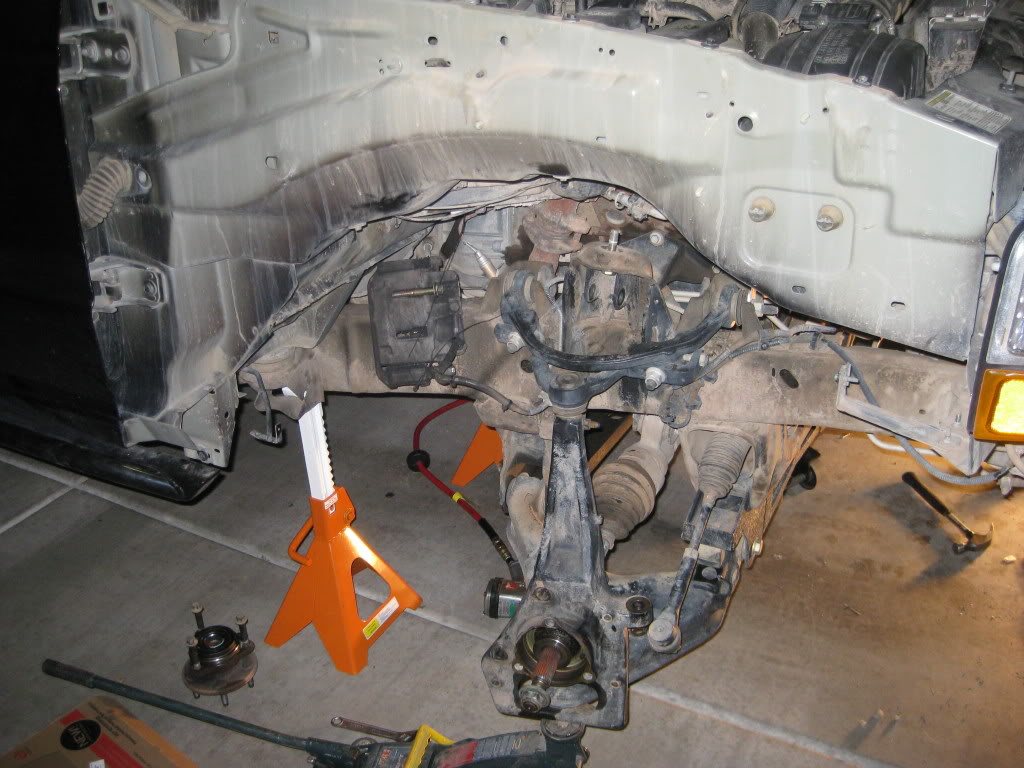
and removed the sway bar, brakes, hub shocks and anti-compression struts:
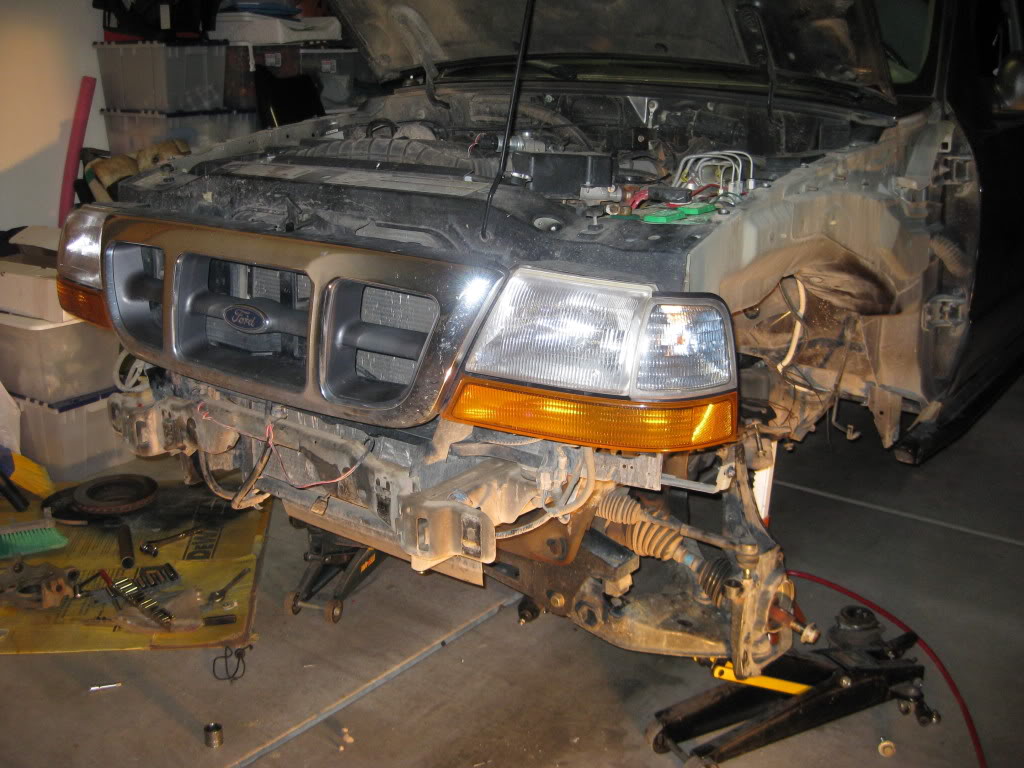
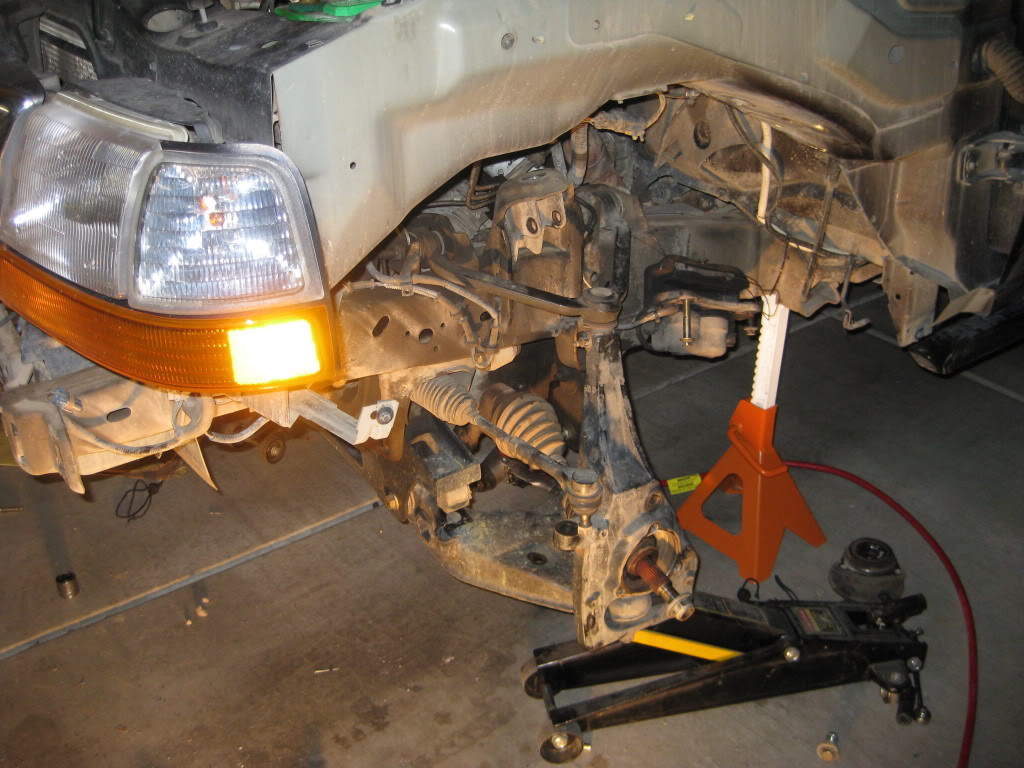
Good news is that the tracking report shows that the parts are on the truck for delivery! Bad news is that I am concerned about how the shock hoops are going to clear all of the stuff that is in the engine bay. Especially the hard lines that run to the AC. Only time will tell.
Removed the light bar and front bumper:
Removed the front fenders. This was a pain since I had to partially detach the sliders to get access to the bottom bolts:
and removed the sway bar, brakes, hub shocks and anti-compression struts:
Good news is that the tracking report shows that the parts are on the truck for delivery! Bad news is that I am concerned about how the shock hoops are going to clear all of the stuff that is in the engine bay. Especially the hard lines that run to the AC. Only time will tell.
Joined: Aug 2006
Posts: 7,878
Likes: 5
From: New Mexico

I'm pretty sure using the RCD knuckles with the DBR kit would throw the suspension's geometry way off. The kit is designed to use the stock knuckles.

Thread Starter
|
Member
Joined: Jun 2008
Posts: 155
Likes: 0
From: Tucson, AZ
End of day 2 status report:
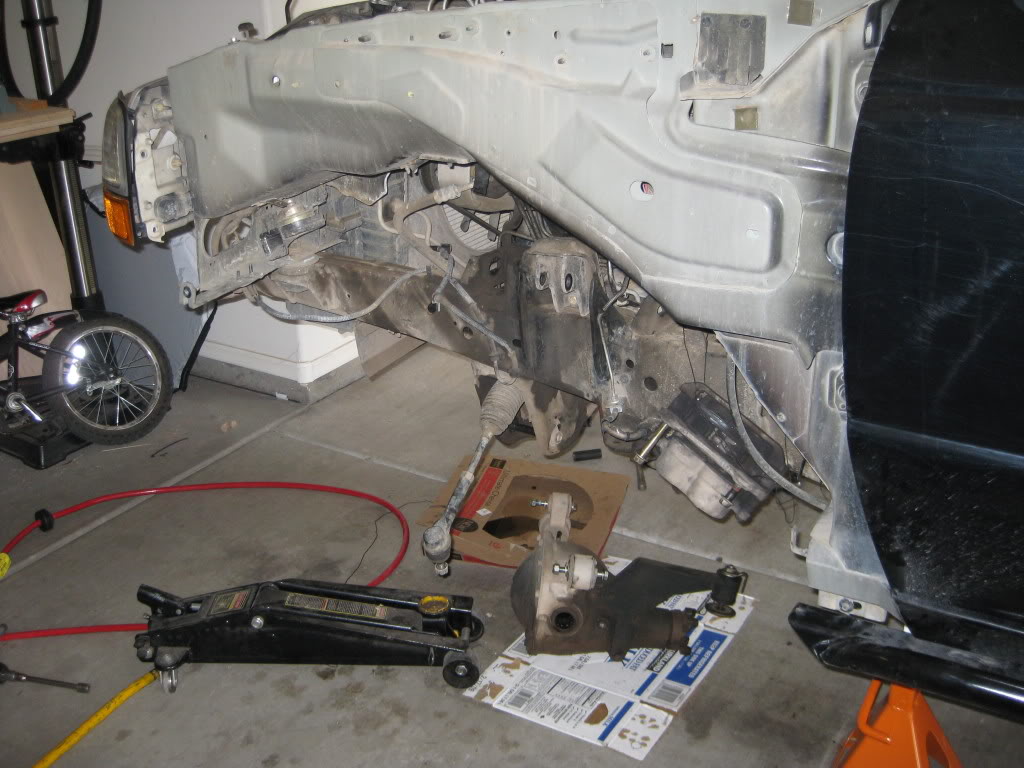
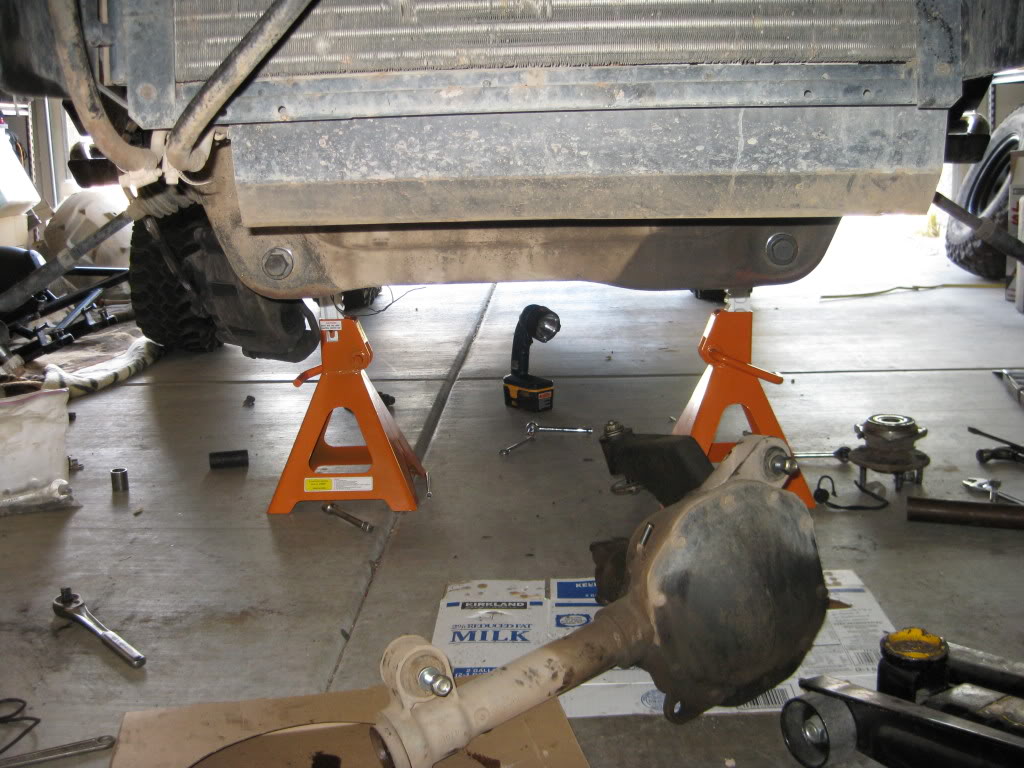
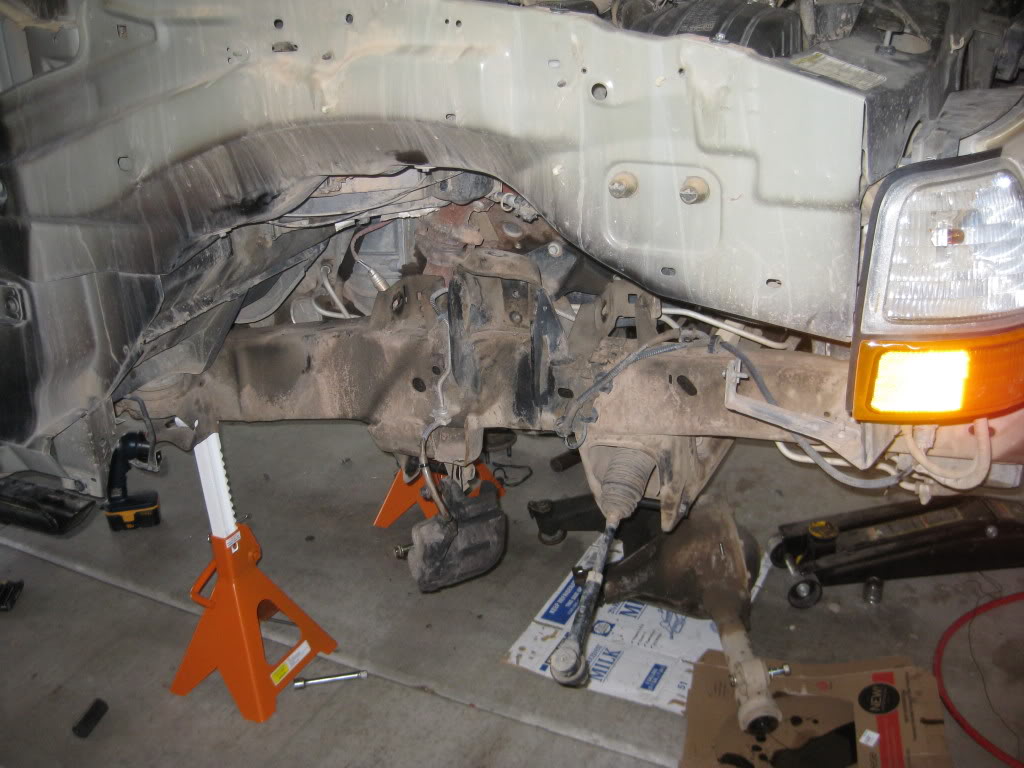
Started the day out by removing the RCD knuckle and factory A arms, drop brackets and front differential
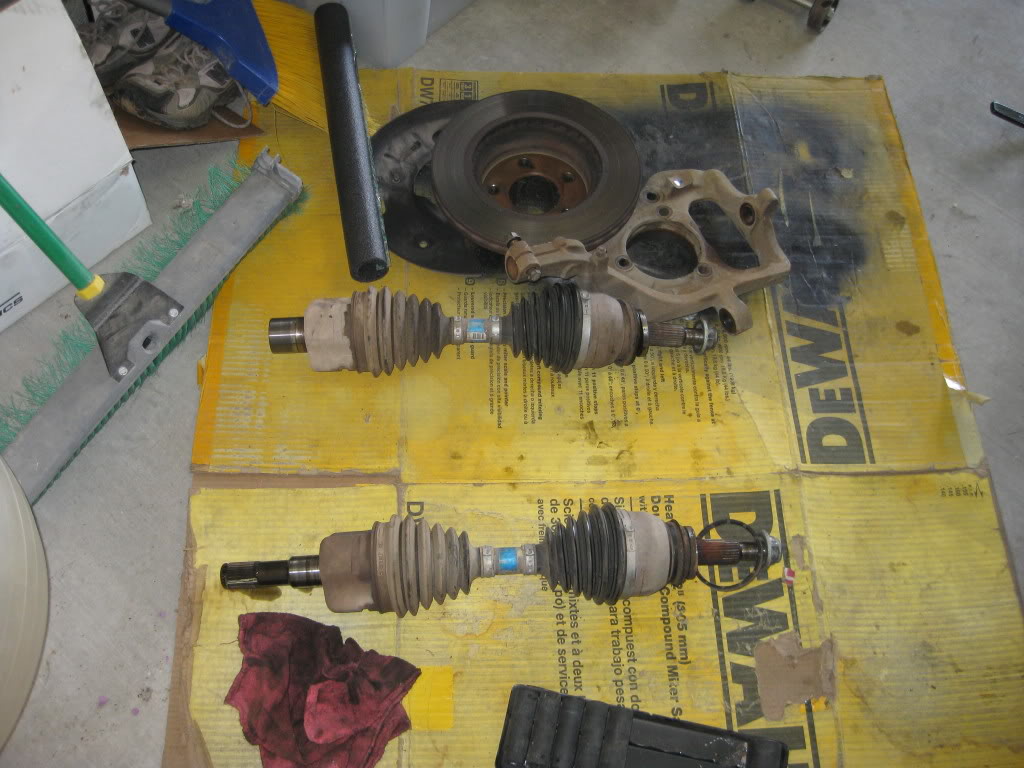
Picture of the stock CV axles removed
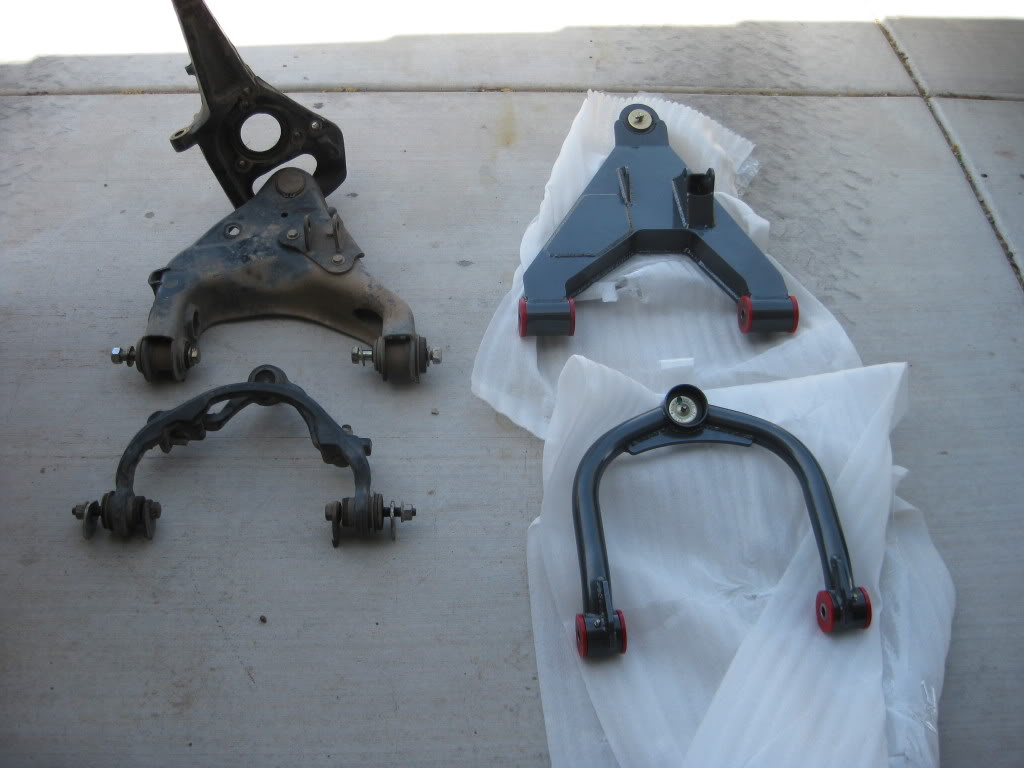
Stock A arms next to the new DBR A arms
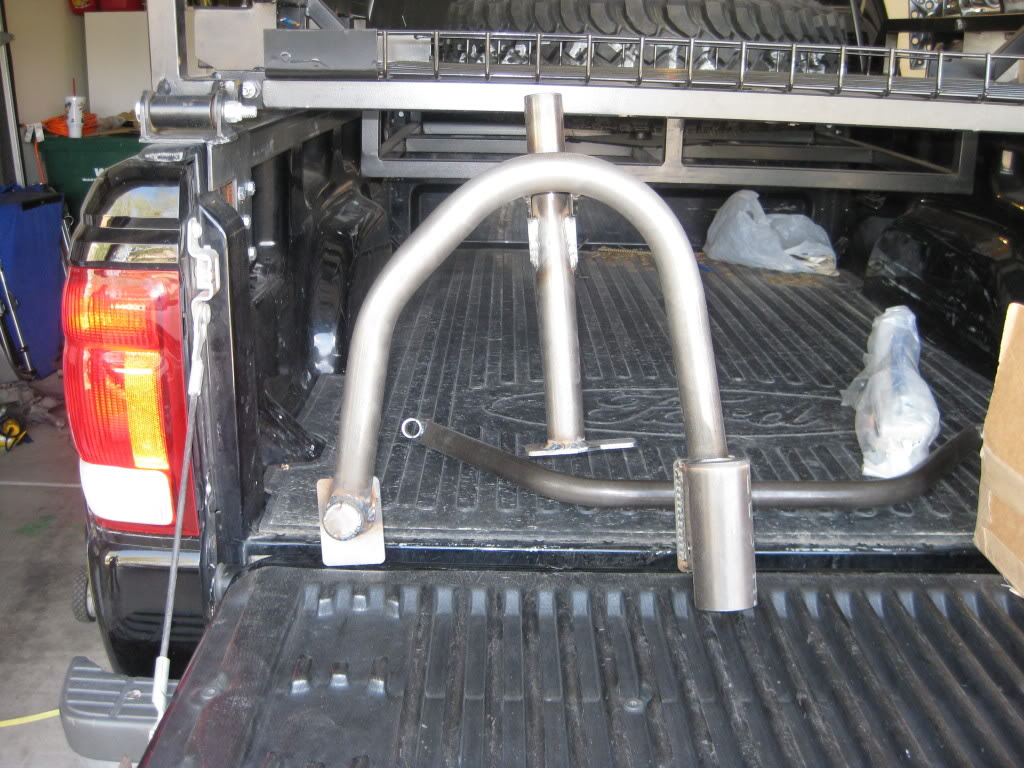
New shock hoop
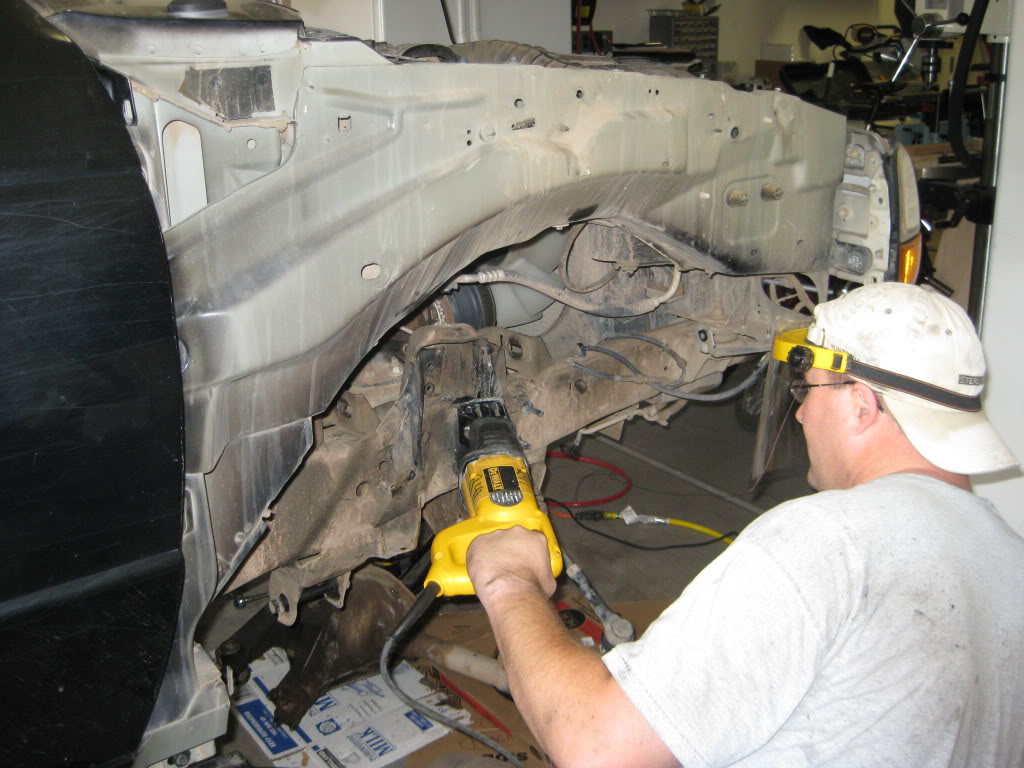
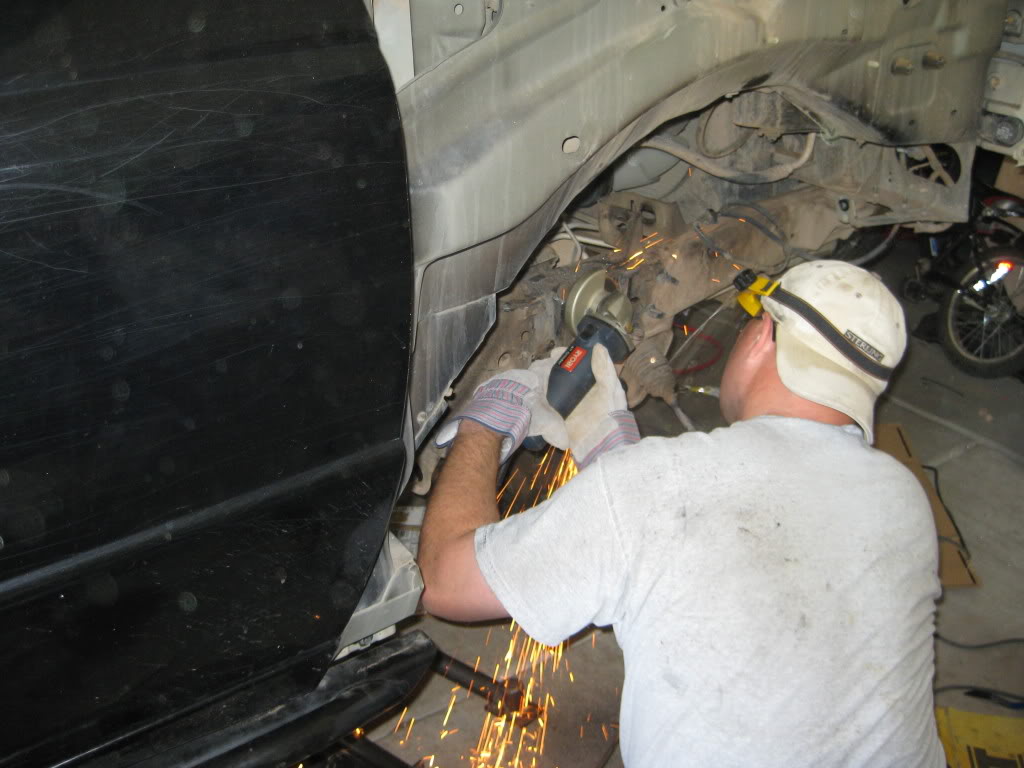
Next we removed the stock shock mount and used a grinder to remove the excess metal from the frame
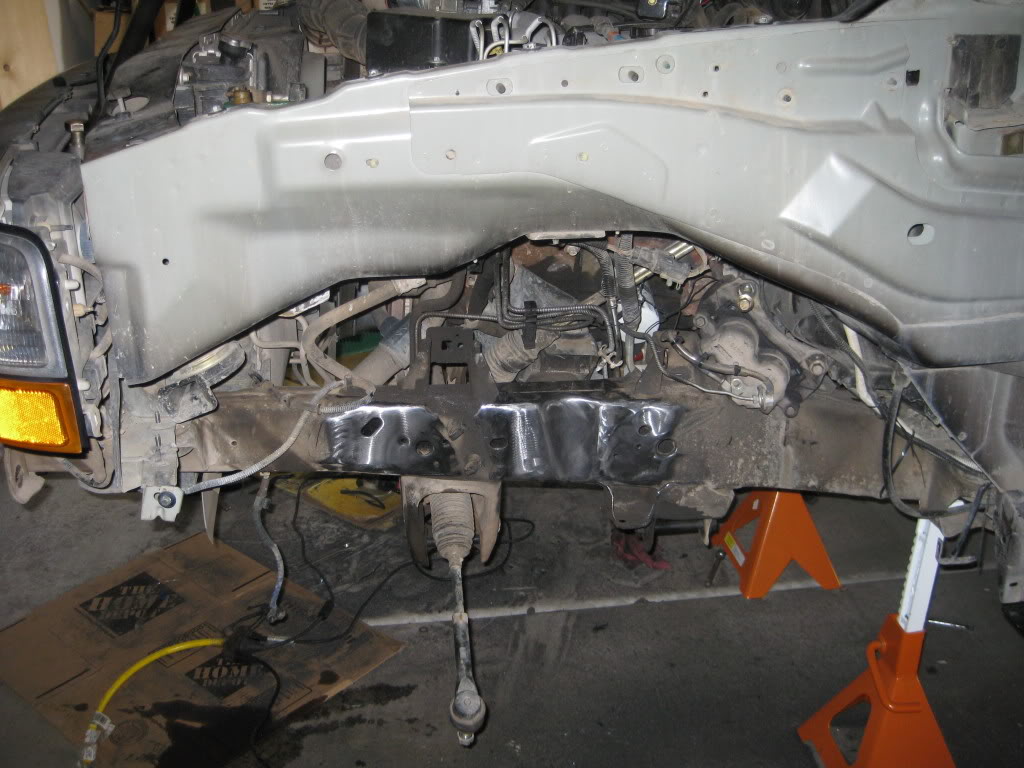
Test fitting the new shock hoop
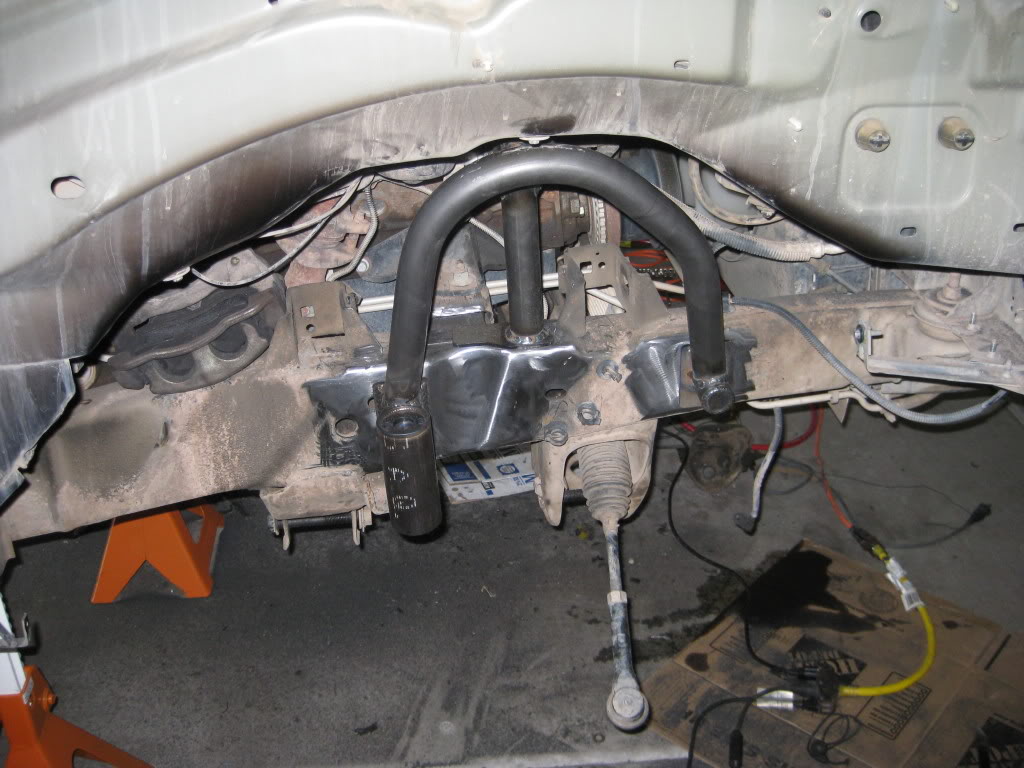
Reinforcing the lower A arm mounts with 5/16" thick universal spacers from Ballistic Fabrication
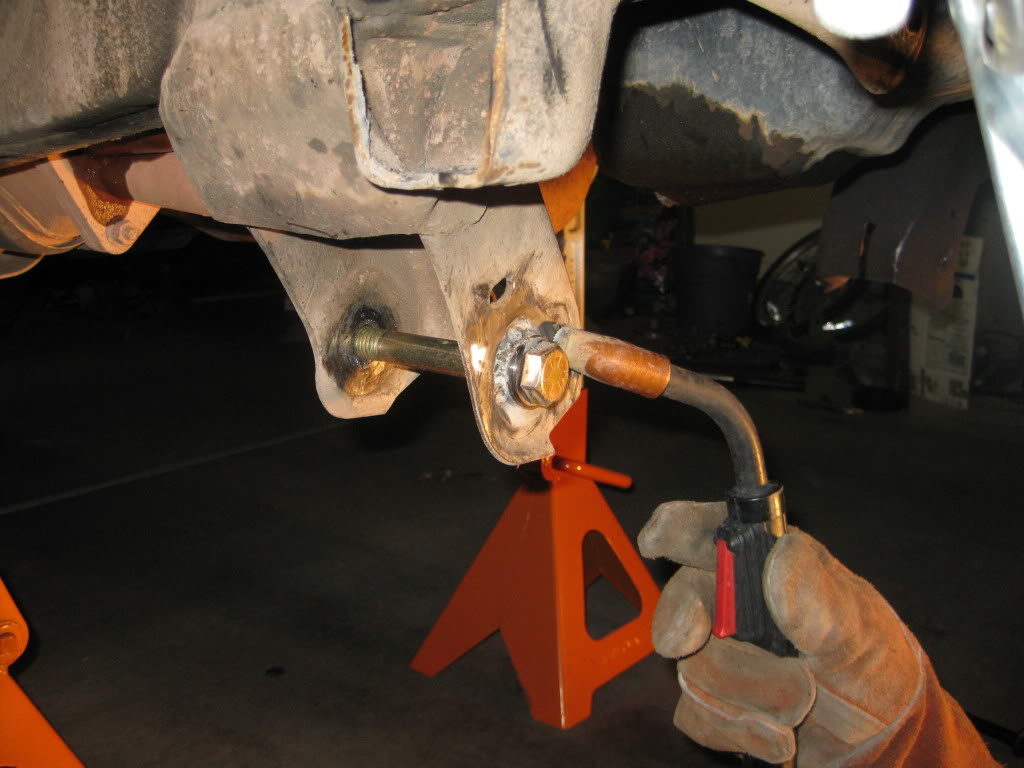
Welding in the new shock hoops
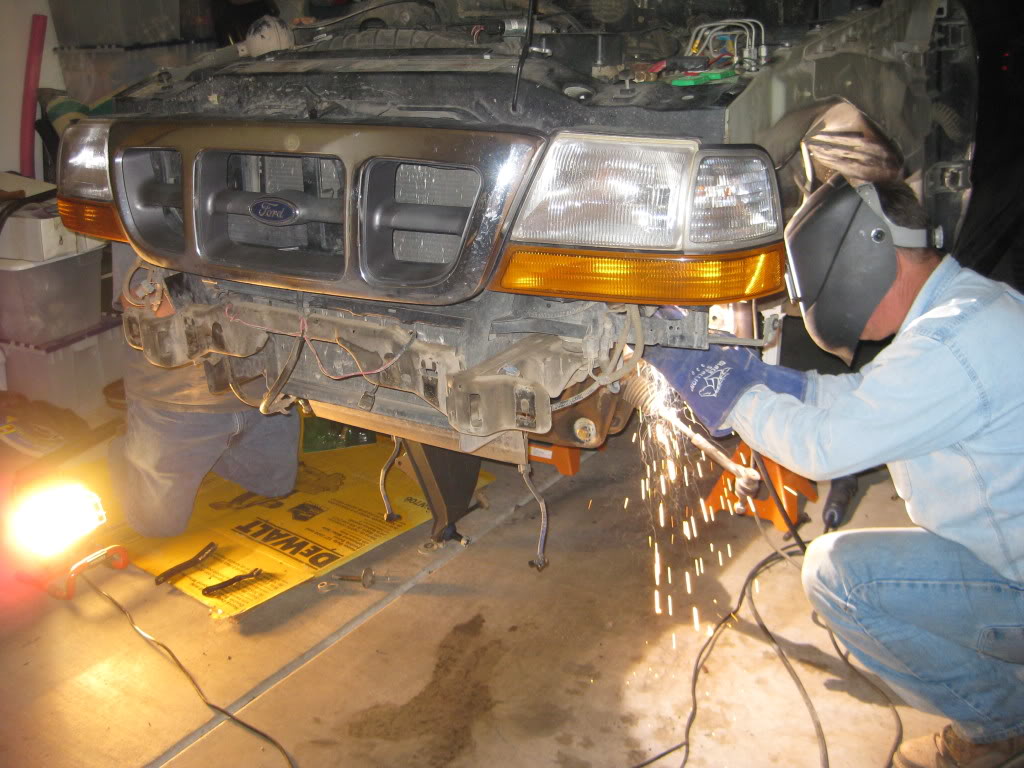
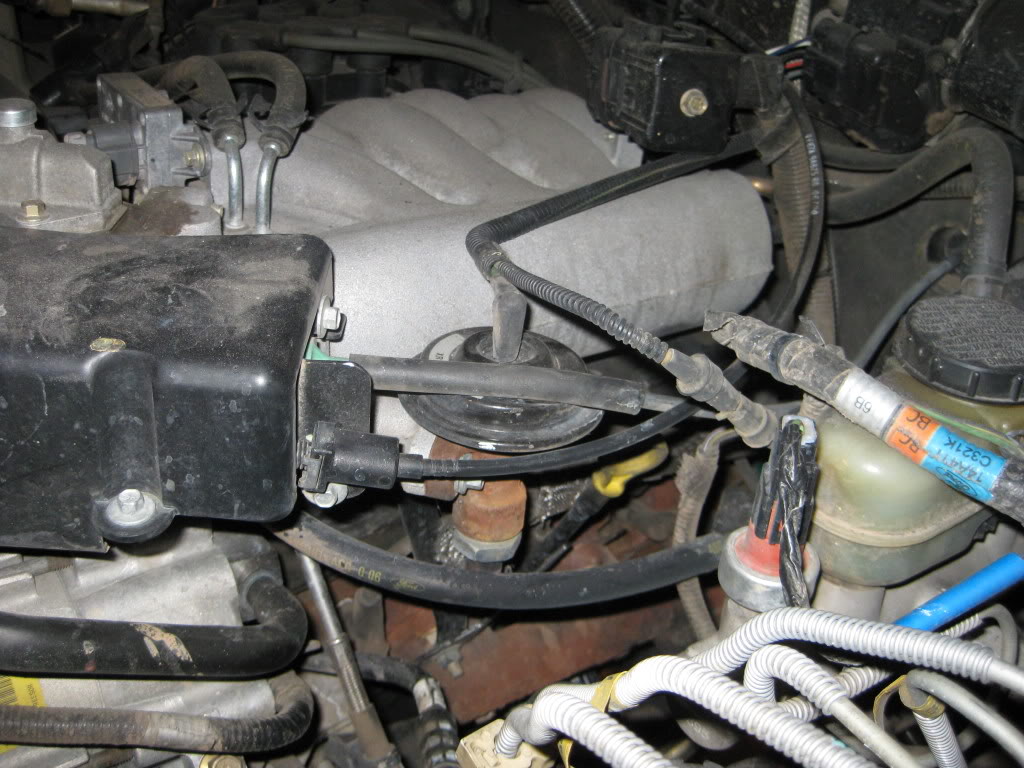
Picture of the EGR valve on the 3.0L engine that makes it impossible for me to use the engine cross brace supplied by DBR. I guess that it is custom fab time.
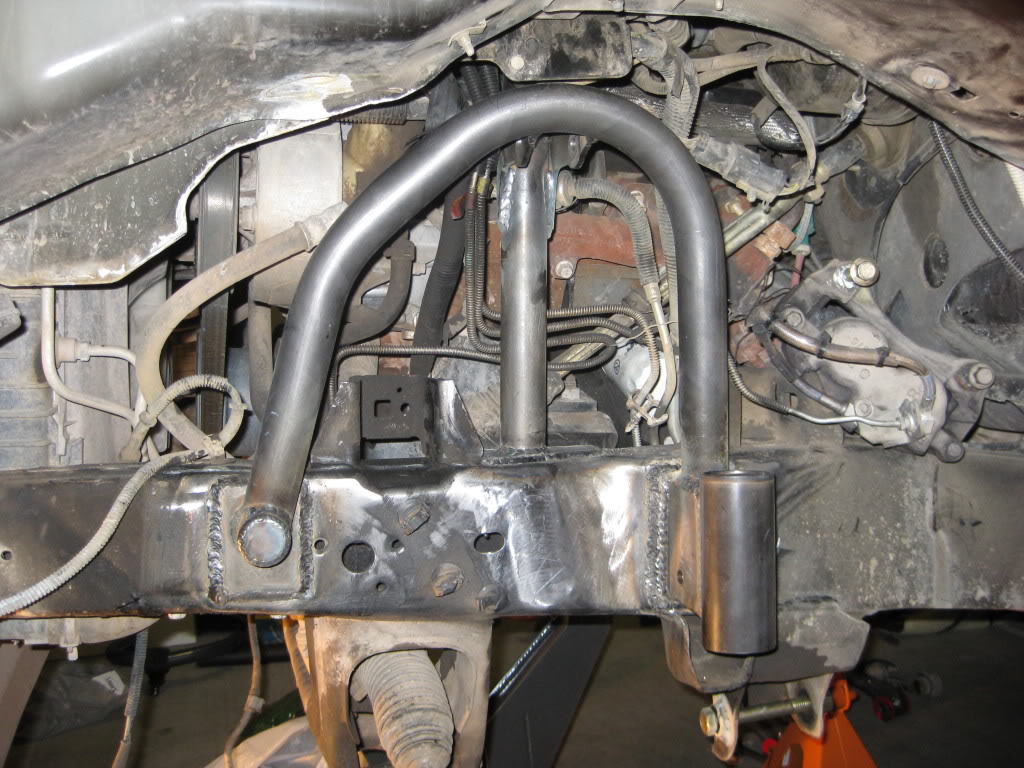
New shock hoop welded in
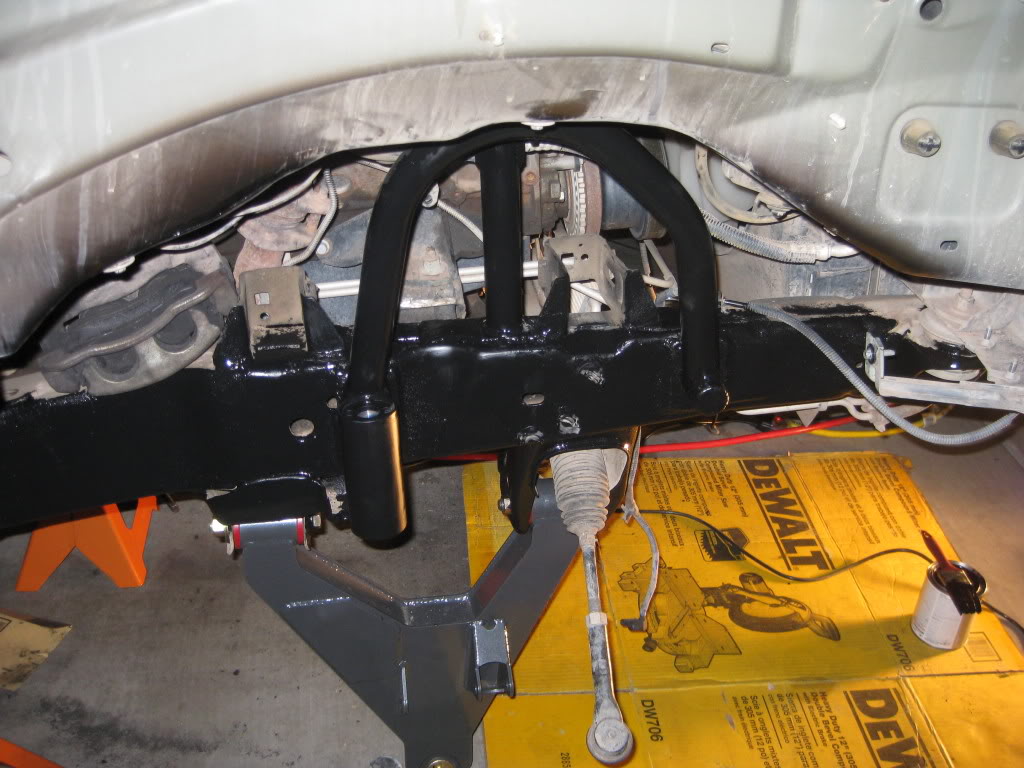
A fresh coat of paint
Shocks ready to go for tomorrow
Hopefully tomorrow i will have four on the floor.
Started the day out by removing the RCD knuckle and factory A arms, drop brackets and front differential
Picture of the stock CV axles removed
Stock A arms next to the new DBR A arms
New shock hoop
Next we removed the stock shock mount and used a grinder to remove the excess metal from the frame
Test fitting the new shock hoop
Reinforcing the lower A arm mounts with 5/16" thick universal spacers from Ballistic Fabrication
Welding in the new shock hoops
Picture of the EGR valve on the 3.0L engine that makes it impossible for me to use the engine cross brace supplied by DBR. I guess that it is custom fab time.
New shock hoop welded in
A fresh coat of paint
Shocks ready to go for tomorrow
Hopefully tomorrow i will have four on the floor.
Thread Starter
|
Member
Joined: Jun 2008
Posts: 155
Likes: 0
From: Tucson, AZ
Installation continues...
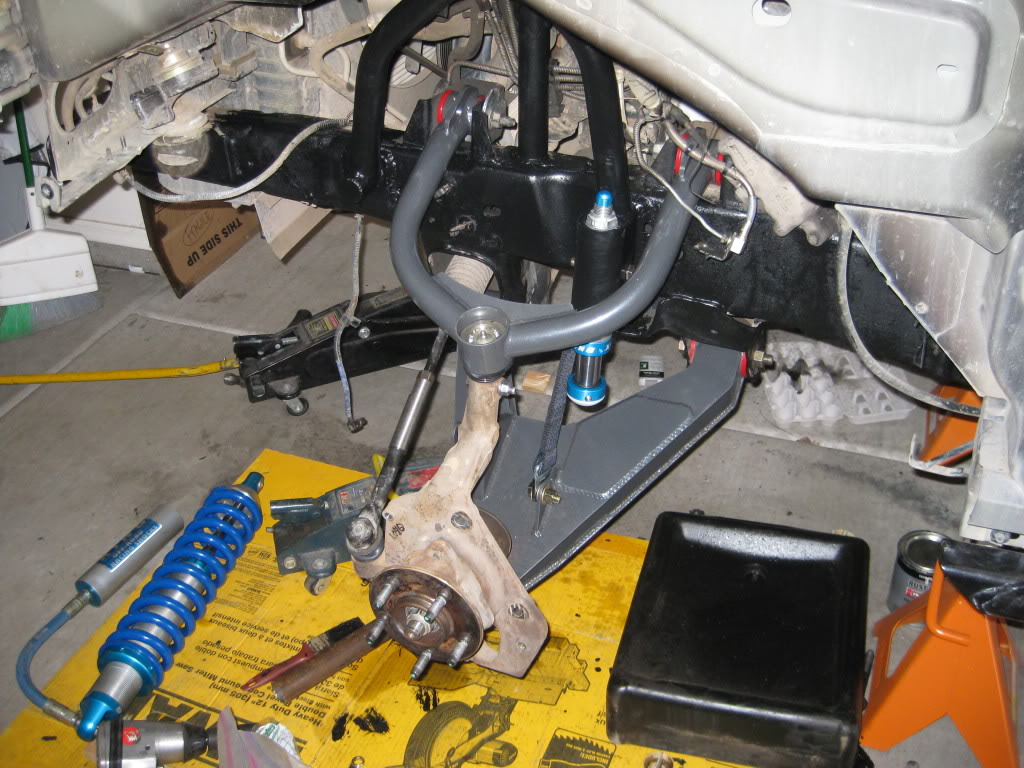
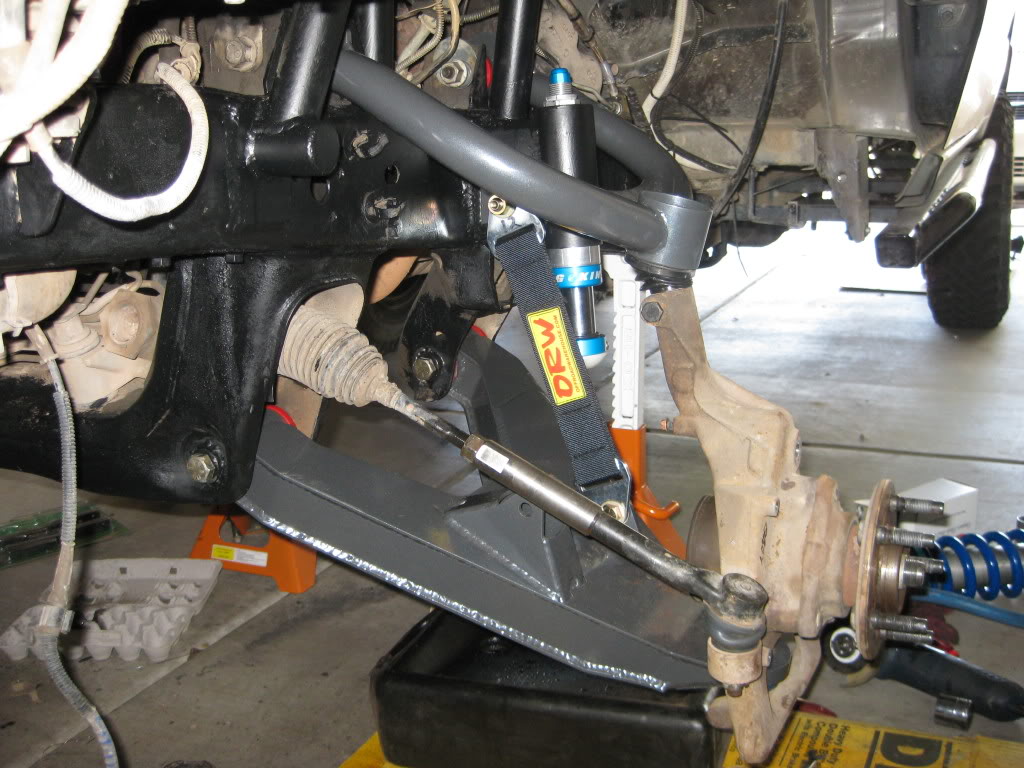
Upper and lower control arms, steering knuckle, bump stop and limit strap installed. I ordered the heim steering upgrade but it is out of stock so for now I am just running the tie rod extender.
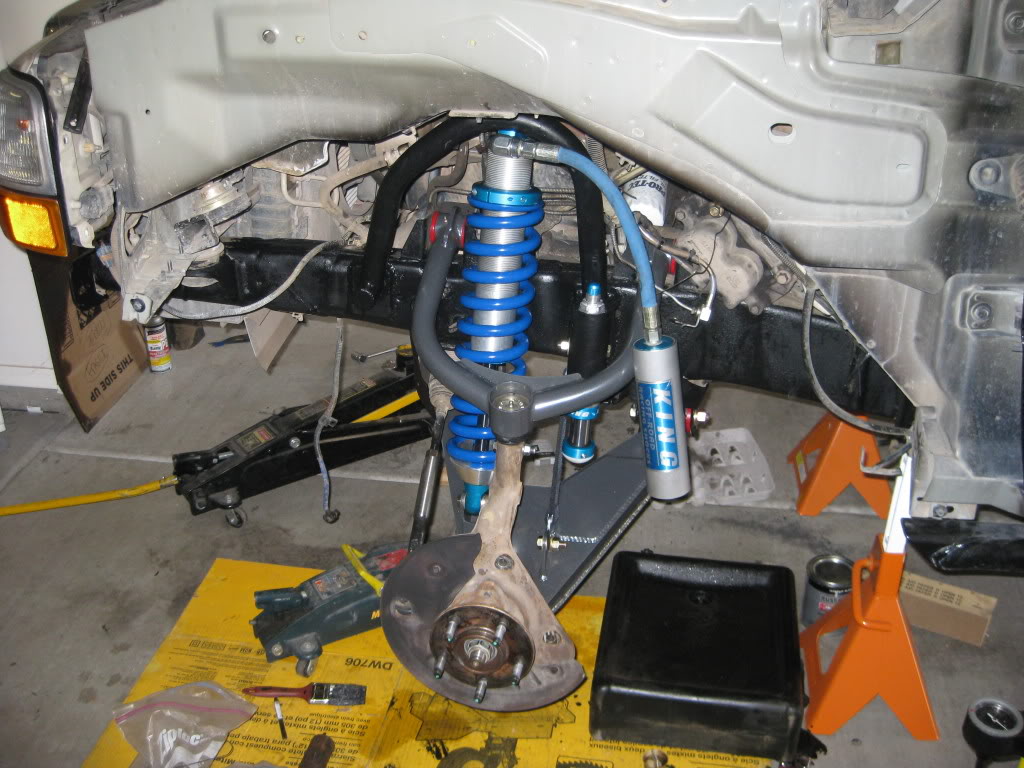
Shock installed
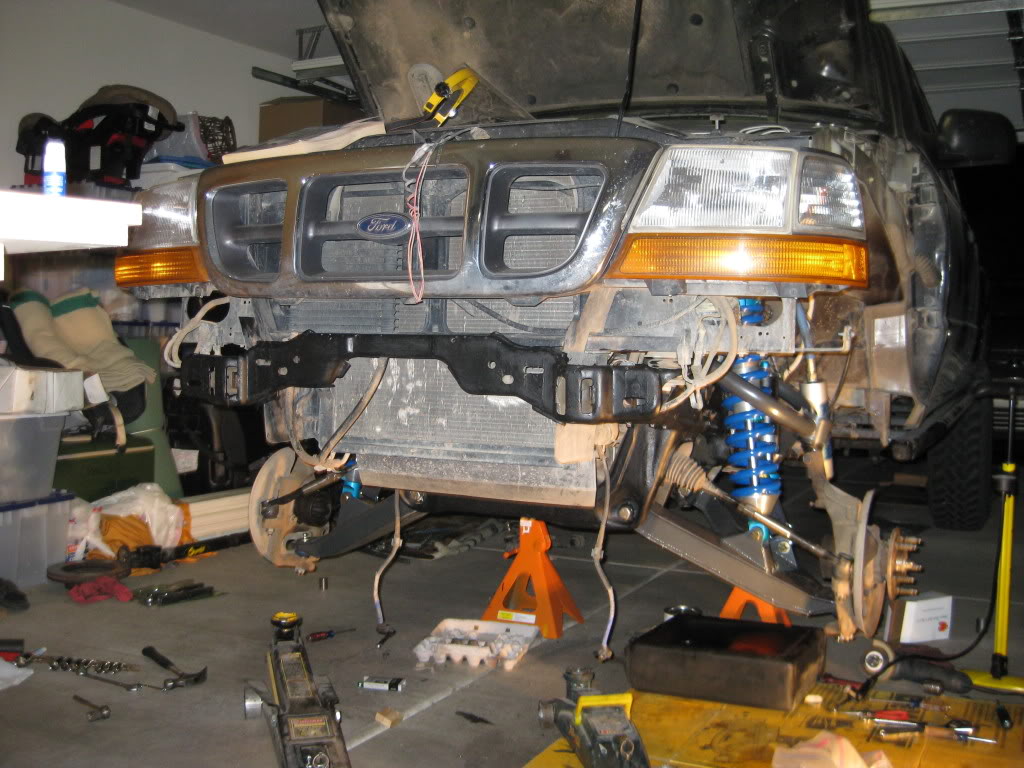
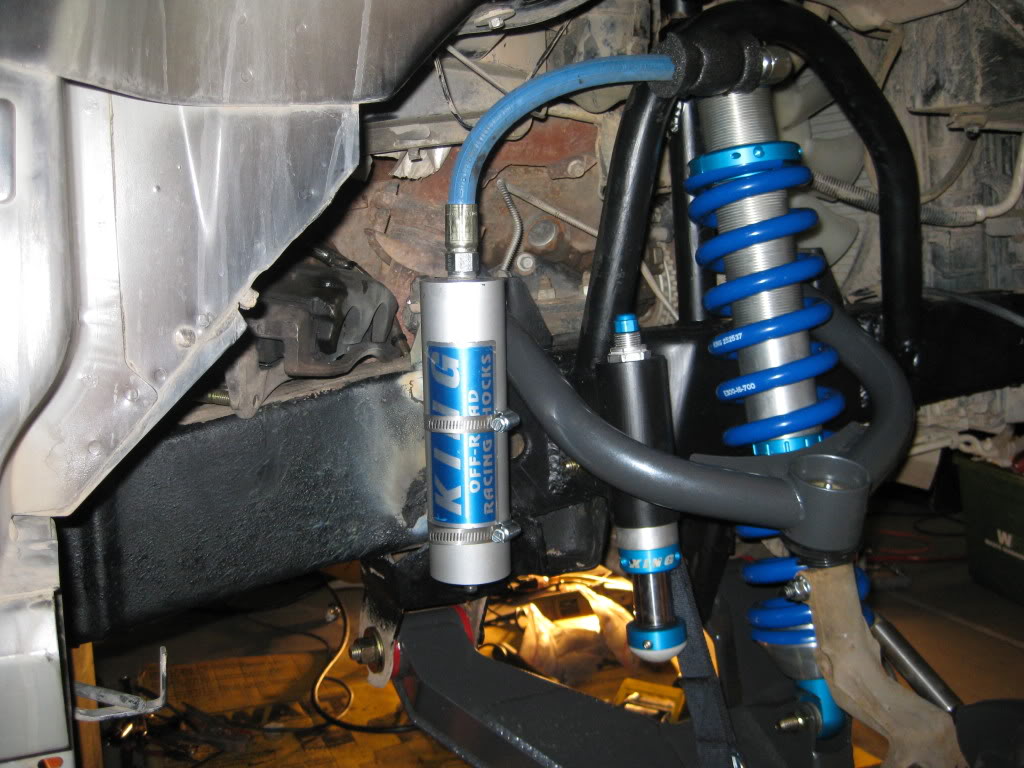
Created custom remote reservoir mounts
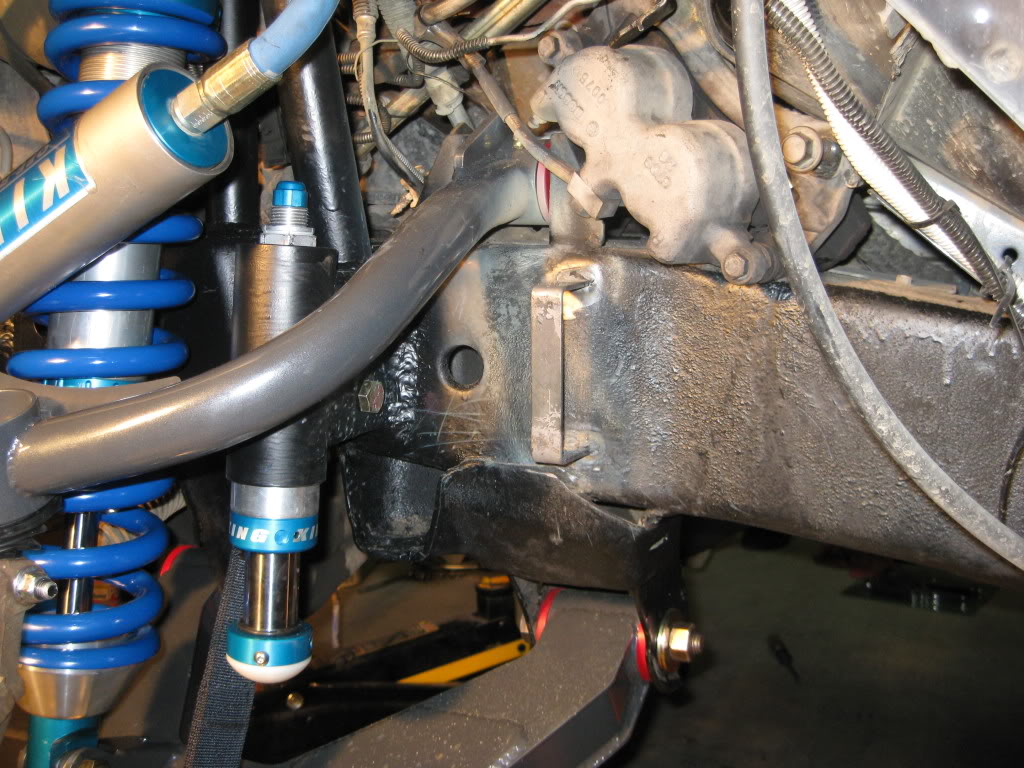
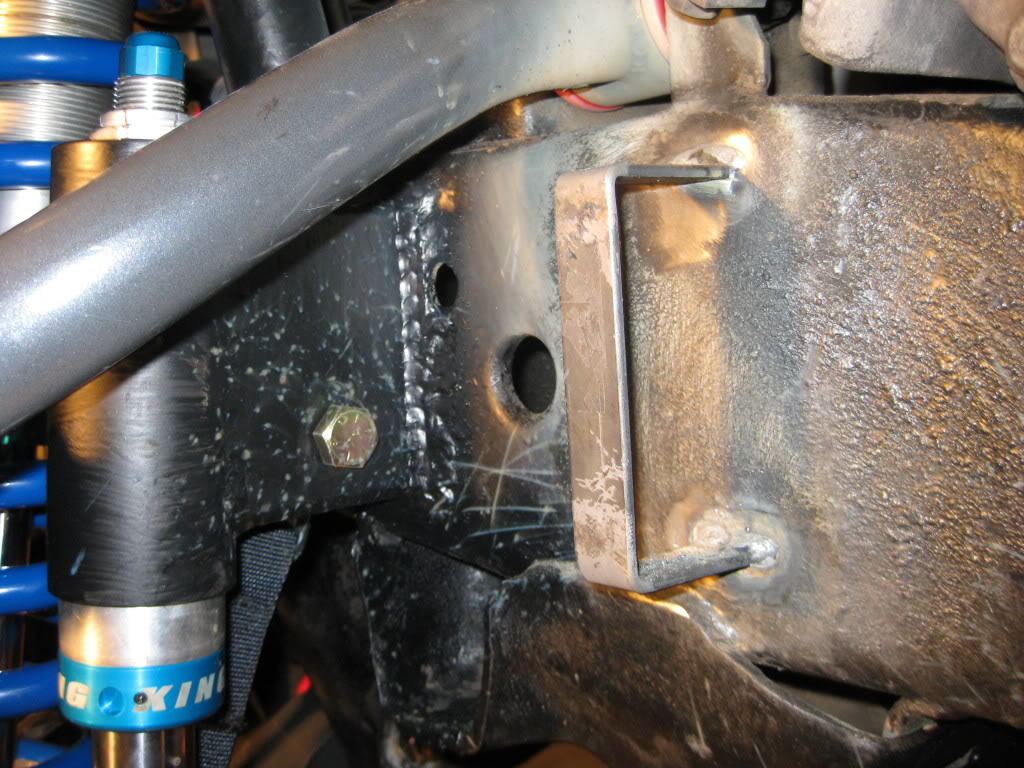
Remote reservoir mounted. I will need to repaint the frame in this location.
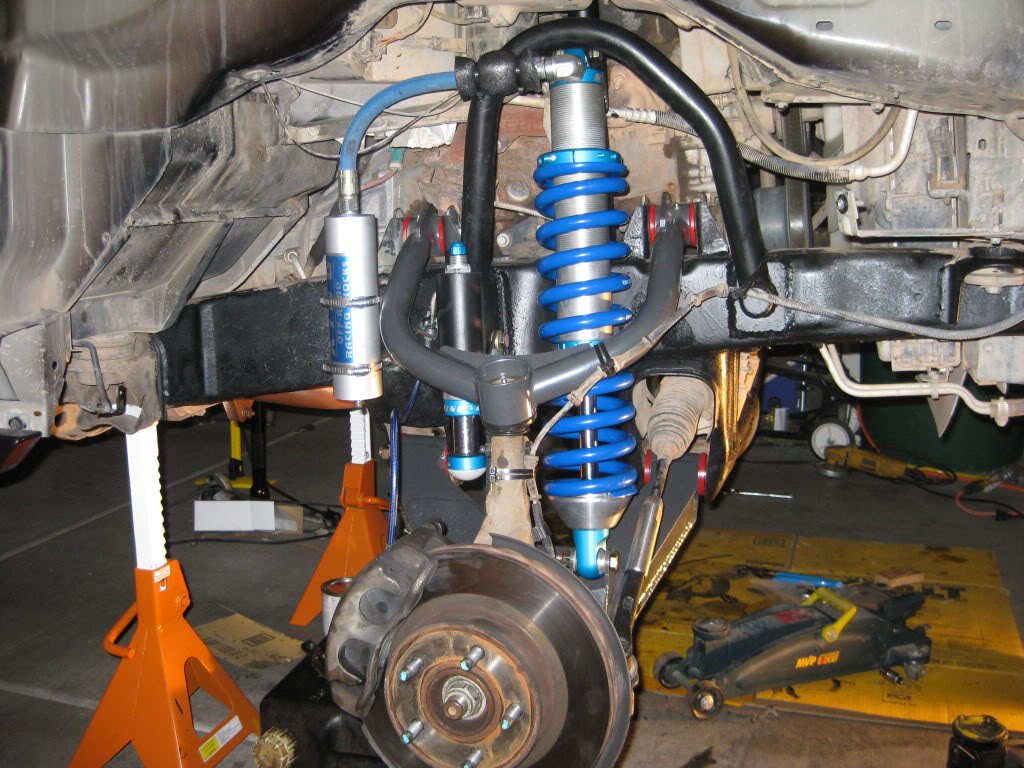
Tires mounted, near full droop with jack stands still in place
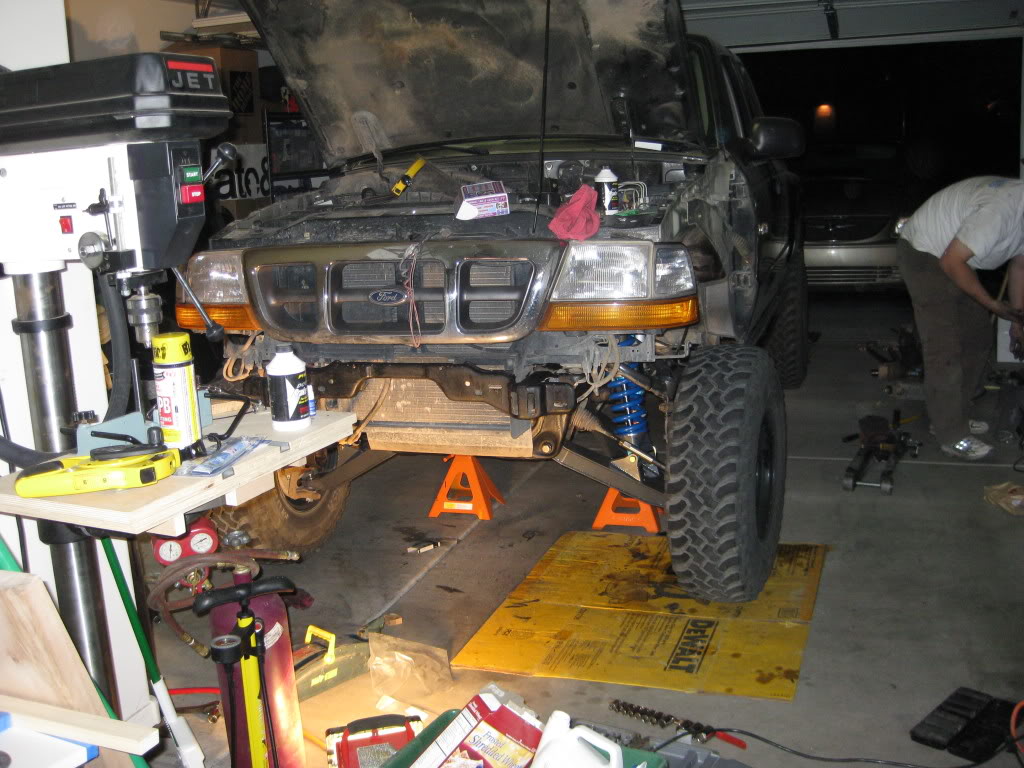
Ready to drive
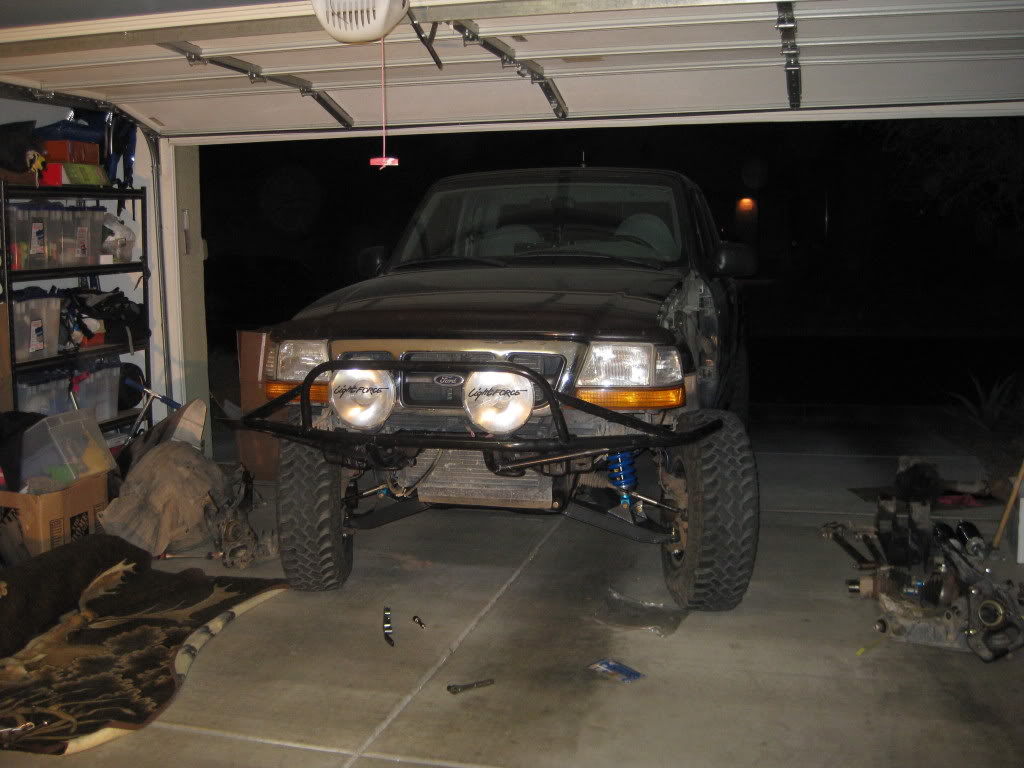
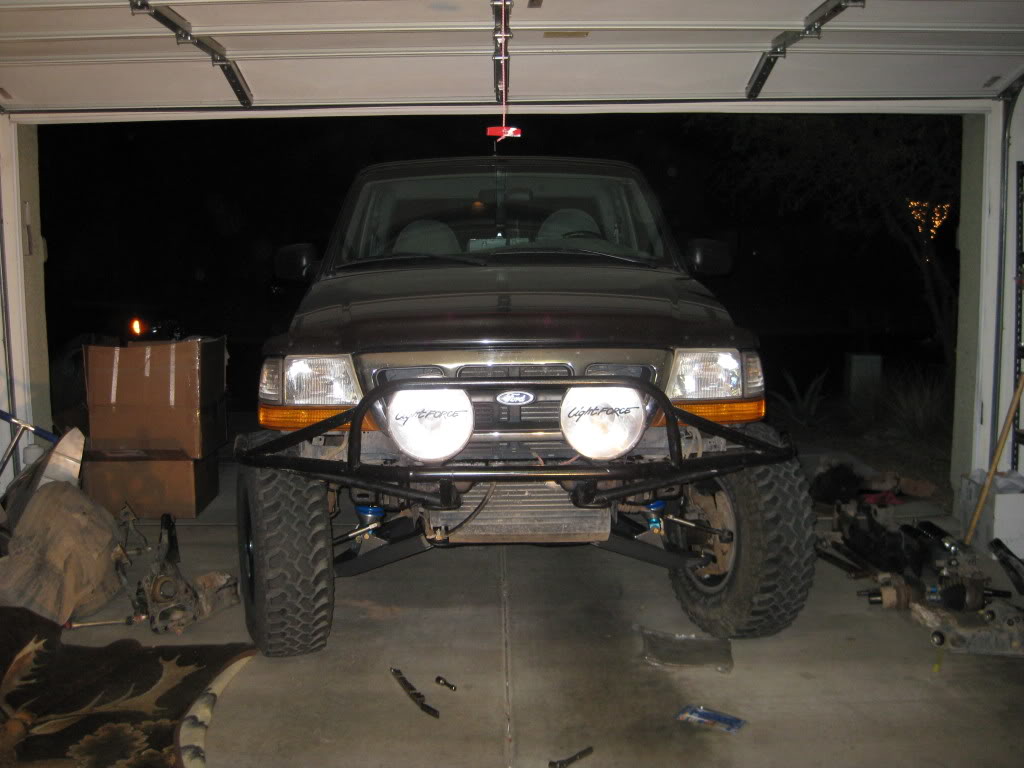
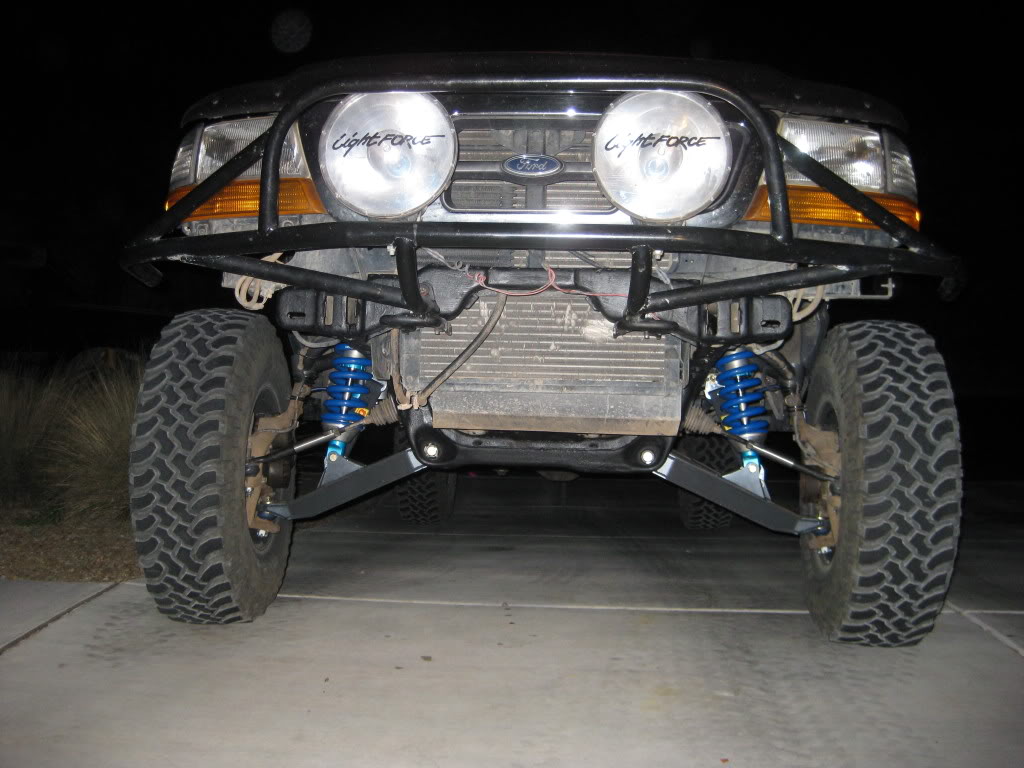
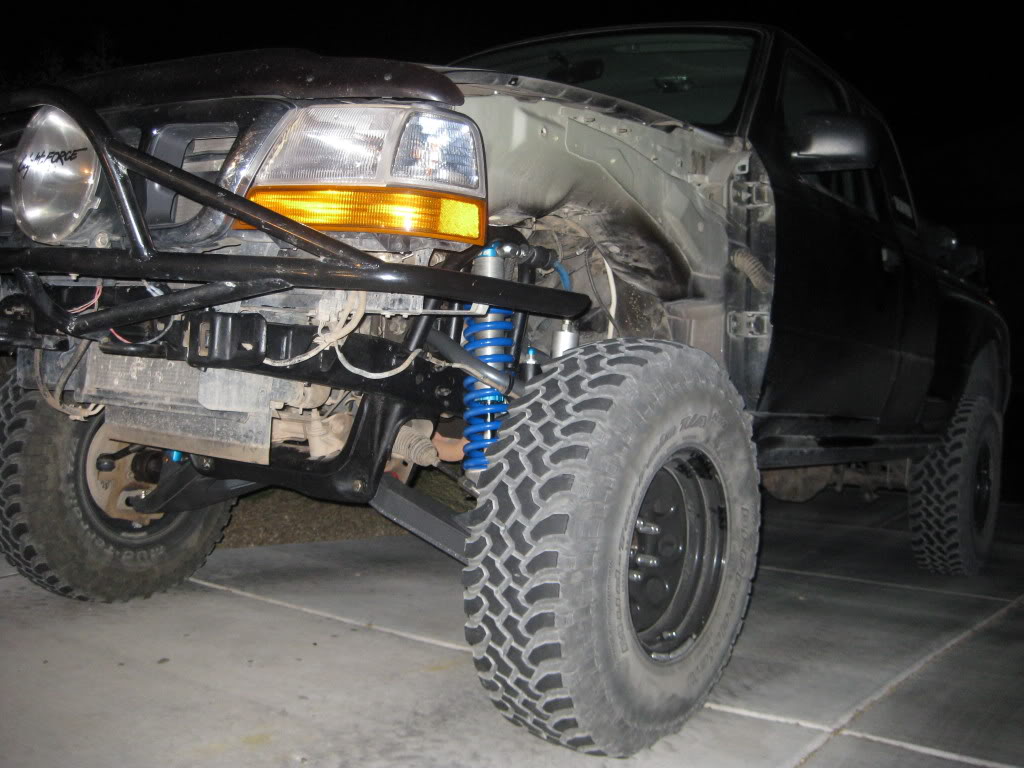
I still need to work on the alignment, as you can see the camber/caster is off by quite a bit and the truck will not self straighten out of a turn. The current ride height is similar to the RCD ride height. I started out with 1" of preload on a 16" 700# spring. I am going to back off the preload to a 1/2" inch and see how that affects the ride height and quality. Ultimately, I would like to have it set up a bit more neutral than it is right now. Fiberglass fenders are on hold for a bit until I decide who's glass to buy and what flair. I am leaning towards Glassworks 6" flair.
Upper and lower control arms, steering knuckle, bump stop and limit strap installed. I ordered the heim steering upgrade but it is out of stock so for now I am just running the tie rod extender.
Shock installed
Created custom remote reservoir mounts
Remote reservoir mounted. I will need to repaint the frame in this location.
Tires mounted, near full droop with jack stands still in place
Ready to drive
I still need to work on the alignment, as you can see the camber/caster is off by quite a bit and the truck will not self straighten out of a turn. The current ride height is similar to the RCD ride height. I started out with 1" of preload on a 16" 700# spring. I am going to back off the preload to a 1/2" inch and see how that affects the ride height and quality. Ultimately, I would like to have it set up a bit more neutral than it is right now. Fiberglass fenders are on hold for a bit until I decide who's glass to buy and what flair. I am leaning towards Glassworks 6" flair.


Member
Joined: Jan 2008
Posts: 1,100
Likes: 0
From: La Habra CA
Yes he is retaining 4wd thats what the dbr kit is built for!


