
stripped intake bolt hole
#1
 02-20-2017

Join Date: Sep 2012
Location: Ca
Posts: 115
Likes: 0
Received 0 Likes
on
0 Posts
stripped intake bolt hole
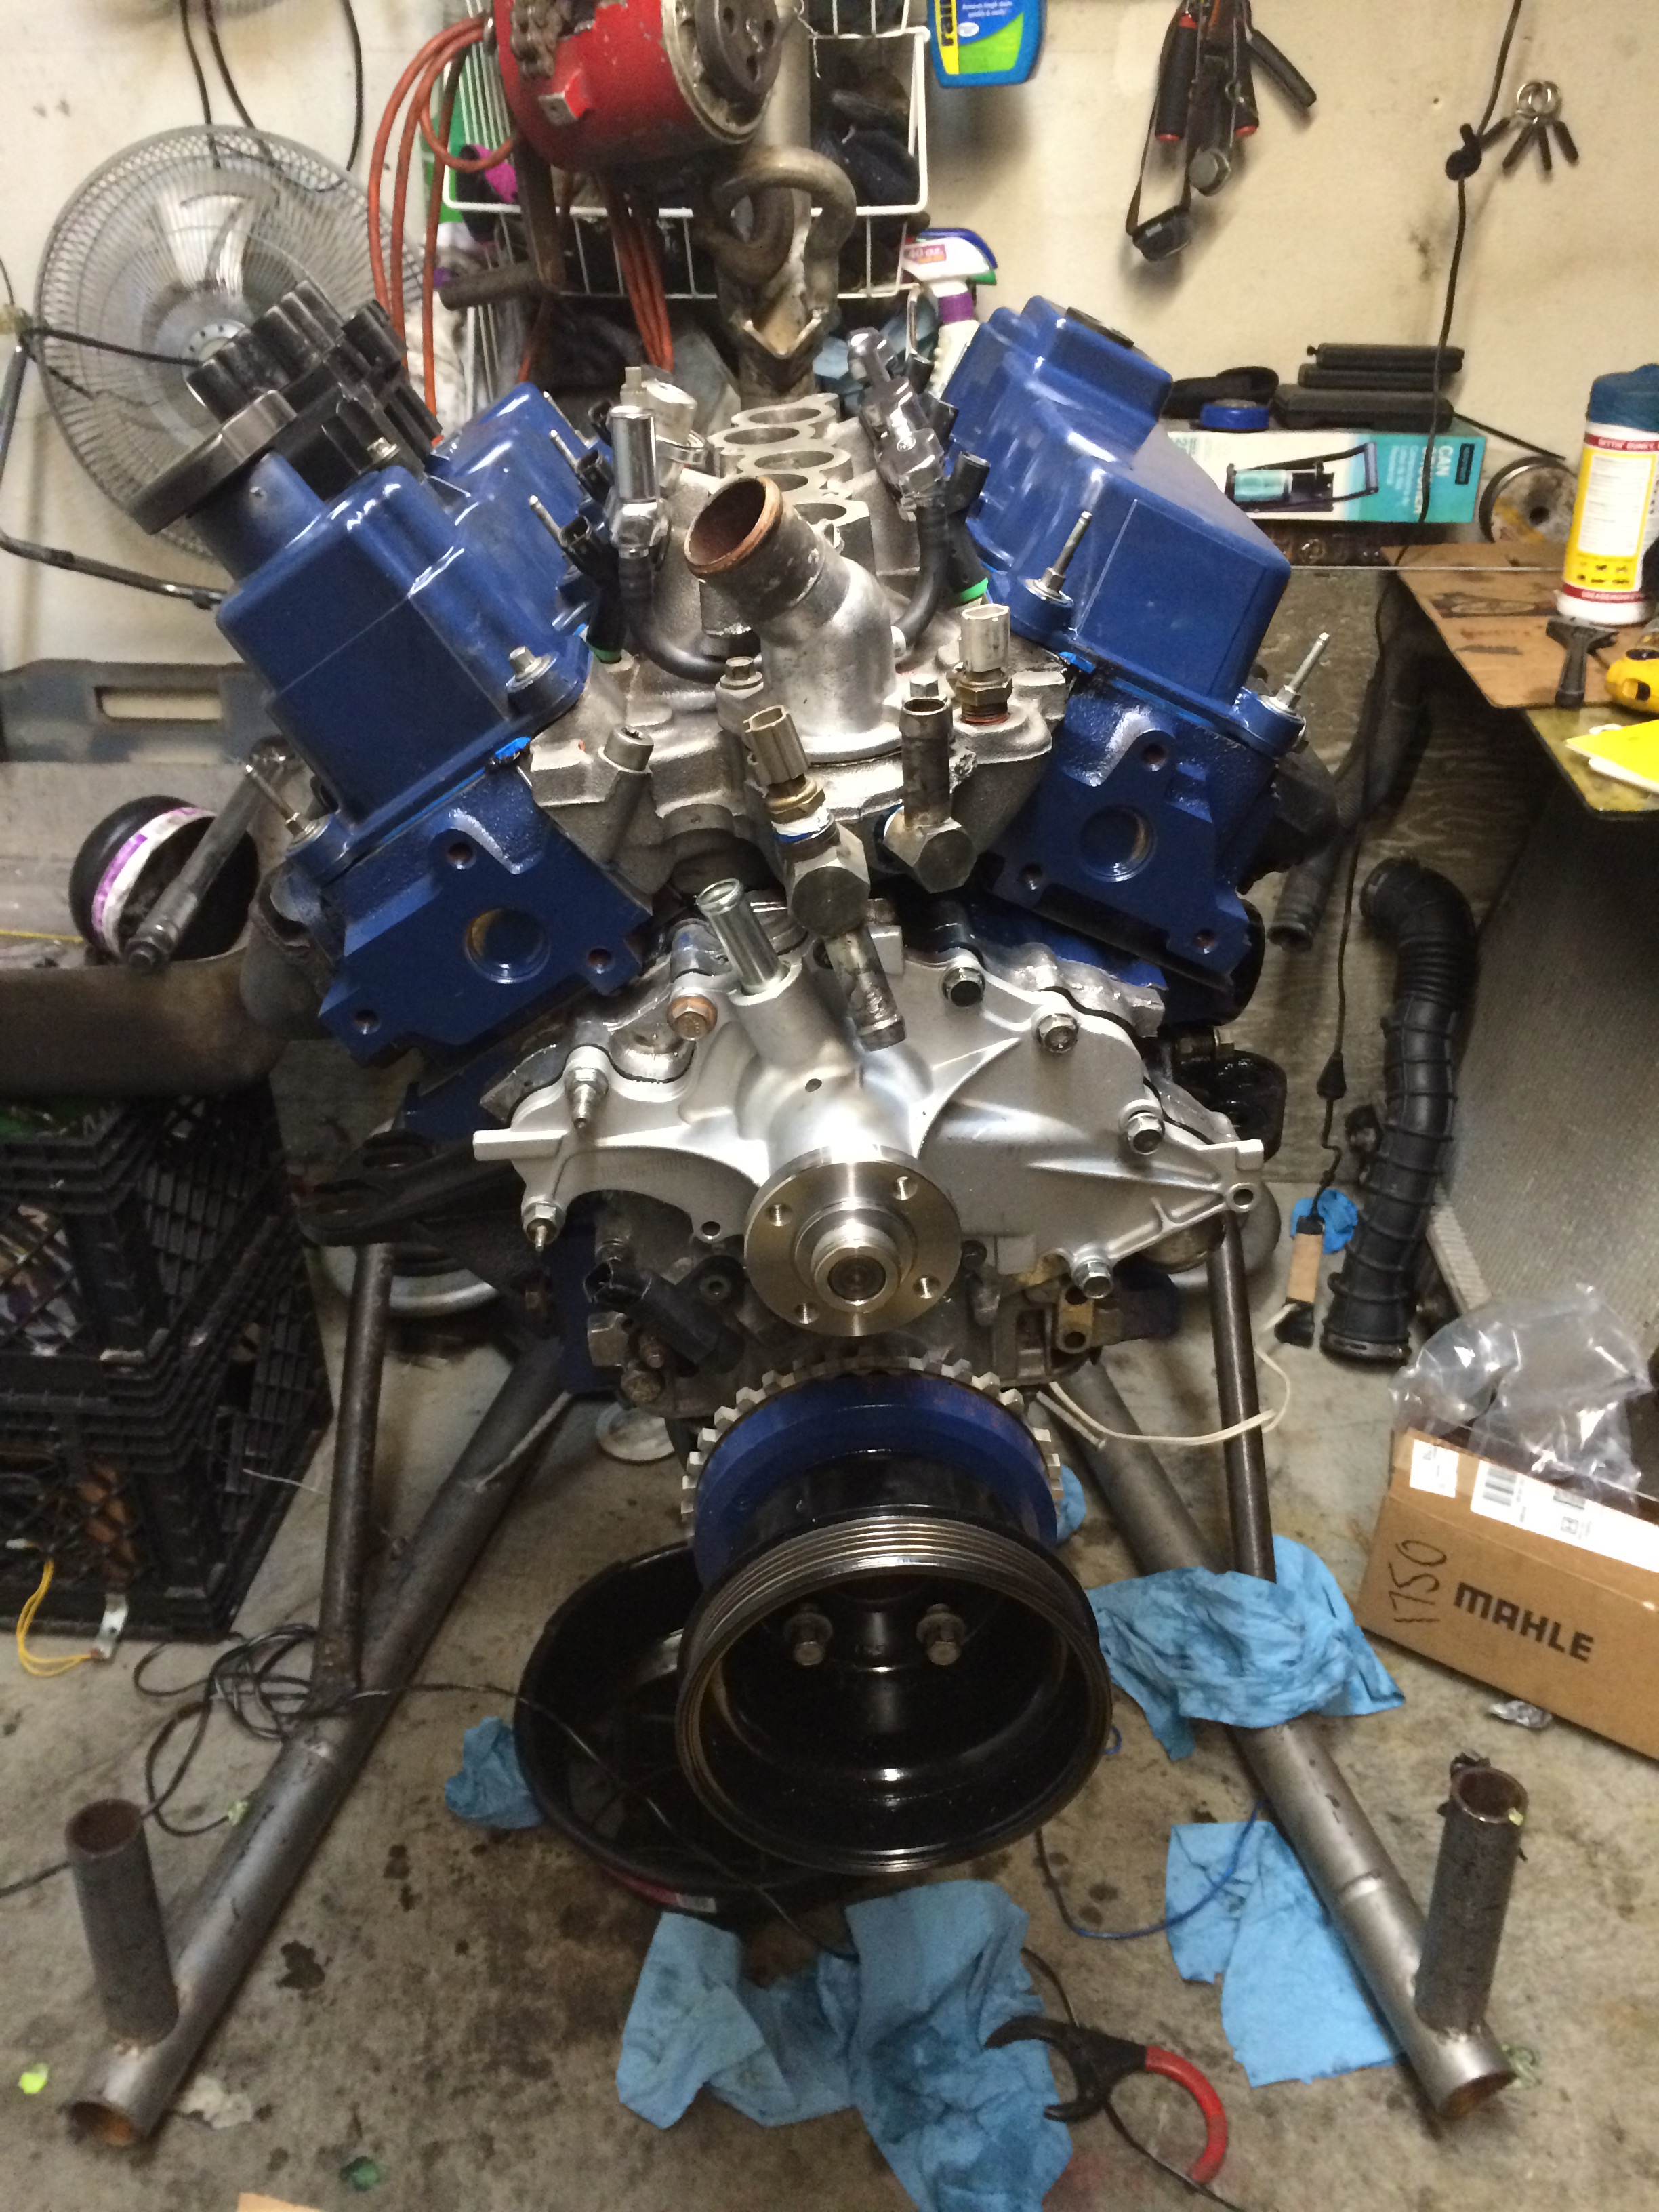
so putting the intake on for the 3rd time today.. yes 3.. first time i didnt lay the silcone in the right place.. second time i left out the lifter retainer and the third time stripped the intake bolt between cyl 2&3. so my question is how hard is the head? is it difficult to drill out and tap for a helicoil or timesert thread repair? looks like m8 20 pitch thread and it doesnt look like the hole goes all the way through i really dont want to unbolt the head and get a new gasket.
#2
02-20-2017


And the engine is a................?
You can drill and tap any metal.
You don't need to take off the head
And intake bolts are not torqued on that much so just retapping at next size up and if needed drilling out intake bolt hole for larger bolt should work fine.
Use a shorter bolt since tap can't go as deep as the hole
On my 4.0l intake bolts are 14ft/lbs so barely above hand tight
#3
02-20-2017
Join Date: Sep 2012
Location: Ca
Posts: 115
Likes: 0
Received 0 Likes
on
0 Posts
#4
02-20-2017
You have cast iron heads.
Use lots of oil, put a towel/rags down to catch oil and metal shavings.
Go straight in
Unscrew tap often to clean out the hole, small screw driver(or hex key) with magnet on shaft can help pull out the pieces.
Use the bolt you are going to use and add some washers the same thickness as the intake.
Tighten it up to 25ft/lbs to make sure it will hold at 20ft/lbs
#5
02-21-2017

GET A HELICOIL KIT! Or any coil-type thread repair kit, any label.
The kit will have a tap, several coils, and a coil insertion tool. Some kits may also include a drill. I have used these on cast iron, cast aluminum, and rolled steel, all with excellent results.
Step 1: clean the area and mask off any nearby holes or voids you want to keep free of foreign material
Setp 2: Drill out the stripped hole with drill size appropriate for the tap which is slightly larger than the original thread, usually in 32nds but may be in 64ths.
Step 3: Clean out the chips, a magnet helps with ferrous metals like iron and steel, maybe a blast from a compressed air gun or just swab with a Q-Tip or similar.
Step 3: Run the tap that came with the kit down the hole, use thread cutting oil with iron or steel, any very light machine oil with AL.
Step 4: Swab out the chips and oil with Q-tip or similar.
Step 5: Screw a coil onto the insertion tool and screw it into the hole until the end of the coil is just a tad below the surface, remove tool.
Step 6: DO NOT MISS THIS STEP!!!!! Insert a pin-punch and give the punch a deft rap with a small hammer to break off the tang on the far end of the coil.
Step 7: Remove the tang broken off the bottom end of the coil with a Q-tip of similar dipped in something sticky - a little bit of oil maybe, I like Hi-Tack gasket sealer.
DONE!!! Ready to insert the original bolt (if not damaged) or a new replacement of the original size and thread.
Have fun!
Makanak
PS: The coil will not back out. Reversing the direction causes the coil to expand inside the hole effectively jamming it in the new thread. If you really NEED to remove such a coil after it has been installed you will need a pick to pry the end of the coil inwards from the hole and sometimes it can then be pulled out with pliers, rotating CCW as you go.
Last edited by Makanak; 02-21-2017 at 10:52 AM. Reason: fix a few typos.
#6
02-21-2017

The biggest problem is drilling an accurate "square" hole in the head at that awkward angle.
That, and starting the tap squarely...
It would almost be easier to remove the head so you don't "bugger" things up.
When drilling into cast iron with an over sized bit, the bit will "grab" and pull the drill sideways.
This can be minimized by using larger incremental sizes until you work you way up to the size of the Helicoid bit.
If you have a drill press (find someone that's willing to let you use theirs).
Get yourself a chunk of hardwood (oak or maple _ maple is best) about a couple of inches thick.
Size up the piece of wood to fit comfortably in the area to where the stripped hole is.
Make sure it's big enough that it can be bolted in that same area using the other bolts that holds the lower intake manifold in place. (two bolts will be enough to hold the block of wood in place)
You want the block of wood thick enough to keep the Helicoil drill going in square.
The drill press is used to initially drill a "square" hole into the block of wood _ the block of wood is used as a "jig" to keep the drill bit from biting sideways when drilling into the cast iron.
You can use the gasket as a pattern to drill the other holes on the drill press that holds the block of wood in place.
The holes that are drilled to hold the block of wood next to the head are drilled a bit over size to give some play too align the Helicoil bit to the damaged hole.
Use the Helicoil bit to line up the hole to "centre" it and tighten down the block of wood _ you may need some washers here.
I've used this method countless times when repairing threads in awkward places when it's critical to keep the drill square to the hole.
This same method can also be used to start the Helicoil tap to keep in square when threading in.
In this case it's especially useful because you can't get the tap handle on to the end of the tap because there isn't enough room.
A wrench can be used to start the Helicoil tap or a pair of vice grips.
There are vice grips out there that don't have ''teeth" on them so as not to damage the end of the tap.
Be sure and use a heavy oil when drilling and tapping into cast iron.
An air compressor here is very useful for removing debris in the hole.
You can use a magnet as previously mentioned, but an air compressor works best with some WD-40 to clean things up.
Last edited by Jeff R 1; 02-21-2017 at 12:03 PM.
#7
02-21-2017
Good advice if you are a purist and don't trust your skill. I have never gotten anywhere near that complicated doing something like this.
Granted this is not the most "ideal" place to be working, but the head should definitely be off the block for ease. I would not attempt to do this with the head installed if I could not reach the hole comfortably. But if you take the head off it would be easy to set this up on a drill press if you have one. If you don't then as far as getting and keeping the drill "square" to the surface anyone skilled with a variable speed drill can do this without any fancy aids. The same with using the tap. I have tapped many holes when due to location and space the only tool I could use to turn the tap was a small adjustable wrench. Cylinder head bolt holes, exhaust manifold bolt holes, iron blocks, aluminum blocks, frame rails laying on my back in the dirt....
Book learning is great for detailed knowledge and can't be faulted, but book learning doesn't develop skill. Book learning can assist in developing skill, but skill is developed by doing and doing and doing and doing...
Makanak
Last edited by Makanak; 02-21-2017 at 03:10 PM. Reason: Repair some text that was lost while preparing this reply.
#8
02-21-2017
And the engine is a................?
You can drill and tap any metal.
You don't need to take off the head
And intake bolts are not torqued on that much so just retapping at next size up and if needed drilling out intake bolt hole for larger bolt should work fine.
Use a shorter bolt since tap can't go as deep as the hole
On my 4.0l intake bolts are 14ft/lbs so barely above hand tight
You can drill and tap any metal.
You don't need to take off the head
And intake bolts are not torqued on that much so just retapping at next size up and if needed drilling out intake bolt hole for larger bolt should work fine.
Use a shorter bolt since tap can't go as deep as the hole
On my 4.0l intake bolts are 14ft/lbs so barely above hand tight
But I would not butcher the head, I would use a thread-repair-coil kit so as to use the original size and thread bolt.
Makanak
#9
02-21-2017
Good advice if you are a purist and don't trust your skill. I have never gotten anywhere near that complicated doing something like this.
Granted this is not the most "ideal" place to be working, but the head should definitely be off the block for ease. I would not attempt to do this with the head installed if I could not reach the hole comfortably. But if you take the head off it would be easy to set this up on a drill press if you have one. If you don't then as far as getting and keeping the drill "square" to the surface anyone skilled with a variable speed drill can do this without any fancy aids. The same with using the tap. I have tapped many holes when due to location and space the only tool I could use to turn the tap was a small adjustable wrench. Cylinder head bolt holes, exhaust manifold bolt holes, iron blocks, aluminum blocks, frame rails laying on my back in the dirt....
Book learning is great for detailed knowledge and can't be faulted, but book learning doesn't develop skill. Book learning can assist in developing skill, but skill is developed by doing and doing and doing and doing...
Makanak
Granted this is not the most "ideal" place to be working, but the head should definitely be off the block for ease. I would not attempt to do this with the head installed if I could not reach the hole comfortably. But if you take the head off it would be easy to set this up on a drill press if you have one. If you don't then as far as getting and keeping the drill "square" to the surface anyone skilled with a variable speed drill can do this without any fancy aids. The same with using the tap. I have tapped many holes when due to location and space the only tool I could use to turn the tap was a small adjustable wrench. Cylinder head bolt holes, exhaust manifold bolt holes, iron blocks, aluminum blocks, frame rails laying on my back in the dirt....
Book learning is great for detailed knowledge and can't be faulted, but book learning doesn't develop skill. Book learning can assist in developing skill, but skill is developed by doing and doing and doing and doing...
Makanak
That whole procedure sounds complicated, but it really isn't, I just wanted to be thorough and put that option out there.
Keep in mind that the bolts are kind of long that hold the lower intake manifold in place, if the hole or tap is just a bit off, the angle will be off and it will never go in.
#10
02-25-2017
Join Date: Sep 2012
Location: Ca
Posts: 115
Likes: 0
Received 0 Likes
on
0 Posts
i ended up tapped the M8 to an M10.. i drilled the 8.5mm hole through the intake and head and then a 10mm through just the intake. pulled the head and just used a regular tap. mine wasnt cutting right so had to buy a new one and it cut threads like butter. the new bolt was the same length as the original so i shaved off 3 or 4 threads to get in all the way. well see how it goes. plan on installing tomorrow. i didnt want to pull the head since required new gaskets and head bolts.. but gave me an excuse to add a little paint


Thread
Thread Starter
Forum
Replies
Last Post


