Harvest Gold 1999 Ranger
#251
 09-07-2016


#252
09-08-2016

#253
09-08-2016
#254
09-08-2016

#256
09-08-2016
#257
09-08-2016
#258
09-08-2016
I'm hoping for Christmas I'll have a set of 3000Ks to put in my foglights. I miss the yellow.
In other news, the water pump is installed and the fan is wired in. I just need some nuts and bolts to put the Taurus fan shroud into the ranger's fan shroud. Plug it in, fuse it, and it's good to go. Pics later, tired.
However, now I have a CEL for P0118, a failing engine coolant temperature sensor. One of the symptoms is bad gas mileage. I'm going to diagnose it and post my findings once the fan is in.
#259
09-08-2016
#260
09-09-2016
Can't wait to see that console go in. It'll be cool to see what one looks like in there, plus the lighting you have planned sounds sweet! I like the idea of putting the LEDs behind the vents, way cool!
Next time you do a water pump use this spray copper gasket maker stuff. Spray the side of the gasket that mates to the block, it's sticky so you can set the gasket in place & it'll stay. Makes life easy & forms a really good seal, I've done all my water pumps this way with great results.
Next time you do a water pump use this spray copper gasket maker stuff. Spray the side of the gasket that mates to the block, it's sticky so you can set the gasket in place & it'll stay. Makes life easy & forms a really good seal, I've done all my water pumps this way with great results.
#261
09-09-2016
#262
09-10-2016

#263
09-11-2016
#264
09-11-2016
#265
09-11-2016
After a full day's work, the truck side is completely wired and loomed, ready to receive the console. I need to bolt down the floor plate and mount the wired console, still. I also need to buy some more wire loom to pretty up the console wiring.
I need to figure out a clean way to mount my switches (probably some steel). My driver's side courtesy light also needs a mount to be fabbed up still, but other than that it's basically done.
I need to figure out a clean way to mount my switches (probably some steel). My driver's side courtesy light also needs a mount to be fabbed up still, but other than that it's basically done.
#266
09-11-2016
#267
09-11-2016
#268
09-11-2016
#269
09-11-2016
Yeah, mine's going to hug the dash too. 1/4-20 bolts (six in total) sticking through the floor pan to hold that rear end down.
Gotta say though, my father's 2nd gen console is really sturdy. Bolted to the dash and the rear of the console is bolted directly to the floor. No brackets, nothing. Just straight through with washers and bolts.
Gotta say though, my father's 2nd gen console is really sturdy. Bolted to the dash and the rear of the console is bolted directly to the floor. No brackets, nothing. Just straight through with washers and bolts.
#270
09-12-2016
X2 ... Are you going to try to power through this thing tonight and get it done. Or are you just going to say f*** it and finish it up later?
#271
09-12-2016
I finished it up a couple of hours ago. I'm letting my dinner settle then I'm going to take some more photographs. I need to wash and repair the lid yet and create a switch panel for the console, but it's basically done at this point.
I love having a tap and dye set though. I wanted to use 1/4-20 bolts, but I couldn't find any that were threaded the entire length. With the right size dye I was able to make it full threaded with ease.
Sometime soon I need to go to harbor freight and get 1/2 inch split loom and some more 3/8ths split loom, too.
Tomorrow I'm also going to get a can of belt dressing and possibly a dayco quiet belt. This valuecraft belt is the hardest thing to keep quiet. I'll keep the valucraft as a spare, though.
#272
09-12-2016
Picture dump!
I'll go over the electric fan after I take it back out to cut some bolts and take more pictures. But for now, here's a teaser. Who needs a holder when you have a sawzall?

The console isn't 100% complete, more like 80%. I'm repairing the cracked lid and also cleaning the grime off it, still. Whoever owned that expo was a filthy person.... Bleh. I also need to fab up a switch plate, as well as work on getting a non-faulty door lock switch of some kind. If anyone has any suggestions for plate ideas, be more than happy to share. I'm drawing a big, fat, blank. And yeah, I know, my harness won't win a beauty competition, but it's as perfect as my skillset can permit.


I'll go over the electric fan after I take it back out to cut some bolts and take more pictures. But for now, here's a teaser. Who needs a holder when you have a sawzall?
The console isn't 100% complete, more like 80%. I'm repairing the cracked lid and also cleaning the grime off it, still. Whoever owned that expo was a filthy person.... Bleh. I also need to fab up a switch plate, as well as work on getting a non-faulty door lock switch of some kind. If anyone has any suggestions for plate ideas, be more than happy to share. I'm drawing a big, fat, blank. And yeah, I know, my harness won't win a beauty competition, but it's as perfect as my skillset can permit.
#274
09-12-2016
To mount the console, I used six, 1/4 - 20 bolts with fender washers for a wide footprint. Very sturdy. The only bolts I could find with a hex head were not threaded all the way to the head, but I managed to take care of that with a 1/4-20 die and some cutting oil.
The blue lights were relocated under the dash to shine out onto your feet. The passenger side had a metal plate with nothing behind it that only serves as a place that a relay clips onto. Prime realestate for the light. On the driver's side, I fabbed up a simple plate with two holes that sandwiches in between the plastic cover and the hood latch switch, accomplishing the same thing.
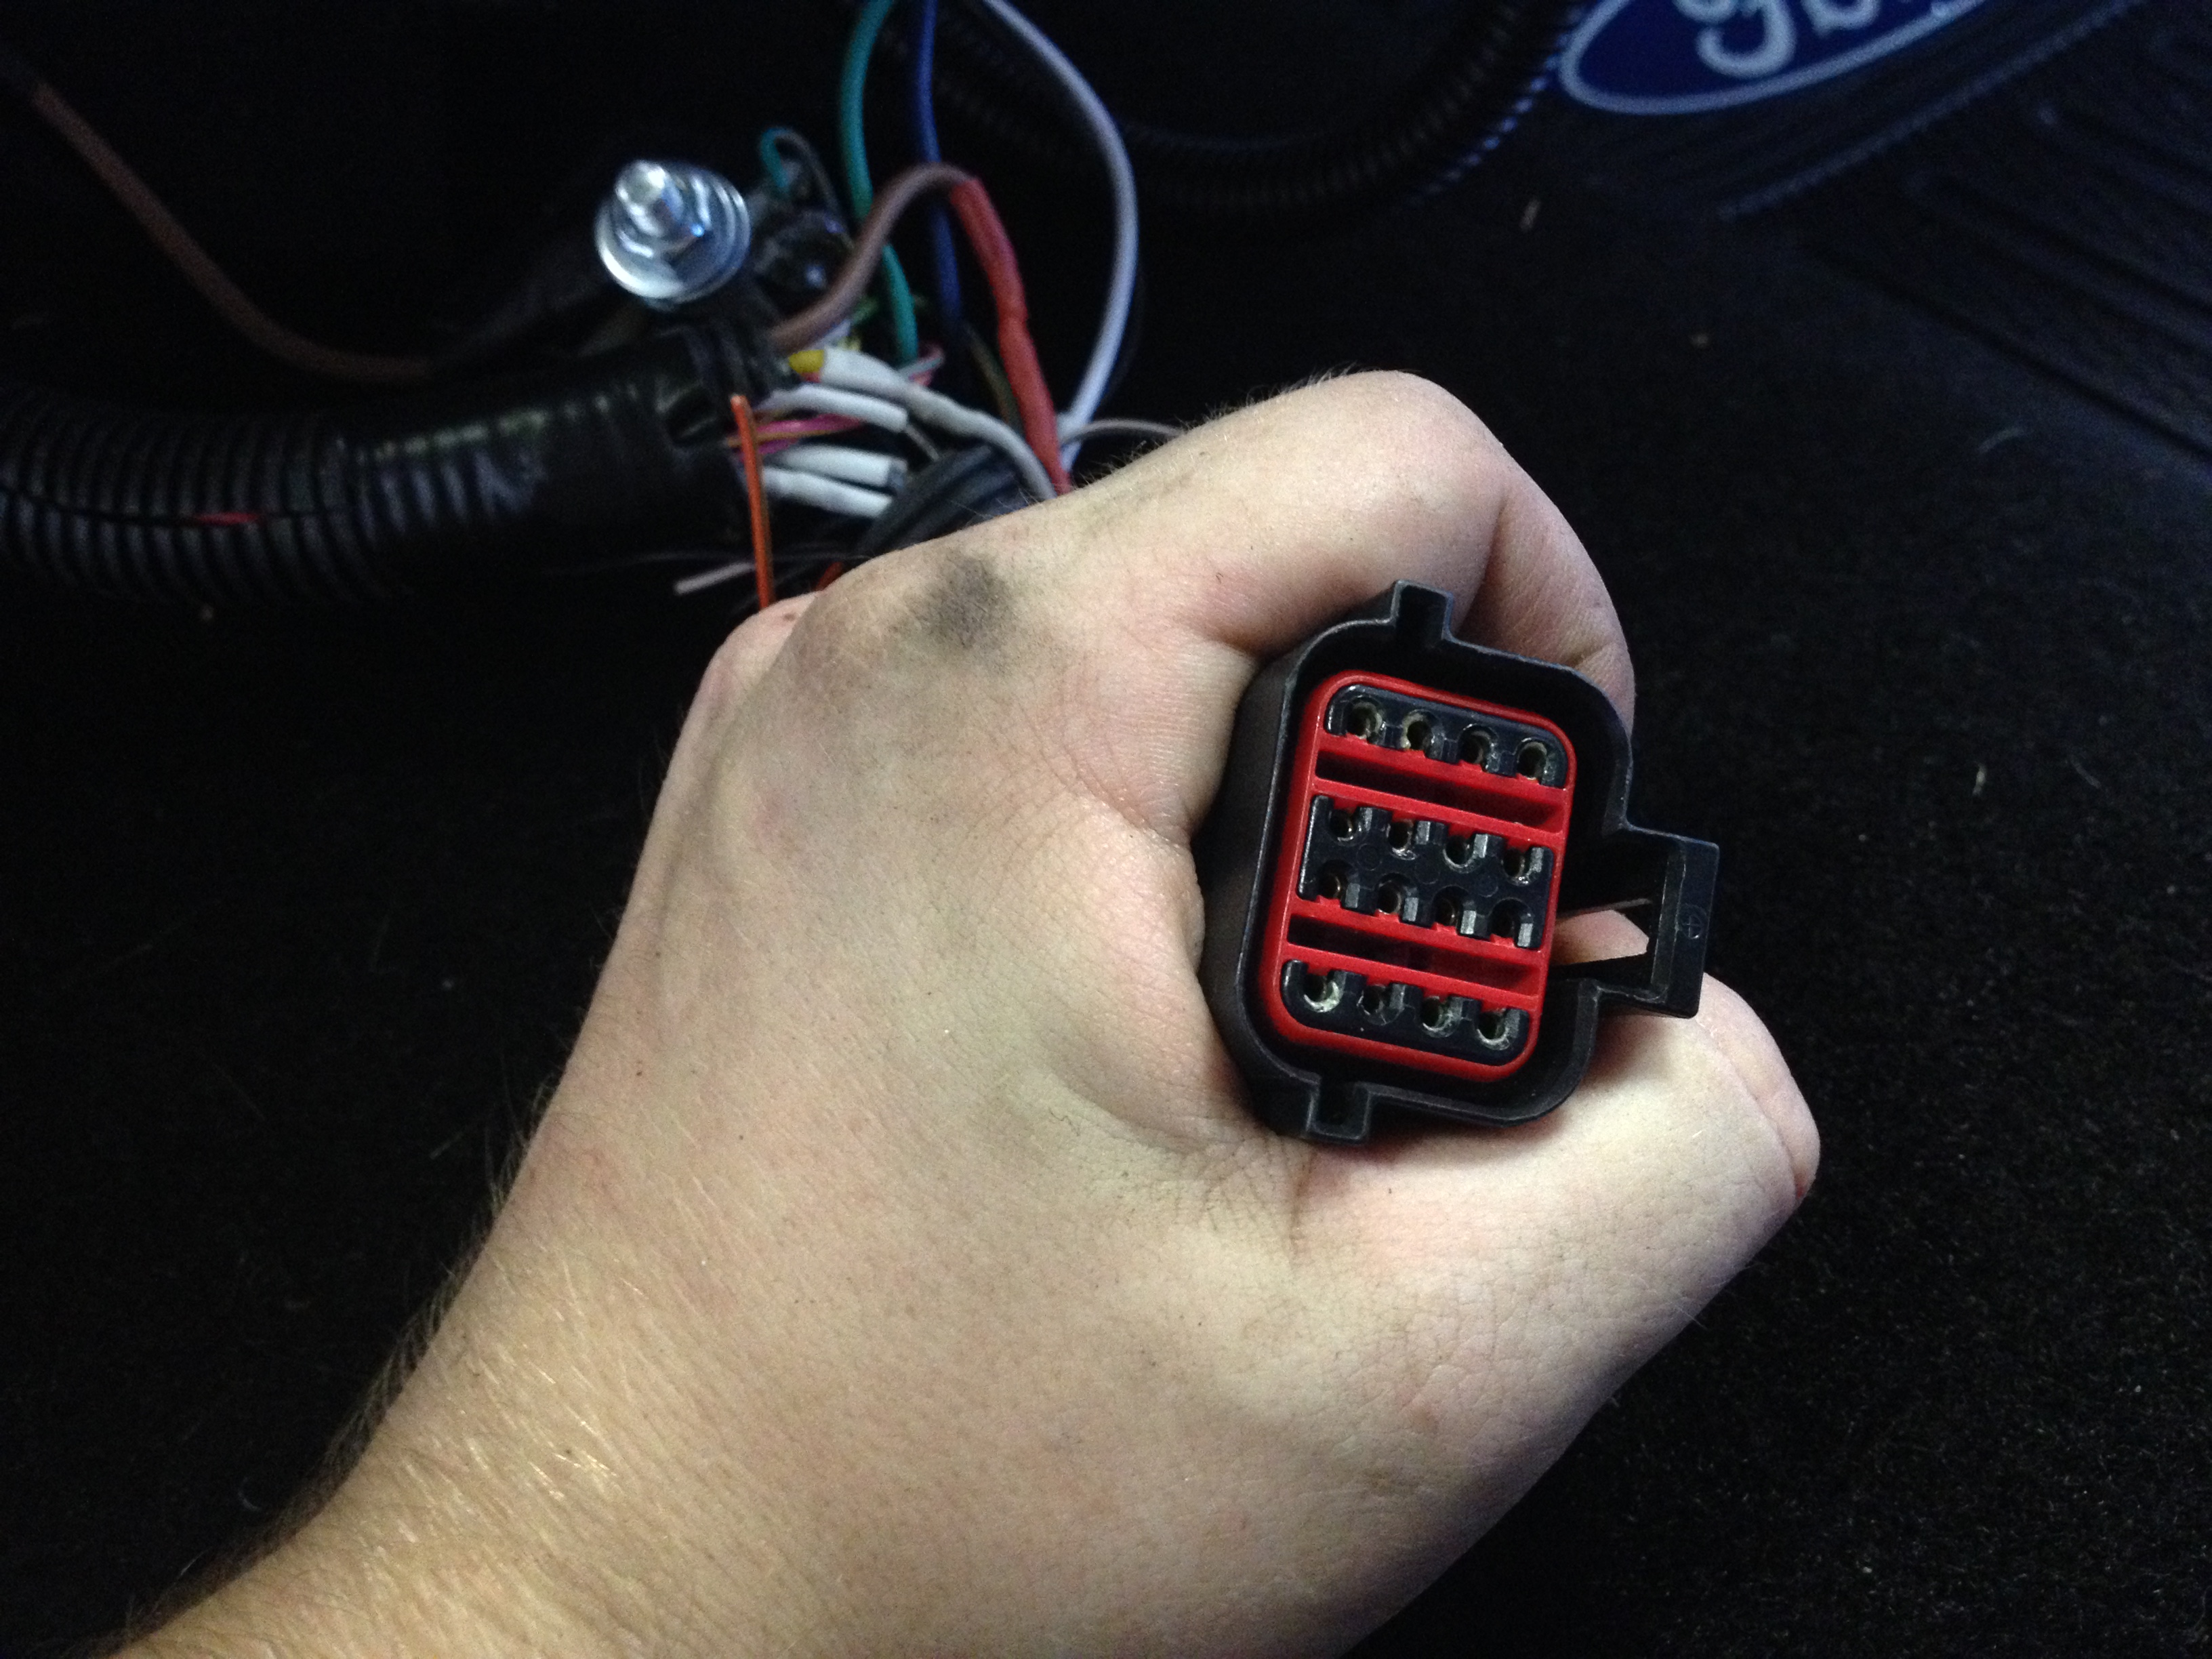
The plug you see lying there had to have wires added to it to support my needs. Not the prettiest, but it's secure and not a rat's nest, so that has to count for something.
It was a bit difficult to get the seats in due to the wider console, but with a little effort, they both bolted in secure. I mistakenly did not picture the inside console light which is just a 3/4 grommet style marker light, just like my blue courtesy lights except in amber. I purchased it at rule king for around 5 dollars. It comes on with the dash lights just like the six blue LEDs as in the second gen console.
Later, it is my plan to reuse my RGB strips to shine out of the vents on the side of the console, however I'm not sure if I will be able to accomplish this. I'll figure something out for them, though. Perhaps I can stick them up in the overhead console. Who knows, either way they will make their way back into the truck. I love those strips.
Speaking of strips, I've removed the rear jumpseat lights as they weren't holding up. The wiring is still there for them, but the strips themselves are removed, should I try something else later.
Also, don't mind the back not being snapped on in the photos taken. It was sitting out to try after a thorough washing. It is now installed.
You may have noticed the lack of a door lock switch. The power locks will return, I just need a game plan. I wired the locks in parallel so one switch controls both doors. I found it unnecessary for the doors to be independent. I'm looking for a non-oem momentary rocker switch. I found my setup to be faulty, which made them not want to work at times, which is a major PITA.
For the center console lid, I'm considering wrapping the lid in black denim (or other black fabric) to break up the tan a bit. Any thoughts?
In other news, if you haven't seen my latest thread, I'm battling my 200 miles out of a tank issue. For some reason, under all conditions, my Ranger cannot pull more than 200 miles out of a single tank. I'm diagnosing the issue(s) with the help of other members. A 'thank you' to JeffR1, Cheese_man, BlackRanger04, and RonD to responding to that thread. You've been a huge help. If I missed your name, I apologize and I will add it to
the line above.
Thank you! It's very quiet. It only made a little noise when I shook it, and that was mostly the stuff inside the console. I need an organizer or something for it, really. I'm going to run over to autozone and grab that belt when I get a minute. My new spark plug wires and my new autolite 103 copper spark plugs should be in tomorrow, so I'll install those and I'm going to gather a new sample run with my OBDII software on oscilloscope mode, see how the engine runs.
The blue lights were relocated under the dash to shine out onto your feet. The passenger side had a metal plate with nothing behind it that only serves as a place that a relay clips onto. Prime realestate for the light. On the driver's side, I fabbed up a simple plate with two holes that sandwiches in between the plastic cover and the hood latch switch, accomplishing the same thing.
The plug you see lying there had to have wires added to it to support my needs. Not the prettiest, but it's secure and not a rat's nest, so that has to count for something.
It was a bit difficult to get the seats in due to the wider console, but with a little effort, they both bolted in secure. I mistakenly did not picture the inside console light which is just a 3/4 grommet style marker light, just like my blue courtesy lights except in amber. I purchased it at rule king for around 5 dollars. It comes on with the dash lights just like the six blue LEDs as in the second gen console.
Later, it is my plan to reuse my RGB strips to shine out of the vents on the side of the console, however I'm not sure if I will be able to accomplish this. I'll figure something out for them, though. Perhaps I can stick them up in the overhead console. Who knows, either way they will make their way back into the truck. I love those strips.
Speaking of strips, I've removed the rear jumpseat lights as they weren't holding up. The wiring is still there for them, but the strips themselves are removed, should I try something else later.
Also, don't mind the back not being snapped on in the photos taken. It was sitting out to try after a thorough washing. It is now installed.
You may have noticed the lack of a door lock switch. The power locks will return, I just need a game plan. I wired the locks in parallel so one switch controls both doors. I found it unnecessary for the doors to be independent. I'm looking for a non-oem momentary rocker switch. I found my setup to be faulty, which made them not want to work at times, which is a major PITA.
For the center console lid, I'm considering wrapping the lid in black denim (or other black fabric) to break up the tan a bit. Any thoughts?
In other news, if you haven't seen my latest thread, I'm battling my 200 miles out of a tank issue. For some reason, under all conditions, my Ranger cannot pull more than 200 miles out of a single tank. I'm diagnosing the issue(s) with the help of other members. A 'thank you' to JeffR1, Cheese_man, BlackRanger04, and RonD to responding to that thread. You've been a huge help. If I missed your name, I apologize and I will add it to
the line above.
Thank you! It's very quiet. It only made a little noise when I shook it, and that was mostly the stuff inside the console. I need an organizer or something for it, really. I'm going to run over to autozone and grab that belt when I get a minute. My new spark plug wires and my new autolite 103 copper spark plugs should be in tomorrow, so I'll install those and I'm going to gather a new sample run with my OBDII software on oscilloscope mode, see how the engine runs.
#275
09-12-2016


