Project: Paint Prep


Got a little more glass work done. Ran out of mat today, so I had to stop. Started sanding on the other side and it looks like all is going to work out well. Just a skim coat of filler and it should be good.
also, i just bought a charcoal grey steering wheel for my truck. That's one less piece of black plastic in there. now if i could find some billet interior door handles.
also, i just bought a charcoal grey steering wheel for my truck. That's one less piece of black plastic in there. now if i could find some billet interior door handles.

yeah, i did my install. there was a write up on rps. not sure if it's still there or not though.
http://www.rangerpowersports.com/for...unroof-install.
pics can be seen here:
http://s35.photobucket.com/albums/d1...anger/sunroof/
http://www.rangerpowersports.com/for...unroof-install.
pics can be seen here:
http://s35.photobucket.com/albums/d1...anger/sunroof/
you and me both! will try to get some more glass work done tomorrow. then should be able to start rough sanding everything. once everything is roughed out, then i'll go ahead and mount the lights. so maybe by next weekend.


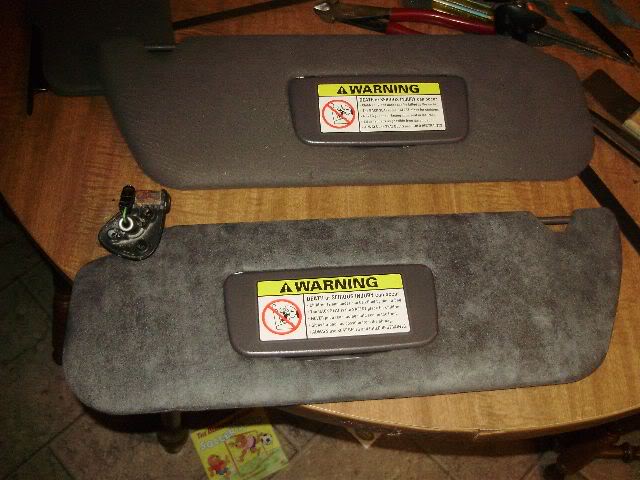
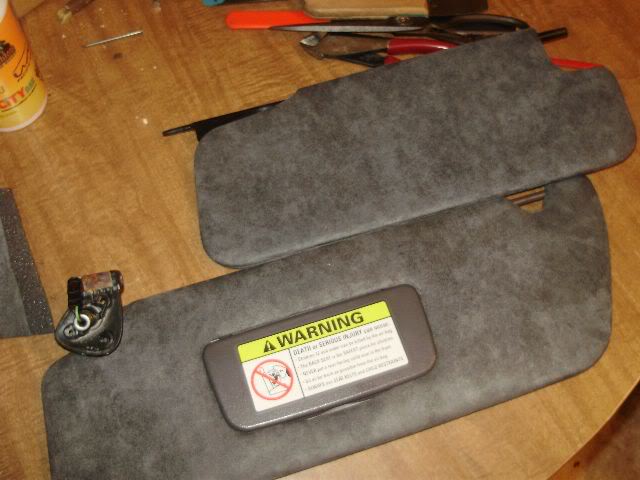
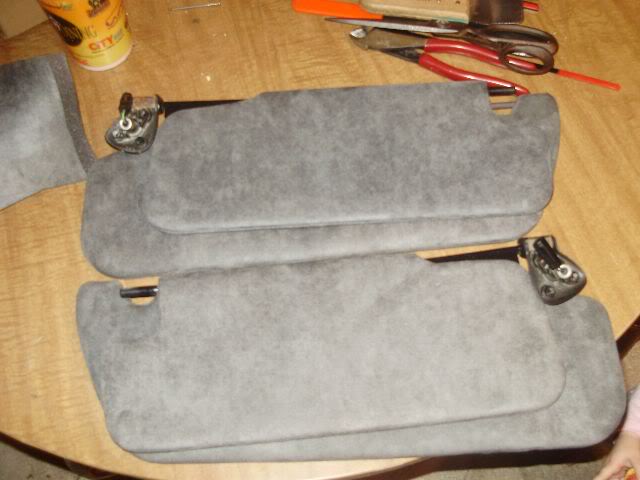
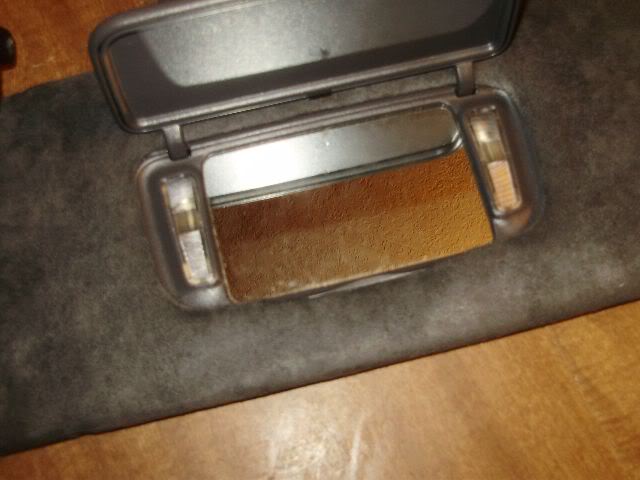
carpet is what goes on the floor and door panels. that's suede. huge difference. and for the 100th time, the yellow suede is being replaced by the same charcoal suede that i just put on the visors.
Sorry, must have missed that. I was skimming most of the thread and probably just overlooked it
got a little work done this morning. thought i was close, but found out i still need some more fiberglass. trimmed down the sides so i could get the tailgate on and check the contour. driver side needs some work:

passenger side looks better. needs just a touch more towards the middle of the light:

so then decided i need to mount the roll pan to check the contour:


contour looks good. matches the gate well, and looks like the bottom corners are going to work well. need to add some of the sides of the roll pan as the aren't square. it's wider at the rear and narrower where you see it.
but here is the bigger problem:

not sure if i want to just add a spacer to the truck (1/2" square stock) or if i want to cut the roll pan apart and add it to the top edge.
and i just couldn't resist. i set the lights up about where they would go. yes, i know they won't be over the gate like that, but i didn't have any other way to hold them in place. not sure how i feel about it yet. i will say this. they would look killer in the roll pan, but i don't want them that low. it's the biggest concern i have with the long caddies in my fleetside.


and here is a video of the tails. i ignored the instructions that state "do not hook these directly to a battery or damage will result". they worked flawlessly. in the video, the black wire is parking lights, the red is brake lights (they flash three times then stay on), and the yellow is the turn. if the brake and turn are on at the same time (3 bulb setup) then the turn signal powers over the brake. no extra wiring needed! click on the pic!

passenger side looks better. needs just a touch more towards the middle of the light:
so then decided i need to mount the roll pan to check the contour:
contour looks good. matches the gate well, and looks like the bottom corners are going to work well. need to add some of the sides of the roll pan as the aren't square. it's wider at the rear and narrower where you see it.
but here is the bigger problem:
not sure if i want to just add a spacer to the truck (1/2" square stock) or if i want to cut the roll pan apart and add it to the top edge.
and i just couldn't resist. i set the lights up about where they would go. yes, i know they won't be over the gate like that, but i didn't have any other way to hold them in place. not sure how i feel about it yet. i will say this. they would look killer in the roll pan, but i don't want them that low. it's the biggest concern i have with the long caddies in my fleetside.
and here is a video of the tails. i ignored the instructions that state "do not hook these directly to a battery or damage will result". they worked flawlessly. in the video, the black wire is parking lights, the red is brake lights (they flash three times then stay on), and the yellow is the turn. if the brake and turn are on at the same time (3 bulb setup) then the turn signal powers over the brake. no extra wiring needed! click on the pic!
Thanks ranger4.0 I think once i get them frenched in, i'll be really happy with them.
The charcoal wheel came in about a week ago and it was in terrible shape. It was all nicked and cut up. sent it back. currently looking for another. i did buy a ranger airbag with the ford emblem on it. was like $30 shipped. felt that was a pretty good deal.
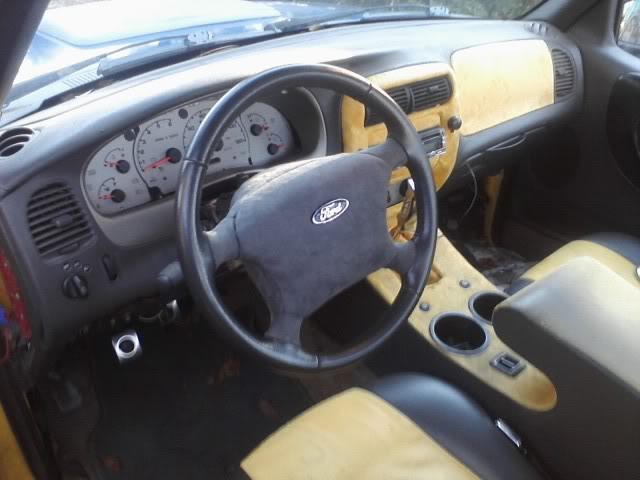
On another note, I got come metallic grey vinyl in for the "FORD" panel on my cluster. Need to get a new piece made for it and get it back in.
The charcoal wheel came in about a week ago and it was in terrible shape. It was all nicked and cut up. sent it back. currently looking for another. i did buy a ranger airbag with the ford emblem on it. was like $30 shipped. felt that was a pretty good deal.
On another note, I got come metallic grey vinyl in for the "FORD" panel on my cluster. Need to get a new piece made for it and get it back in.
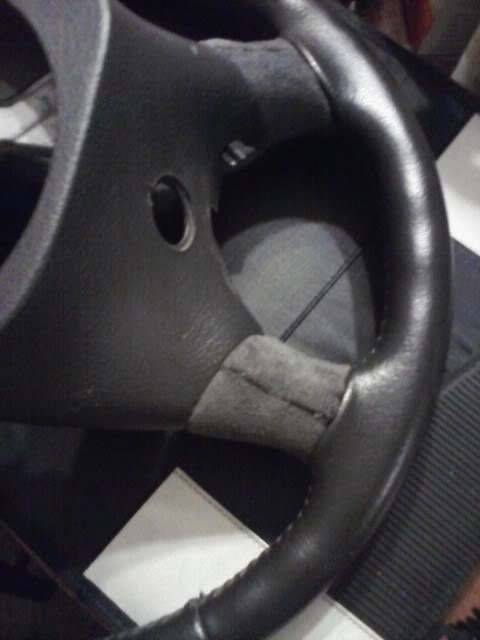
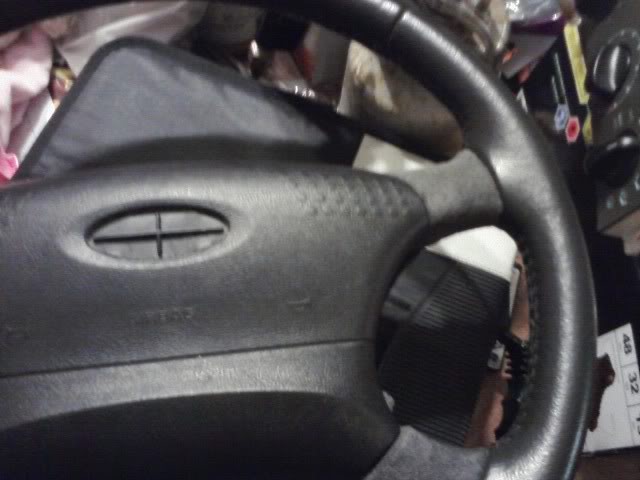
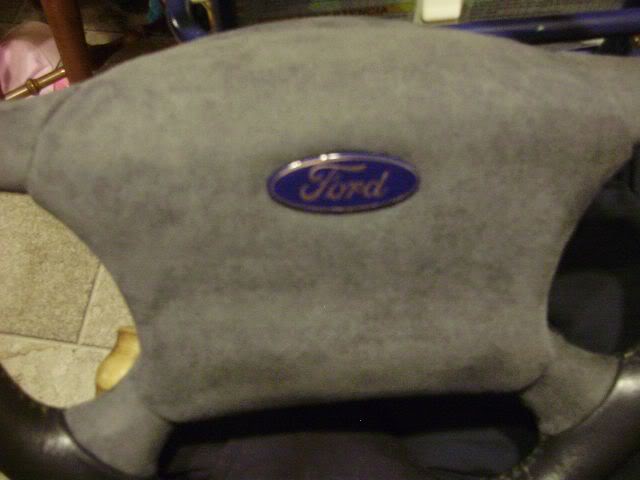
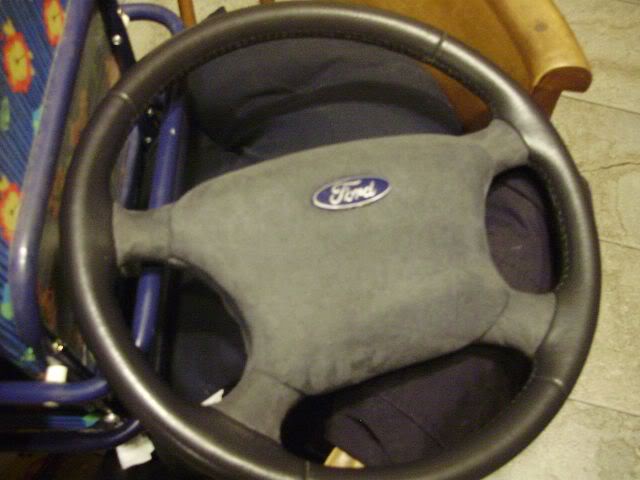
Well, in a half drunken state, I decided to start wrapping my steering wheel. I got a charcoal 04 Mustang wheel. I was told it's from a Mach 1, but as far as i know, they are a little thicker, and this one isn't. But it's in amazing shape. Anyways, I decided to wrap the spokes, airbag, and rear trim piece. I searched for several weeks for a non cruise steering wheel trim. Finally found one last weekend in the junkyard. Anyways, here is the progress. The airbag is from an 01 ranger. I pulled the emblem out in prep to recover. I might need to find a new one as i kinda damaged this one. Maybe once the material is on, it'll be ok.
before:

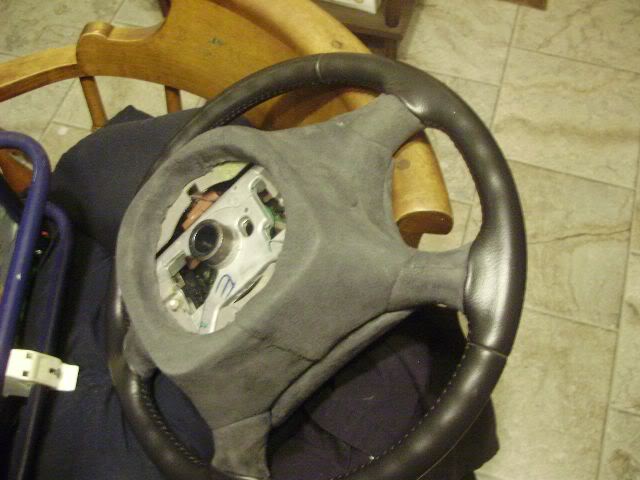
3 out of 4 done from the front:

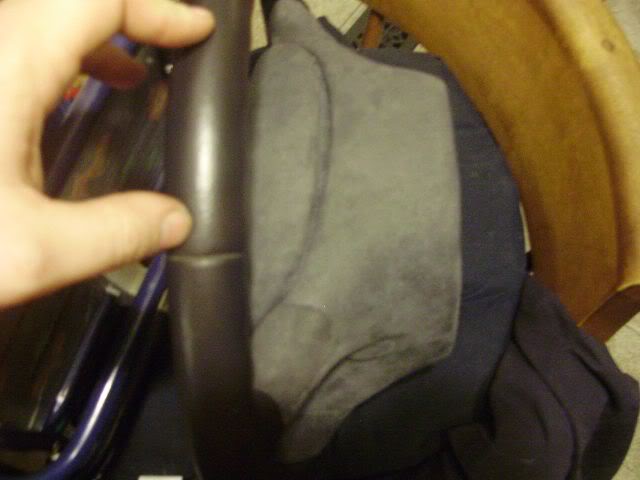
close up from the front:
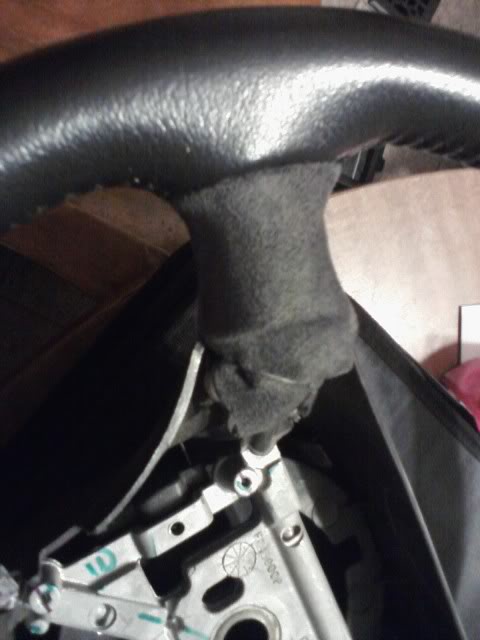

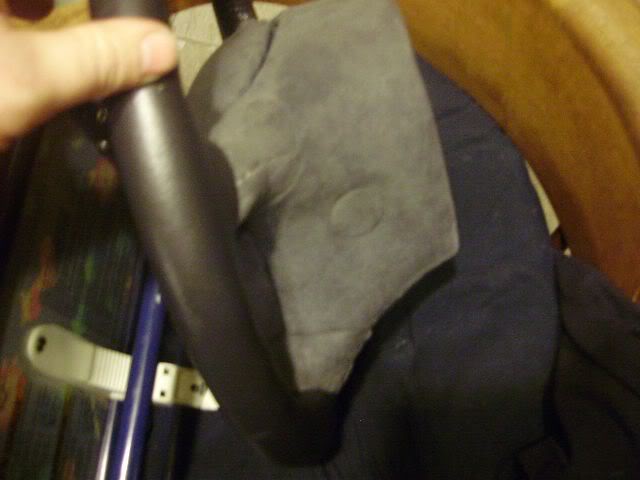
from the back:
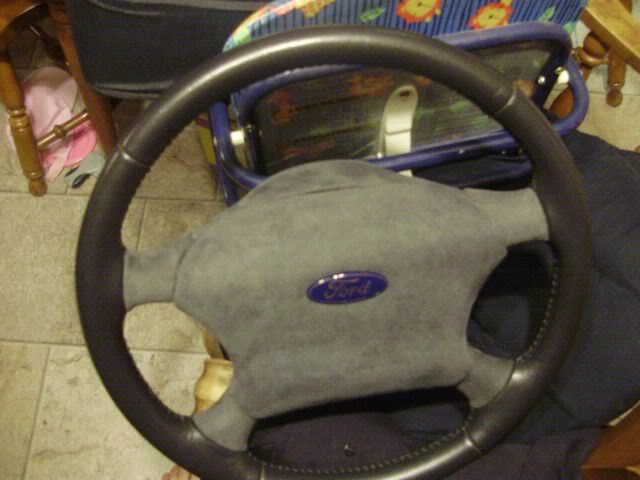
with the airbag:
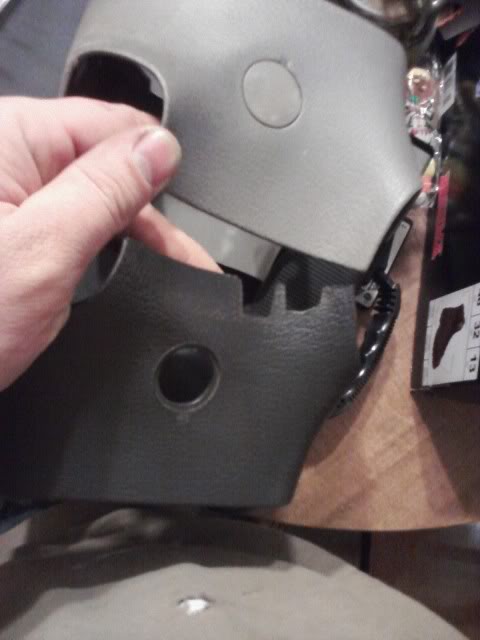
non cruise compared to cruise plastic:
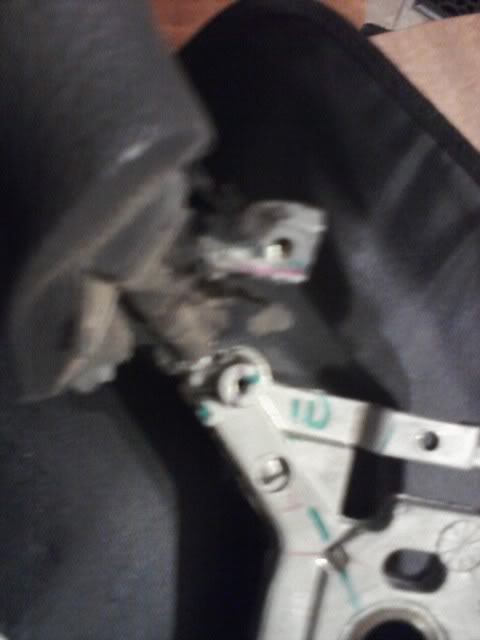
and one little tab on each lower spoke that has to be trimmed. it was to hold the cruise buttons:
before:
3 out of 4 done from the front:
close up from the front:
from the back:
with the airbag:
non cruise compared to cruise plastic:
and one little tab on each lower spoke that has to be trimmed. it was to hold the cruise buttons:
thanks.....but it should say everything coming together so slowly! LOL
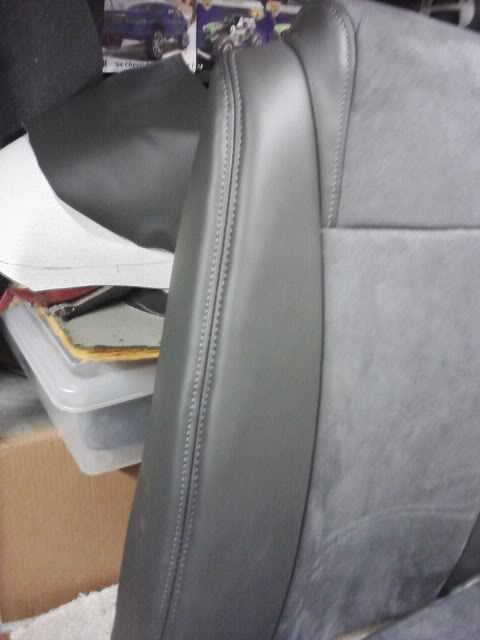
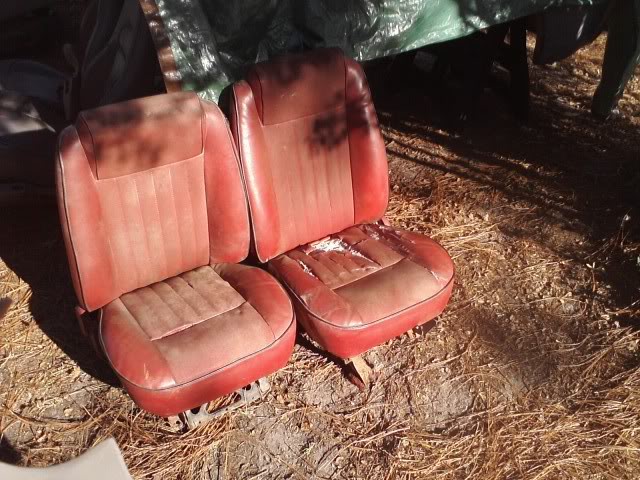
New seats started today......
bronco 2 seats before:
and what i'm going with:

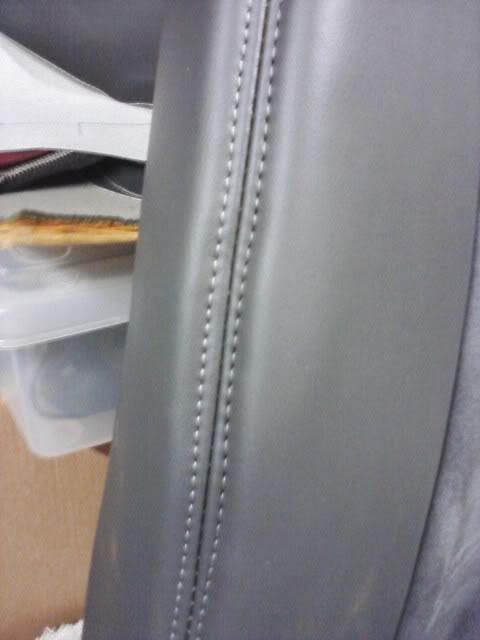
french seam ftw:

Also, the bed went off to the body shop. hoping to get some pics today. i talked to the guy friday night and he said it was getting close. hoping another week or two and i should get it back. trading out some interior work on an explorer for the body work.
bronco 2 seats before:
and what i'm going with:
french seam ftw:
Also, the bed went off to the body shop. hoping to get some pics today. i talked to the guy friday night and he said it was getting close. hoping another week or two and i should get it back. trading out some interior work on an explorer for the body work.