
RLong31's 2004 4x4 Edge Build Thread

Joined: Jul 2009
Posts: 2,594
Likes: 2
From: Monrovia, IN

Thanks guys. The plastic thing will probably stay until I can get a skid plate or something. I want to keep the very minimal protection it might provide until then.
I realized after I put the bumper on that I should have painted those brackets, they look terrible. I need to adjust the bumper a bit anyway, will paint it when I do that.
The t-bars will probably get cranked a little bit, maybe 3/4"-1". I don't want too stiff of a ride.
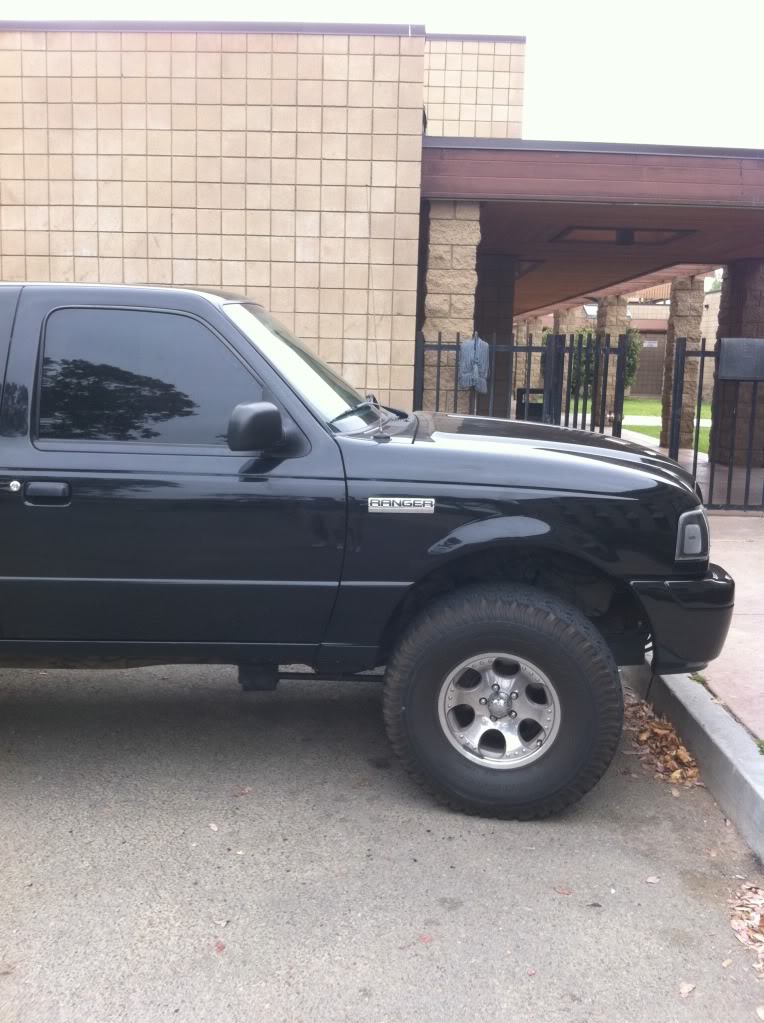
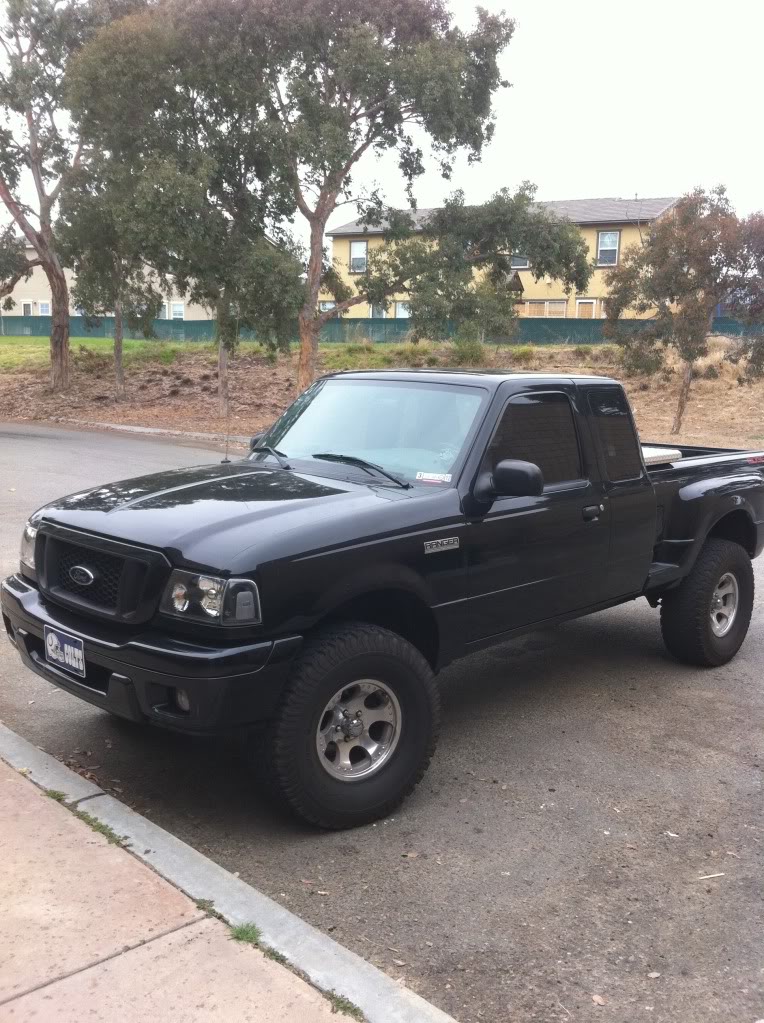
And yes, being lifted finally is so sweet, haha. Gotta work out the little things still left on this BL... crush blocks, gap guards, bumper adjustments... think I need to adjust the bed a bit (or my eyes are playing tricks on me... looks a little off), but other than that, I think it turned out good for my first one.
I realized after I put the bumper on that I should have painted those brackets, they look terrible. I need to adjust the bumper a bit anyway, will paint it when I do that.
The t-bars will probably get cranked a little bit, maybe 3/4"-1". I don't want too stiff of a ride.
And yes, being lifted finally is so sweet, haha. Gotta work out the little things still left on this BL... crush blocks, gap guards, bumper adjustments... think I need to adjust the bed a bit (or my eyes are playing tricks on me... looks a little off), but other than that, I think it turned out good for my first one.

Don't be a wussy! It does NOTHING and it really really hampers the look of the truck. Mine was removed like in the first week of ownership and it was off while I was driving around many many miles as a daily with no valence for 3 years. Just do it!
I realized after I put the bumper on that I should have painted those brackets, they look terrible. I need to adjust the bumper a bit anyway, will paint it when I do that.
OR.....just shoot a PM to TrePaul86 for his BEEEEEFY upgraded 3" BL front bumper brackets!!! Those PA's are junk anyhow. Bend by just tightening the damn bumper! lol.
EDIT: This reminds me...I need to add a little note to that 3" BL Extravaganza thread.......PAINT YOUR PARTS BEFORE HAND!! lol. I learned from my BL....wire wheel and spray your parts a few days prior to install. Only took me like 2 years to finally paint 'em when I did the motor swap! lol.
Joined: Jul 2009
Posts: 2,594
Likes: 2
From: Monrovia, IN
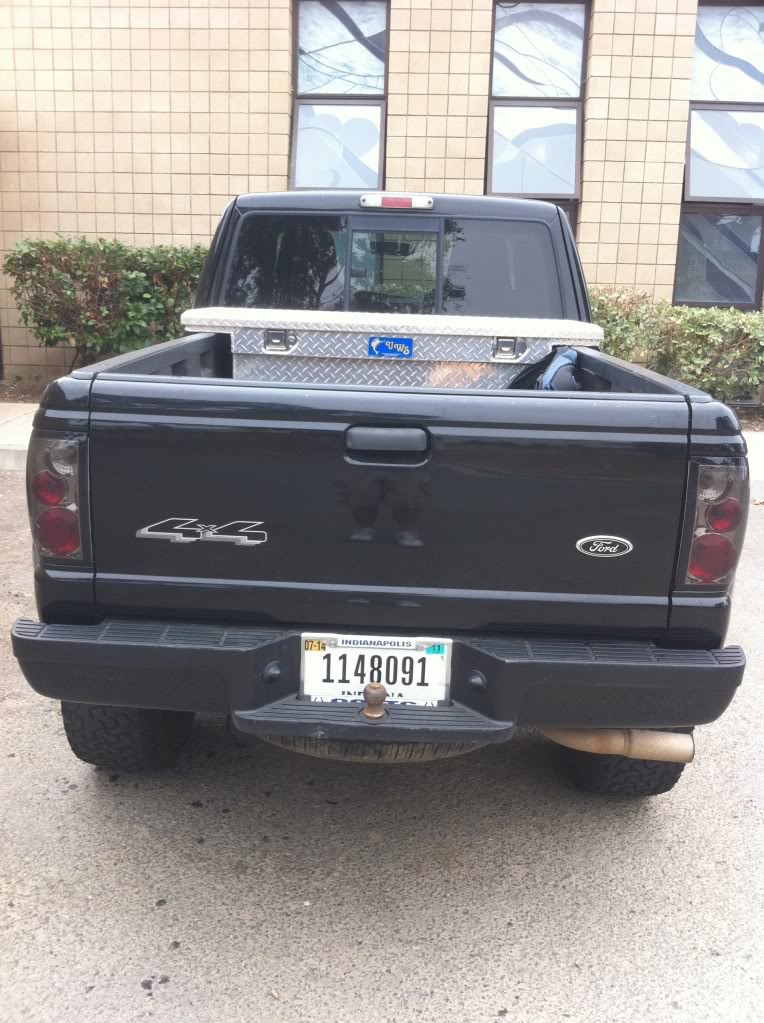
You're from Indiana and you're not a Colts fan? You can go to hell, haha. The plate stays... and will continue to stay on until it rusts off.
And thanks Shane, I'll keep that in mind when I take the bumper off. I know I have a wire wheel somewhere. I'll probly end up getting the ones off TrePaul before I even mess with it tho.
Any suggestions on how to raise the exhaust w/o having to hack it off or go buy a whole new one? Don't have that kind of money just yet.
I'm sure most of you probably remove the spare tire too.. that looks kinda gay being able to see it. Maybe if I had a hitch to cover it up some... which reminds me... I will have to adapt a hitch to fit with a body lift, or should it just bolt on and not look stupid?
Joined: Jul 2009
Posts: 2,594
Likes: 2
From: Monrovia, IN
Got some bed crush blocks put in, gap guards installed, painted front bumper brackets, and adjusted fuel filler neck hose so I didn't have to use extension... had to take the bed side off to get to the top of the tank easier.
Now the thing that's really bugging me... my exhaust.. I'm half tempted to just take a hack saw and cut it off near the rear axle (dumping it I think it's called). I'm assuming this will make it louder? I don't think doing this will cause me any emissions issues in CA... seeing as I'm not touching the muffler or the cat.
I just think leaving it how it is now looks kind of stupid.

Member

Joined: May 2010
Posts: 8
Likes: 0
From: Wasilla
Got some bed crush blocks put in, gap guards installed, painted front bumper brackets, and adjusted fuel filler neck hose so I didn't have to use extension... had to take the bed side off to get to the top of the tank easier.
Now the thing that's really bugging me... my exhaust.. I'm half tempted to just take a hack saw and cut it off near the rear axle (dumping it I think it's called). I'm assuming this will make it louder? I don't think doing this will cause me any emissions issues in CA... seeing as I'm not touching the muffler or the cat.
I just think leaving it how it is now looks kind of stupid.
Now the thing that's really bugging me... my exhaust.. I'm half tempted to just take a hack saw and cut it off near the rear axle (dumping it I think it's called). I'm assuming this will make it louder? I don't think doing this will cause me any emissions issues in CA... seeing as I'm not touching the muffler or the cat.
I just think leaving it how it is now looks kind of stupid.
Joined: Jul 2009
Posts: 2,594
Likes: 2
From: Monrovia, IN
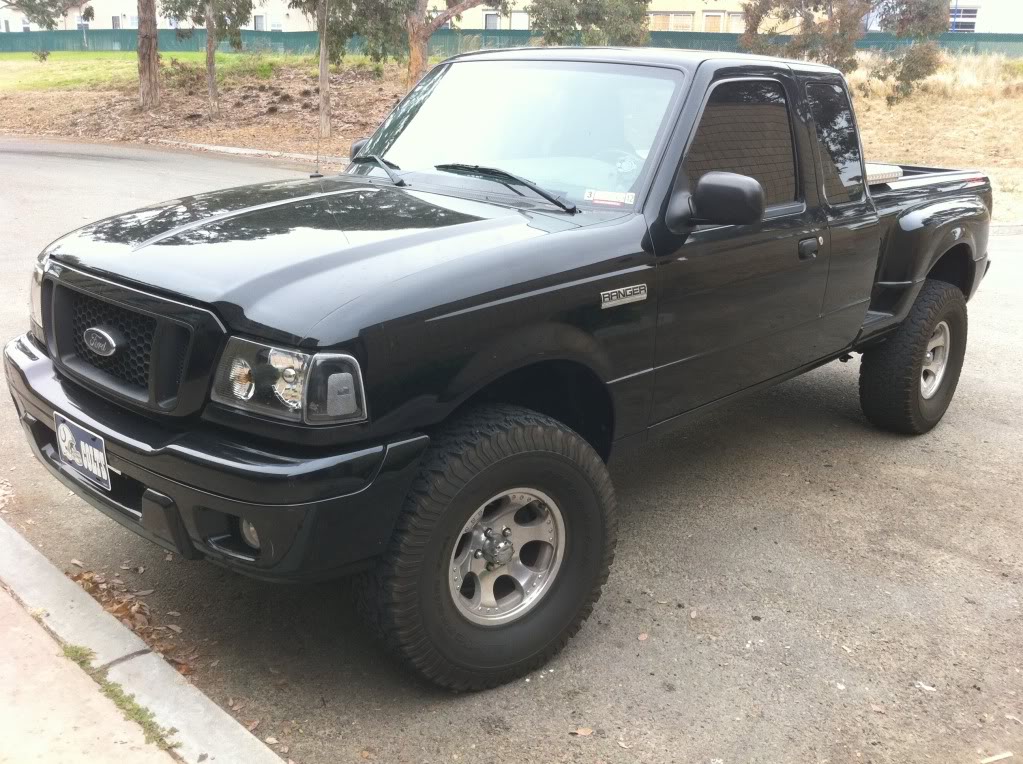
Been broke lately so it's been a while since I've done anything to the truck. But, I finally got around to putting on the 06+ fender badges and replaced the tailgate emblem with a black one I got from Buggman.
Just need to get the front emblem done in black. Or maybe just a new grille period. Any thoughts, suggestions?
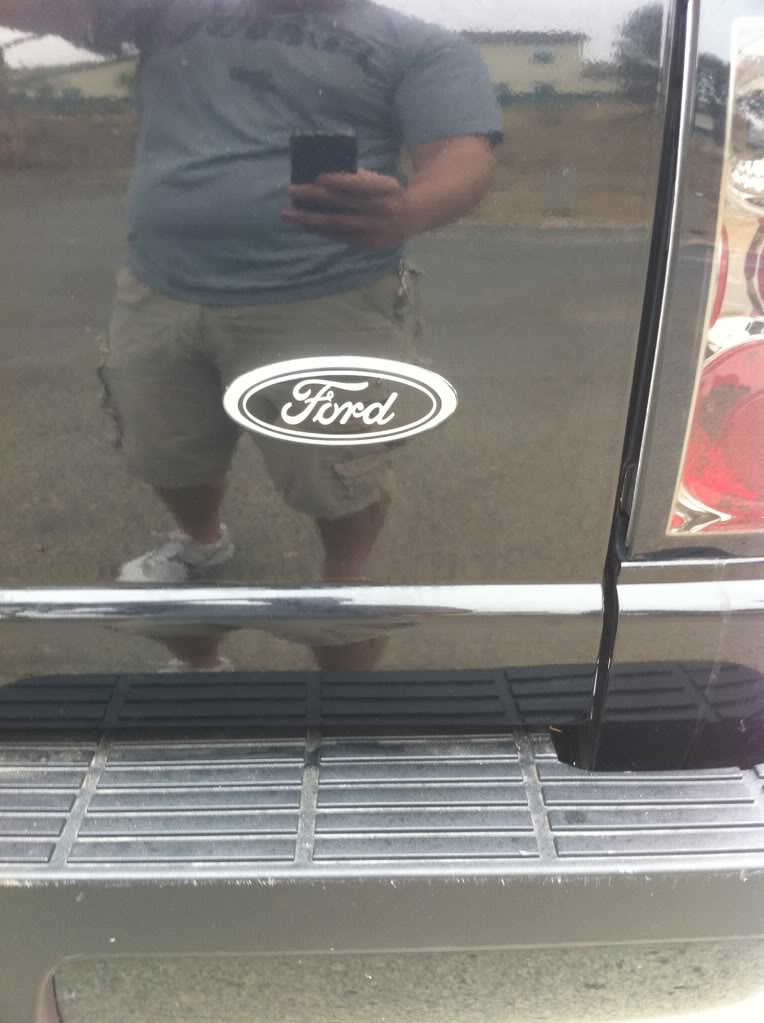
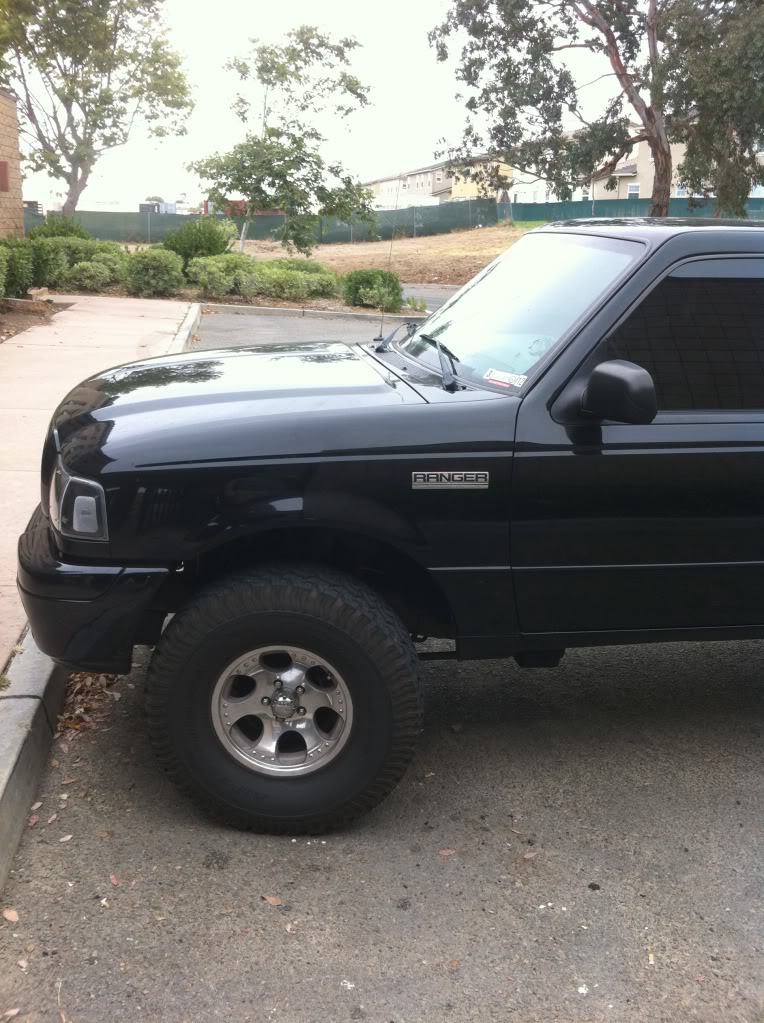
Just need to get the front emblem done in black. Or maybe just a new grille period. Any thoughts, suggestions?
Joined: Jul 2009
Posts: 2,594
Likes: 2
From: Monrovia, IN
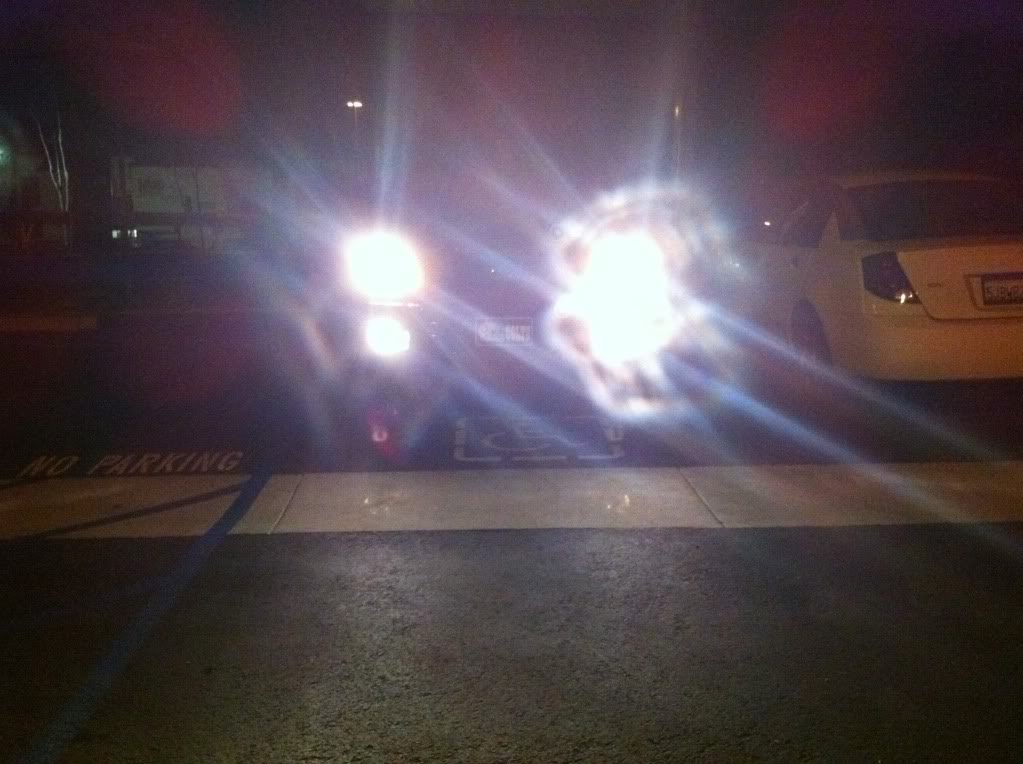
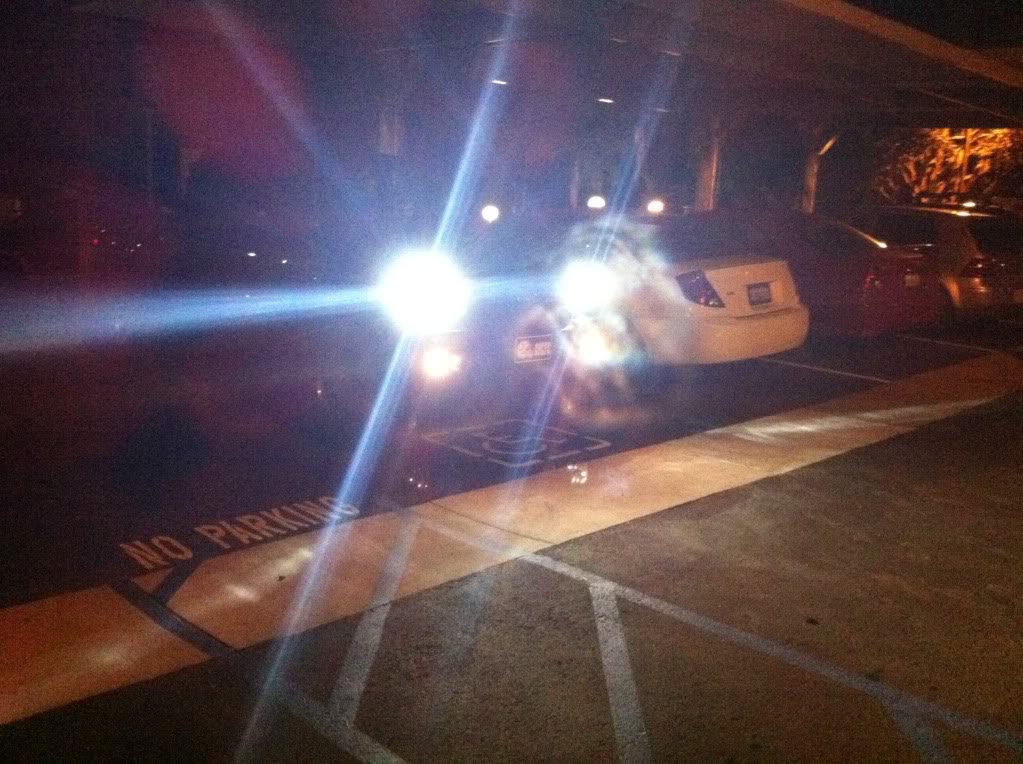
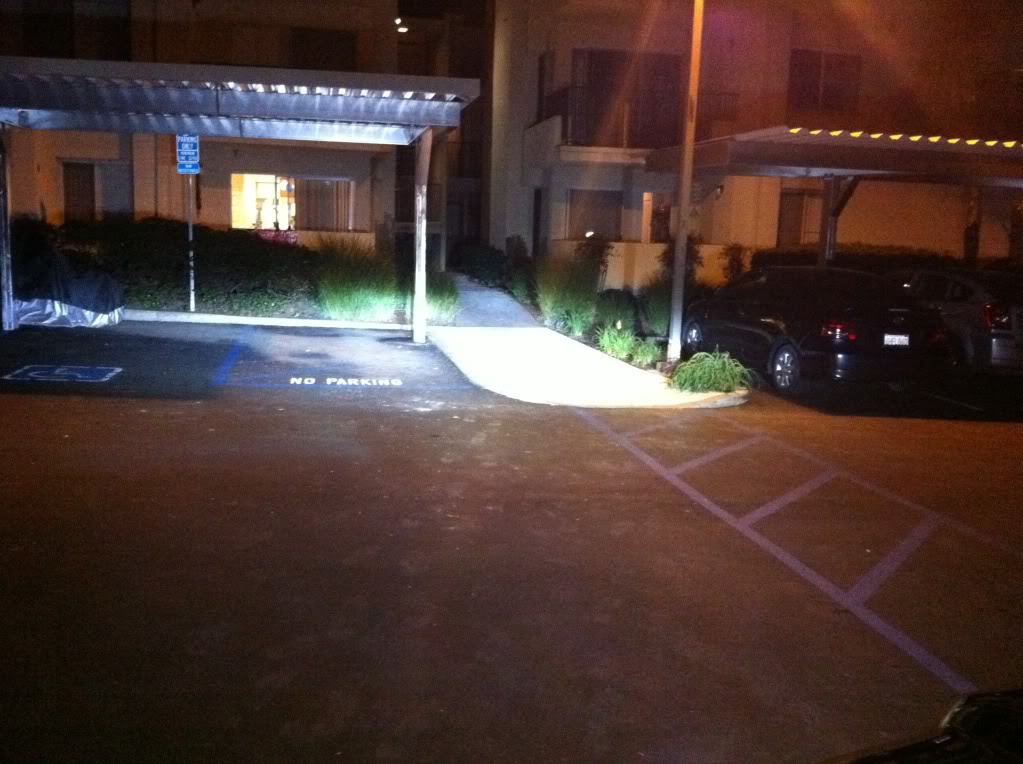
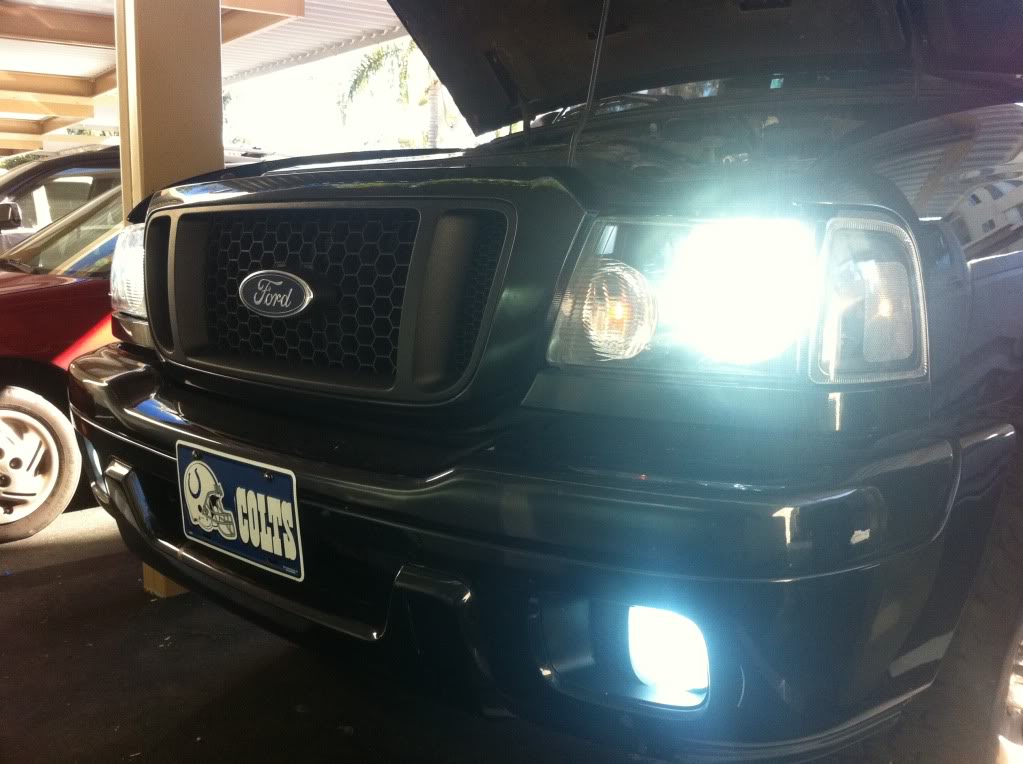
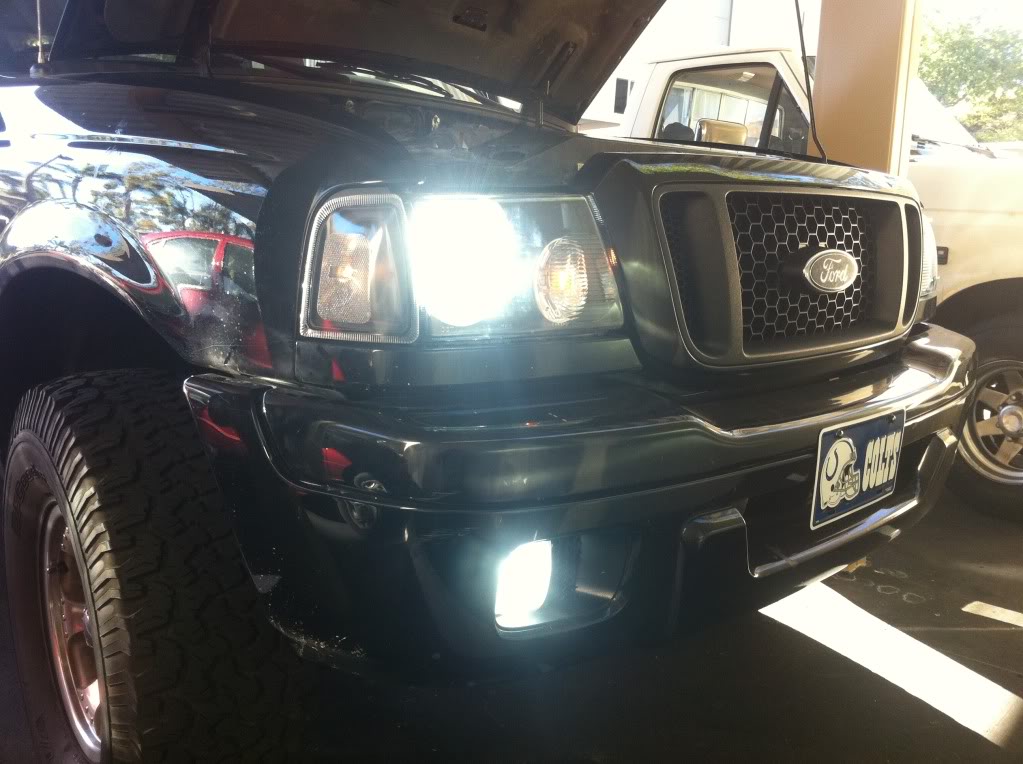
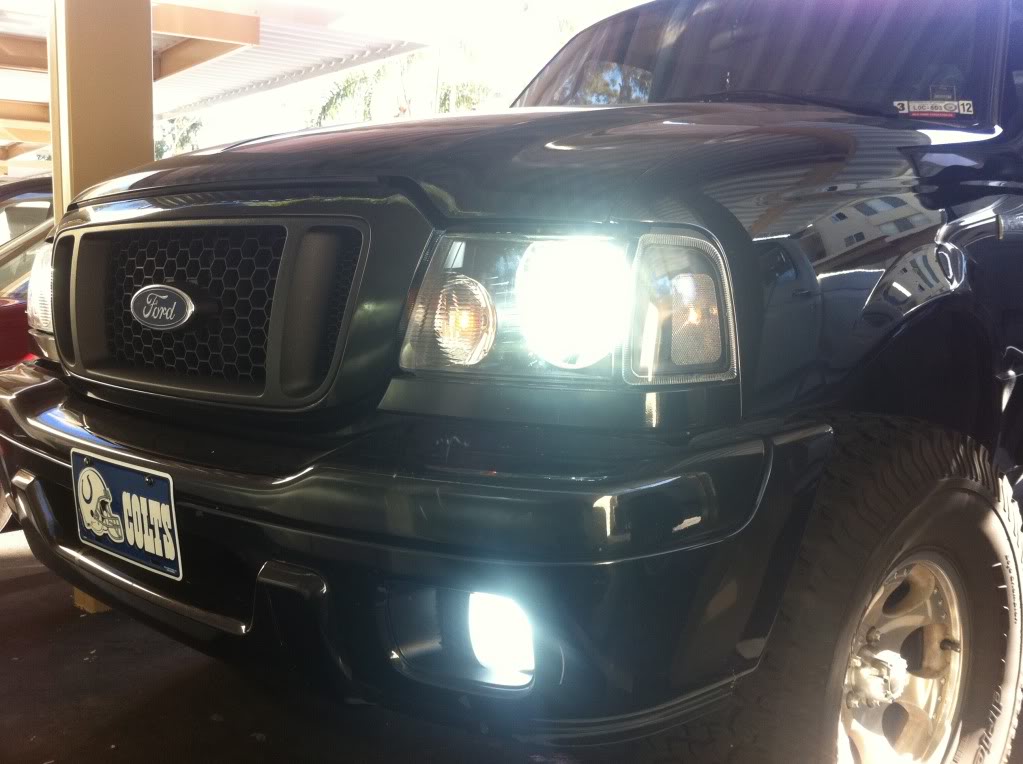
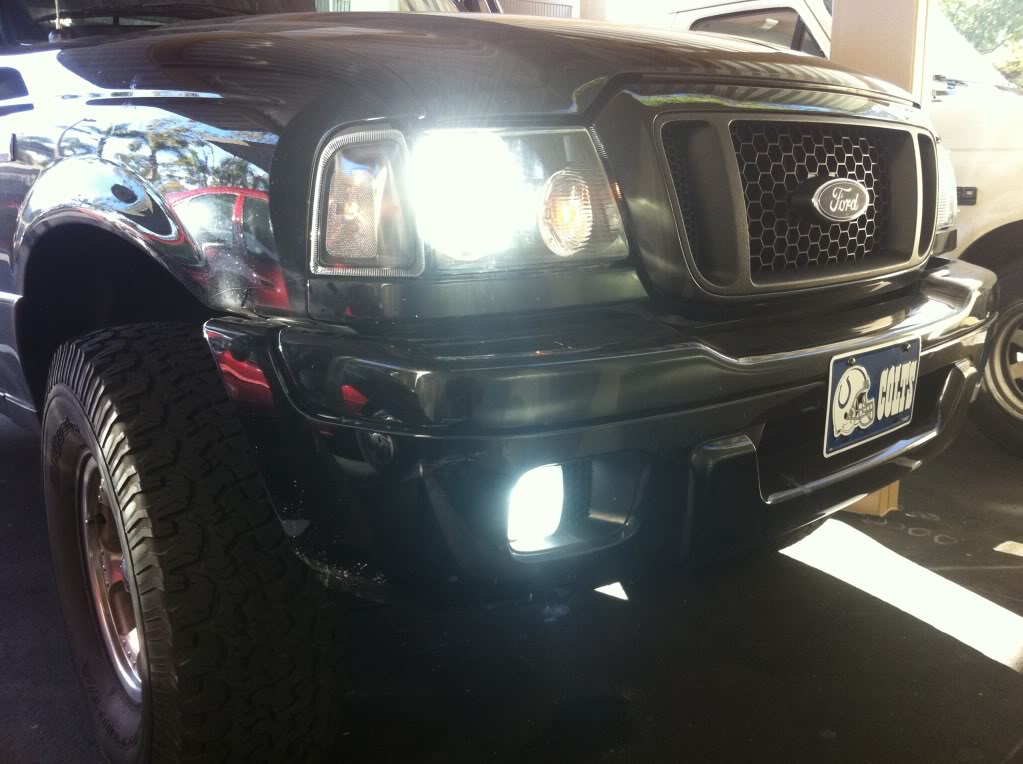
HIDS YO! and Ultra Gauge
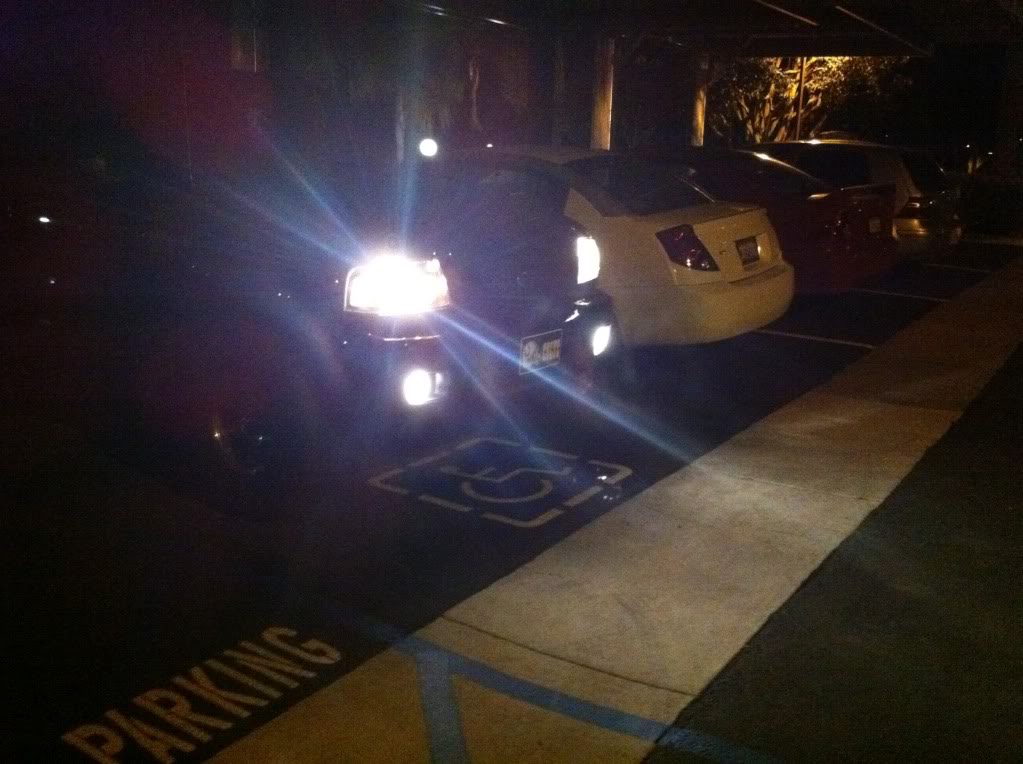
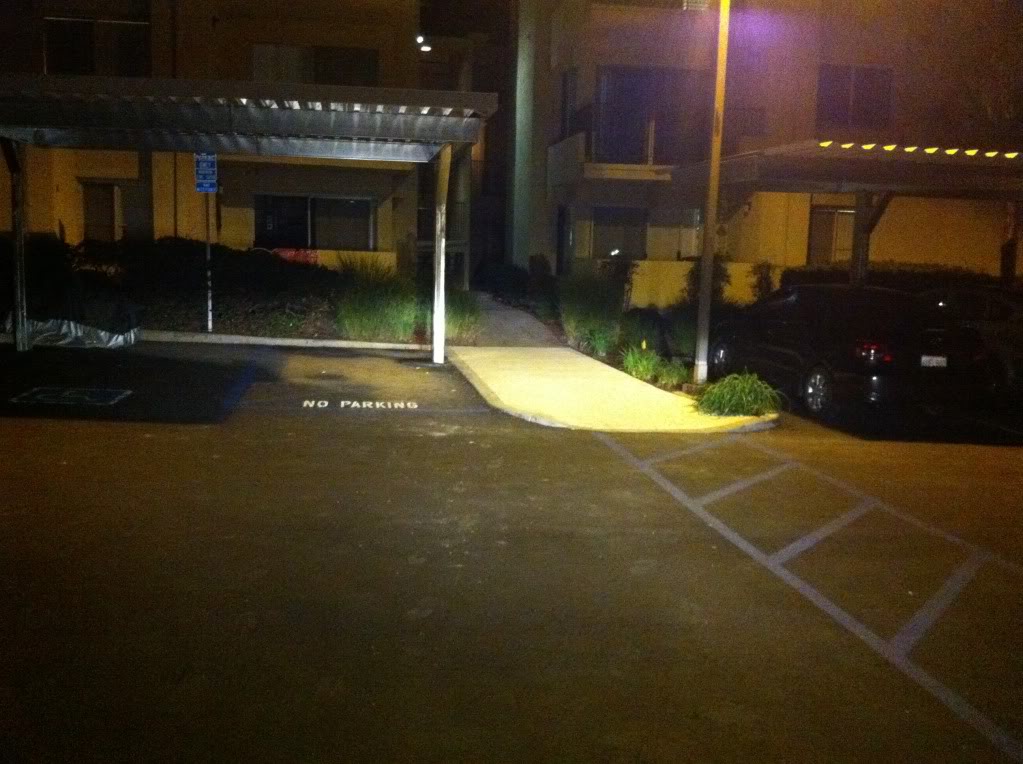
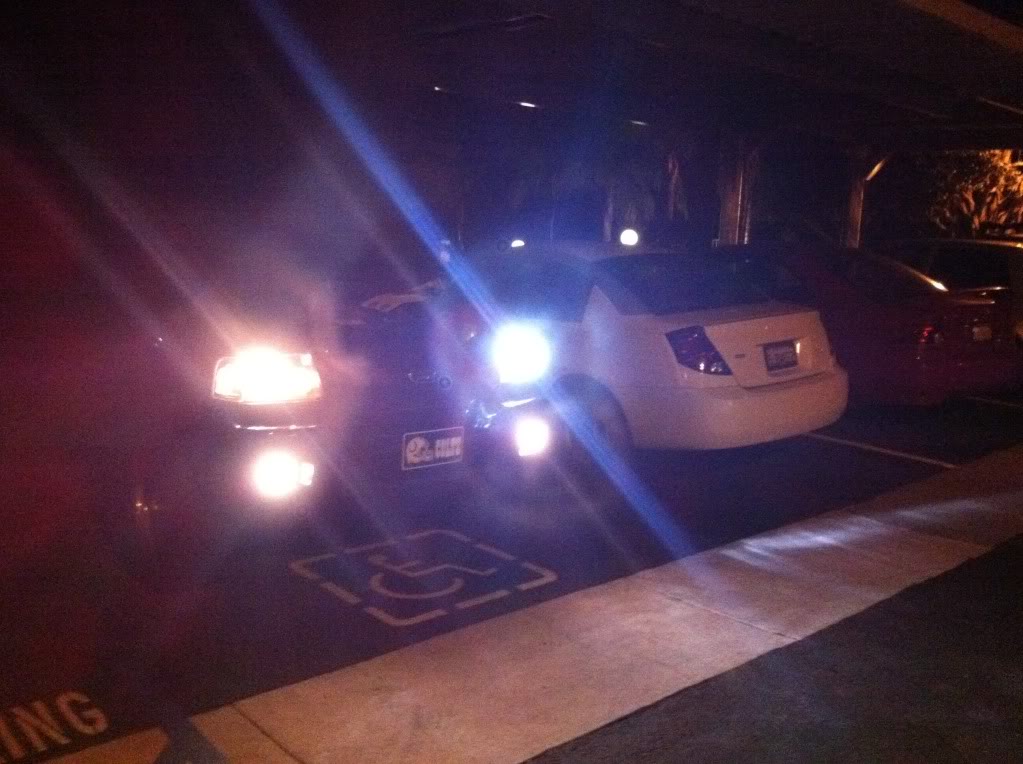
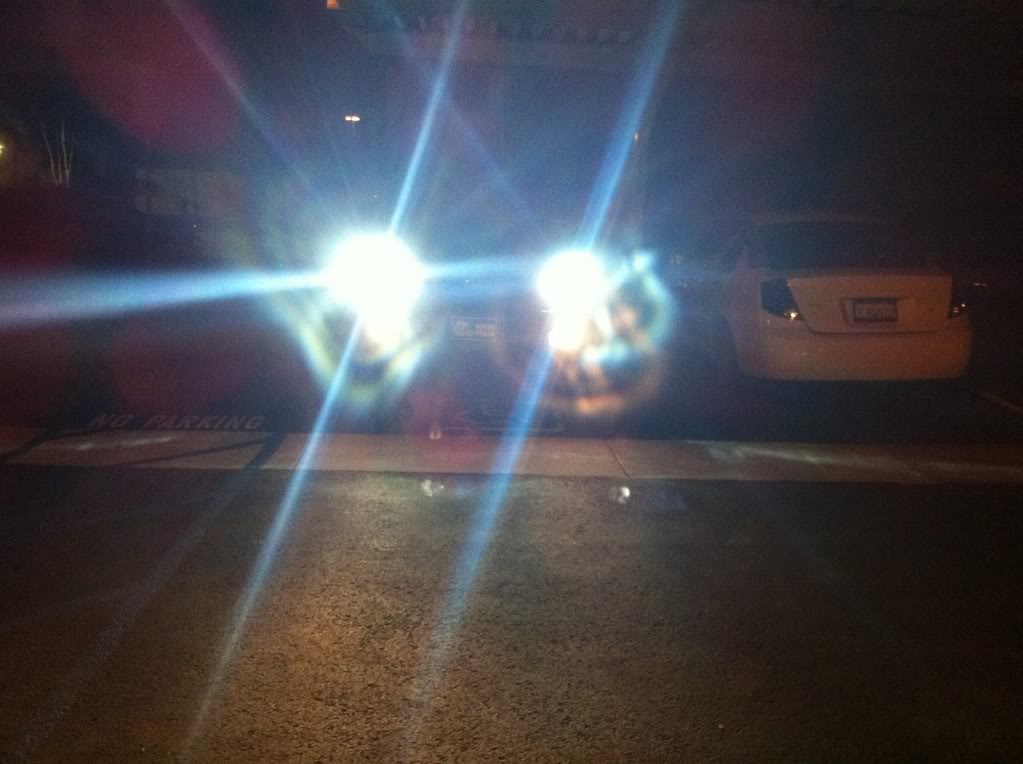
Been a little while since I bought anything for the truck, so I splurged a little. Sorry for the ****ty Iphone pictures, it's all I have, my camera is dead. But I tried to show the difference in brightness before, during and after... don't have night shots of my heads and fogs together yet, it was getting late, and had to do them this morning.
35w Hi/Low Raptor HIDs, 5000k 9007 heads and 35w Raptor HIDs, 4500k 9005 Fogs
And I finally mounted my Ultra-Gauge. I copied off of Scott's idea for mounting location. The mounting bracket is surprisingly easy to bend. Still need to set my distance and MPG calibrations, because it's still a little off after the body lift and 33's.
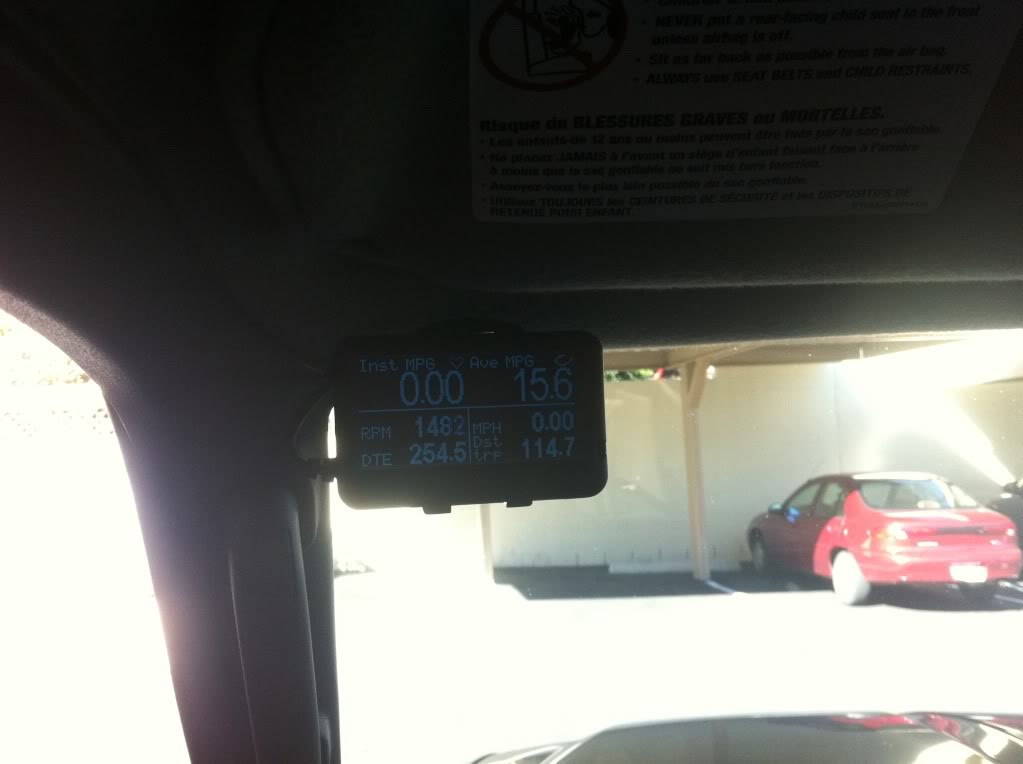
Probably going to install the explorer OHC that I bought and never installed, and an auto-dimming mirror... but I think I need to pick up some relays first.
35w Hi/Low Raptor HIDs, 5000k 9007 heads and 35w Raptor HIDs, 4500k 9005 Fogs
And I finally mounted my Ultra-Gauge. I copied off of Scott's idea for mounting location. The mounting bracket is surprisingly easy to bend. Still need to set my distance and MPG calibrations, because it's still a little off after the body lift and 33's.
Probably going to install the explorer OHC that I bought and never installed, and an auto-dimming mirror... but I think I need to pick up some relays first.


Joined: Jul 2009
Posts: 2,594
Likes: 2
From: Monrovia, IN
Been pretty busy and spending a lot of money on the truck lately. Just figured I'd update this thread with some additions and mods I've been doing in the last couple of months.
Added a polished billet grille. Bought it used, it looks better farther away, haha.


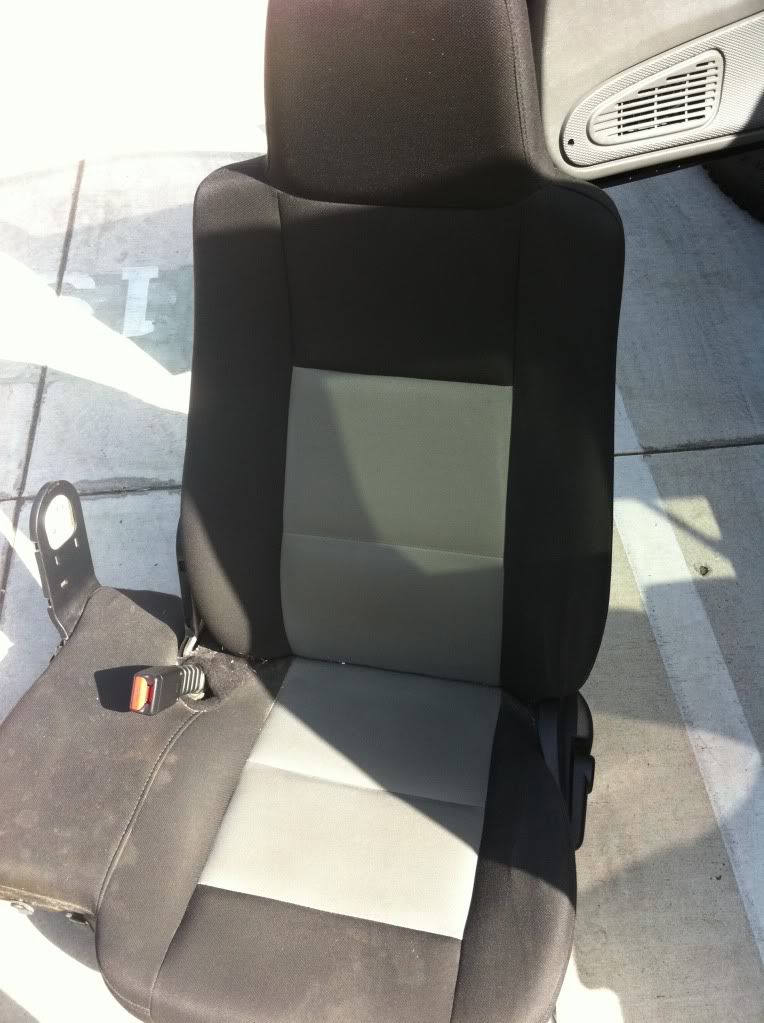
Then I installed some OEM seat covers with red inserts.


Got my underdog underdrive pulley's installed. Here is the write-up in case anyone is interested: https://www.ranger-forums.com/4-0l-o...nstall-118571/


Got a polished bumper billet grille, and did the emblem color change mod so it's color matched black and chrome.


Installed some LED replacement bulbs in my dome light, cargo lights and my license plate lights.


Got a Flowmaster Original 40 catback installed.


Swapped gauge faces with another member from white to black.

Got bored and painted my intake cover.

Got bored and painted my spare cluster (same one I got the black faces from)

Installed a Kenwood DDX-418 DVD/Nav radio. Wires/Ipod set-up is temporary until I figure something else out. But, it's set up so my ipod and my iphone 4 can sit on top of my tomtom gps charger and not move around when I drive. Radio controls all ipod functions, pretty sweet.

This is where I mounted my microphone for my bluetooth from the radio.

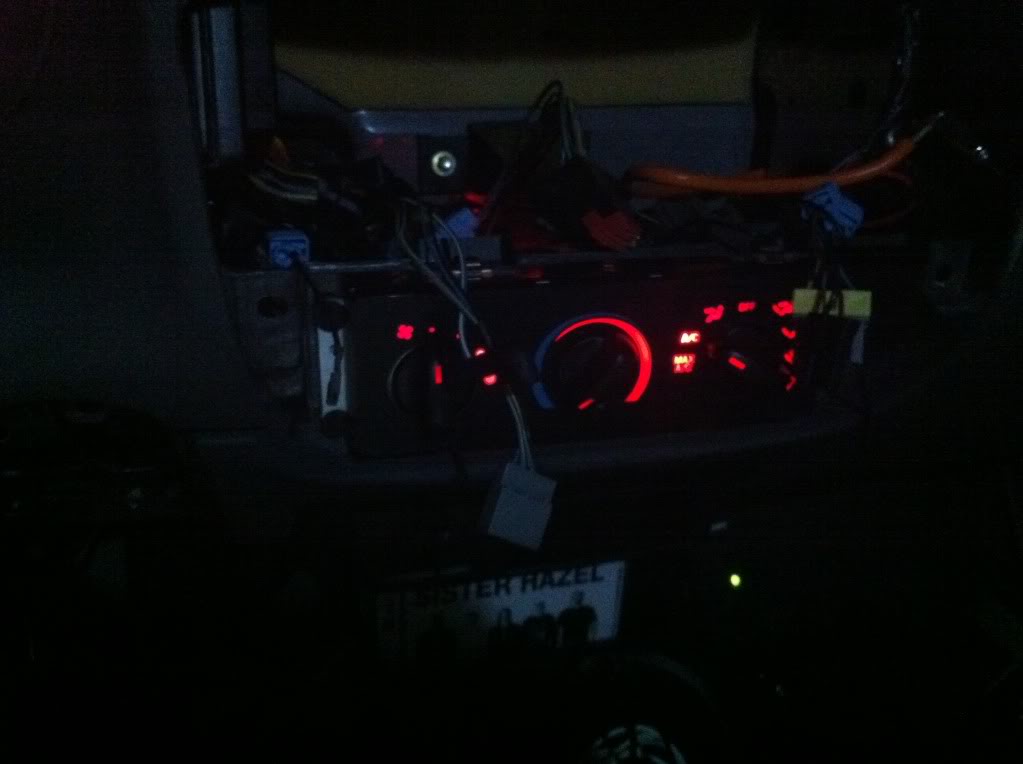
Modded my HVAC for red LED's and red paint.
Installed an extra 12v plug behind the dash and installed a 200 watt power inverter with 2 plug in's and a USB port.

Moved my ultragauge (will probly get moved again once I install my OHC... I swear I'm gonna install that soon... i've had it for a year now)

Red LED's in the cluster


Also soldered in some new LED's in the circuit boards for my cruise control pods.
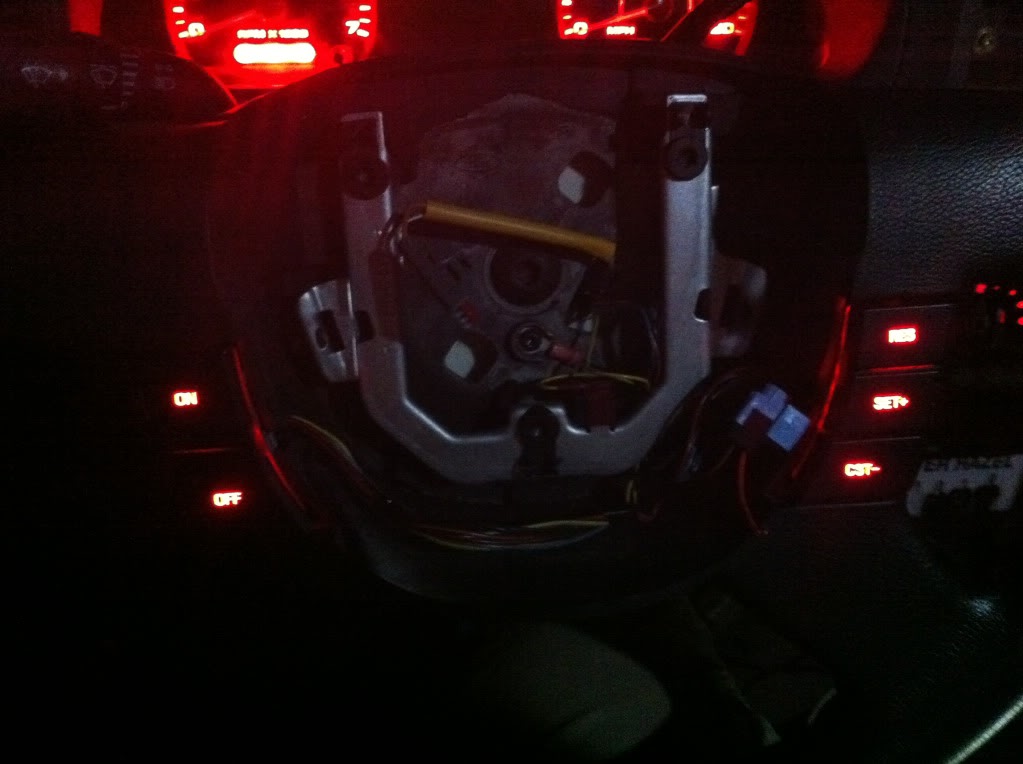
I think I might be the only one to have red led's in an 04+ cluster and cruise pods. I've seen blue with Jp7 and MotoUnplugged. Airbag is left out for the next mod... I will post pictures of that later when it gets dark. Lots of stuff planned for the near future, but open to suggestions and ideas.
Let me know what you think.
Added a polished billet grille. Bought it used, it looks better farther away, haha.
Then I installed some OEM seat covers with red inserts.
Got my underdog underdrive pulley's installed. Here is the write-up in case anyone is interested: https://www.ranger-forums.com/4-0l-o...nstall-118571/
Got a polished bumper billet grille, and did the emblem color change mod so it's color matched black and chrome.
Installed some LED replacement bulbs in my dome light, cargo lights and my license plate lights.
Got a Flowmaster Original 40 catback installed.
Swapped gauge faces with another member from white to black.
Got bored and painted my intake cover.
Got bored and painted my spare cluster (same one I got the black faces from)
Installed a Kenwood DDX-418 DVD/Nav radio. Wires/Ipod set-up is temporary until I figure something else out. But, it's set up so my ipod and my iphone 4 can sit on top of my tomtom gps charger and not move around when I drive. Radio controls all ipod functions, pretty sweet.
This is where I mounted my microphone for my bluetooth from the radio.
Modded my HVAC for red LED's and red paint.
Installed an extra 12v plug behind the dash and installed a 200 watt power inverter with 2 plug in's and a USB port.
Moved my ultragauge (will probly get moved again once I install my OHC... I swear I'm gonna install that soon... i've had it for a year now)
Red LED's in the cluster
Also soldered in some new LED's in the circuit boards for my cruise control pods.
I think I might be the only one to have red led's in an 04+ cluster and cruise pods. I've seen blue with Jp7 and MotoUnplugged. Airbag is left out for the next mod... I will post pictures of that later when it gets dark. Lots of stuff planned for the near future, but open to suggestions and ideas.
Let me know what you think.
Last edited by RLong31; Feb 21, 2015 at 01:57 PM.

Joined: Jul 2009
Posts: 2,594
Likes: 2
From: Monrovia, IN
Over a few tanks of gas I'm averaging about 1/2 mpg better. But, I'm in need of a tune-up, oil change, and air filter cleaning, so that has affected it negatively lately, plus my lead foot and a lot of city driving and hills in san diego. I'd say the average is closer to 1 mpg realistically.


Joined: Jul 2009
Posts: 2,594
Likes: 2
From: Monrovia, IN
Originally Posted by Lord of War
If you get new meats and a new exhuast set up you will be set!
Originally Posted by 98liftedranger
Needs new rims and paint the billet black!
Originally Posted by 04RangerDave
can you tell me how you did the gauges and everything red with the leds like the excat bulbs you got
http://www.superbrightleds.com/cgi-b...-flexible.html
Also got T1.5 series LED Twist Lock Lamps from superbrightleds.com . These also fit in your HVAC.
http://www.superbrightleds.com/cgi-b...nstrument.html
For the cruise control pods... I ordered these. You will need 5.
http://www.oznium.com/plcc-2
Last edited by RLong31; Apr 5, 2011 at 09:54 PM.


