When you click on links to various merchants on this site and make a purchase, this can result in this site earning a commission. Affiliate programs and affiliations include, but are not limited to, the eBay Partner Network.
Started on swapping out the header panel and grill and found this nasty surprise. Might as well fix it now while everything is apart.
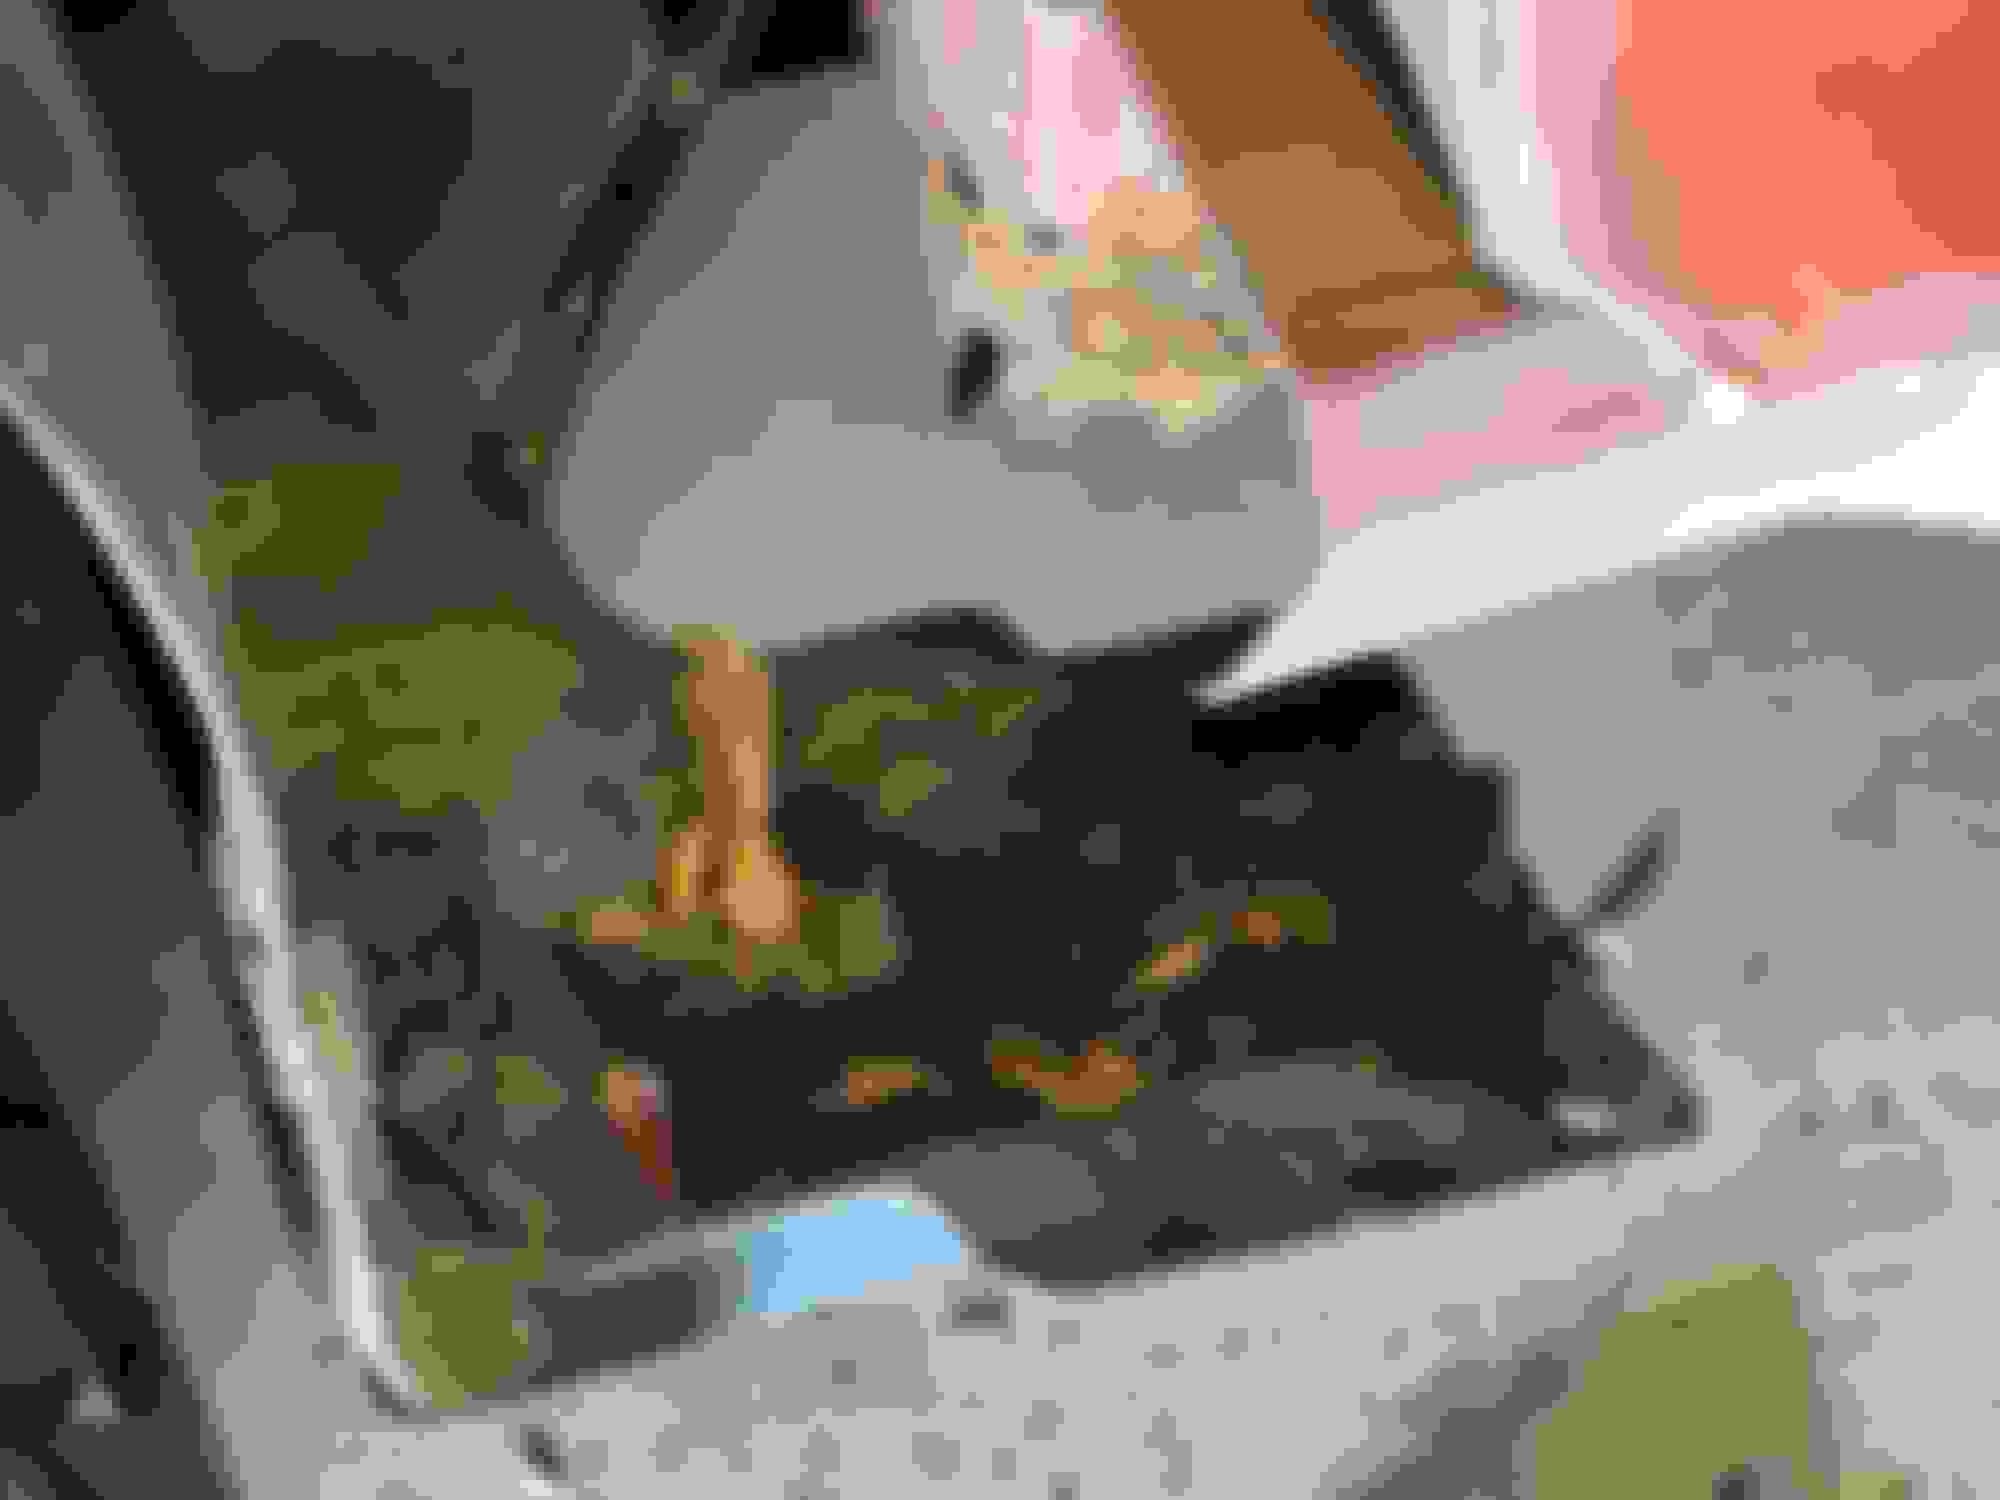
Removed the rusty eyesore on the front that is the plow mount. The shop that installed it must not have believed in anti seize or galvanic corrosion, they used stainless bolts with regular steel nuts so that was a job getting them apart. Blasted it with the needle scaler and coated it with POR15.
Got the new core support painted. Once installed it will be getting sprayed down with woolwax in the internal cavities.
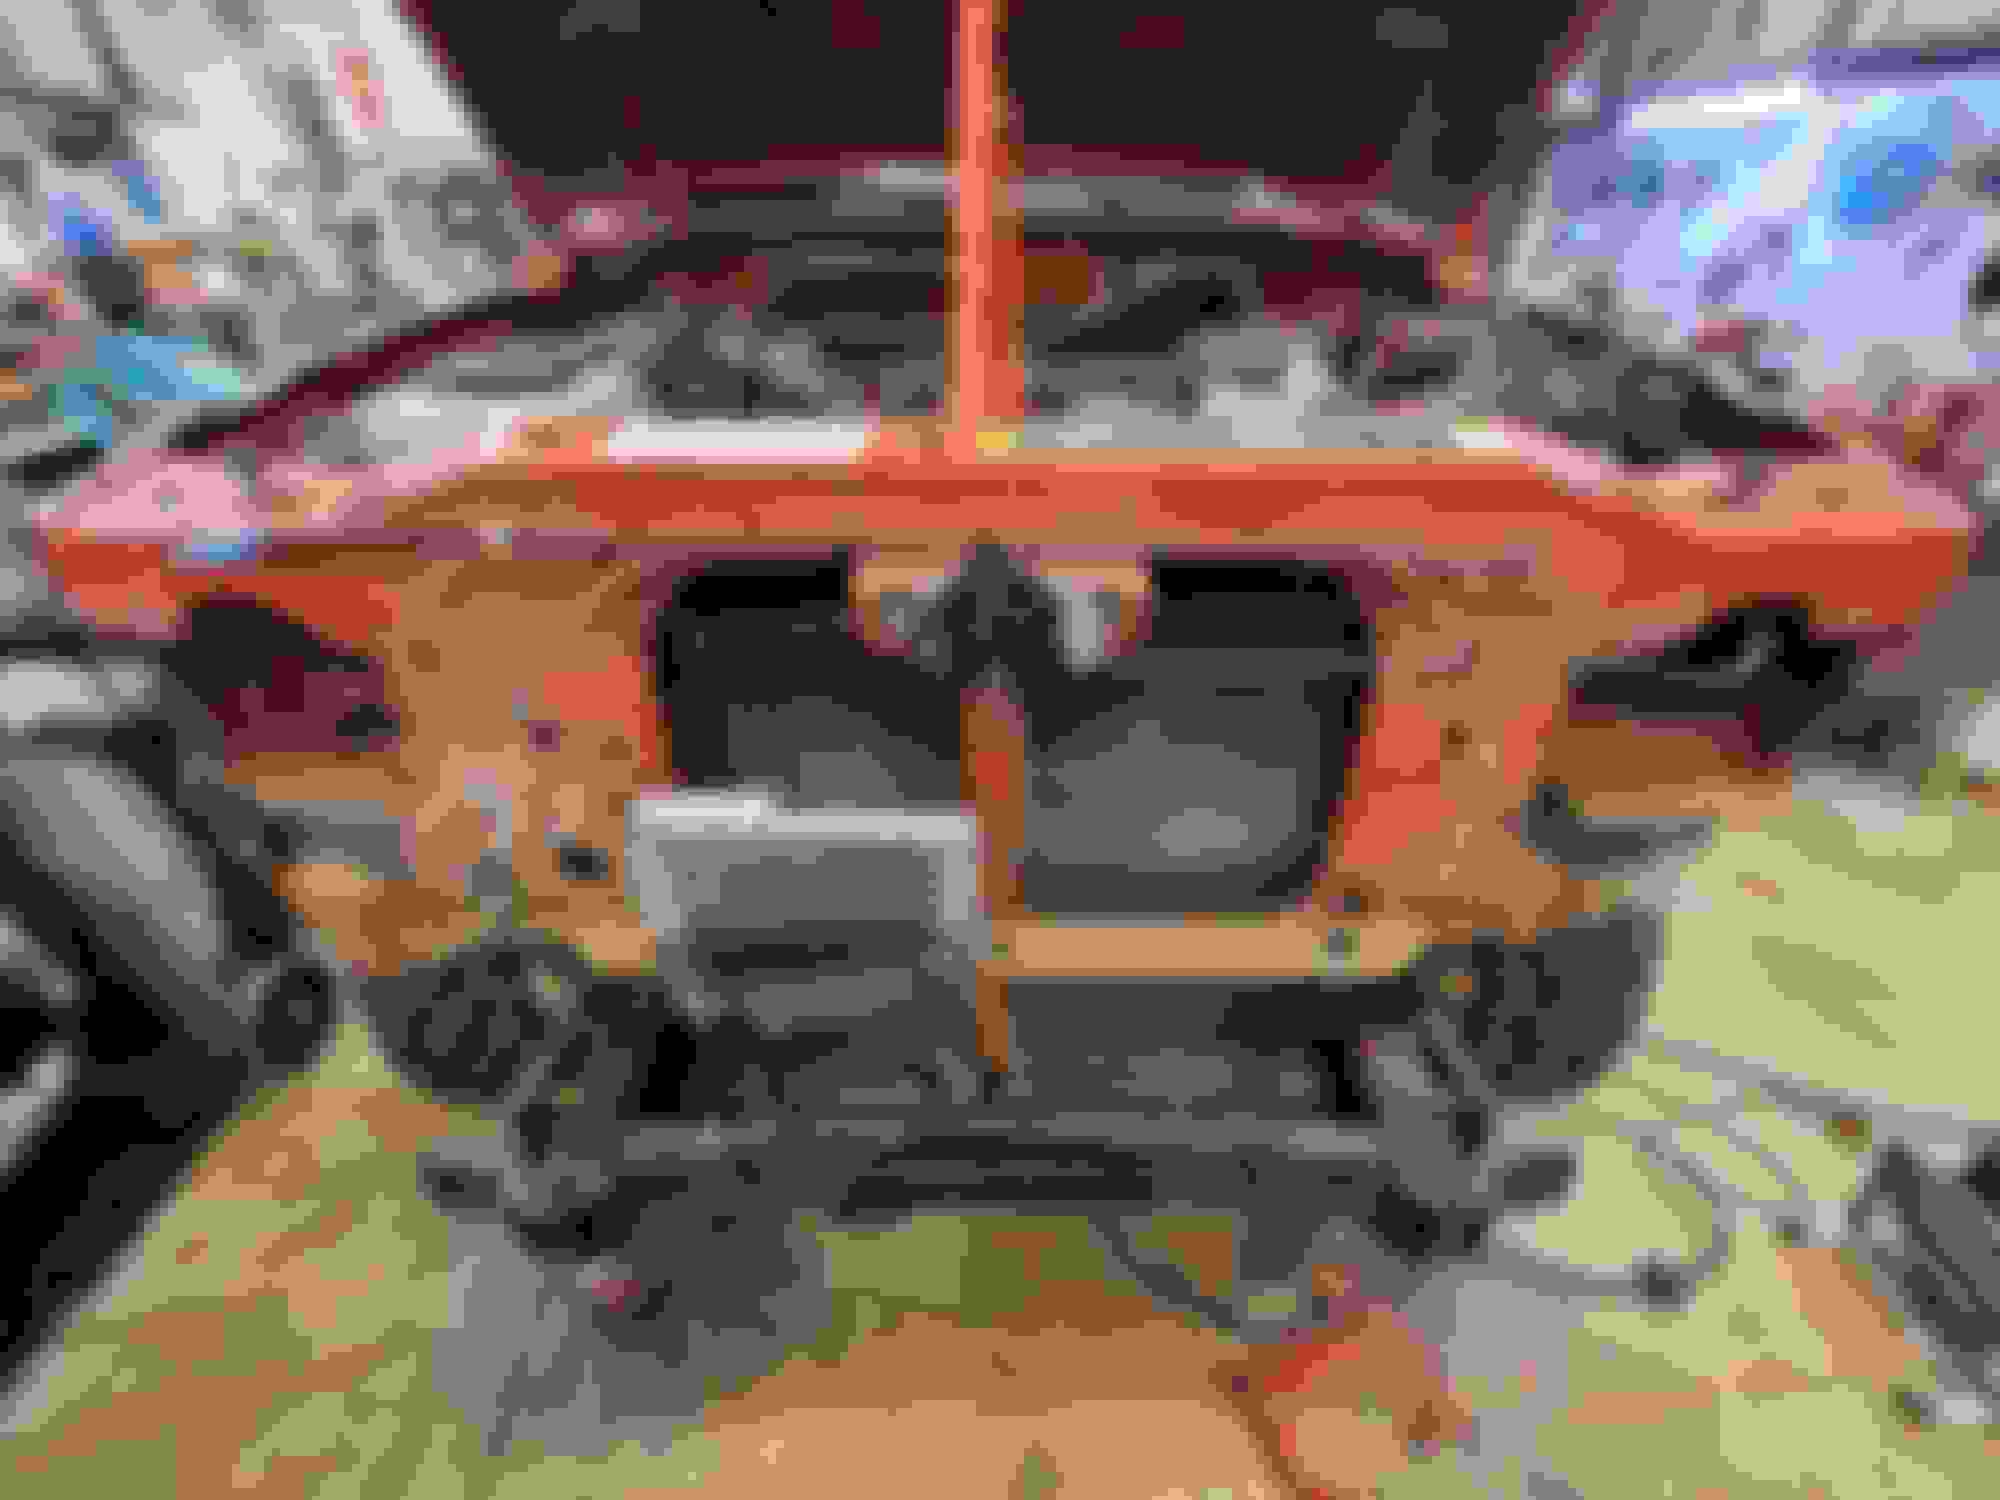
Removed the fenders to start prepping the spot weld drilling. Why the fender liner was designed to cup the bottom of the fender just baffles me, the thing was filed with dirt and rust. There is nothing left to attach the bottom of the fender to.
All the spot welds are removed except for where the battery tray connects.
Couldnt agree with you more on the inner fender cupping the bottom of the fenders being a design flaw. It just rusts out the bottom of the fenders so quick with all the garbage it collects
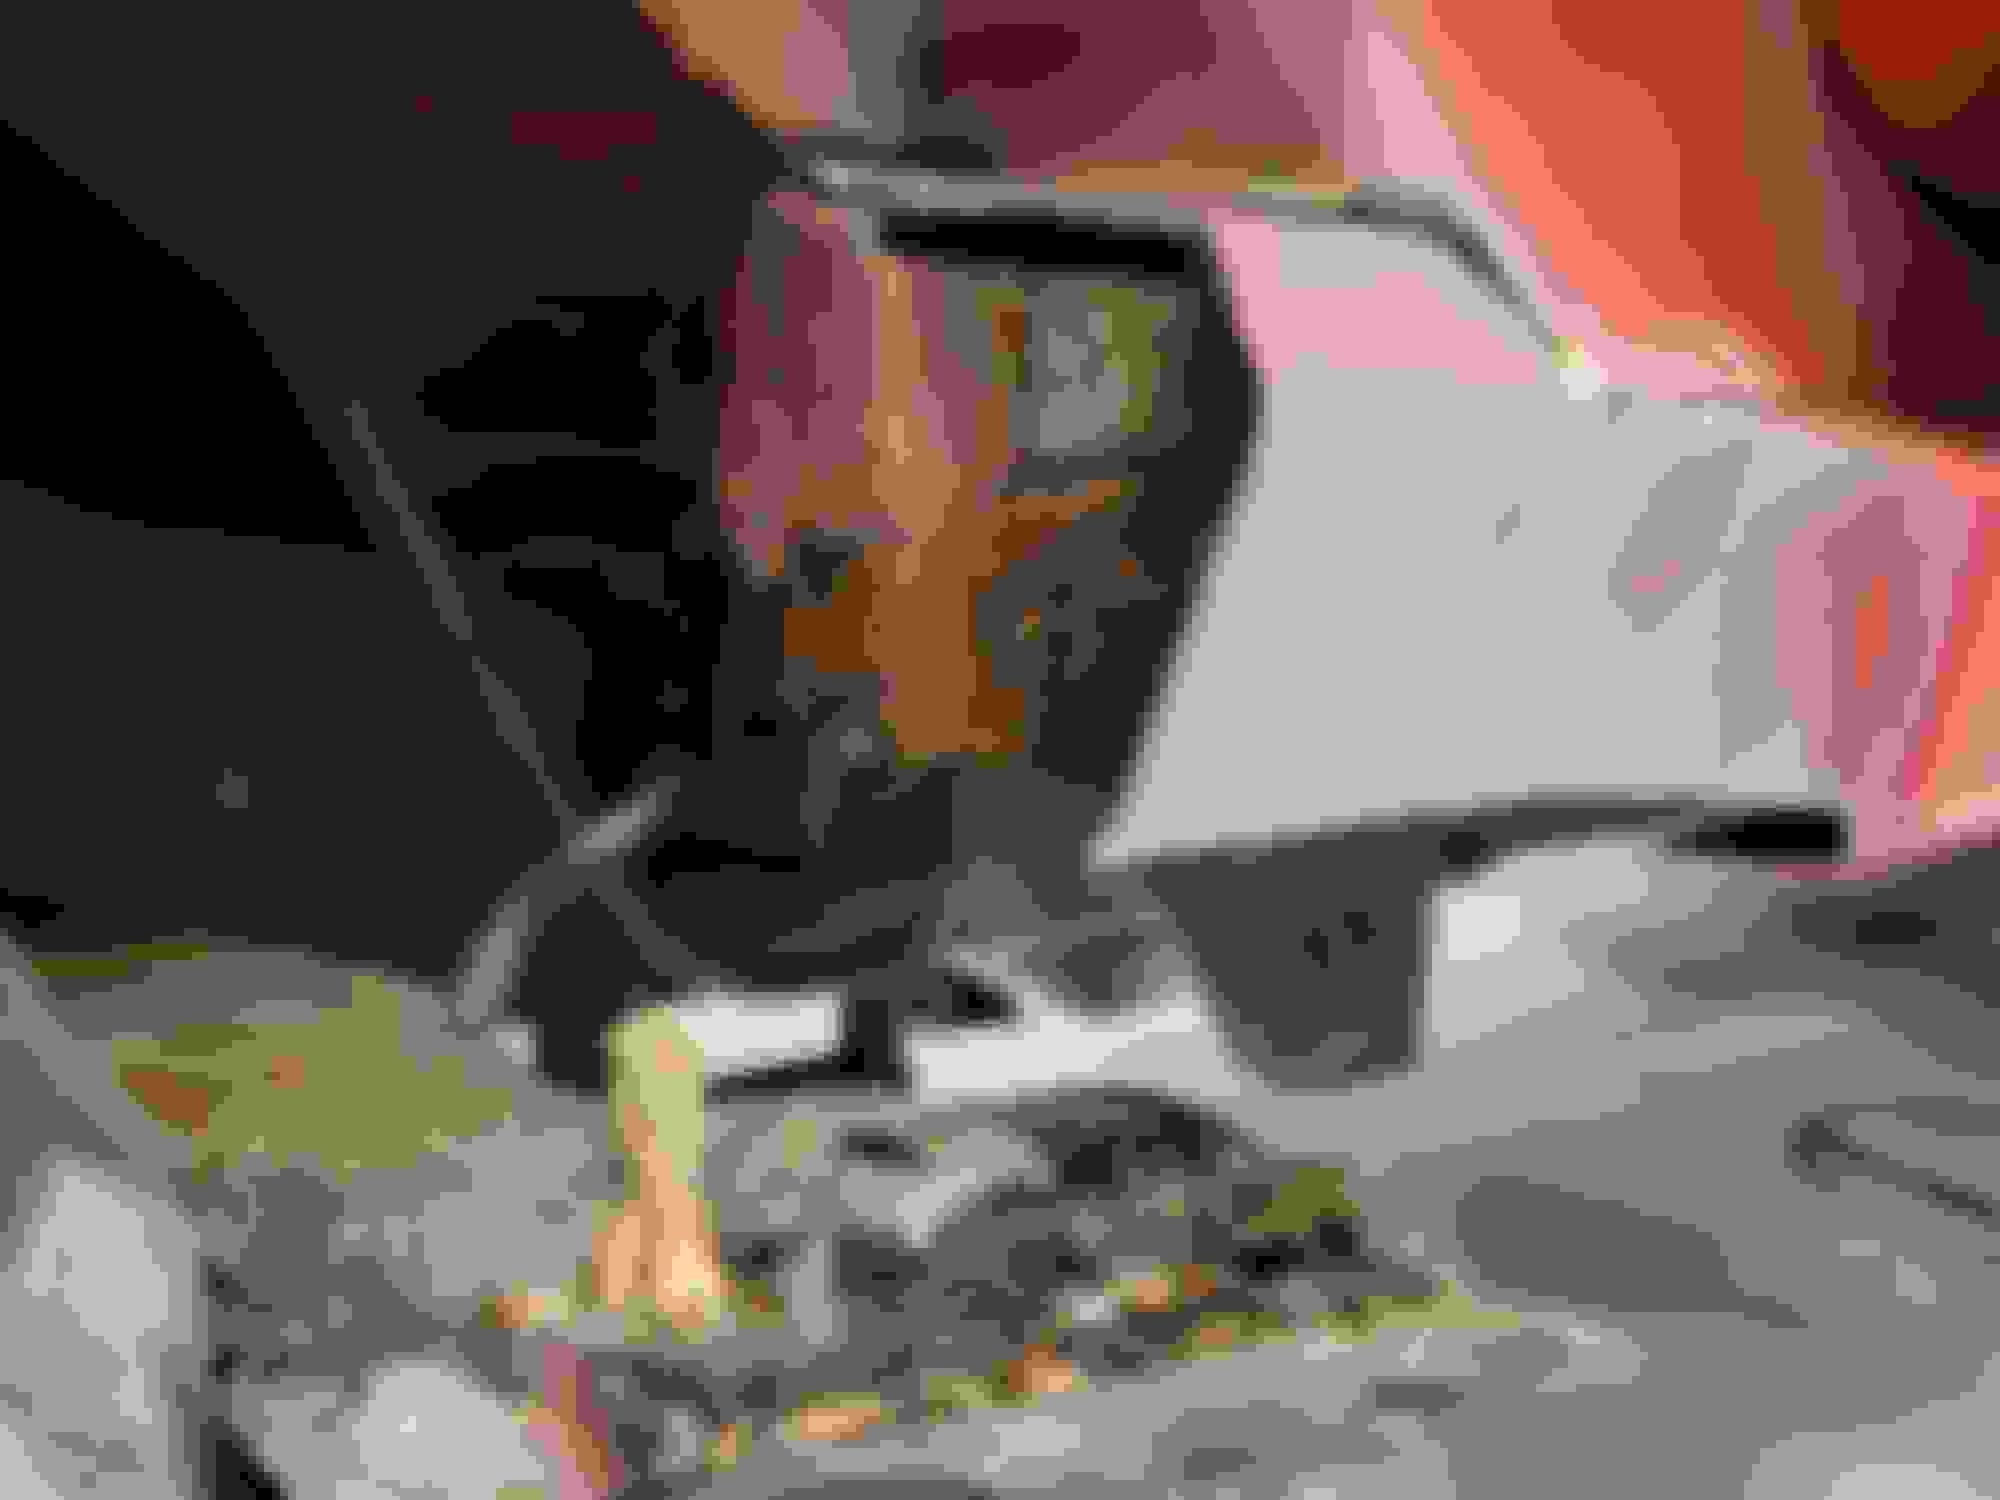
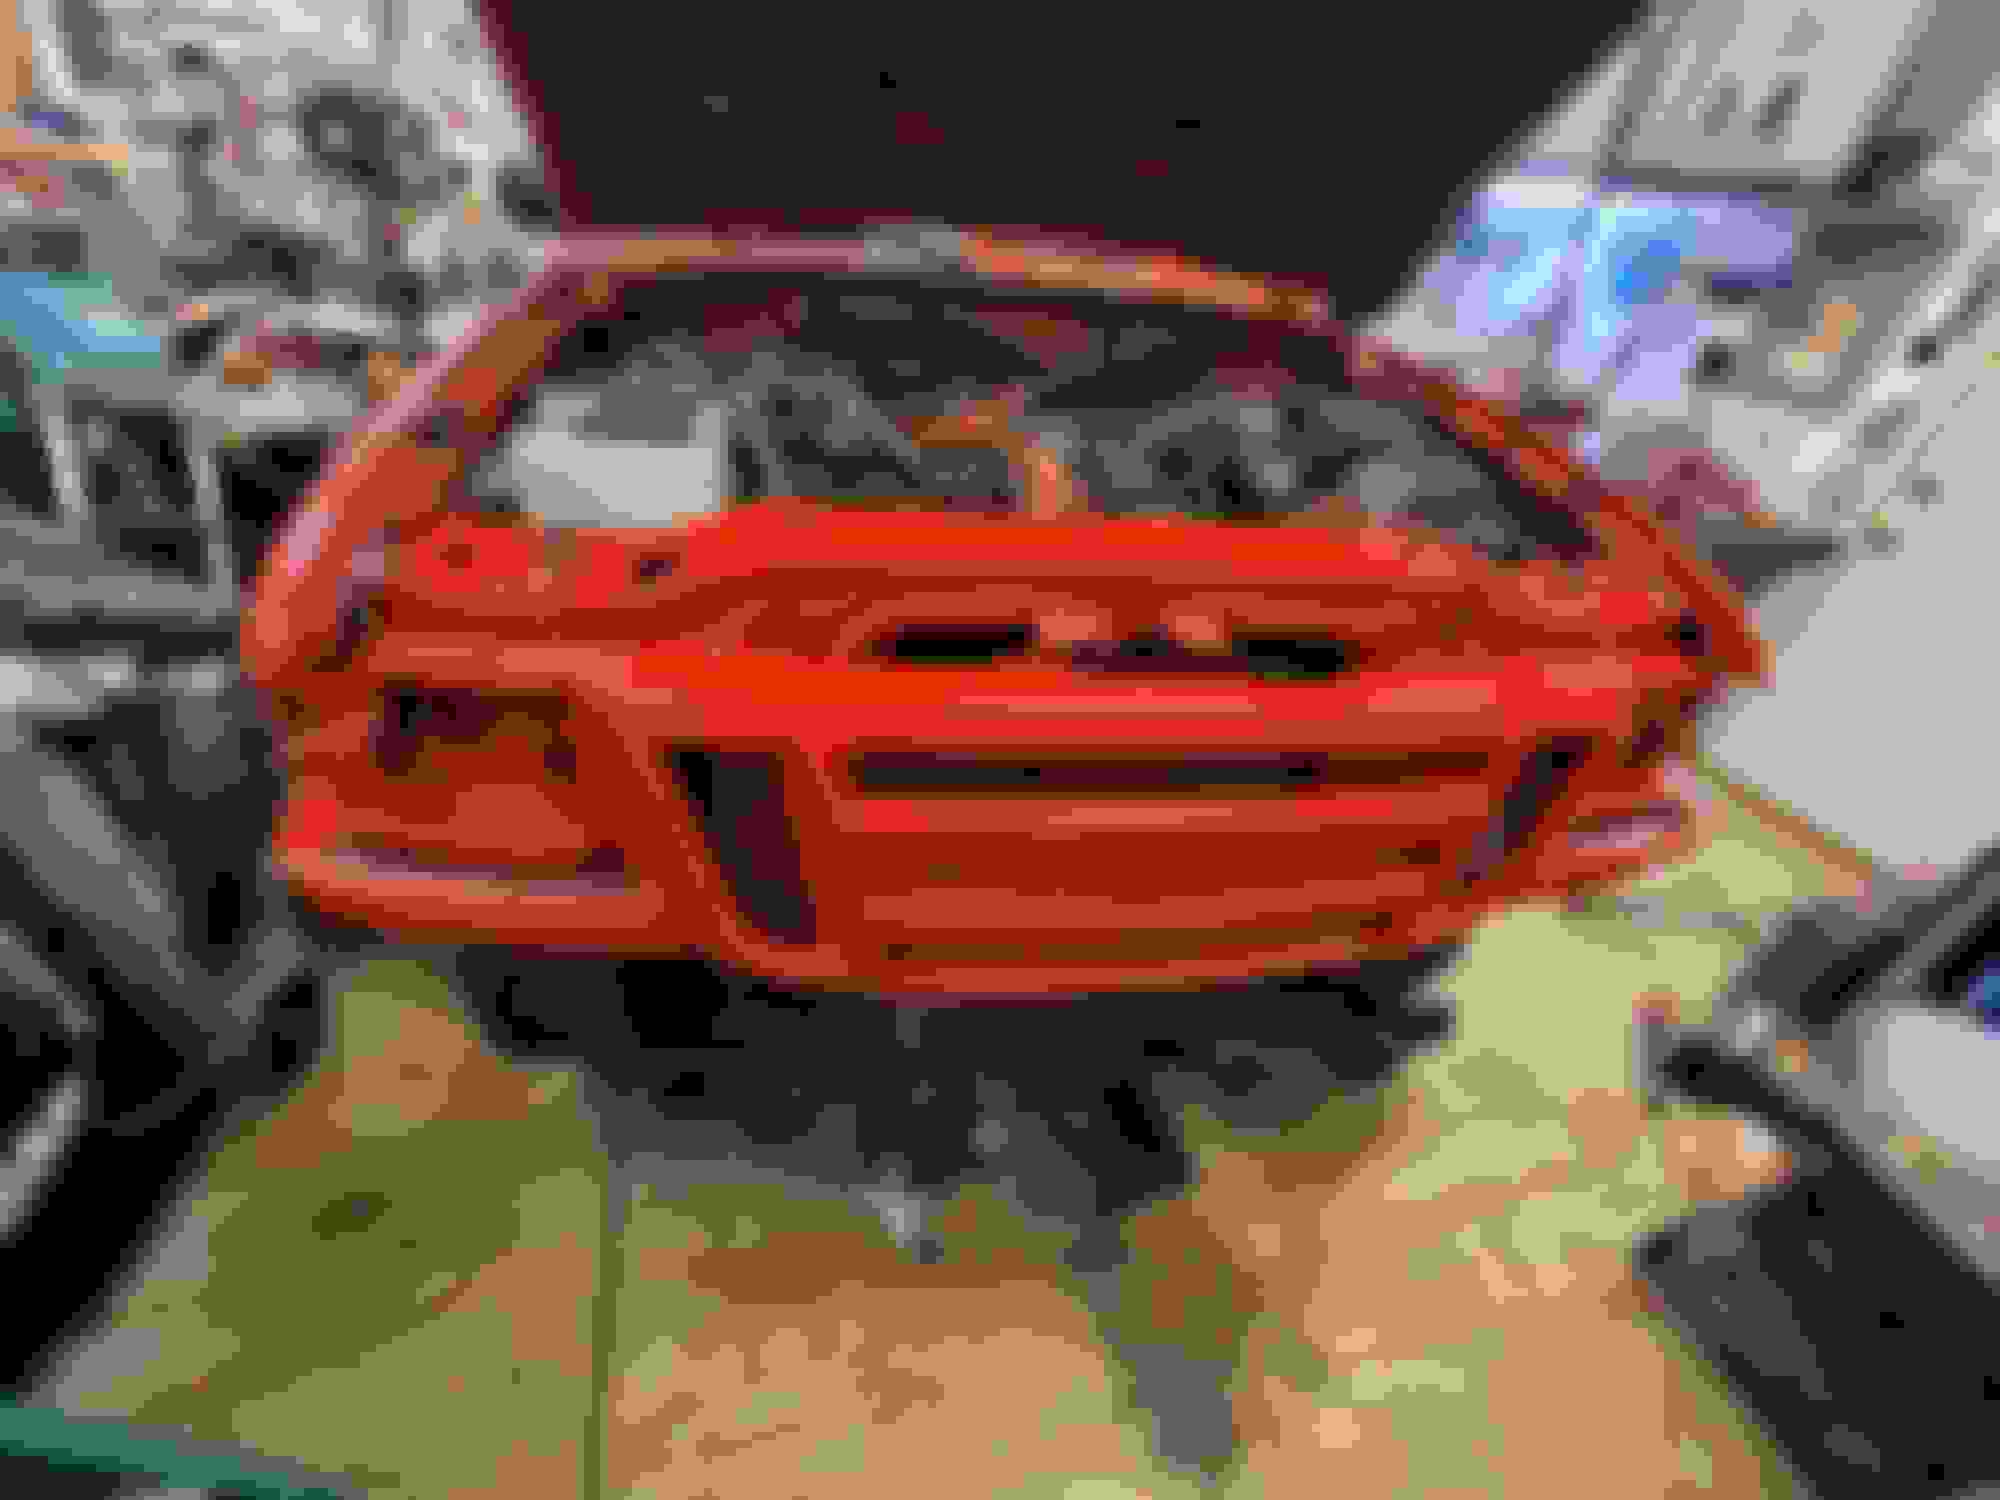
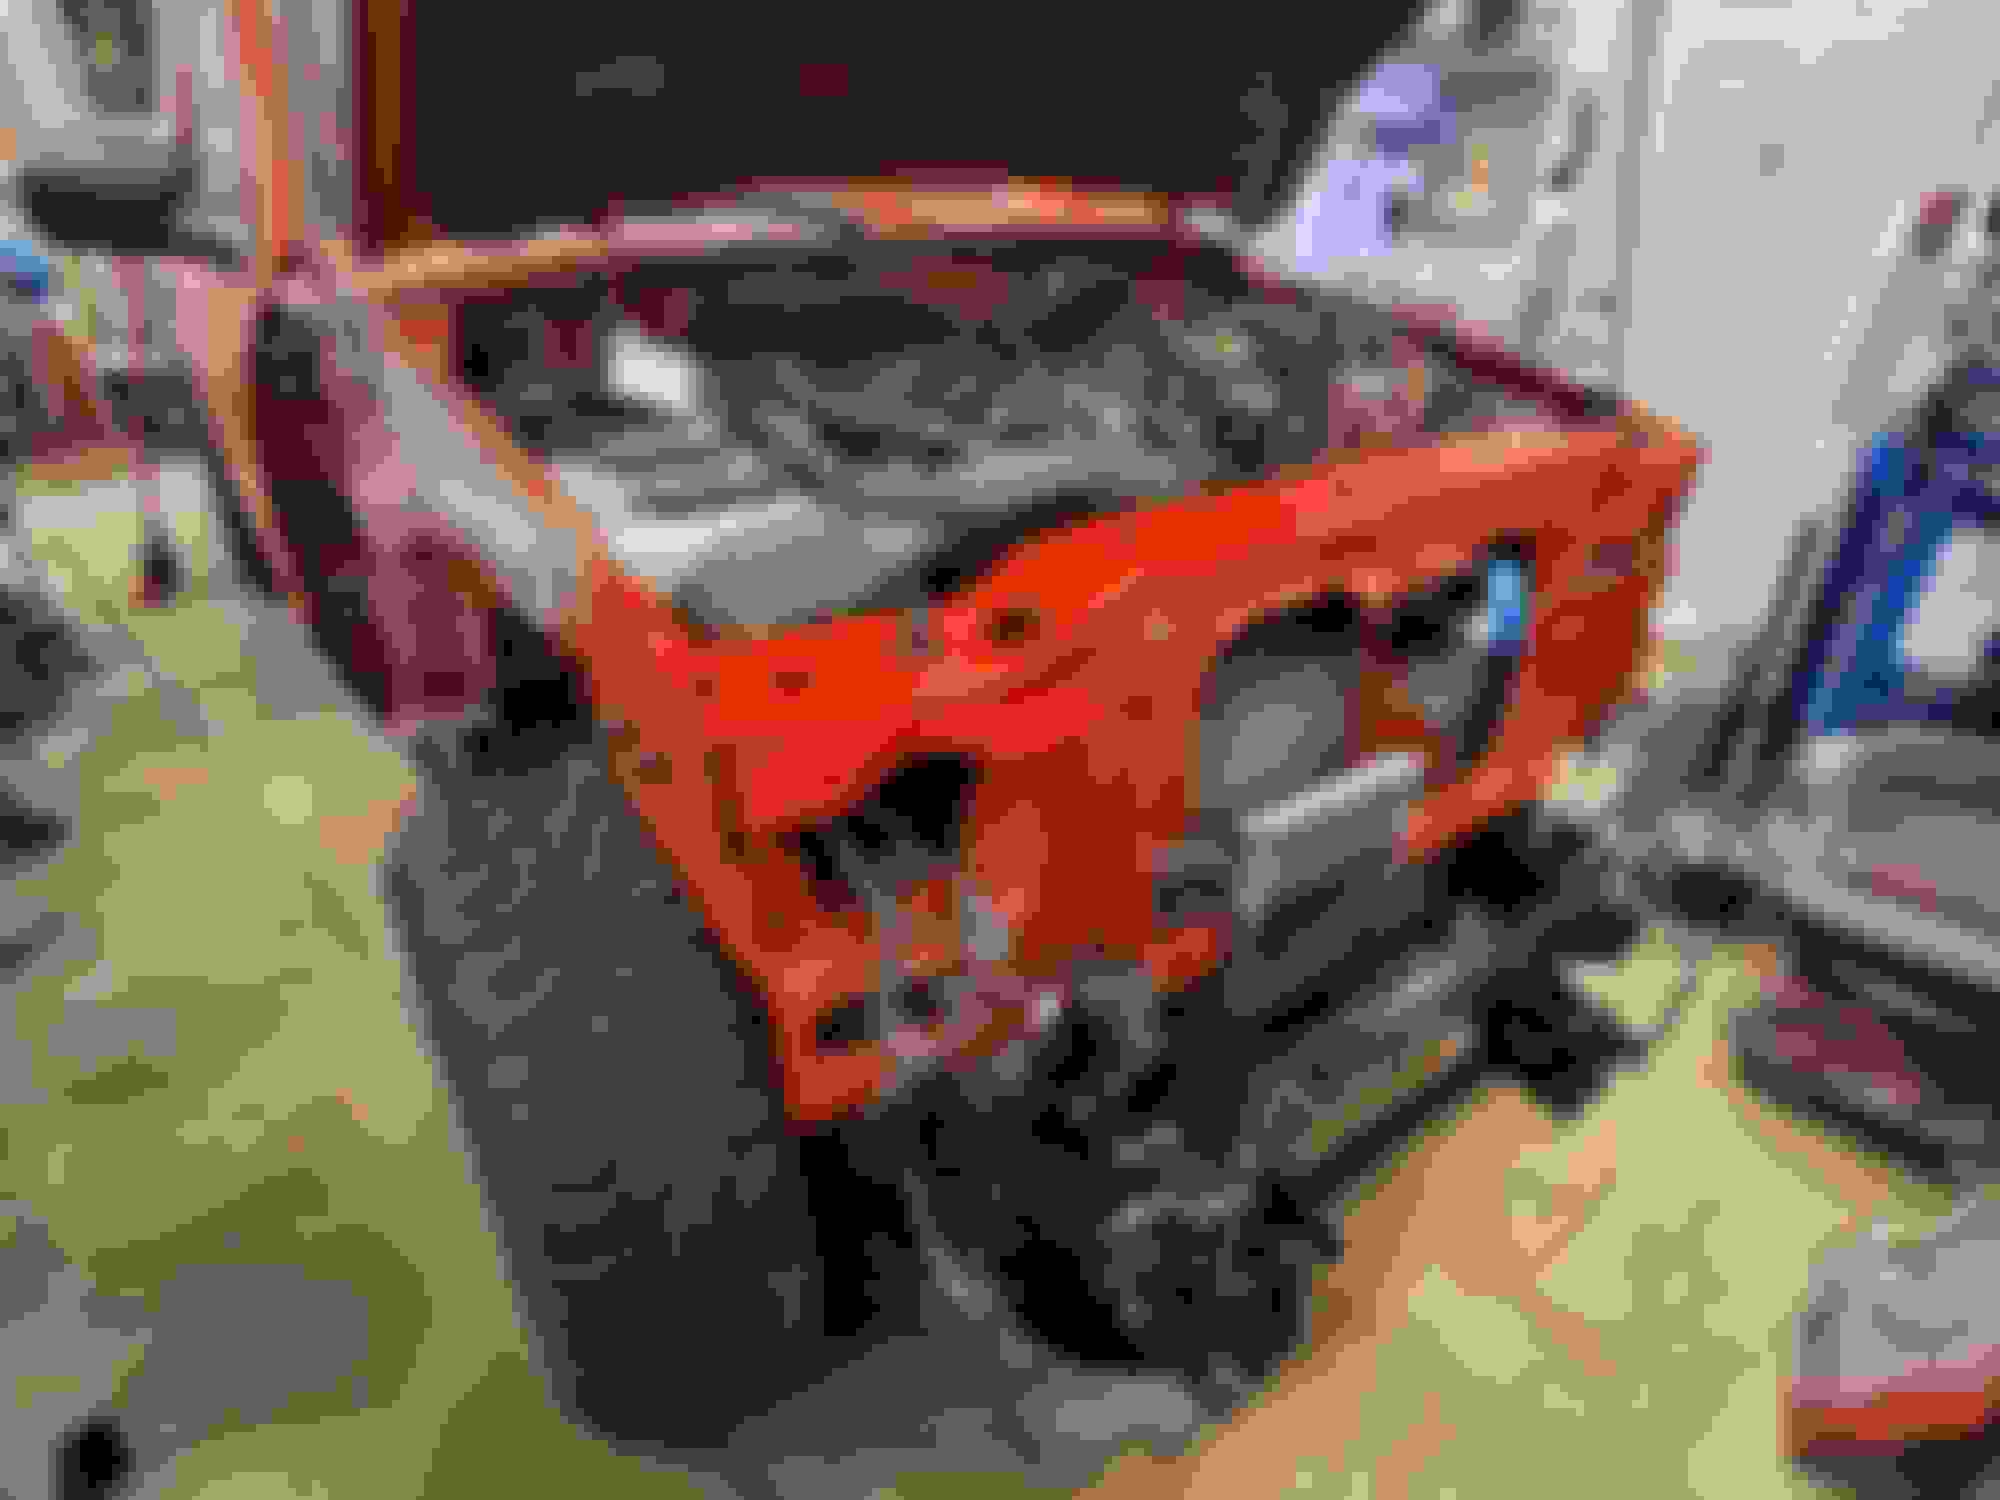
Got the core support out with a little persuasion. The bolts for the lower radiator mounts were rusted out with one basically missing the head. Had to wiggle the radiator out of the mounts. Will definitely be replaced with stainless hardware.
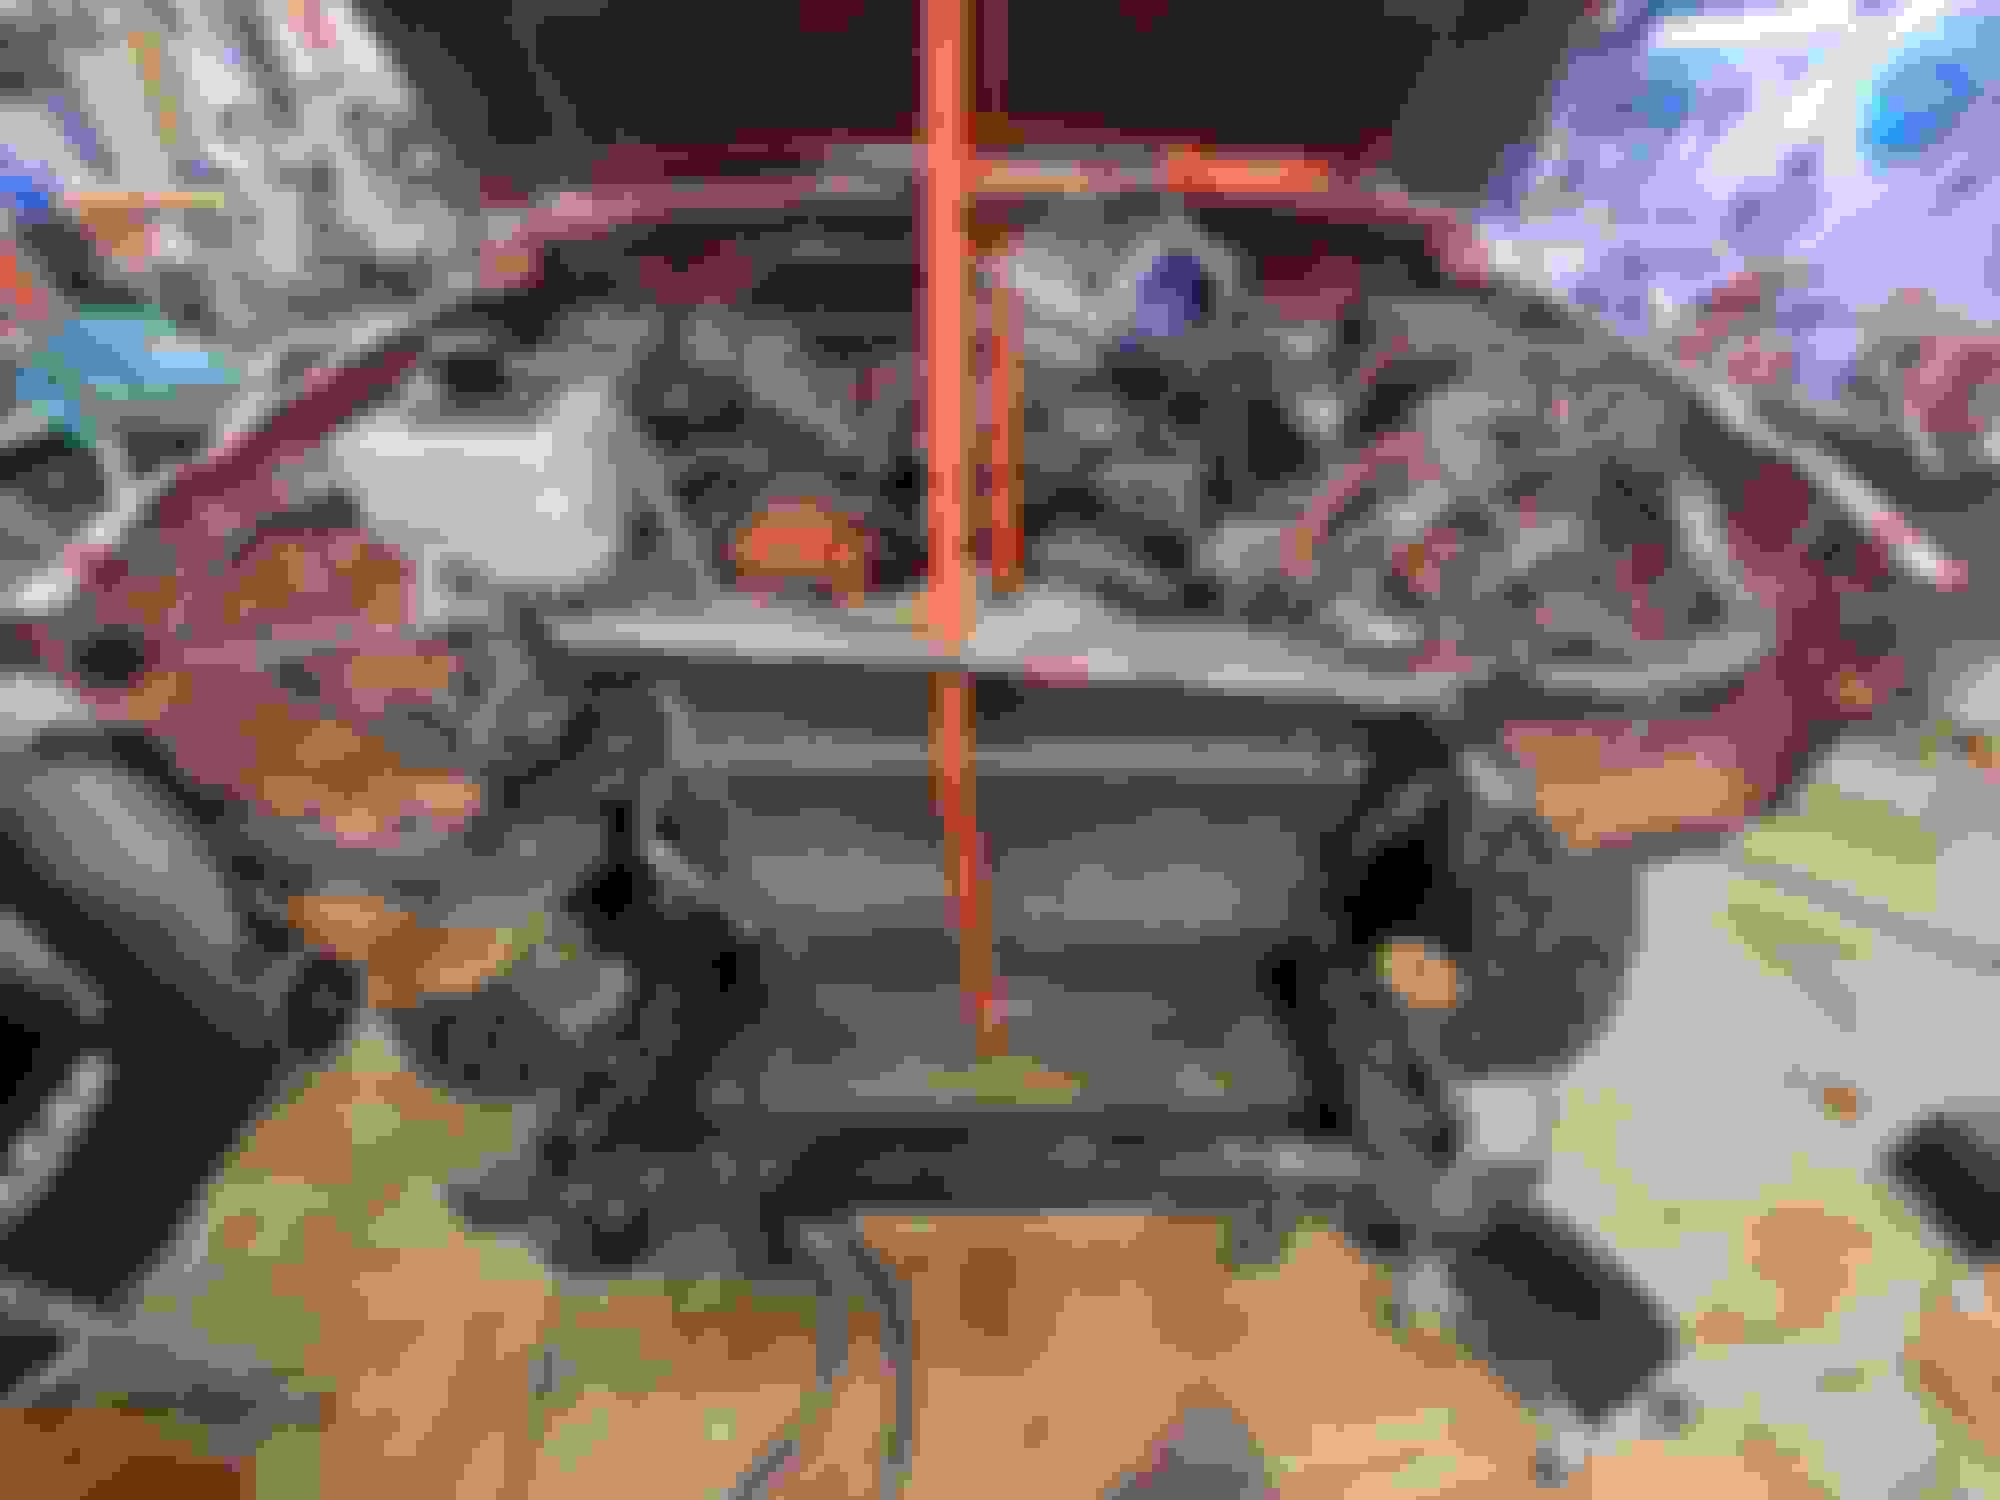
Appears I opened up a can of worms taking the wheel well liners out. The screws holding them in had to be either ground out or they just tore out completely. Will have to weld in a patch after the core support is in. I do however have better access to the trans cooler lines on the transmission with the passenger side well liner out, I just hope they come out with very little issues.
Last edited by afkrejci90; 11-28-2021 at 05:39 PM.
Couldnt agree with you more on the inner fender cupping the bottom of the fenders being a design flaw. It just rusts out the bottom of the fenders so quick with all the garbage it collects
I'm sure it was intentional. Can't sell new vehicles if the old ones don't rust out. You should see what happens behind the weatherstripping on a 4 door SuperCab once the glue dries out. And my truck has been in Florida it's whole life.
As for the liners and the debris traps, I drilled the drain holes out about six times their size years and years ago. That seems to have stopped the debris from getting trapped in that area. Now the water washes it out of the larger hole.
That's the biggest problem when doing rust repair, you have to keep going deeper into it than it looks.
I learned my lesson when doing the cab corners. The fenders are just getting a coating of rust converter and topped off with paint. After that a coating of woolwax.
Got the core support prepped for the spot welds and fitted in place.
Aftermarket stampings usually fall short of OEM parts. There seems to be a significant amount of metal missing from this area. Lined up on top with the inner fender structure and lined up with the bolts on the body mounts and I ended up with quite a gap on the driver side, a little less on the passenger side.
Discovered a neat trick when mocking up panels instead of using clamps, just drive in a self tapping sheet metal screw. Allows for the rest of the parts to be installed.
Got the grill fitted too, luckily the fenders allow for some give in placement to get every body line to line up. Next is to remove everything and start welding the core support in place.
Ended up doing some rust repair anways, wasn't too bad as it was fairly quick after making some patch pieces.
Replaced all of the trans cooler lines as the jb weld holding the old ones together was not going to last this season. Coated them with por15 rather than just leave them bare steel.
The lower fender mounts didn't last. I was able to grab onto what was left and it crumbled in my hands. Made some replacements and welded to what good metal I could find.
Added some braces to clean metal to help stiffen them up.
Got everything inside the engine bay mounted along with treating any rust I could see.
One of the old headlight buckets wasn't fitting correctly and the wires for the HID's were getting smashed into the core support. So instead of cutting a notch in it and rusting right away, thought it was time for new headlights. These "C" type headlights look sharp.
After the whole winter of not having a center console, my right arm was getting sore. Time to fix that. Picked up this piece of junk out of an old explorer.
Its dirty and disgusting, the gray color makes it look outdated, but its perfect to hide the spaghetti mess of wires laying on the floor. Got it test fitted into my truck with very little effort, all that was need four nutserts.
The two pocket insert under the radio isn't of much use for me, but I have been needing an area to mount some switches. So I 3d printed a panel to fit that space and give a nice convenient area for a switch panel.
Just got about every piece wrapped in this synthetic leather material (besides the cup holder portion), really gives a more modern look getting rid of the ugly gray. Padded every plastic contact point so it longer has that cheap creak sound these consoles are prone to.
It's been a moment since my last update, life got in the way again. Finally got around to removing the entirety of the front end components. The front differential will be getting its first fluid change. Dropping the differential made removal of the steering rack so much easier.
Passenger lower control arm bolts came out with a little bit of work. The driver side however were seized to the bushings, had to sawzall the bolts to get them out. The bushings themselves were a pain to pop out. If it were not for the bump stop shelf I added to the control arms I would have just bought new ones. Threw them in the blast cabinet and they cleaned up well.
 11-17-2021