When you click on links to various merchants on this site and make a purchase, this can result in this site earning a commission. Affiliate programs and affiliations include, but are not limited to, the eBay Partner Network.
2006 Mazda B4000 Custom Fog lights, bumpers and grille (fabrication/painting project)
I have always wanted to make my front bumper completely match the rest of my truck. I've painted so many things to match the body that I decided to remove the front bumper and eliminate the texture. I used a activated 2 part primer to get the surface right for basecoat and clearcoat. While I had it off I took this time to fabricate custom brackets that would fit some projector fog lights adapted to have HID lights in them.
First I had to get the holes right so that the foglights would fit where they should be. I made some brackets out of 1/8" aluminum and I tig welded them together. I designed the bracket openings in CAD, and then transfered the design onto the aluminum with my heat press that I use to make printed circuit boards. This way I could cut out the opening with a jigsaw and a plywood style jigsaw blade (wood coarse tooth jigsaws work great with 1/8" aluminum)
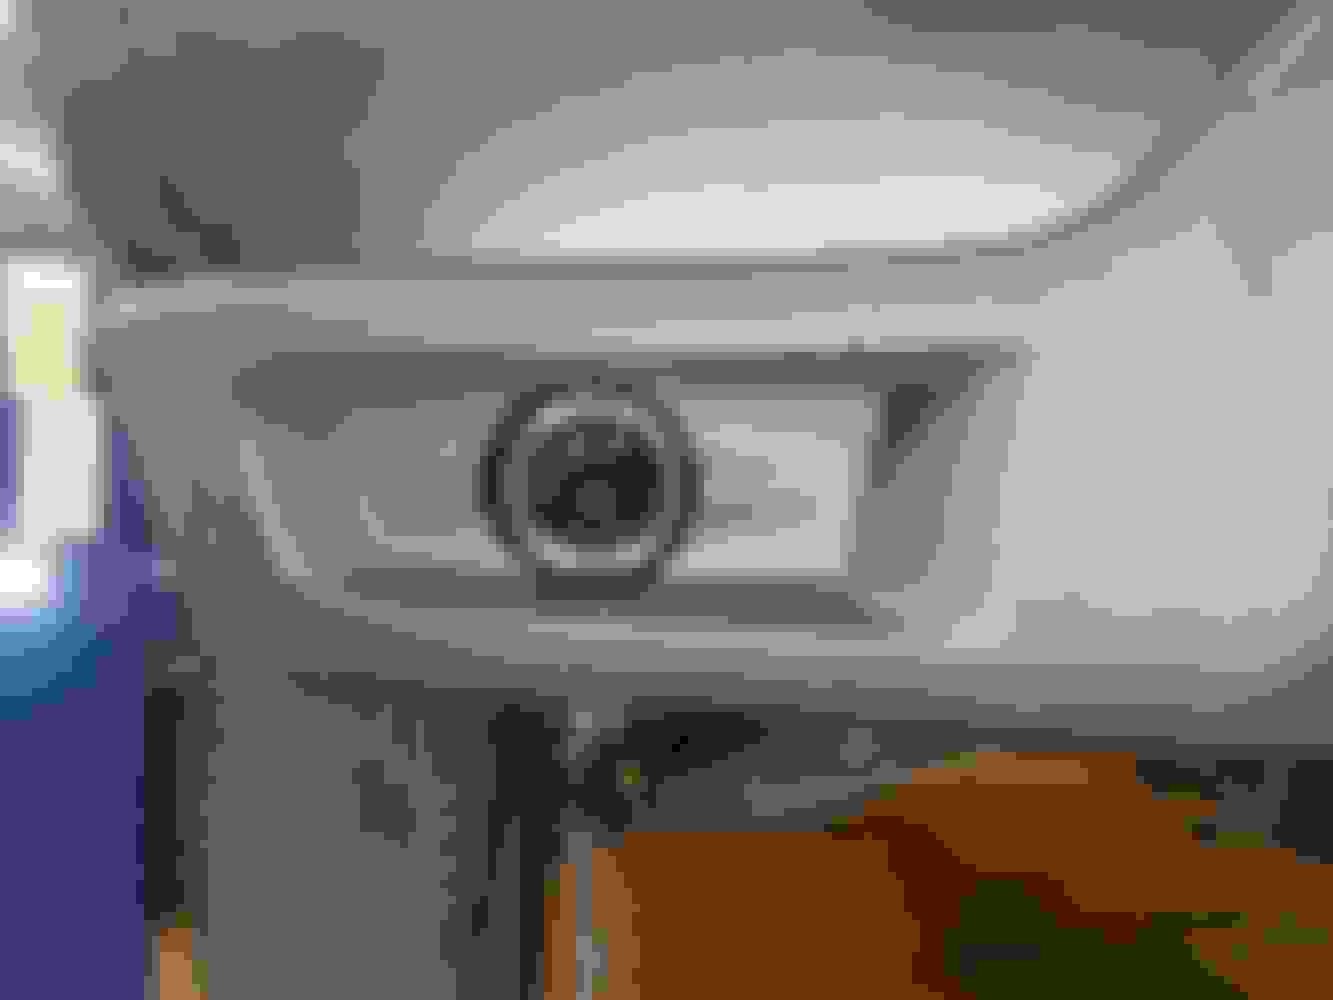
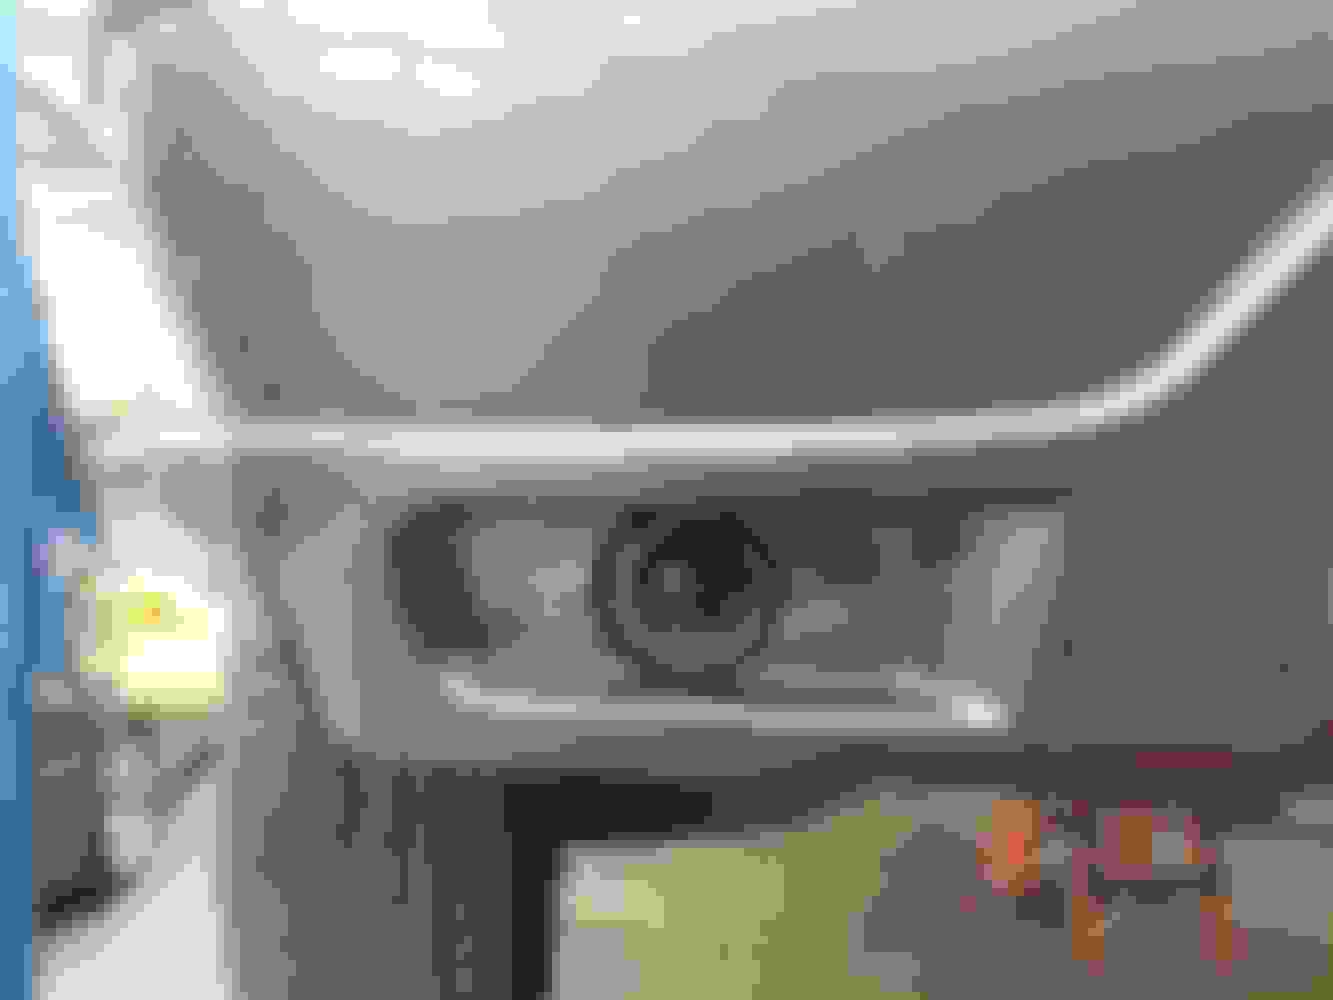
Here is the opening Here you can see with the fog light installed back view, fog light installed top down fog light installed view of how things look in the truck
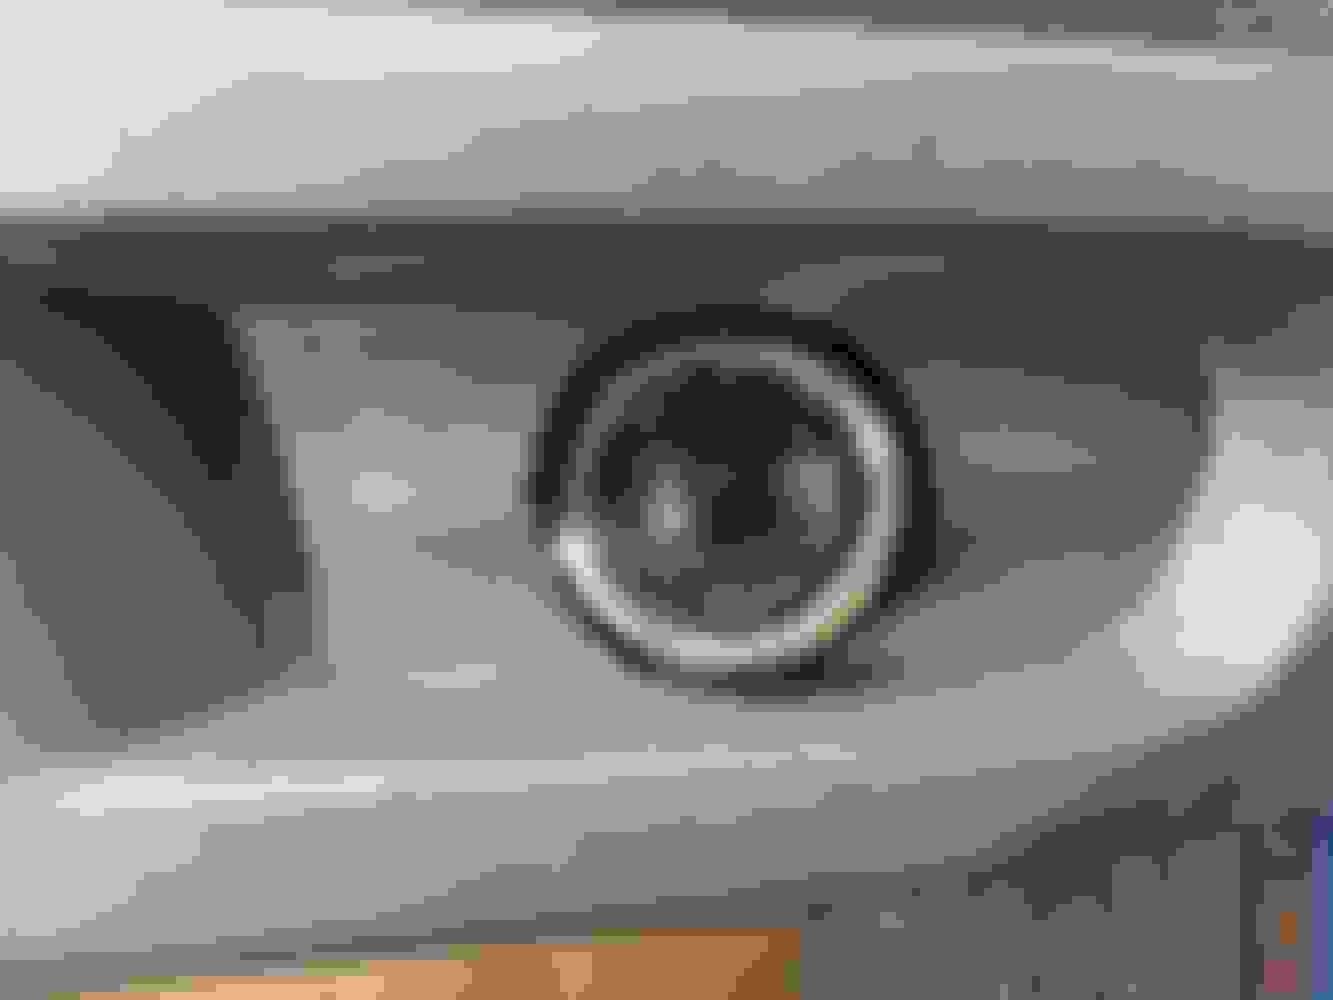
Here are pictures of how the lights looked from the front.
You can see how my original bumper valence on top, and on the bottom is plain unpainted plastic. It has a leathergrain texture. Not to mention I bought my truck from Tennessee and the sun sure did do a number on the plastic. This truck was never made from the factory with a smooth, body finished matched bumper.
I then began to break the truck down. After about 30 hours of sanding, I had much less texture. I started with 220, 320, 500 then 600. I sand blasted the steel bumper part in the middle. I used epoxy primer on it.
steel bumper is not sandblasted yet in this photo plastic cleaned and texture basically gone difficult to sand the inside corners
Here are pictures of the parts after primer, and during sanding. Trying to get a smooth finish that I can put basecoat and clearcoat on. I did a front-plate hole delete years ago.
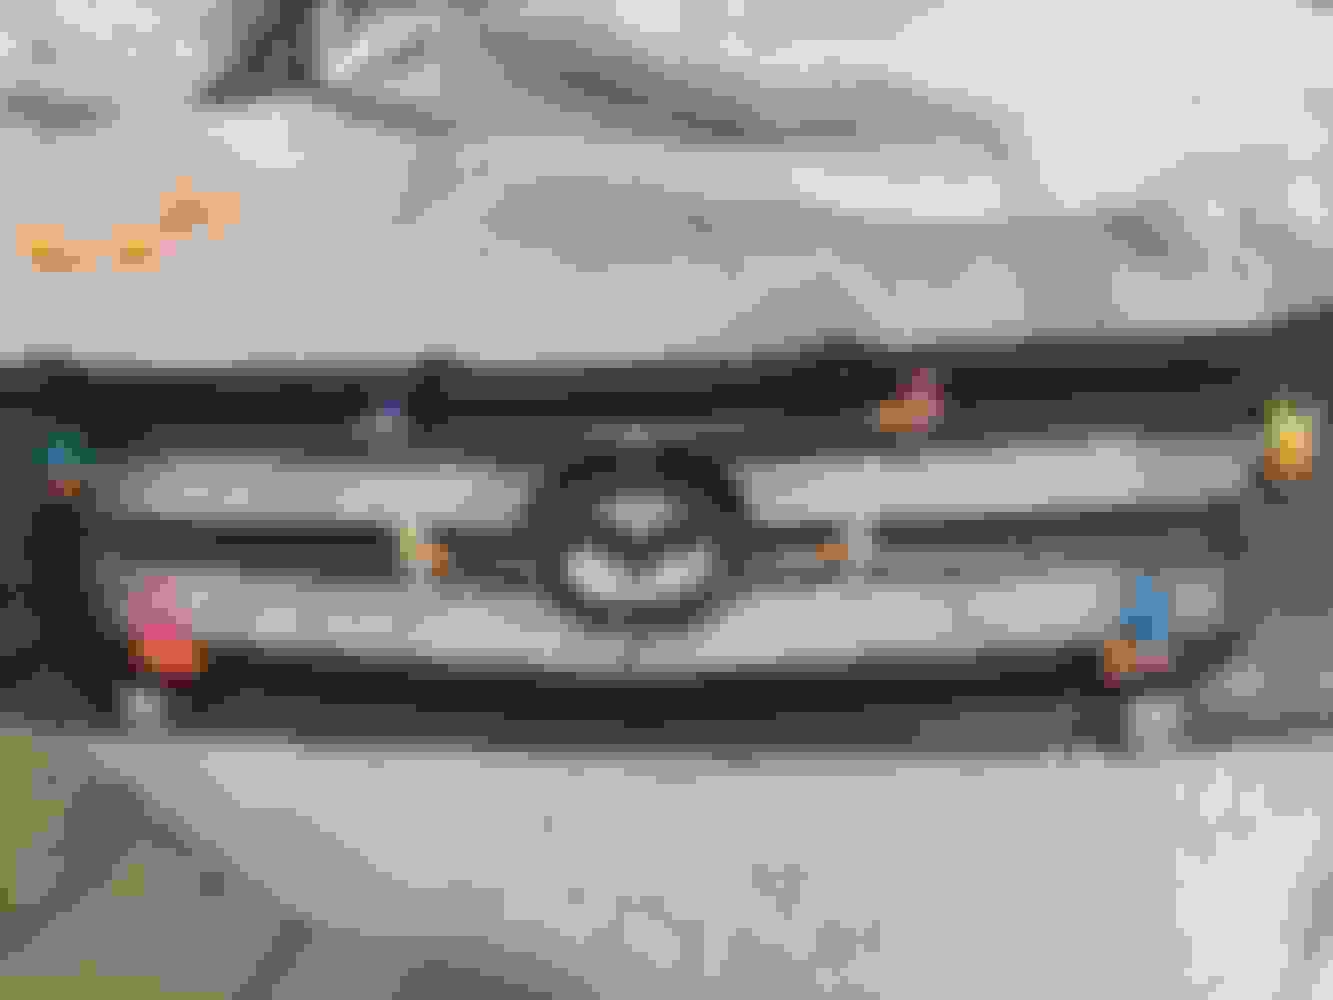
While I had everything apart I wanted to buy one of those black-grille-mesh pieces and install it on the grille which I had painted years ago. I had to find a way to mount it. I designed some pieces in cad to act as little mounting points that I could epoxy onto the grille. I drilled a little hole in these and it would hold the mesh to it just like a factory setup. These are made with high temp ABS which works great under the hood.
Next it was time to put everything back on the truck. I did a very similar thing on the opening for the bottom, where I wanted to use mesh. I had to design and 3d print a bracket that would hold the top portion of the grille. I made these attach into the main part of the frame.
I also painted the trim rings on the fog lights. I sandblasted the chrome, and sprayed it to match the body of the truck. I then finished my aluminum tig welded brackets by powdercoating them with a plain flat black powerdcoat.
I mounted all of the ballasts for my headlight projector retrofit on the bottom of my front header- so I put the ballasts for the fog lights there also. Here are the output pictures when i was testing the aim. I used Yellow hid's- I think they are OK, even know now I would have wished I went with plain white.
It is a very tight beam pattern with no scattering.
Very nice update to the front of that Mazda. Are you going to put some trim pieces around the fog lights to cover the gap? I definitely need to learn how to weld.
Very nice update to the front of that Mazda. Are you going to put some trim pieces around the fog lights to cover the gap? I definitely need to learn how to weld.
No, I'm OK with the gap. From the front looking head on, they look even all around. They are original OEM Ford foglights- Ford used them on probably a dozen different cars over a span of 10 years. The only trim is the chrome ring that I painted grey to match the body. The hole is slightly oversized on purpose because as the fog lights are adjusted they move. The angle needs to be right when the light is in the center. This is why I put everything together first, tested it, and then took it back apart for paint. My truck did not come with fog lights so the bumper had no holes there- it's not exactly square to the front, because everything has a curve there.
...original OEM Ford foglights- Ford used them on probably a dozen different cars over a span of 10 years. The only trim is the chrome ring that I painted grey to match the body. The hole is slightly oversized on purpose because as the fog lights are adjusted they move...
Yep, same FogFixtures are stock factory on both my 2001 ExST & 2008 Edge.
Great work, write up, & pics!