Project Budget Buster

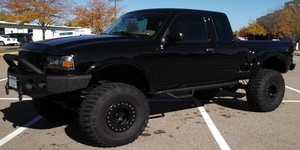



Well, all the small parts have been dropped off at the powder coaters place this morning. Sounds like a week or two and I will have them back.
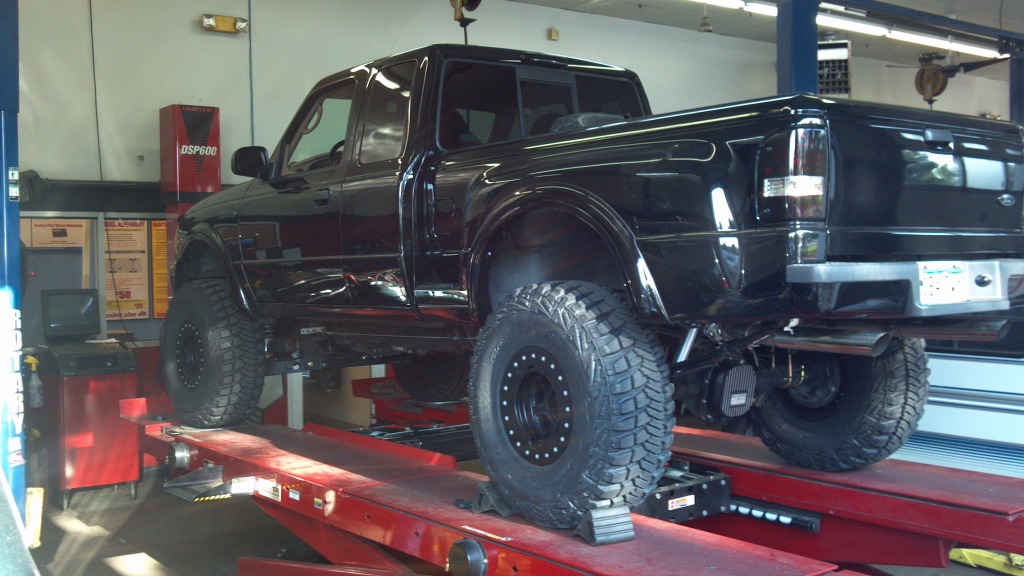
A few days ago I pulled the trigger on five brand new 35"x12.5"x15" Goodyear MT/R's & Friday four of them showed up. The fifth tire should be here Monday.
In addition, I had the center pair of lugs siped (hard to see in the pictures) to help with packed snow & rain performance...but I stayed away from the side lugs to avoid potential ‘chunking’ when off-road.
These things seem HUGE in person!
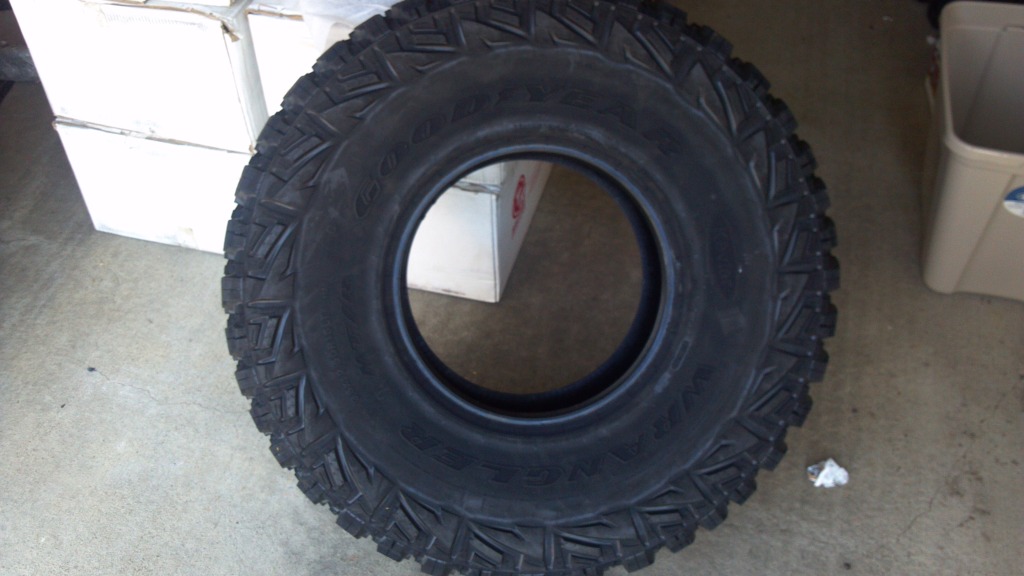


A few days ago I pulled the trigger on five brand new 35"x12.5"x15" Goodyear MT/R's & Friday four of them showed up. The fifth tire should be here Monday.
In addition, I had the center pair of lugs siped (hard to see in the pictures) to help with packed snow & rain performance...but I stayed away from the side lugs to avoid potential ‘chunking’ when off-road.
These things seem HUGE in person!

Well, it's a process for sure but all the parts are looking good stacked up in the garage! lol
I already have the 4.88 gears and front LSD installed. The other items need to have things powder coated or in the case of the sliders - bedlined once they are mocked up.
Earlier this morning I was outside trying to mount the tires onto the beadlocks...talk about a workout! After almost 90 minutes, I only got one partially mounted because I have to trim a little along on the outer bead of the tire to allow it to sit properly on the outer beadlock lip. My Dremel got used a bunch - and now everything smells like burning rubber! This was after almost an hour of using a rubber mallet & pry-bars to try to get it to fit over the lip. After trying that long, I came back inside and researched a few things, and people talked about having to remove part of the thick bead to get the MTR's to fit...so that's when the Dremel came out to hopefully speed things up.
Then, after looking at it all, I need a 'bolt flange spacer' ring from Trail Ready to make sure I still have the required 'metal to metal' contact since the bead on the MT/R's are so thick (≈ 3/4")
So, with that, I knew I couldn't finish a single beadlock and because I was getting my *** kicked anyway, I just retreated & went inside to order the rings…but they are also couple of weeks out.
I'm hoping to install the rear disc brake kit & mock the sliders up within the next few weeks while I'm waiting for the powder coated pieces.
I already have the 4.88 gears and front LSD installed. The other items need to have things powder coated or in the case of the sliders - bedlined once they are mocked up.
Earlier this morning I was outside trying to mount the tires onto the beadlocks...talk about a workout! After almost 90 minutes, I only got one partially mounted because I have to trim a little along on the outer bead of the tire to allow it to sit properly on the outer beadlock lip. My Dremel got used a bunch - and now everything smells like burning rubber! This was after almost an hour of using a rubber mallet & pry-bars to try to get it to fit over the lip. After trying that long, I came back inside and researched a few things, and people talked about having to remove part of the thick bead to get the MTR's to fit...so that's when the Dremel came out to hopefully speed things up.
Then, after looking at it all, I need a 'bolt flange spacer' ring from Trail Ready to make sure I still have the required 'metal to metal' contact since the bead on the MT/R's are so thick (≈ 3/4")
So, with that, I knew I couldn't finish a single beadlock and because I was getting my *** kicked anyway, I just retreated & went inside to order the rings…but they are also couple of weeks out.
I'm hoping to install the rear disc brake kit & mock the sliders up within the next few weeks while I'm waiting for the powder coated pieces.
Last edited by logan03CO; Jun 24, 2012 at 02:15 PM.
Tiny Update:
Finally got one of my new 35's mounted fully onto the flange of one of the beadlock wheels. These tires are not easy to work with! I still need to wait for the bolt flange spacers to show up then I can officially finish up the first wheel by bolting it all together.
One wheel partially down...four more to go!
Oh, I also picked up all the powdercoated items...they are looking good! The black powdercoated RCD support components should go better with my truck than the standard issue 'chrome' setup from RCD. The matching black center cap for the wheelss were an automatic - given the black beadlocks.
Finally got one of my new 35's mounted fully onto the flange of one of the beadlock wheels. These tires are not easy to work with! I still need to wait for the bolt flange spacers to show up then I can officially finish up the first wheel by bolting it all together.
One wheel partially down...four more to go!
Oh, I also picked up all the powdercoated items...they are looking good! The black powdercoated RCD support components should go better with my truck than the standard issue 'chrome' setup from RCD. The matching black center cap for the wheelss were an automatic - given the black beadlocks.
Last edited by logan03CO; Jul 7, 2012 at 04:23 PM.


Nope - thought about it at first though.
I did use a little soap and water on the outside of the tire when I first went to push the entire tire down onto the wheel (I'm not going to bother doing it on the remaining four - because it went so easy). I need to be careful about getting anything on the inside of the tire since I'm using dynabeads for balancing and I hear they will clump together if you get careless with the lube.
Pushing the tire over the wheel wasn't an issue (I was prepared that for being the tough part). To my surprise, it's only getting the tire around the 'lip' next to the bolt flange and getting it seated evenly and centered that's caused me the problems.
After trying it the first time last week, I searched online some, and the MT/R's have an extra thick lip and sidewall that makes them tough to mount on beadlocks. But a little dremel action against the tire, and a good dose of the rubber mallet, and I got it set in there.
Now that I know the weapons needed...I assume the other four should go a little quicker...I hope!
I did use a little soap and water on the outside of the tire when I first went to push the entire tire down onto the wheel (I'm not going to bother doing it on the remaining four - because it went so easy). I need to be careful about getting anything on the inside of the tire since I'm using dynabeads for balancing and I hear they will clump together if you get careless with the lube.
Pushing the tire over the wheel wasn't an issue (I was prepared that for being the tough part). To my surprise, it's only getting the tire around the 'lip' next to the bolt flange and getting it seated evenly and centered that's caused me the problems.
After trying it the first time last week, I searched online some, and the MT/R's have an extra thick lip and sidewall that makes them tough to mount on beadlocks. But a little dremel action against the tire, and a good dose of the rubber mallet, and I got it set in there.
Now that I know the weapons needed...I assume the other four should go a little quicker...I hope!
Last edited by logan03CO; Jul 7, 2012 at 09:21 PM.
No...I wish though!
I did get most of the beadlock ring spacers I needed.
Then I realized I may want (or need) to use longer bolts with the ring. So, I have ordered 200 bolts & 200 washers from McMaster-Carr to replace the ones that came with the new wheels. Purchased the best Grade 8 ones I could find. These 'Ultra Corrosion-Resistant High-Strength Steel—Grade 8’ bolts & washers should resist corrosion even longer than the standard 'Yellow-Chromate Zinc Coated-Grade 8' ones.
Other than that..I've been working way too much lately…then when I get home its wayyyy too hot to wrestle with the truck.
I did get most of the beadlock ring spacers I needed.
Then I realized I may want (or need) to use longer bolts with the ring. So, I have ordered 200 bolts & 200 washers from McMaster-Carr to replace the ones that came with the new wheels. Purchased the best Grade 8 ones I could find. These 'Ultra Corrosion-Resistant High-Strength Steel—Grade 8’ bolts & washers should resist corrosion even longer than the standard 'Yellow-Chromate Zinc Coated-Grade 8' ones.
Other than that..I've been working way too much lately…then when I get home its wayyyy too hot to wrestle with the truck.
Well I went outside this morning to tackle the beadlocks again.
I got one 100% mounted, torqued & filled with air. It's quite a process of bolting them all together...three rounds of increasing torque to make sure everything is tight and even.
I would have had two fully done, but after I filled the 2nd with air...it's got a leak!!
I wasn't in the mood to deal with the problem, so I just put it aside to deal with later. It's not going to be fun to break the entire wheel down now that the inner bead has been fully seated. I'm hoping all I need to do it remove all the bolts, and verify the wheel is sitting down flush on the lip, and then reinstall everything without having to fully remove the tire from the wheel.
I'm thinking about using a little black silicone around the lip between the tire and the wheel before bolting the ring down...it should help some.
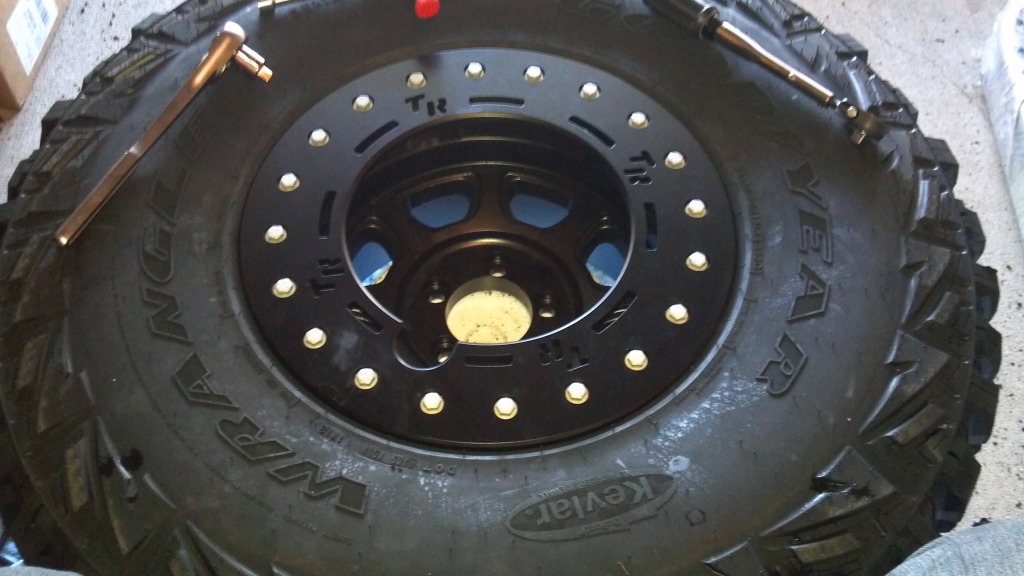
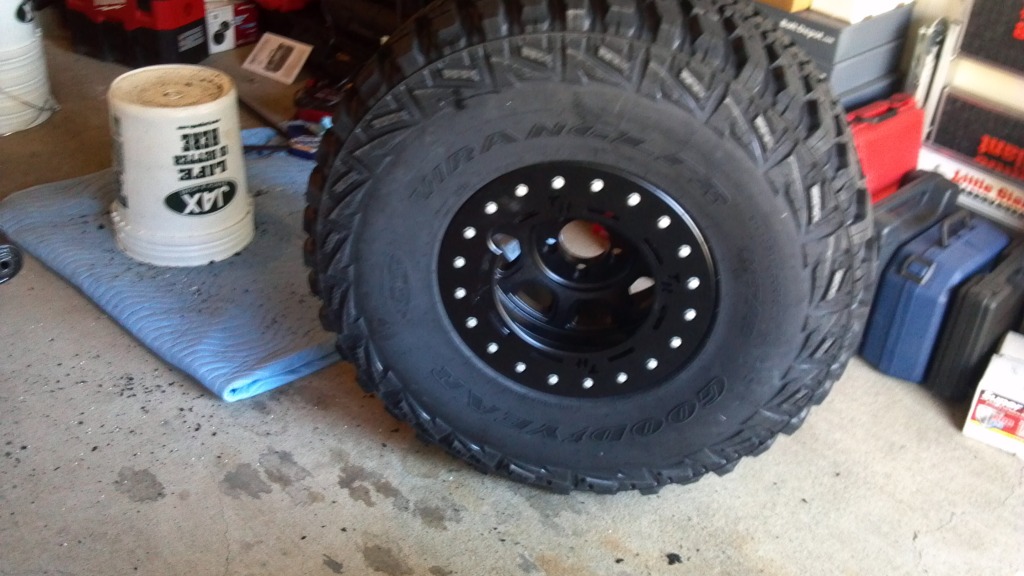

I got one 100% mounted, torqued & filled with air. It's quite a process of bolting them all together...three rounds of increasing torque to make sure everything is tight and even.
I would have had two fully done, but after I filled the 2nd with air...it's got a leak!!
I wasn't in the mood to deal with the problem, so I just put it aside to deal with later. It's not going to be fun to break the entire wheel down now that the inner bead has been fully seated. I'm hoping all I need to do it remove all the bolts, and verify the wheel is sitting down flush on the lip, and then reinstall everything without having to fully remove the tire from the wheel.
I'm thinking about using a little black silicone around the lip between the tire and the wheel before bolting the ring down...it should help some.
Last edited by logan03CO; Jul 22, 2012 at 11:48 AM.
This weekend is THE install weekend!!!!

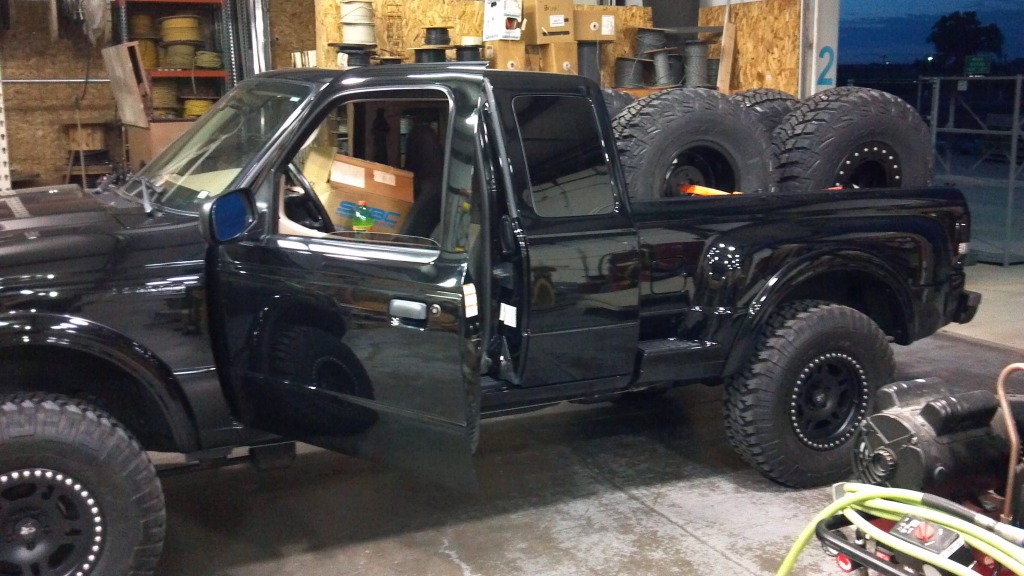
Start of the day...all loaded up (35's on beadlocks, rear springs, and the new RCD in the bed - brakes and everything else in the seat):

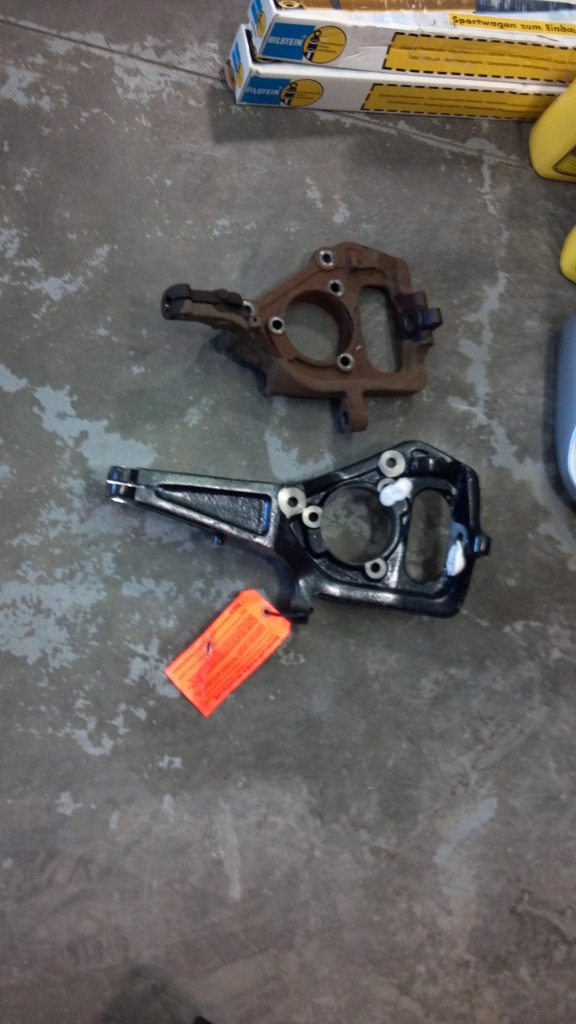
Beefy Knuckles:
Reinforced & powdercoated differential bracket installed as well as the Superlift driveshaft in:

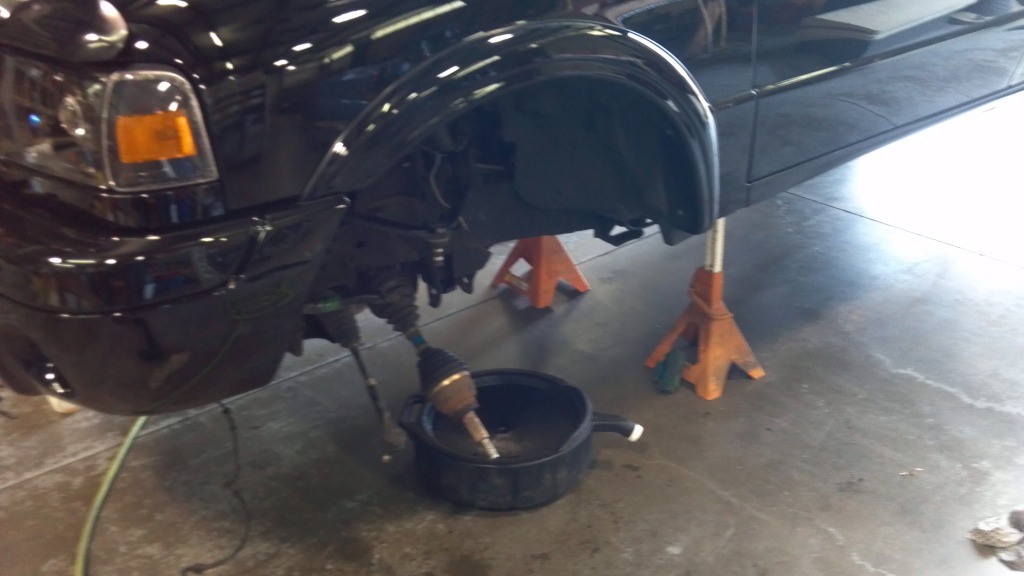
Bye-bye bump stop:
Powdercoated RCD support bars (I'm not a fan of the standard 'shiny' ones - so I had them coated):

I forgot to take pictures of where we stopped tonight...however, one side has the knuckle & coilover fully installed - and for the other we just need to bolt the knuckle in.
The new rear springs will be going in tomorrow as well as the rear disc conversion kit from SSBC. I had to grab shorter U-bolts since I'm hoping to remove the factory block when installing the new springs since I'm not using the rear RCD setup at all.
If all goes as planned - the balance of the toys should be installed tomorrow!
Start of the day...all loaded up (35's on beadlocks, rear springs, and the new RCD in the bed - brakes and everything else in the seat):
Beefy Knuckles:
Reinforced & powdercoated differential bracket installed as well as the Superlift driveshaft in:
Bye-bye bump stop:
Powdercoated RCD support bars (I'm not a fan of the standard 'shiny' ones - so I had them coated):
I forgot to take pictures of where we stopped tonight...however, one side has the knuckle & coilover fully installed - and for the other we just need to bolt the knuckle in.
The new rear springs will be going in tomorrow as well as the rear disc conversion kit from SSBC. I had to grab shorter U-bolts since I'm hoping to remove the factory block when installing the new springs since I'm not using the rear RCD setup at all.
If all goes as planned - the balance of the toys should be installed tomorrow!
Last edited by logan03CO; Aug 11, 2012 at 09:08 PM.


The entire lift kit is now installed...the rear disc conversion will have to wait for another weekend...but the majority of the 'visual' upgrades are all installed!

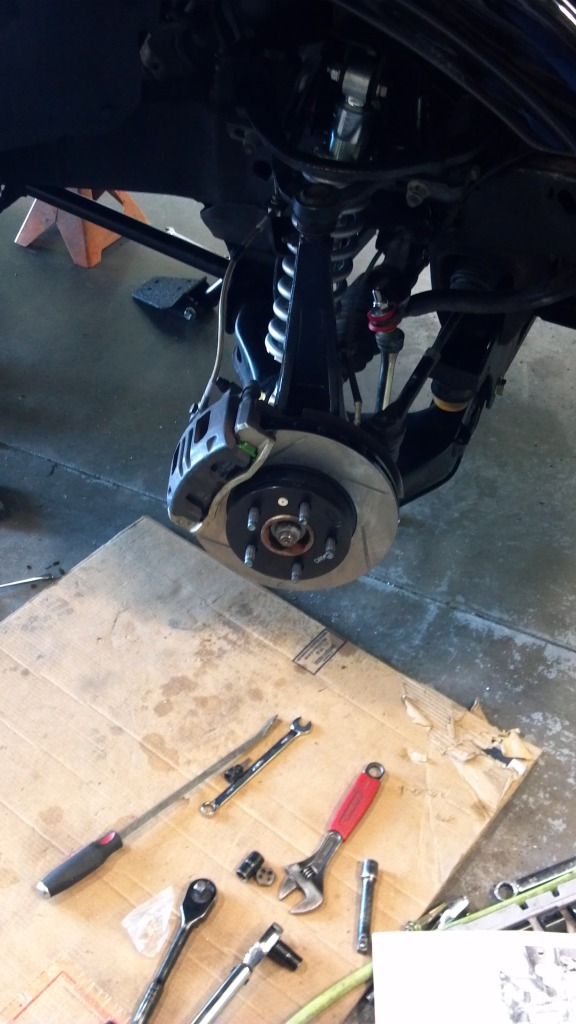
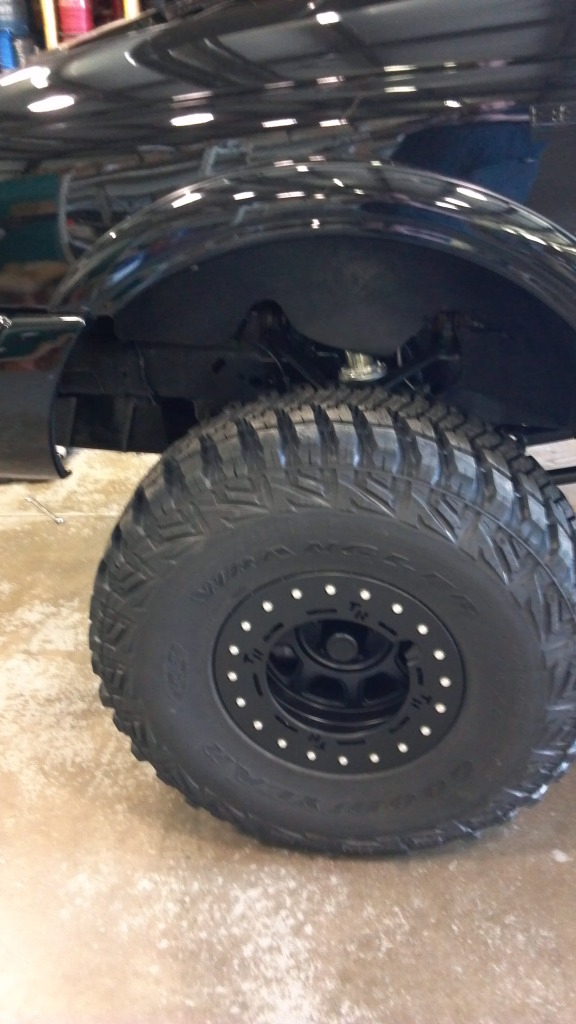

I am pretty tired and sore...so I didn't get any full truck pictures - but they will come soon!!
I am pretty tired and sore...so I didn't get any full truck pictures - but they will come soon!!


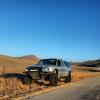
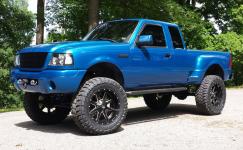
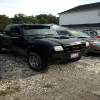


Thanks everybody....I love the way it's looking!
I should be loading my new SCT tune into it tonight - which will adjust for the 35's @ 4.88 gears...so that should dial it all back in.
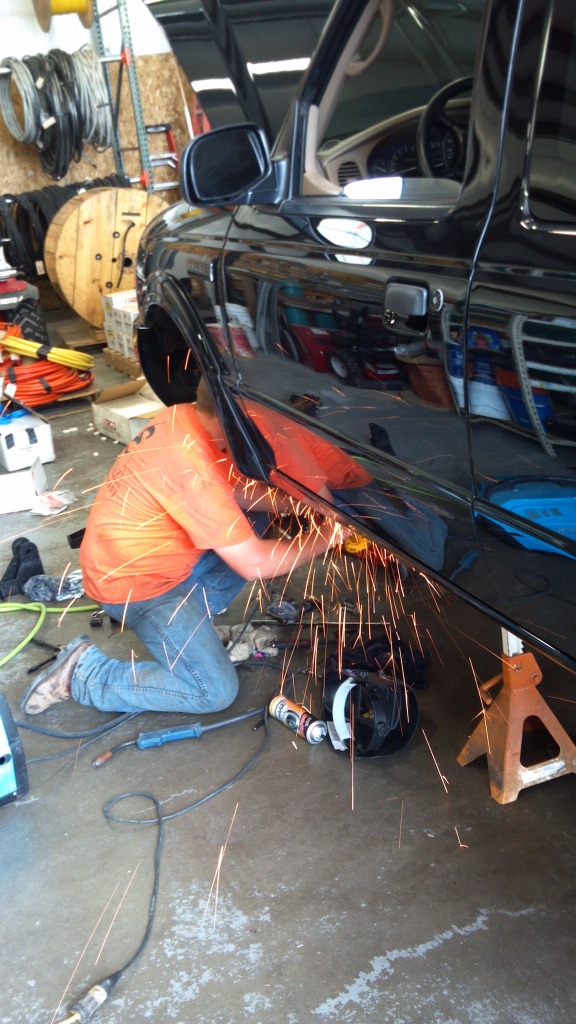
Yes Sir, I saw your old thread on that topic - so I welded that support piece right down the middle of it a couple of weeks ago...I even had it powdercoated afterwards.