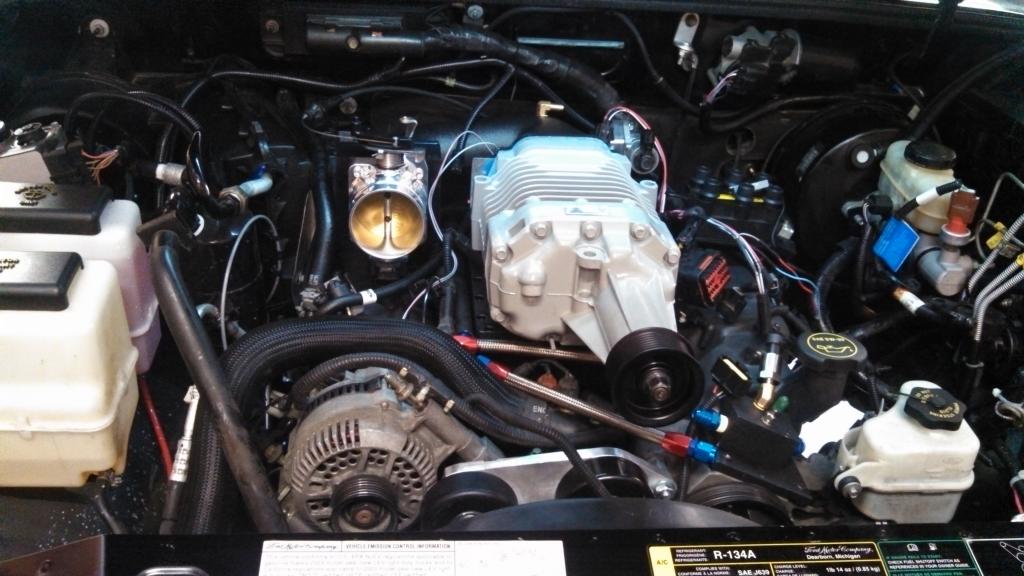
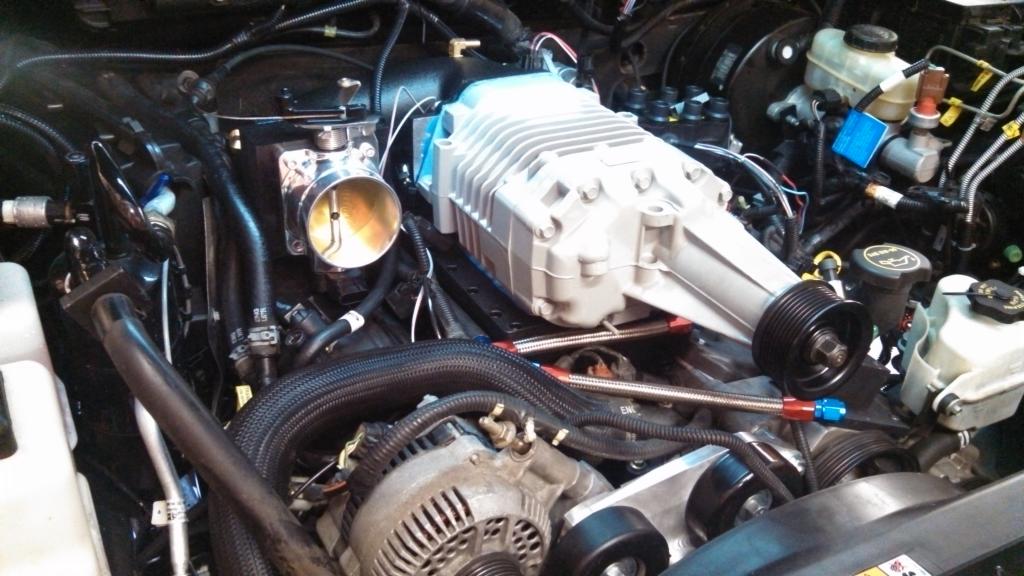
Project Budget Buster

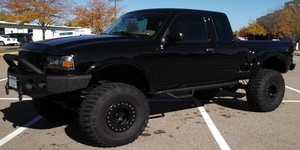


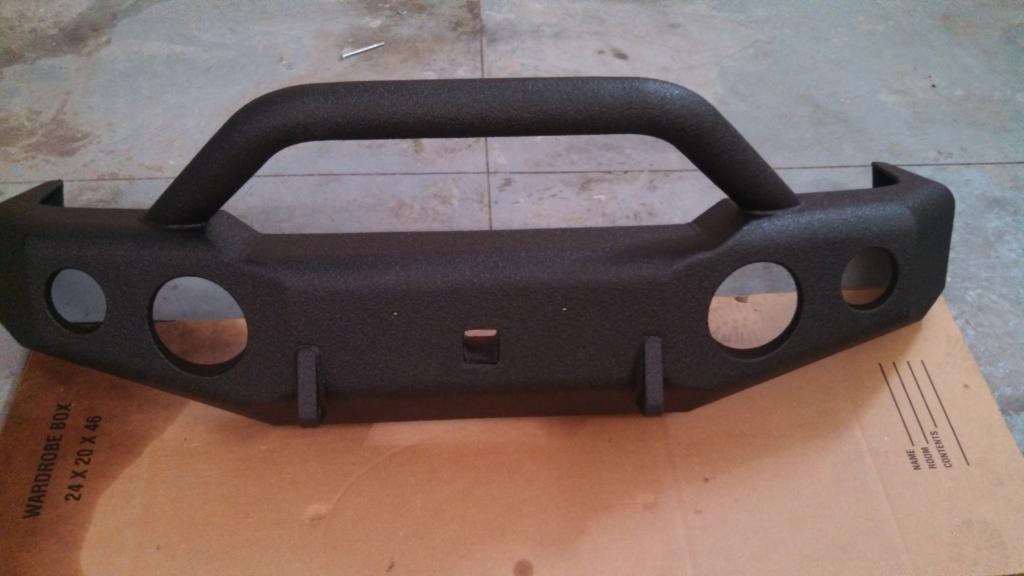
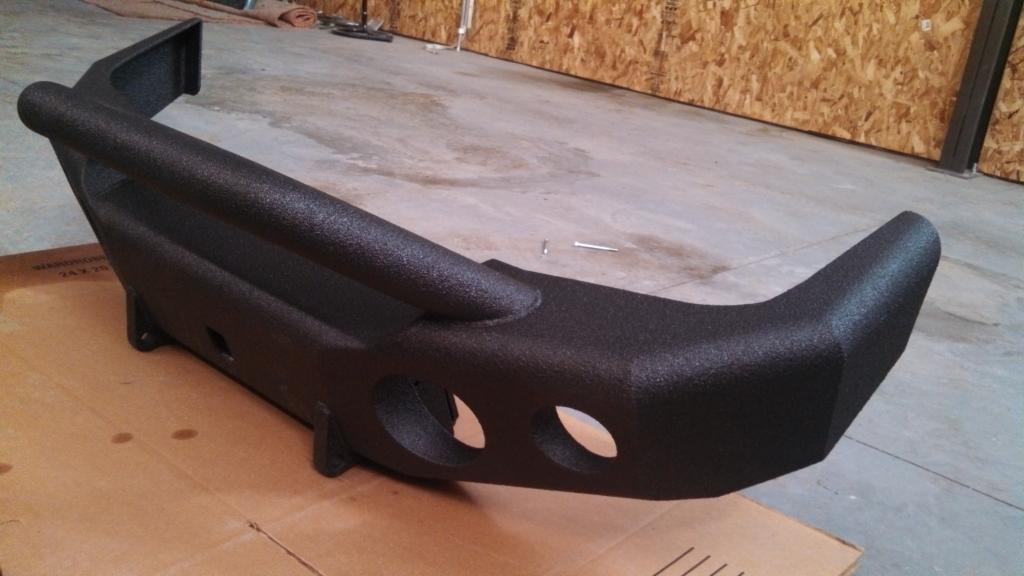
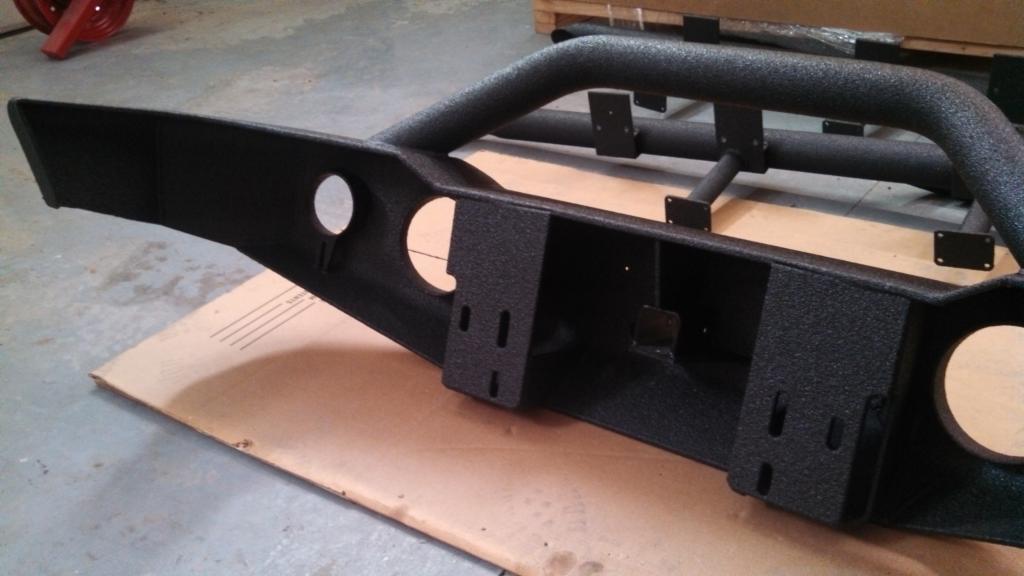
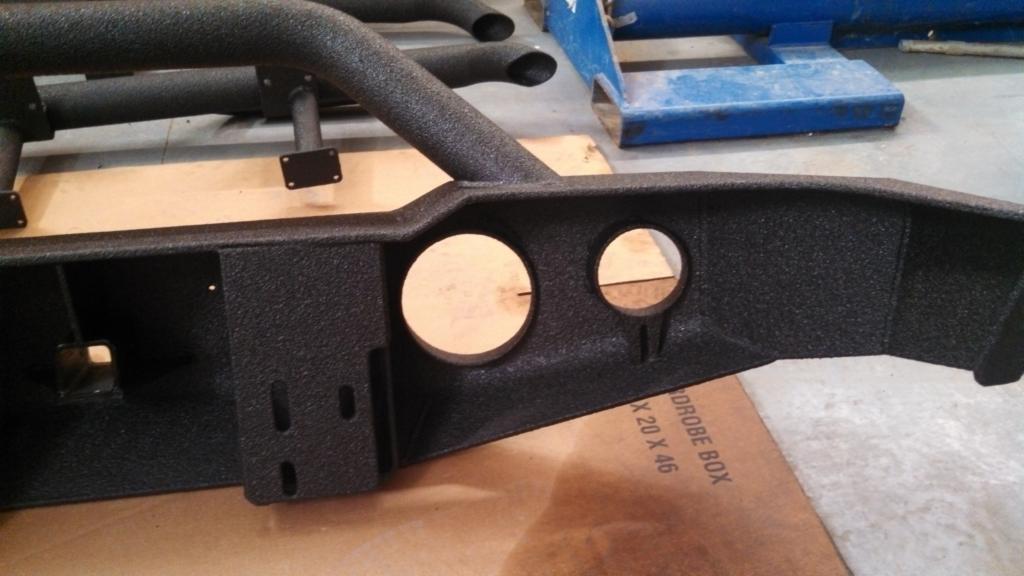
Just got word from Jon - my bumper shipped out yesterday!
I'll be wearing out the tracking website for that one!
Well today I sat down and figured out all of the wiring I'll need to install for the engine datalogging system as well as my water/meth injection system.
Those full factory wiring guides are sure paying off right about now! LOL
Tossing my files up here mainly just for record keeping purposes.
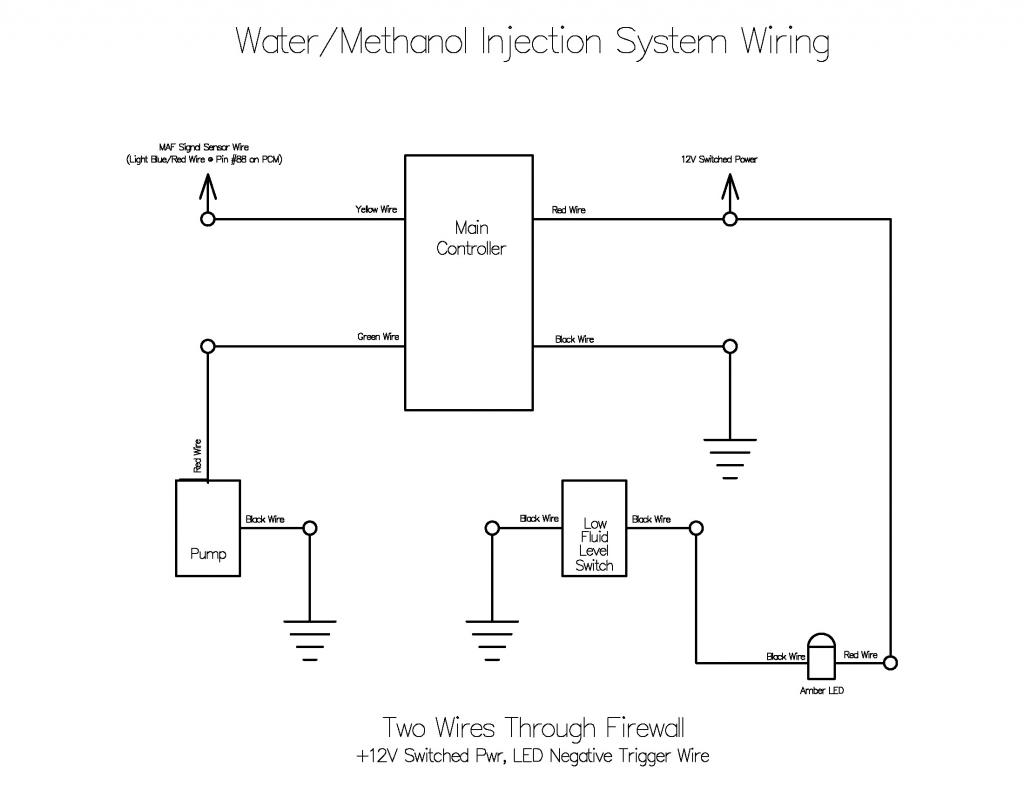
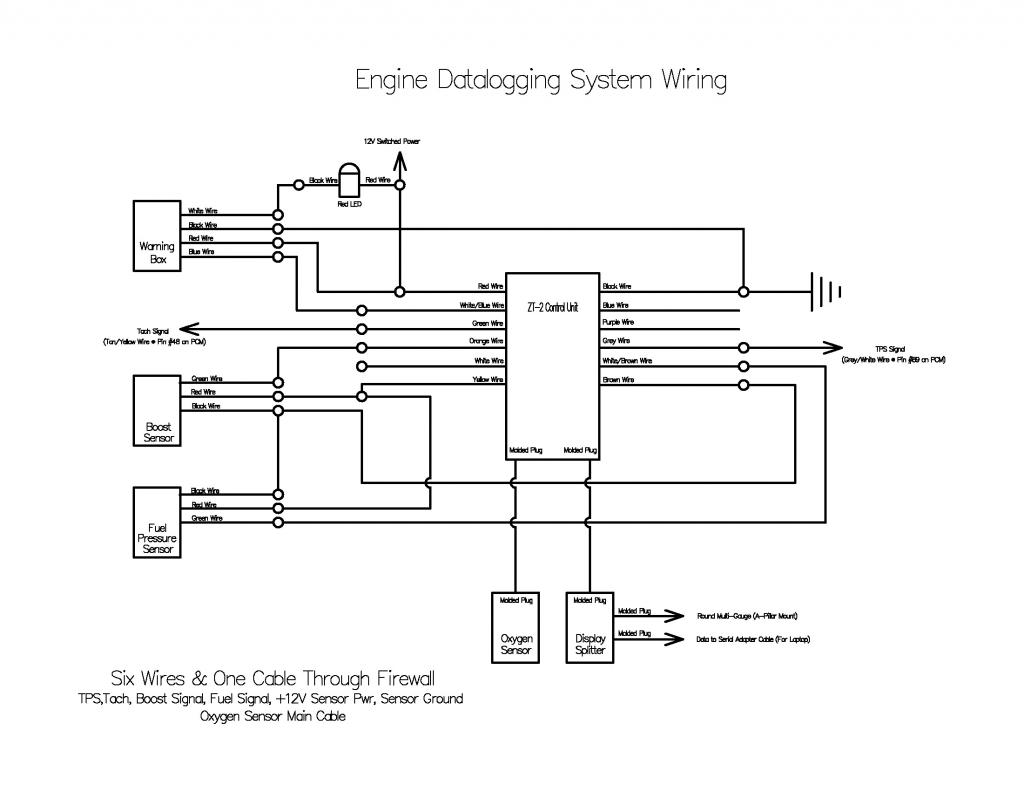
Those full factory wiring guides are sure paying off right about now! LOL
Tossing my files up here mainly just for record keeping purposes.
Last edited by logan03CO; May 26, 2013 at 06:01 PM.

Well, the main wideband O2 sensor cable itself & the gauge display outputs are both ‘pre-made’ setups, so I just have to find a way to route everything and it all just plugs together. Those are the simple ones.
Every other device or sensor has a 4"-6" pigtail of wire - the rest is all up to me to route and to connect everything together at either the other devices or my trucks PCM to obtain the required signals I want to incorporate into the engine data logging system.
For some sensors, I purchased 'extension harnesses', but they are just loose leads of longer wire, I'll still need to route, dress & terminate everything together.
Every other device or sensor has a 4"-6" pigtail of wire - the rest is all up to me to route and to connect everything together at either the other devices or my trucks PCM to obtain the required signals I want to incorporate into the engine data logging system.
For some sensors, I purchased 'extension harnesses', but they are just loose leads of longer wire, I'll still need to route, dress & terminate everything together.
Last edited by logan03CO; May 27, 2013 at 07:56 AM.
lol
Yeah, it's not too bad since I have the complete factory wiring guide for my truck - I was able to find the correct wire locations at the PCM for everything rather quickly.
I've already got the miscellaneous NPT fittings and everything planned for mounting the boost sensor and fuel pressure sensor.
The wiring is just sorta tedious routing everything neatly, and cleaning it all up afterwards.
Yeah, it's not too bad since I have the complete factory wiring guide for my truck - I was able to find the correct wire locations at the PCM for everything rather quickly.
I've already got the miscellaneous NPT fittings and everything planned for mounting the boost sensor and fuel pressure sensor.
The wiring is just sorta tedious routing everything neatly, and cleaning it all up afterwards.
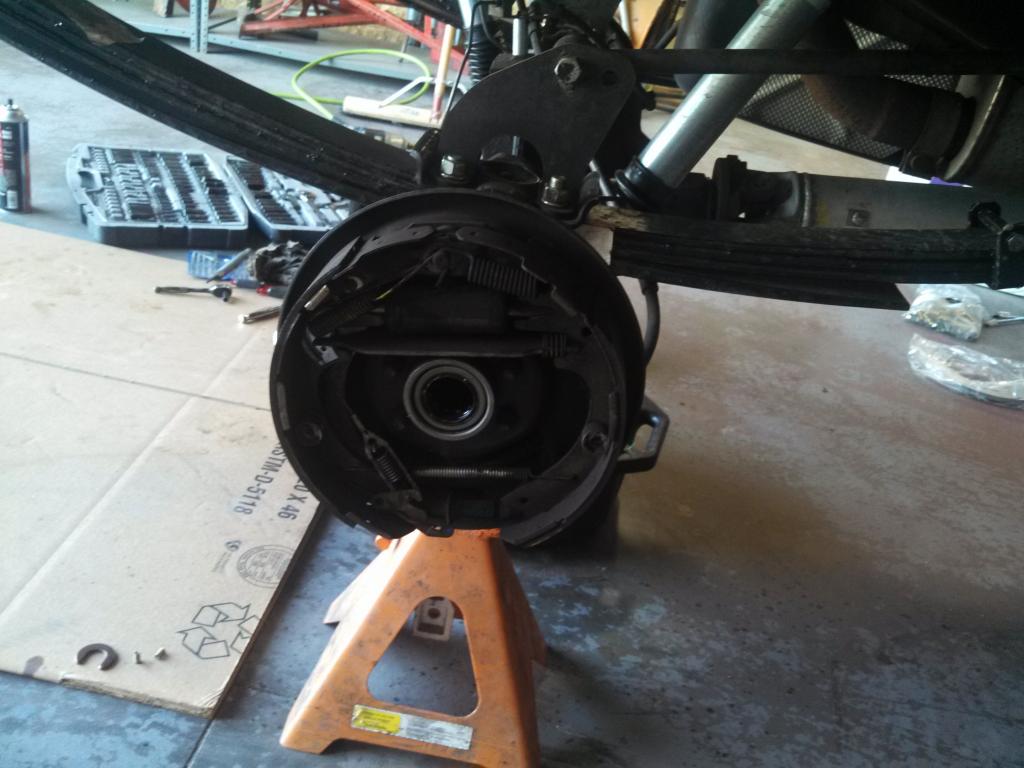
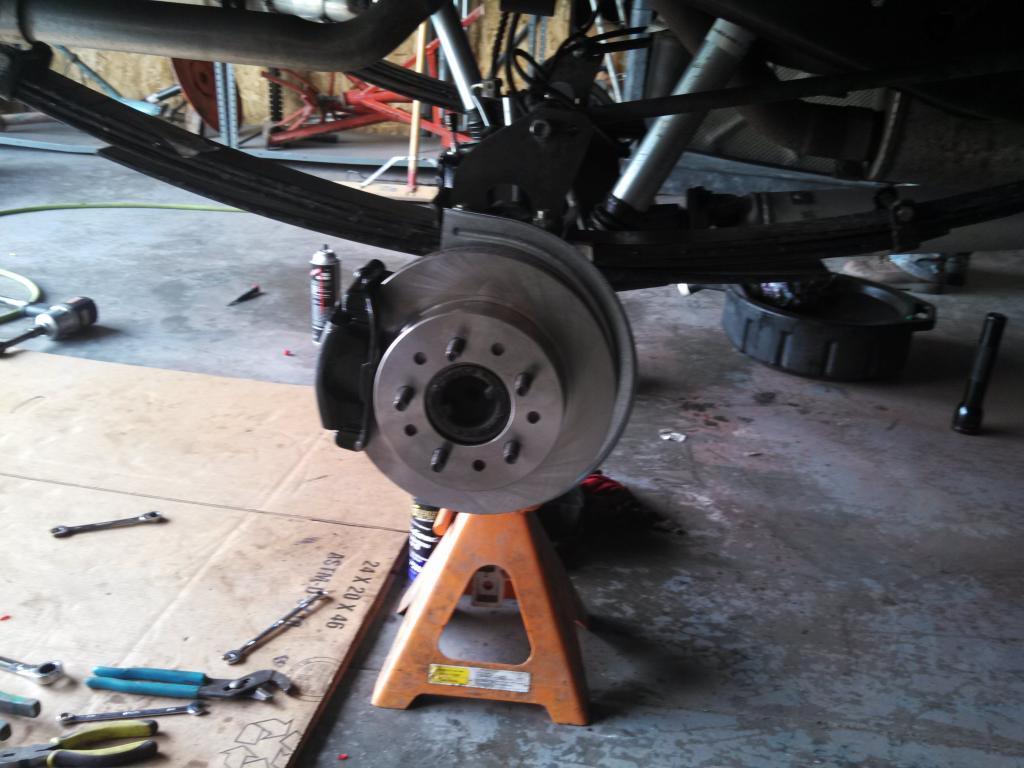
Well, I finally got round to installing my rear disk brake conversion kit from SSBC.
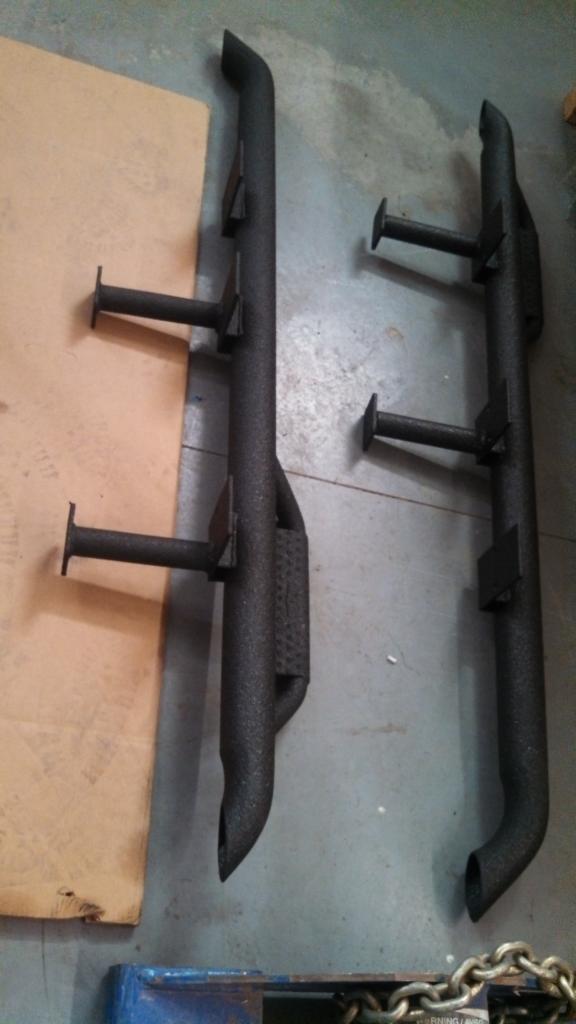
I also mocked up my N-Fab 'nerf bars' that I'll be running soon. They are designed to mount on only the pinch weld - but that isn't happening on my truck.
On each side, I'm be running two 'legs' out from the frame in order to tie into this main bar. With this upgraded mounting, they should be able to work as a solid jack point as well.
I just really like how tight they mount to everything.
The bars along with my bumper will all be getting professionally 'bed-lined' as soon as I have everything fabricated.
Last Picture with the Drums:
Nice & clean Disc Setup:
Couple views of the N-Fab bars during mockup:
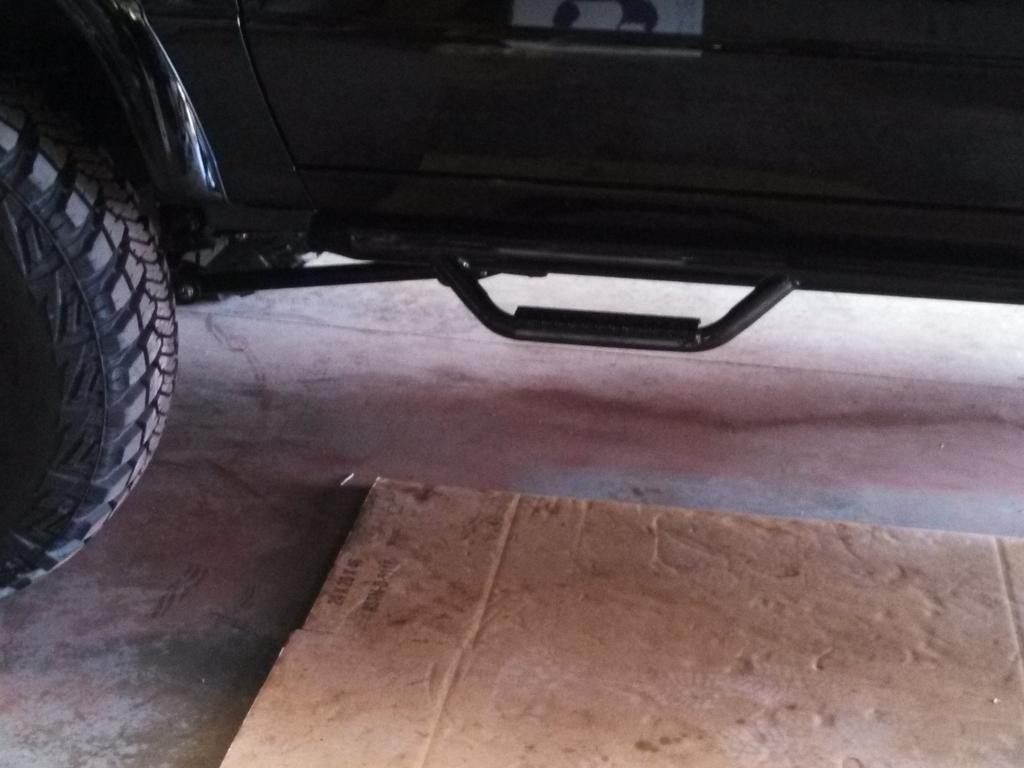
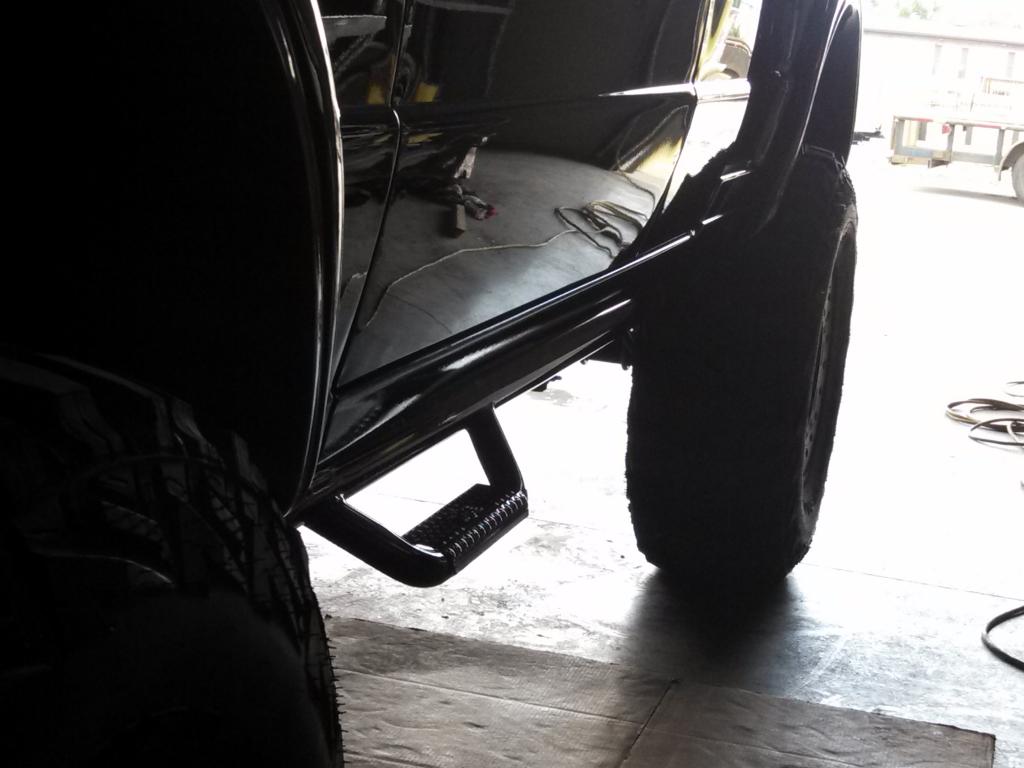
I also mocked up my N-Fab 'nerf bars' that I'll be running soon. They are designed to mount on only the pinch weld - but that isn't happening on my truck.
On each side, I'm be running two 'legs' out from the frame in order to tie into this main bar. With this upgraded mounting, they should be able to work as a solid jack point as well.
I just really like how tight they mount to everything.
The bars along with my bumper will all be getting professionally 'bed-lined' as soon as I have everything fabricated.
Last Picture with the Drums:
Nice & clean Disc Setup:
Couple views of the N-Fab bars during mockup:

I wouldn't expect them to hold up like true heavy-wall sliders, but with my added mounts, I'll at least be able to jack the truck up by them.
I also have some true sliders (made by Zabeard years back), but I'm going to mount these first, and see how the step setup works.
People always complain about getting into my truck. LOL
My wife complains too, that's why I asked. Since I have brand new leather bucket seats I don't want them to be destroyed by people sliding out of the truck.
Let me know if you don't end up using the Zabeard sliders. I will likely buy them.
Let me know if you don't end up using the Zabeard sliders. I will likely buy them.
Well, all day Saturday my buddy & I tackled the wiring on the engine datalogger and the water/methanol injection system.
14 hours later, all the wires are soldered, heat shrinked, wire loomed & clean! lol
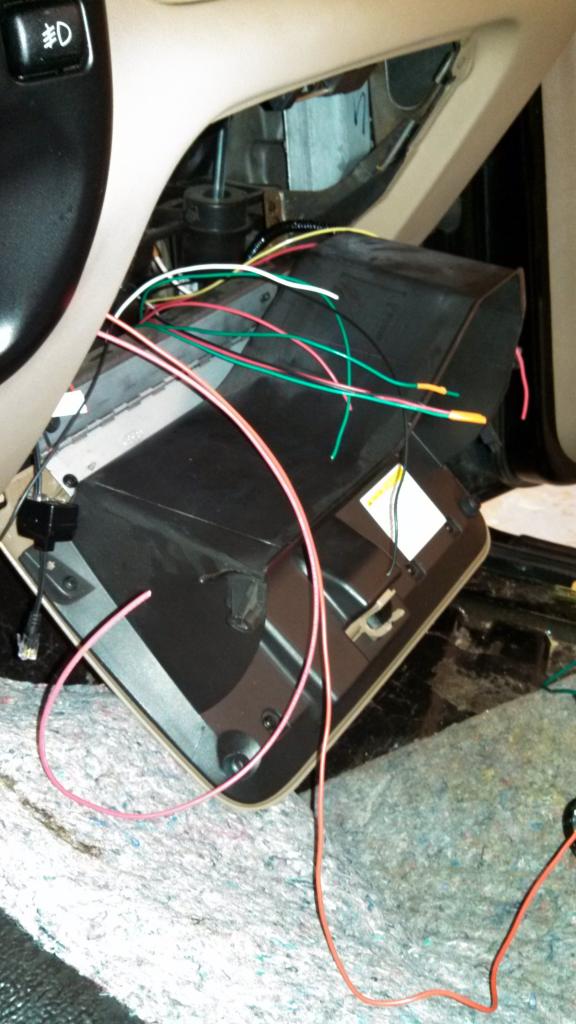
The water/meth injection controller & laptop USB connection (for the warning system as well as the overall datalogger) is located neatly within the glove box to allow for easy adjustment of the items during dyno tuning or changing of the overall system warnings.
In addition to all of the main 'brain boxes' & overall power feeds, I routed the following sensors/inputs:
We still have to mount the injection pump, tap the tank, and run the tubing itself, but all the framework is in place for most of it.
Long day, but I'm glad to have it all routed.
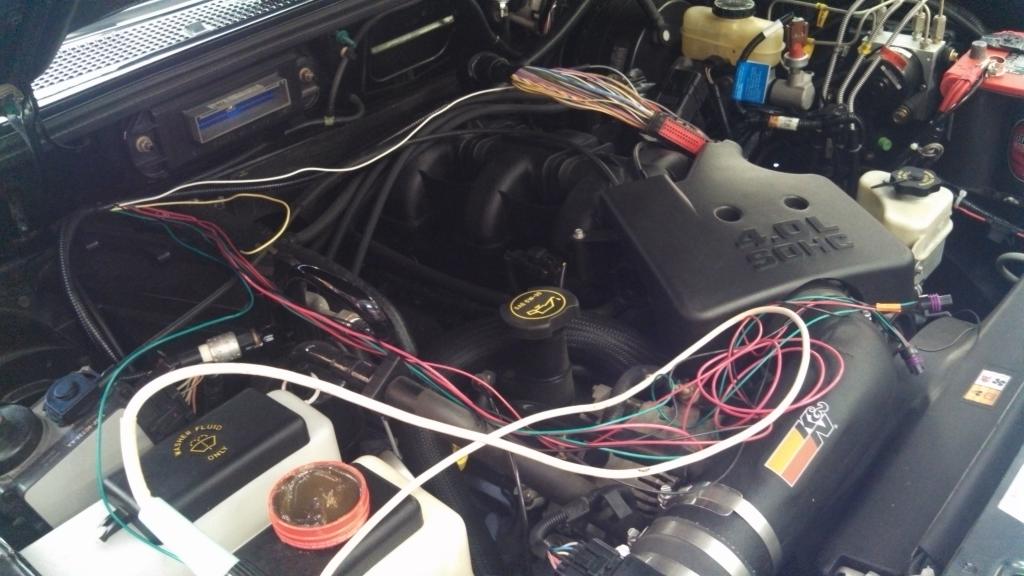
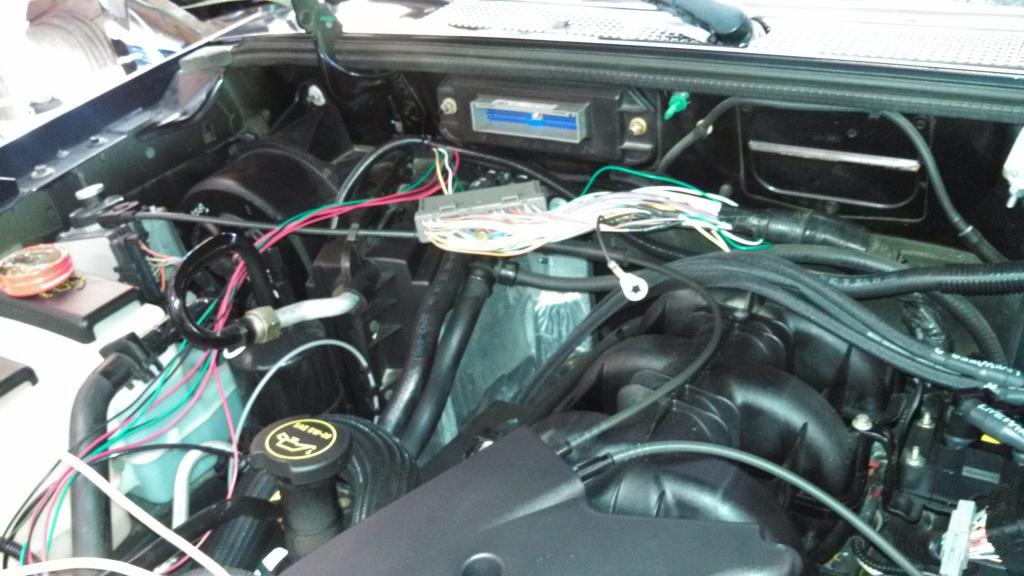
Here are a couple pictures showing some of the work. I didn't get a good 'after' shot under the hood, but everything is wire loomed & looks 100% like factory. I basically had to make a 'mini harness' due to the sensors leaving the main trunk line at different places throughout the engine bay - Looks good with all the wire loom installed & everything cleaned up. I'll get a couple more pictures once the next 'mod day' happens.
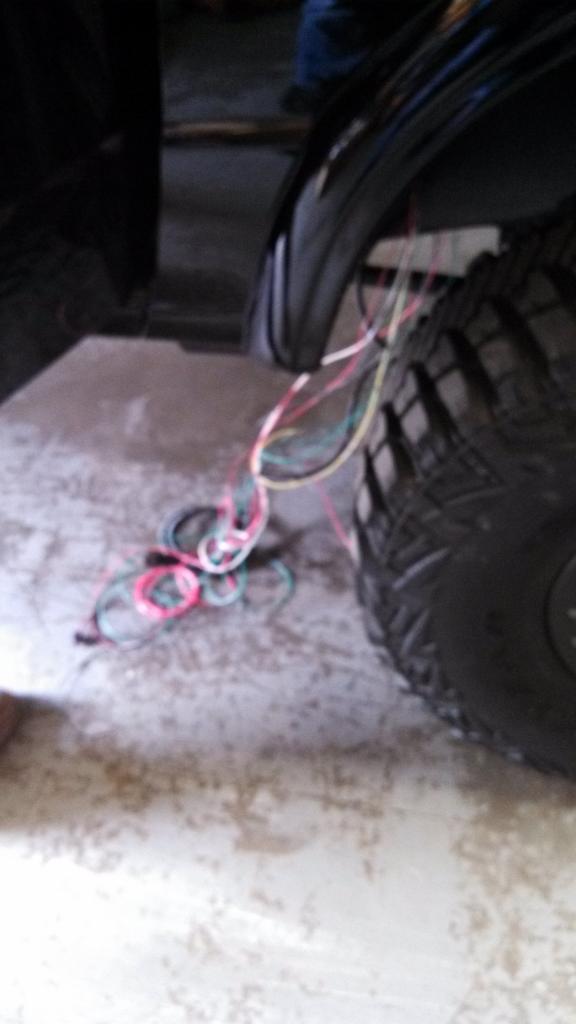
14 hours later, all the wires are soldered, heat shrinked, wire loomed & clean! lol
The water/meth injection controller & laptop USB connection (for the warning system as well as the overall datalogger) is located neatly within the glove box to allow for easy adjustment of the items during dyno tuning or changing of the overall system warnings.
In addition to all of the main 'brain boxes' & overall power feeds, I routed the following sensors/inputs:
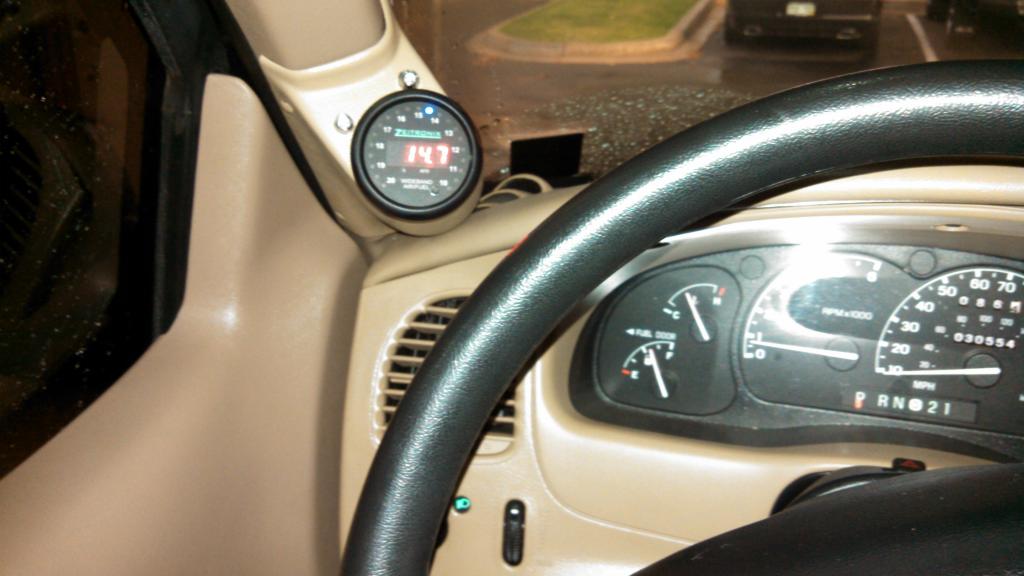
- Multi-Gauge & USB Port for the Laptop
- Wideband O2 Sensor (For the Datalogger & Multi-Gauge)
- Boost Sensor (For the Datalogger & Multi-Gauge)
- Fuel Pressure Sensor (For the Datalogger & Multi-Gauge)
- Mass Air Flow Sensor - Signal from PCM (For Water/Methanol Injection)
- Throttle Position Sensor - Signal from PCM (For the Datalogger)
- Tachometer - Signal from PCM (For the Datalogger)
We still have to mount the injection pump, tap the tank, and run the tubing itself, but all the framework is in place for most of it.
Long day, but I'm glad to have it all routed.
Here are a couple pictures showing some of the work. I didn't get a good 'after' shot under the hood, but everything is wire loomed & looks 100% like factory. I basically had to make a 'mini harness' due to the sensors leaving the main trunk line at different places throughout the engine bay - Looks good with all the wire loom installed & everything cleaned up. I'll get a couple more pictures once the next 'mod day' happens.
Here are couple pictures of the mounted water/methanol injection controller as well as the laptop connection for the datalogger system.
It's all mounted inside my glove box for easy adjustments when needed (tuning or programming/modifying the alarms).
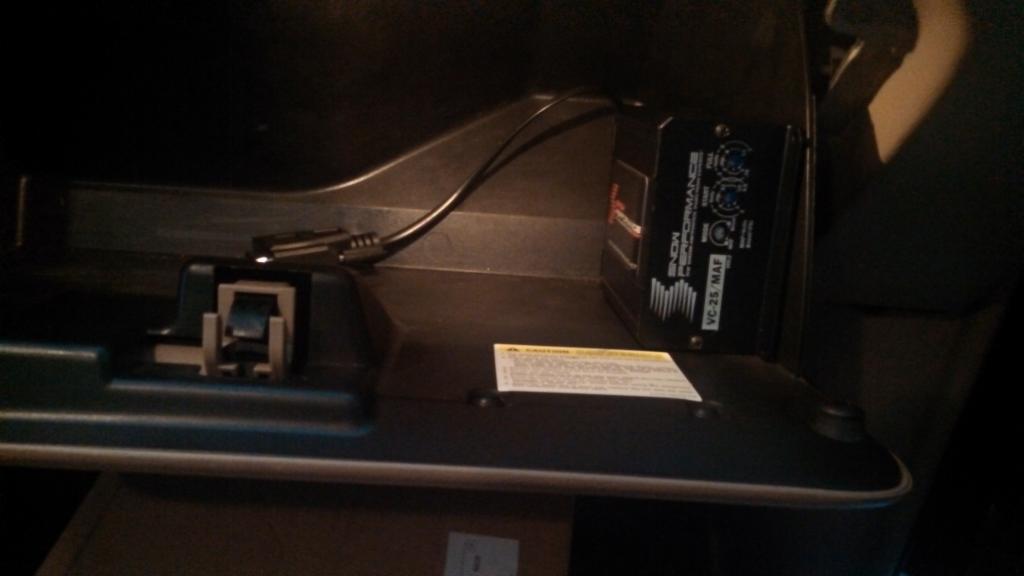
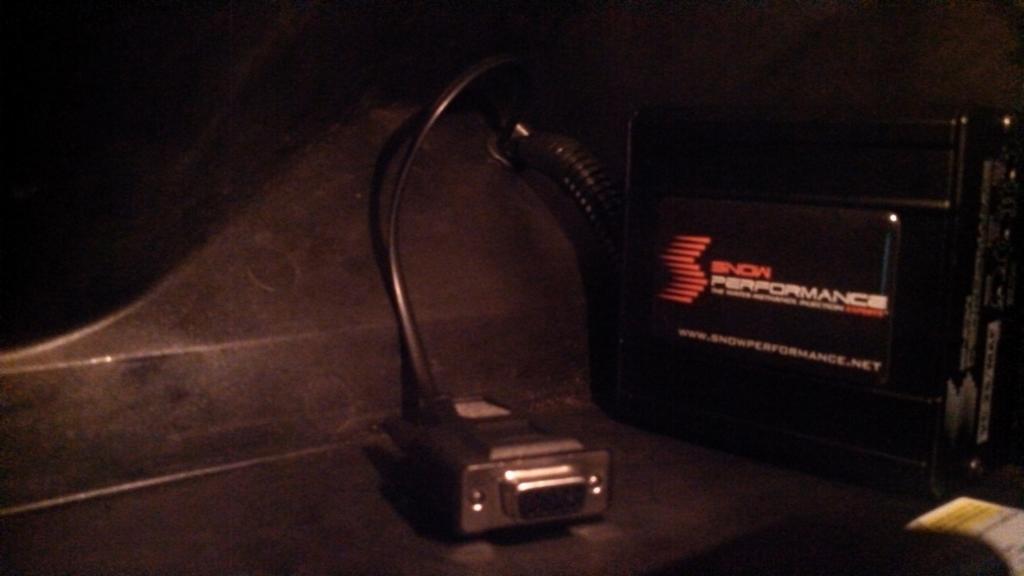
It's all mounted inside my glove box for easy adjustments when needed (tuning or programming/modifying the alarms).

lol
Yeah, I hear you. I'm just glad my interior trim & most of my seats are black to beak it up some
Well, Saturday was another day full of upgrading the truck...
We got 95% of the water/methanol injection system finished. The only thing left is mounting the nozzle once the new intake is installed - which will basically happen immediately before the dyno tuning session.
I tapped into the factory windshield washer reservoir and added the low level switch into it as well. I'll just be using 'boost juice' to wash my windshield when needed - heard it works great, but a little on the pricey side. lol
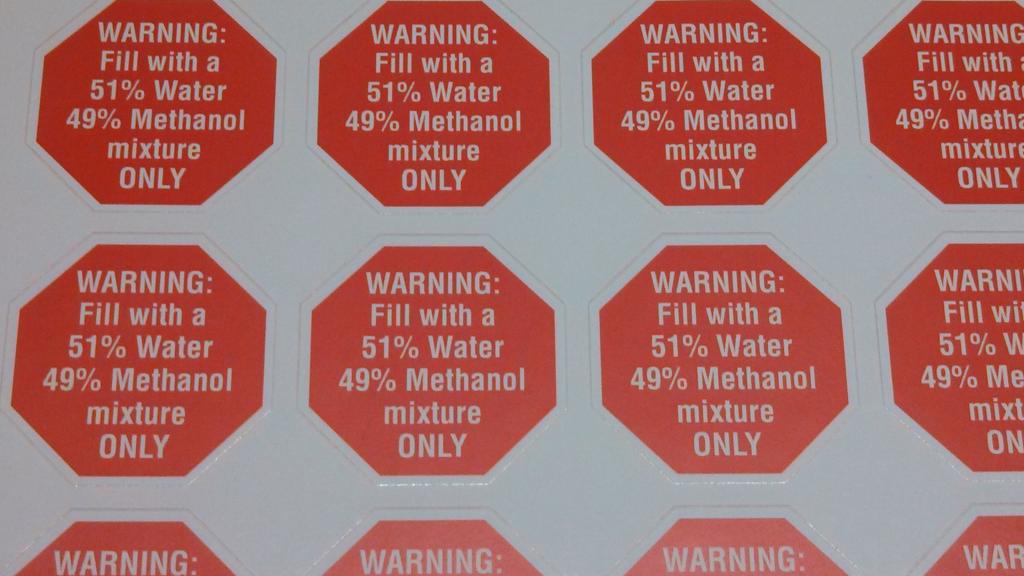
I'll add one of my 'custom' warning stickers onto the fill cover of the container to make sure nobody accidentally dilutes the mixture.
Once again, I don't have any 'finished product' type pictures - as it was another 12 hour day. lol
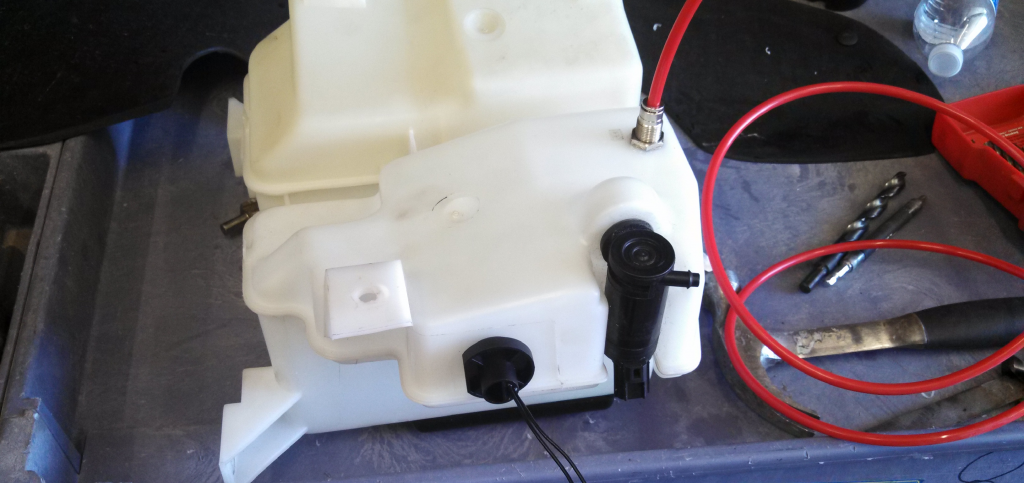
Here is the bulkhead fitting & level switch installed in the factory reservoir:
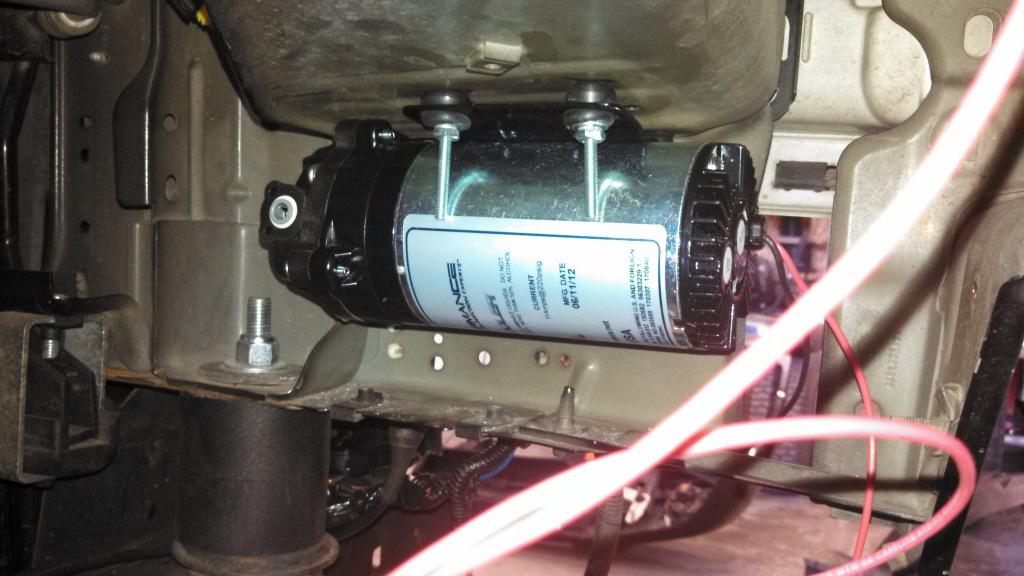
Here is where we mounted the pump - I think it's a perfect spot - basically under the factory airbox 'platform'. It also hangs right above the inner fender, so it's well protected & should work great.
A few of my personalized warning stickers:
 .
.
Yeah, I hear you. I'm just glad my interior trim & most of my seats are black to beak it up some
Well, Saturday was another day full of upgrading the truck...
We got 95% of the water/methanol injection system finished. The only thing left is mounting the nozzle once the new intake is installed - which will basically happen immediately before the dyno tuning session.
I tapped into the factory windshield washer reservoir and added the low level switch into it as well. I'll just be using 'boost juice' to wash my windshield when needed - heard it works great, but a little on the pricey side. lol
I'll add one of my 'custom' warning stickers onto the fill cover of the container to make sure nobody accidentally dilutes the mixture.
Once again, I don't have any 'finished product' type pictures - as it was another 12 hour day. lol
Here is the bulkhead fitting & level switch installed in the factory reservoir:
Here is where we mounted the pump - I think it's a perfect spot - basically under the factory airbox 'platform'. It also hangs right above the inner fender, so it's well protected & should work great.
A few of my personalized warning stickers:
.
Last edited by logan03CO; Jul 21, 2013 at 07:18 AM.
Brand new - It was a complete conversion kit from SSBC.
The part number on my kit is A114BK. It's for the upgraded black powder coated version. The price for the standard setup is like $750ish give or take (JEGS - SSBC Disc Brake Conversion Kit (Natural Finish). The powder coated setup usually runs like $100 more.
Pricey, but I didn't want to use the modified Mustang bracket...so I felt this was the best way to make it all happen using brand new, quality parts.
The part number on my kit is A114BK. It's for the upgraded black powder coated version. The price for the standard setup is like $750ish give or take (JEGS - SSBC Disc Brake Conversion Kit (Natural Finish). The powder coated setup usually runs like $100 more.
Pricey, but I didn't want to use the modified Mustang bracket...so I felt this was the best way to make it all happen using brand new, quality parts.

Member

Joined: Jan 2012
Posts: 38
Likes: 0
From: monroe nc
Alright thanks!! I am in need of this. My drums always are locking up when there is the slightest bit of moisture.
I've got my company vehicle for the real life stuff. lol