When you click on links to various merchants on this site and make a purchase, this can result in this site earning a commission. Affiliate programs and affiliations include, but are not limited to, the eBay Partner Network.
@Scrambler82
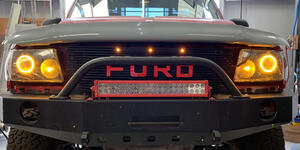
post some before and after pics with the lights on and off. I want to see how clean of a cut off the projectors have compared to standard.
Not sure when it will happen, things are busy right now and I am working on the mirror swap.
But once I ge them on I will !
My problem right now is the halos, still not centered.
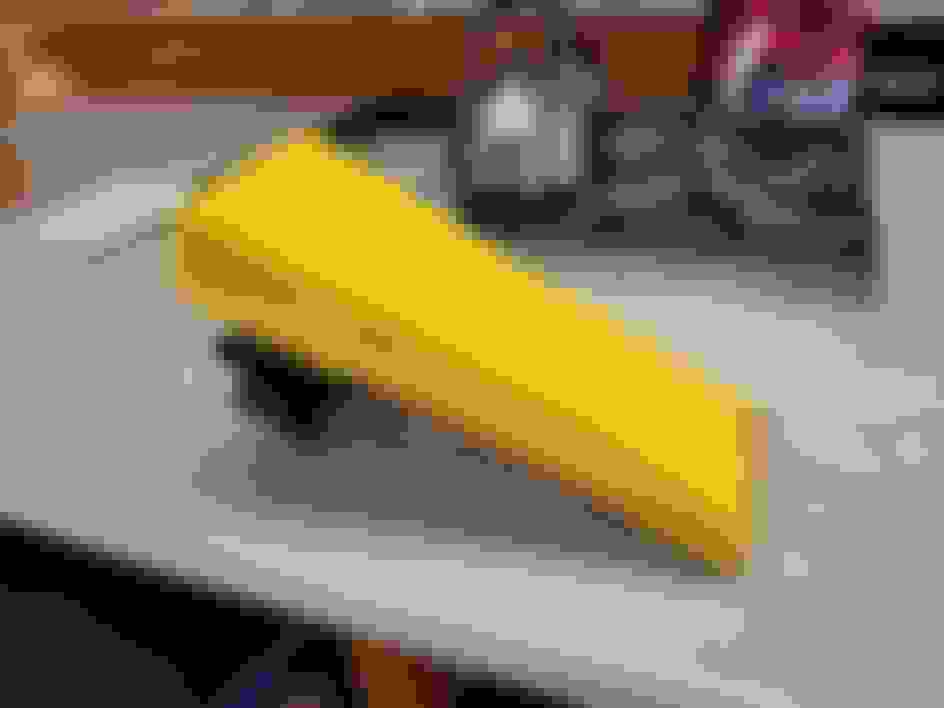
In the past 2 days I have been refurbishing an arm rest I sourced from my local junkyard. I removed all of the old,broken down foam and cleaned the plastic base. I used aerosol expanding foam spray to fill in the low spots, then cut the excess off to make it even with the plastic base.
Then I wrapped it with foam sheeting
Next, I am going to wrap it in black vinyl. Not sure whether I'll get it done tonight. Whether tonight or tomorrow, I'll post a pic of the final product.
Recently my cruise control light stopped working.... I figured this was the time to replace all the dash lights with LED since the truck is 18 years old. Of course then I went down the rabbit hole, as somehow I must have damaged the membrane back there. My turn indicators on the dash were not working, so I took it apart again and turned the bulb housings around, which fixed the right side. I took it apart once again and put one of the original bulbs into the left side, which still didn't work. That prompted a trip to my local pick-a-part where I got a new dash cluster, and after swapping out the gauges it finally all worked - hurray for me!
Today I pulled the plastics and the weatherstripping from the passenger side so I could insert some silicone tubing to try curing the wind noise over there. I'm taking a long drive into the desert in the next couple of days so I'll get to find out if it works.
In the past 2 days I have been refurbishing an arm rest I sourced from my local junkyard. I removed all of the old,broken down foam and cleaned the plastic base. I used aerosol expanding foam spray to fill in the low spots, then cut the excess off to make it even with the plastic base.
Then I wrapped it with foam sheeting
Next, I am going to wrap it in black vinyl. Not sure whether I'll get it done tonight. Whether tonight or tomorrow, I'll post a pic of the final product.
Nice work so far.
Is the Base Plastic Cracked ?
Just wondering because usually they do crack and the hinge breaks and the from two the Arm Rest settles on the top of the Console !
You are probably beyond the point of checking for cracks but I a little behind too !
@Scrambler82 the plastic base was solid, no cracks! The hinge mechanism even works w/ 0 issues. The only problem with it was the 20+ year old foam and that it didn't match my center console. It took me a few disappointing trips to the junkyard until I finally found an armrest in good shape. The only problem was the color, but since I decided to paint the entire center console satin black it became a moot point.
Here is the final product, wrapped in the same marine grade black vinyl that I wrapped my sub enclosure in.
Just for ***** and giggles I installed some UV (black light) LEDs behind the instrument cluster and climate control. I don't plan on leaving them there too long as they don't provide great visibility. I guess I just got bored being under house arrest/quarantine. I have blue, light blue, and white LEDs for the instrument cluster- I just haven't decided which I like best. Regardless of the color, I hate the hot and cold spots the bulbs create. I thought of soldering in LED strips to provide consistent lighting, but haven't found a product that looks like it would work with minimal modifications. Any suggestions?
DrW0392, The Arm Rest, especially with enough wear that the foam flattened out, USUALLY have a broken or cracked plastic bottom.
There used to be a kit out there that replaced the Plastic Bottom with a steel version, I did mine before it broke but it is something to keep in the back of your mind.
Put out a Wanted Ad on the Market Place for an Arm Rest Pad, there has to be someone out there that wants to either sell or give away one.
Also, I have seen USED Steel Plate Kits, not sure about this Market Place Forum but they are out there.
Not that your won't work, but if there is something that works and you will not be bothered with for a while you should think on it.
The American Flag Cup holder, that is the same pattern I have on mine but I did a stain top coat, should have gone gloss, I'm thinking of respraying mine to lighten it up some.
The UV Dash Lights are different and look good and don't look bad at all.
My problem with LED replacement dash lighting is the hot spots, not much that can be done with them unless you use and alternate lighting method.
I am working on a replacement dash unit, using one without the Tachometer, (Thanks to RonD, the InfoMan), and using strip LEDs around the outer diameter, of the inside of the housing, and once I have the amount of light figured out I want to add some smaller strips where there are dim areas. The strip LEDs will be hooked up to the OEM Lighting circuit, which I am sure will handle them, and will determine IF a resistor is needed at the brightest point; only time will tell.
Keep up the Mods, some are fun some not so much fun but needed.
Of course Ford should have put the 5.0L in the Ranger when they did the Explorer but that another story.
Do you plan on getting another Ranger? If not, what are you looking at?
I do, I really like working on them. I'm actually looking at one now, trying to figure out if I want to pull the trigger, or sell three more cars. I'm down to 14, trying to get to about 10.
Today, I ran the wiring for my 50 curved light bar, and for the rear bumper flush mount LEDs. I got as far as running the wiring from the battery, mounting the relays, and pulling the wiring in through the firewall. Tomorrow I will finish up by running the wiring under the carpet and pulling it up under my center console where my custom switch panel is mounted. Hopefully by the end of the day tomorrow I'll have everything working: the curved light bar, rear bumper lights, and the windshield squirter that I have mounted in the rear bumper (I call it my "anti-tailgating device")
I also got a commitment from my neighbor who has access to a portable oxy/acetylene kit. He will snag it and bring it home for me to get the exhaust loose so I can get the transmission out to replace the clutch. Maybe I’ll finally get to drive “Rick” soon.
I also got a commitment from my neighbor who has access to a portable oxy/acetylene kit. He will snag it and bring it home for me to get the exhaust loose so I can get the transmission out to replace the clutch. Maybe I’ll finally get to drive “Rick” soon.
Hey, it sounds like you already got the exhaust figured out, but I remember doing the exhaust on mine and using a MAP torch from home depot. It only took about 45 seconds to get the flanges hot enough for the bolts to come out, and the torch kit has a little hose that attaches to the bottle making it easy to use under the truck.
Hey, it sounds like you already got the exhaust figured out, but I remember doing the exhaust on mine and using a MAP torch from home depot. It only took about 45 seconds to get the flanges hot enough for the bolts to come out, and the torch kit has a little hose that attaches to the bottle making it easy to use under the truck.
I actually do have a MAP torch. I spent a while trying to get it hot enough last fall. Won’t budge. Pennsylvania winters and all I guess. The MAP has worked for a bunch of other bolts (including heating the T-50 that goes through the floor for the seatbelt today). I am resigned that the big smoke wrench will be my salvation here.
Today I replaced my Stark LED headlights with the latest generation of Cougar LED headlights (gen 3.0) now my fogs match my headlights. The cut off is crisp and the difference between high and low beam is incredible.
^ Do you have a link to those Cougar LEDs and are they just unplug original bulb and plug these instead or is there wiring involved? Thanks.
These are a direct drop in replacement for OE halogen bulbs. There is no power source, error decoders, or wiring of any kind needed. You literally just put these in place of the stock halogens! I've had numerous HID setups, and 3 or 4 different LED setups, and these are by far my favorite-hands down. I have them in my wife's Focus, Ram 1500, and now my 99 Ranger 4x4. I wouldn't use anything else now. Here is the link you asked for:
Check this out at Amazon.com
Cougar Motor Wireless 9007 LED Headlight Bulb, 12000Lm 6500K Slim All-in-One Conversion Kit - Cool White
These are a direct drop in replacement for OE halogen bulbs. There is no power source or error decoders needed, you literally just put these in place of the stock halogens! I've had numerous HID setups, and 3 or 4 different LEDs, and these are by far my favorite-hands down. I have them in my wife's Focus and in my Ram 1500. I wouldn't use anything else now. Here is the link you asked for:
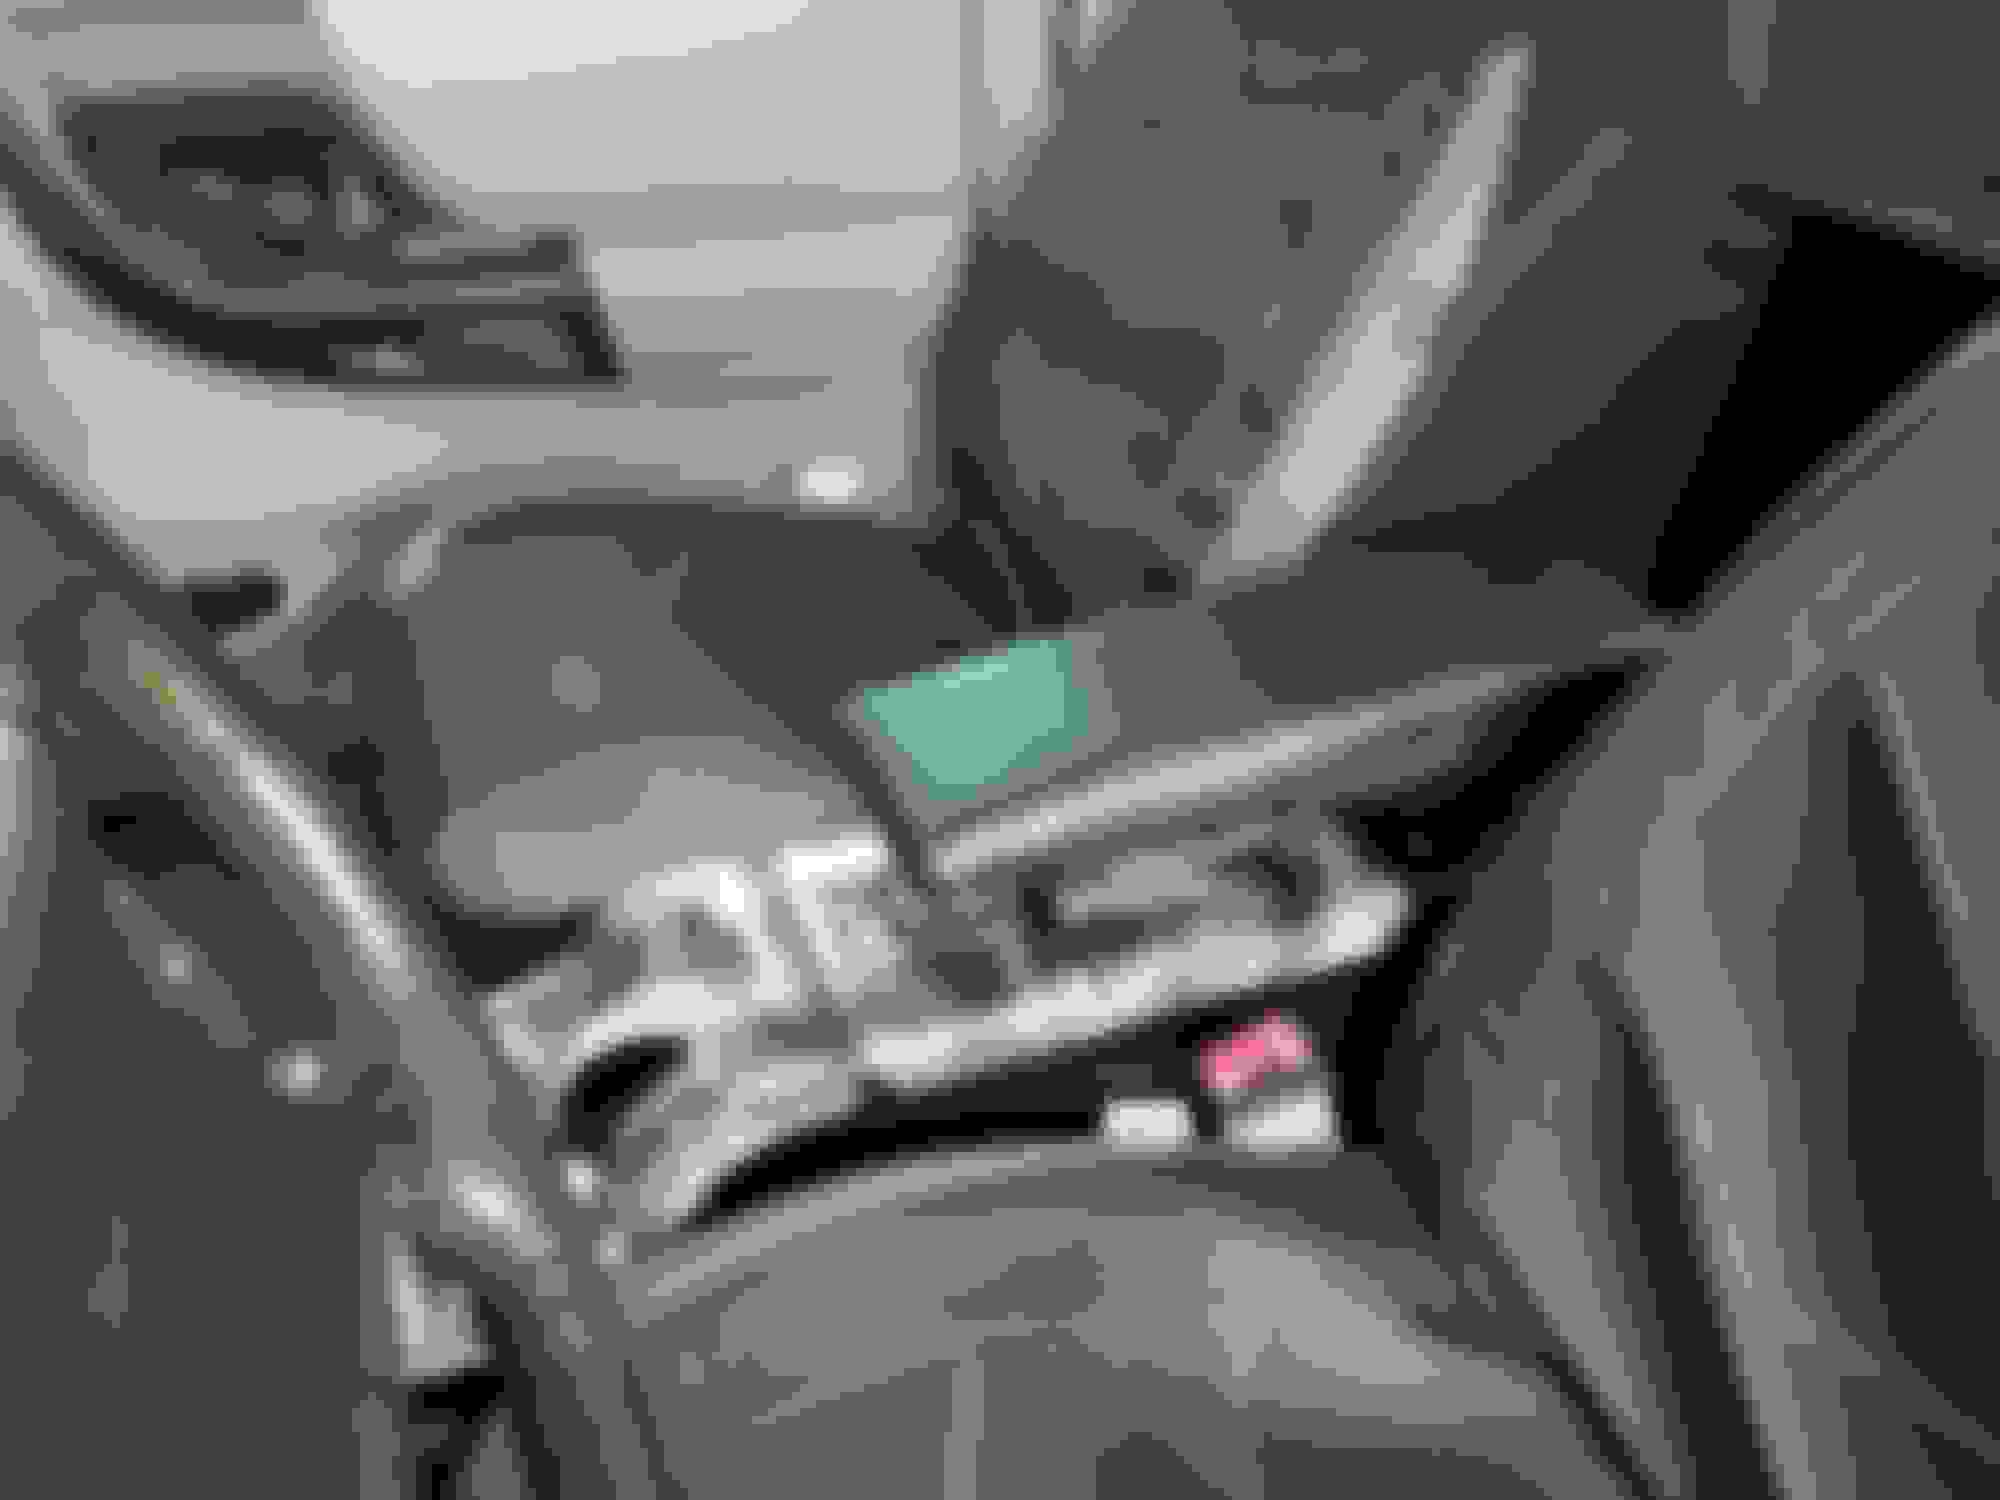
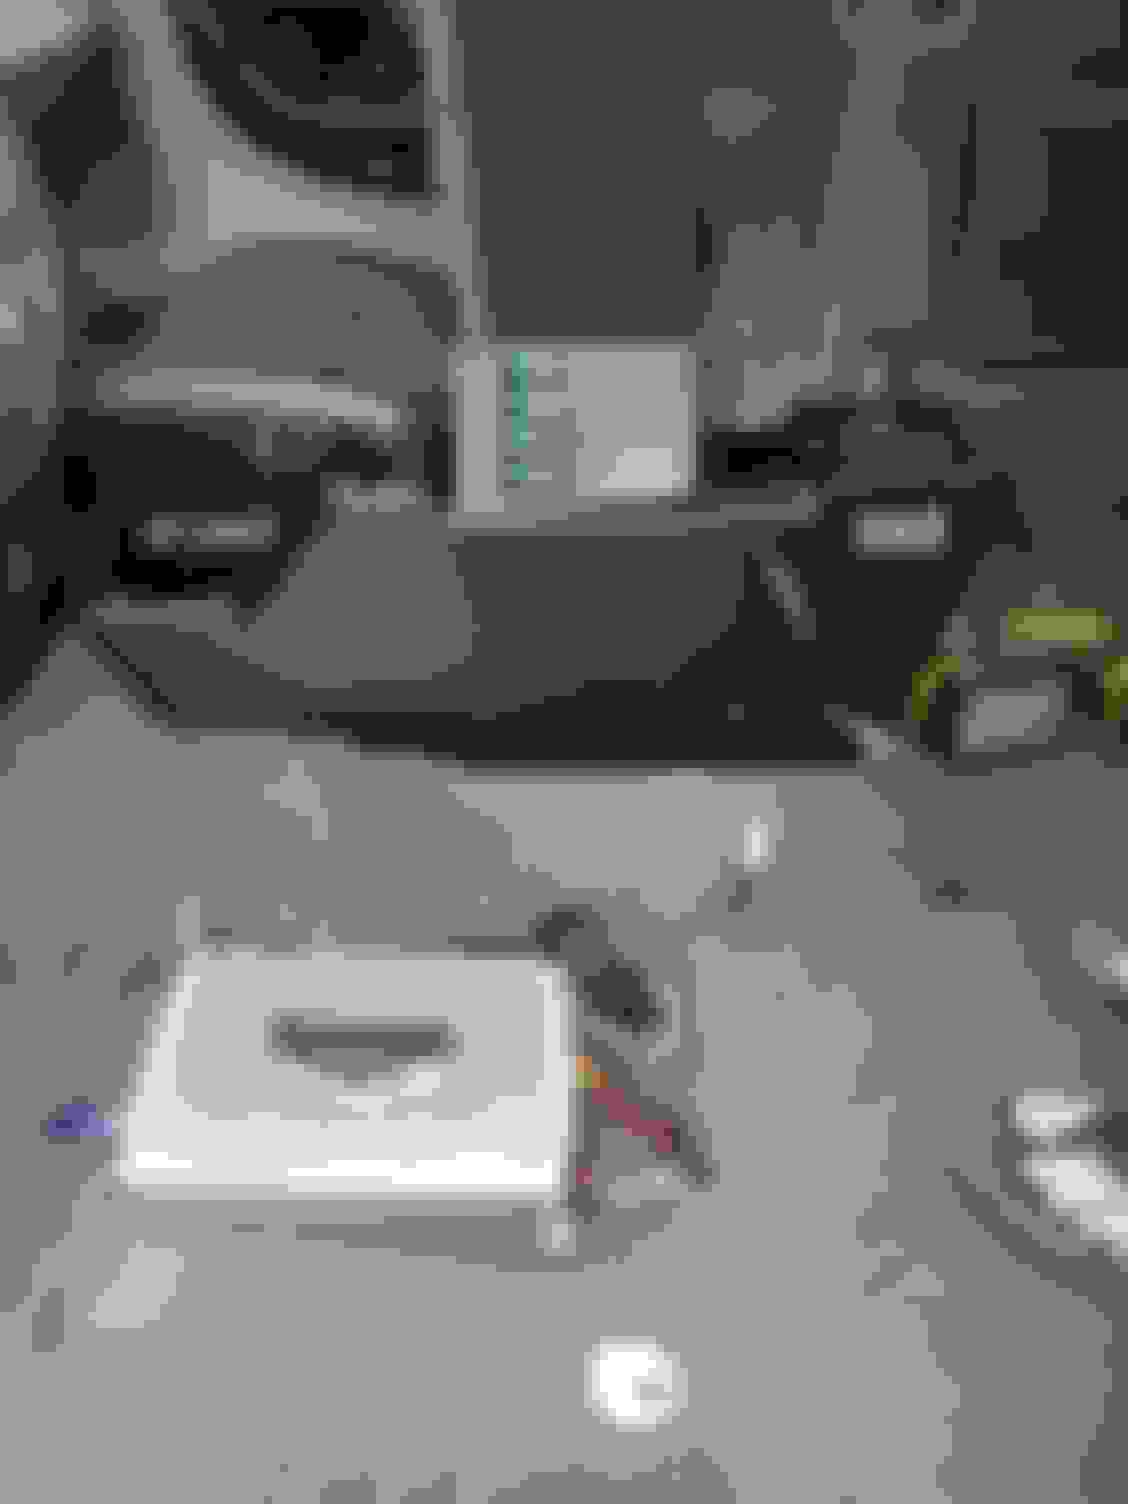
Today I ran the wires for my light bar, rear led pods, and "anti-tailgating device" to my switch panel located in the center console. As seen in the picture, I didn't get it done yet. But tomorrow, I should be able to wrap it up.
Before anyone asks, no- I wasn't stoned while making that video. It was late and my klonopin was kicking in. Well, I guess you could say I was stoned in a way then. Anyway, hope you enjoy or at least find the vids informative.